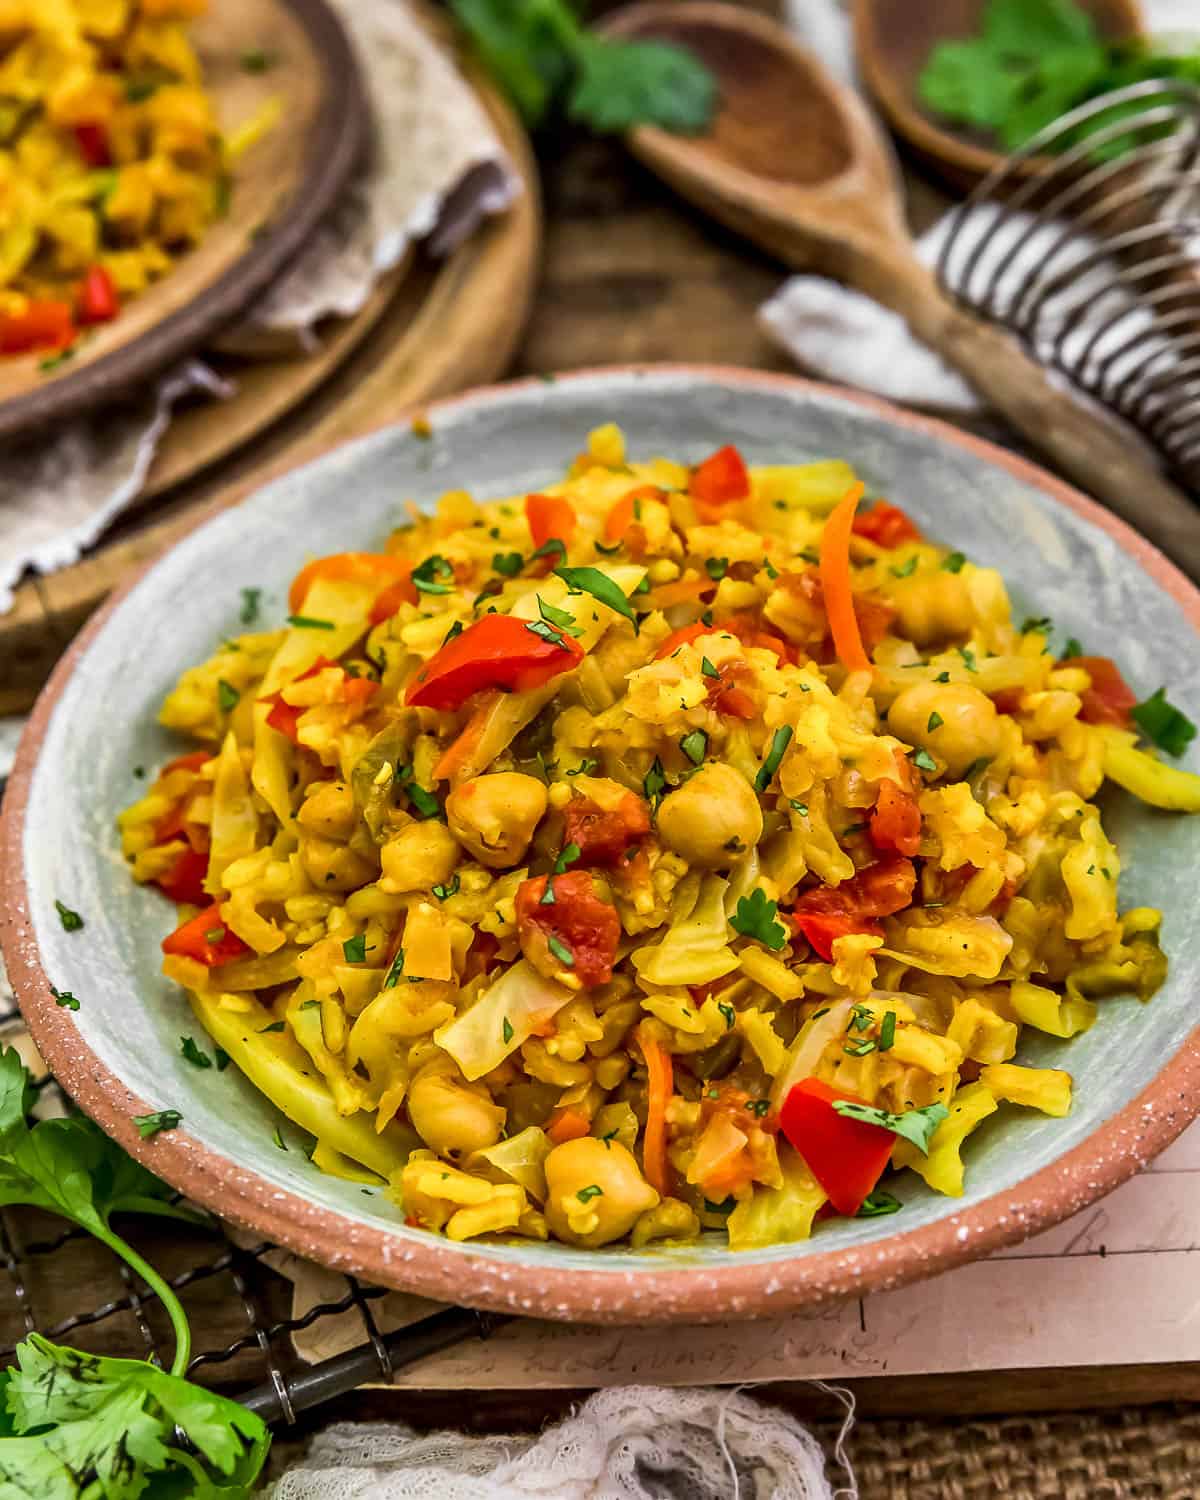
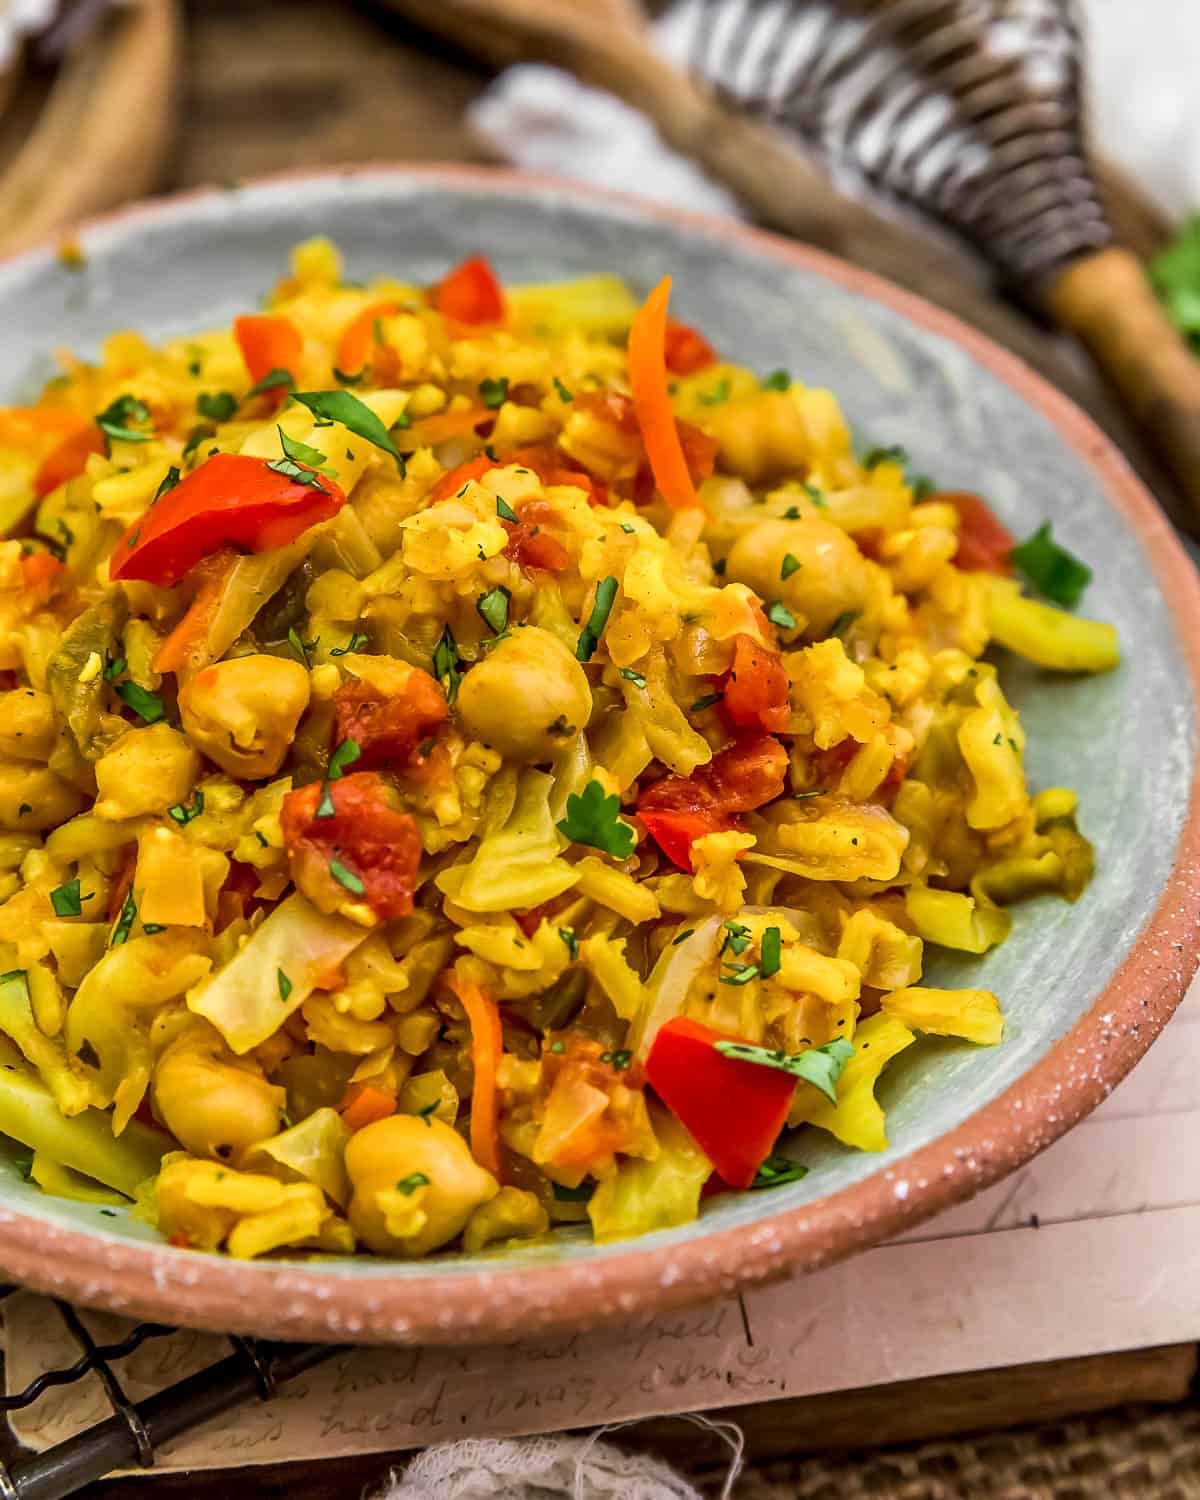
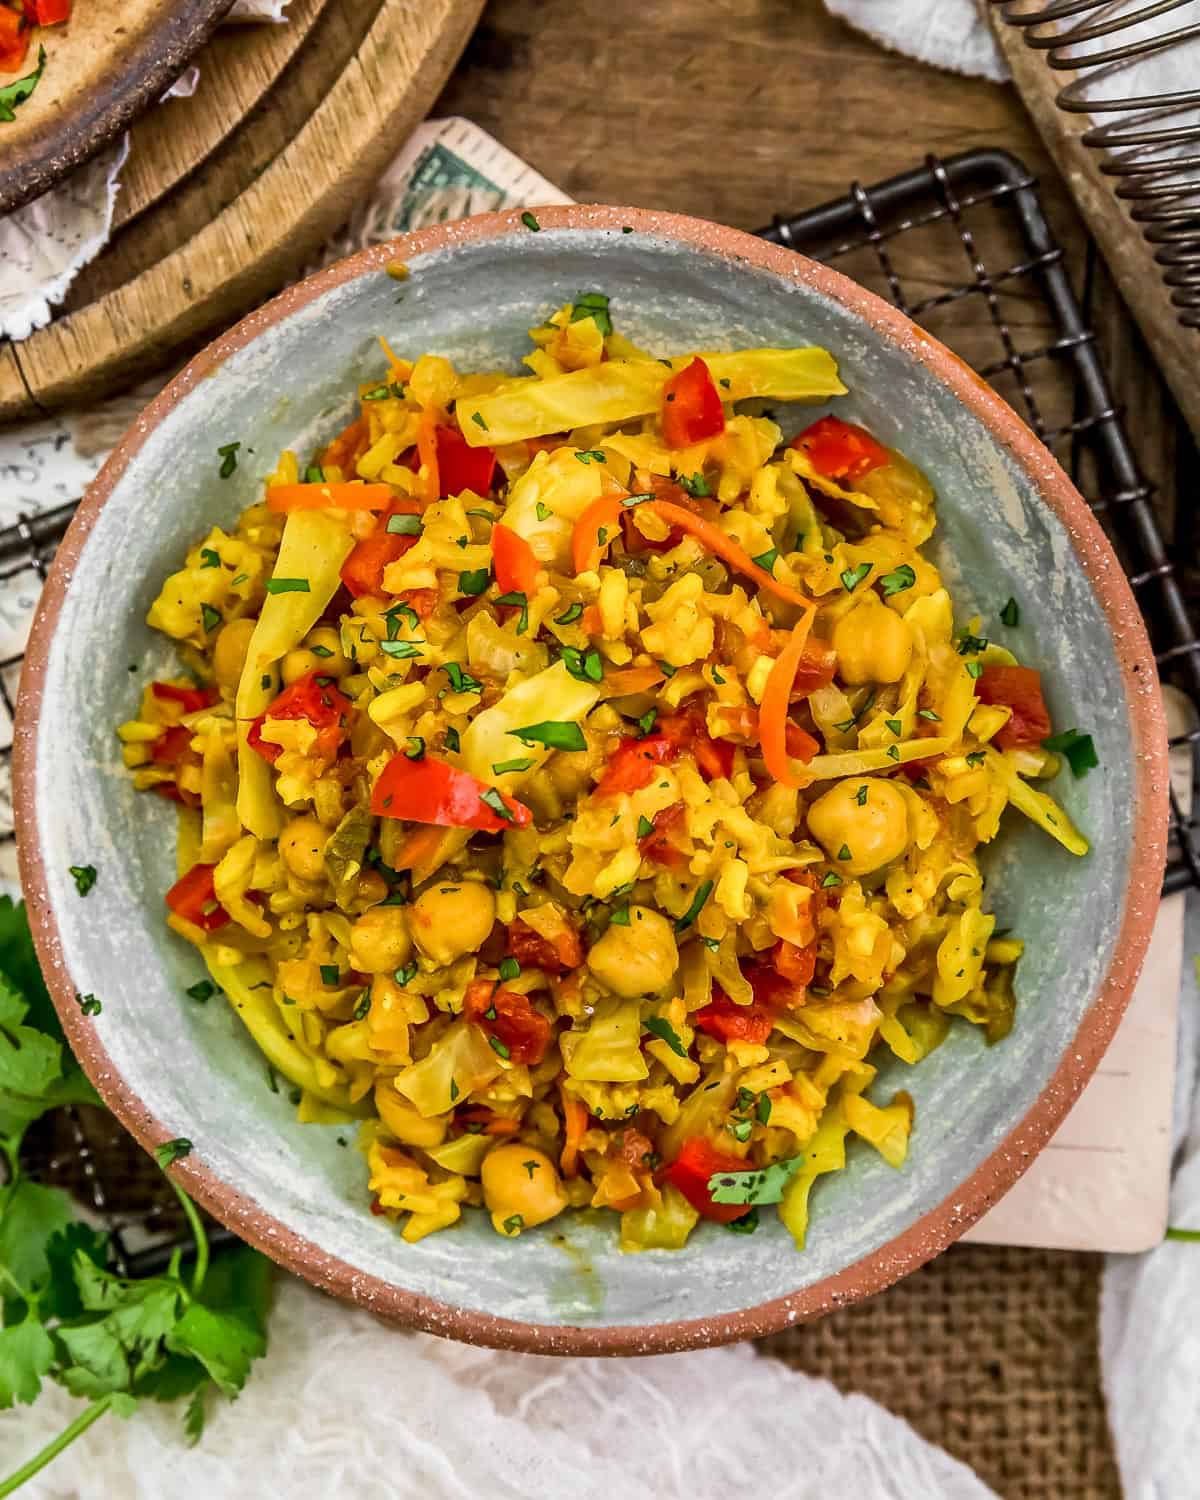
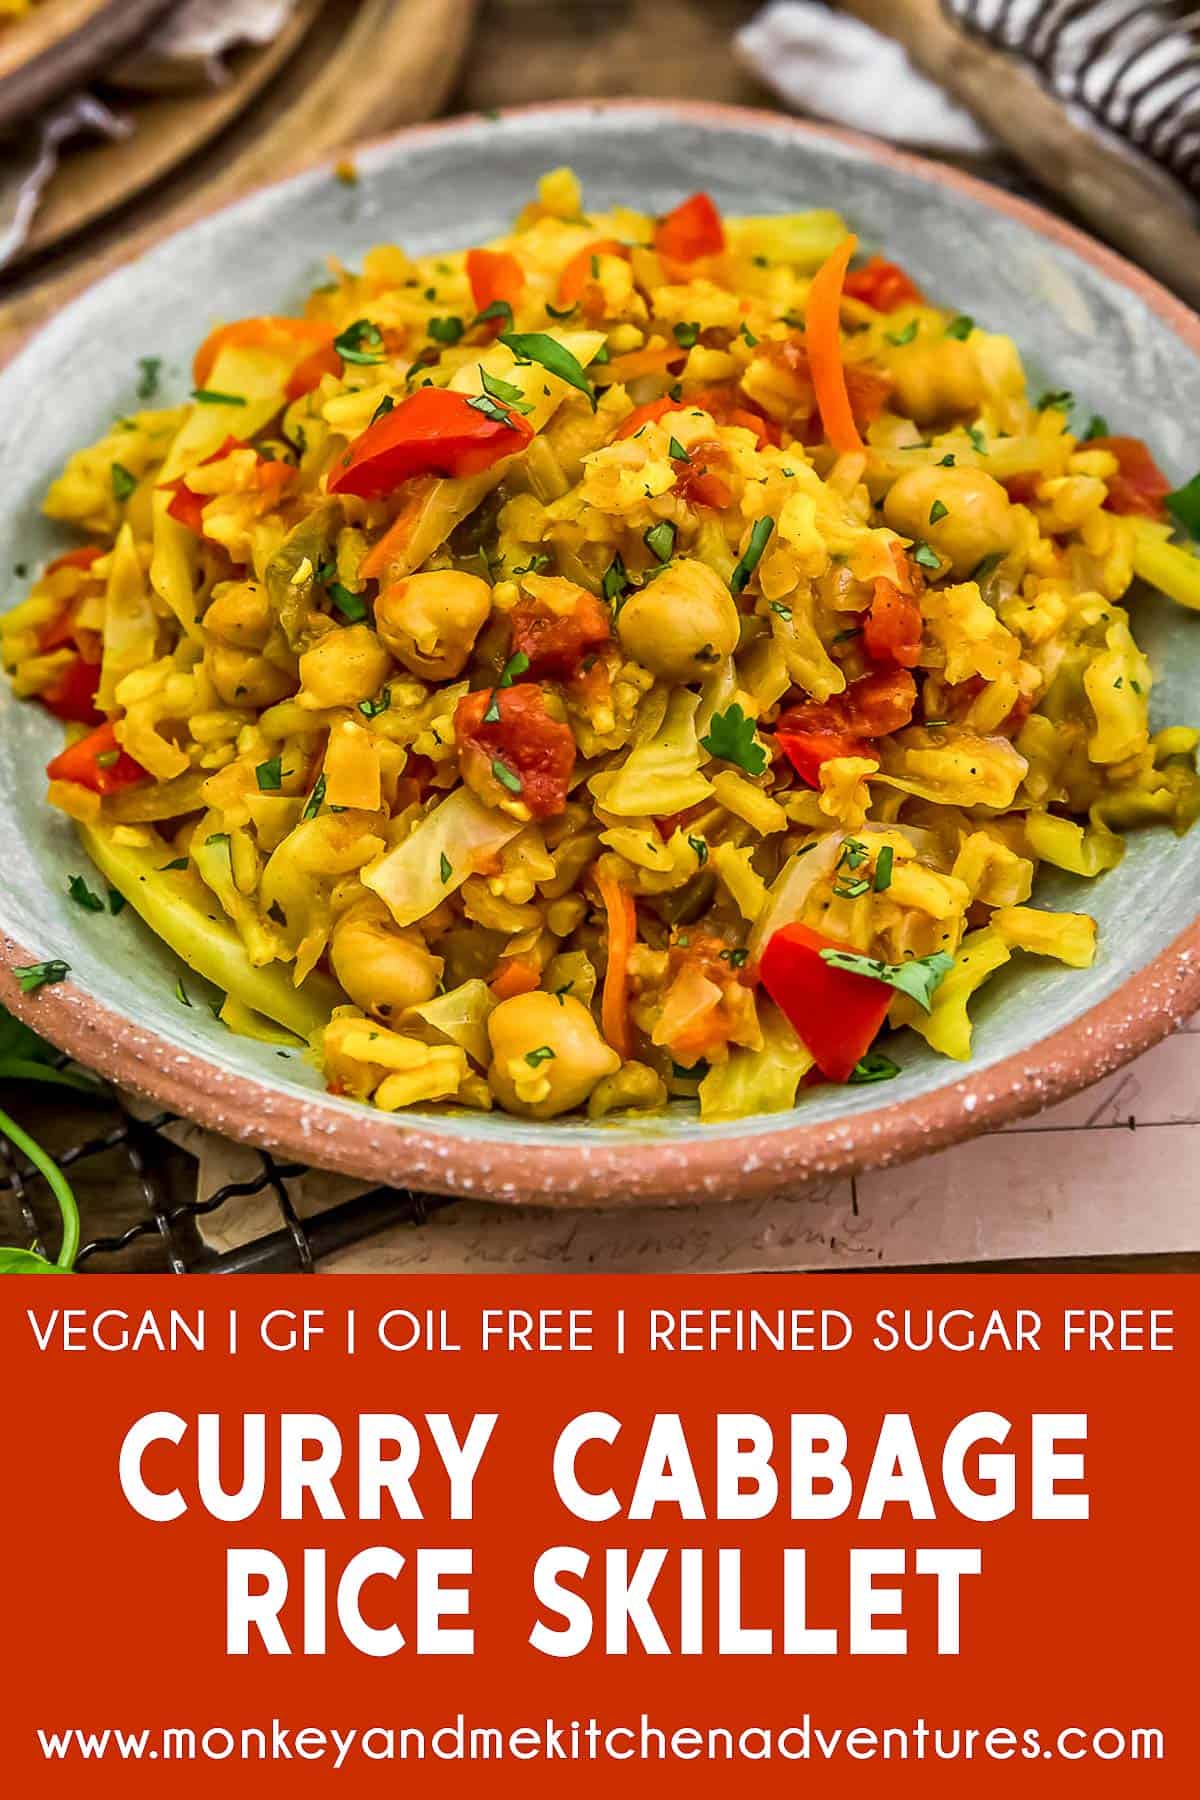
Curry Cabbage Rice Skillet! Gussy up the humble cabbage with bold curry, tender rice, and protein-packed chickpeas for a skillet meal that gets those taste buds tingling.
Healthy, satisfying, and delicious, this oil-free Curry Cabbage Rice Skillet is seasoned with bright veggies, aromatic spices, and carbolicious brown rice! All this wholesome goodness is simmered in flavorful broth that guarantees a hearty dish that the whole family will love.
Whole Food Plant Based, Vegan, plant based, oil free, refined sugar free, no highly processed ingredients and gluten free.
Hi there, Ameera here!
We are a cabbage loving family. This versatile cruciferous vegetable works with some many flavors and a variety of cooking methods. Some of my favorite is chopped and cooked with rice.
We have so many variations of this dish. If you are a rice and cabbage lover than make sure to check out these tasty dish: Tex-Mex Cabbage Skillet, Vegan Unstuffed Cabbage Rolls, Cajun Cabbage and Rice.
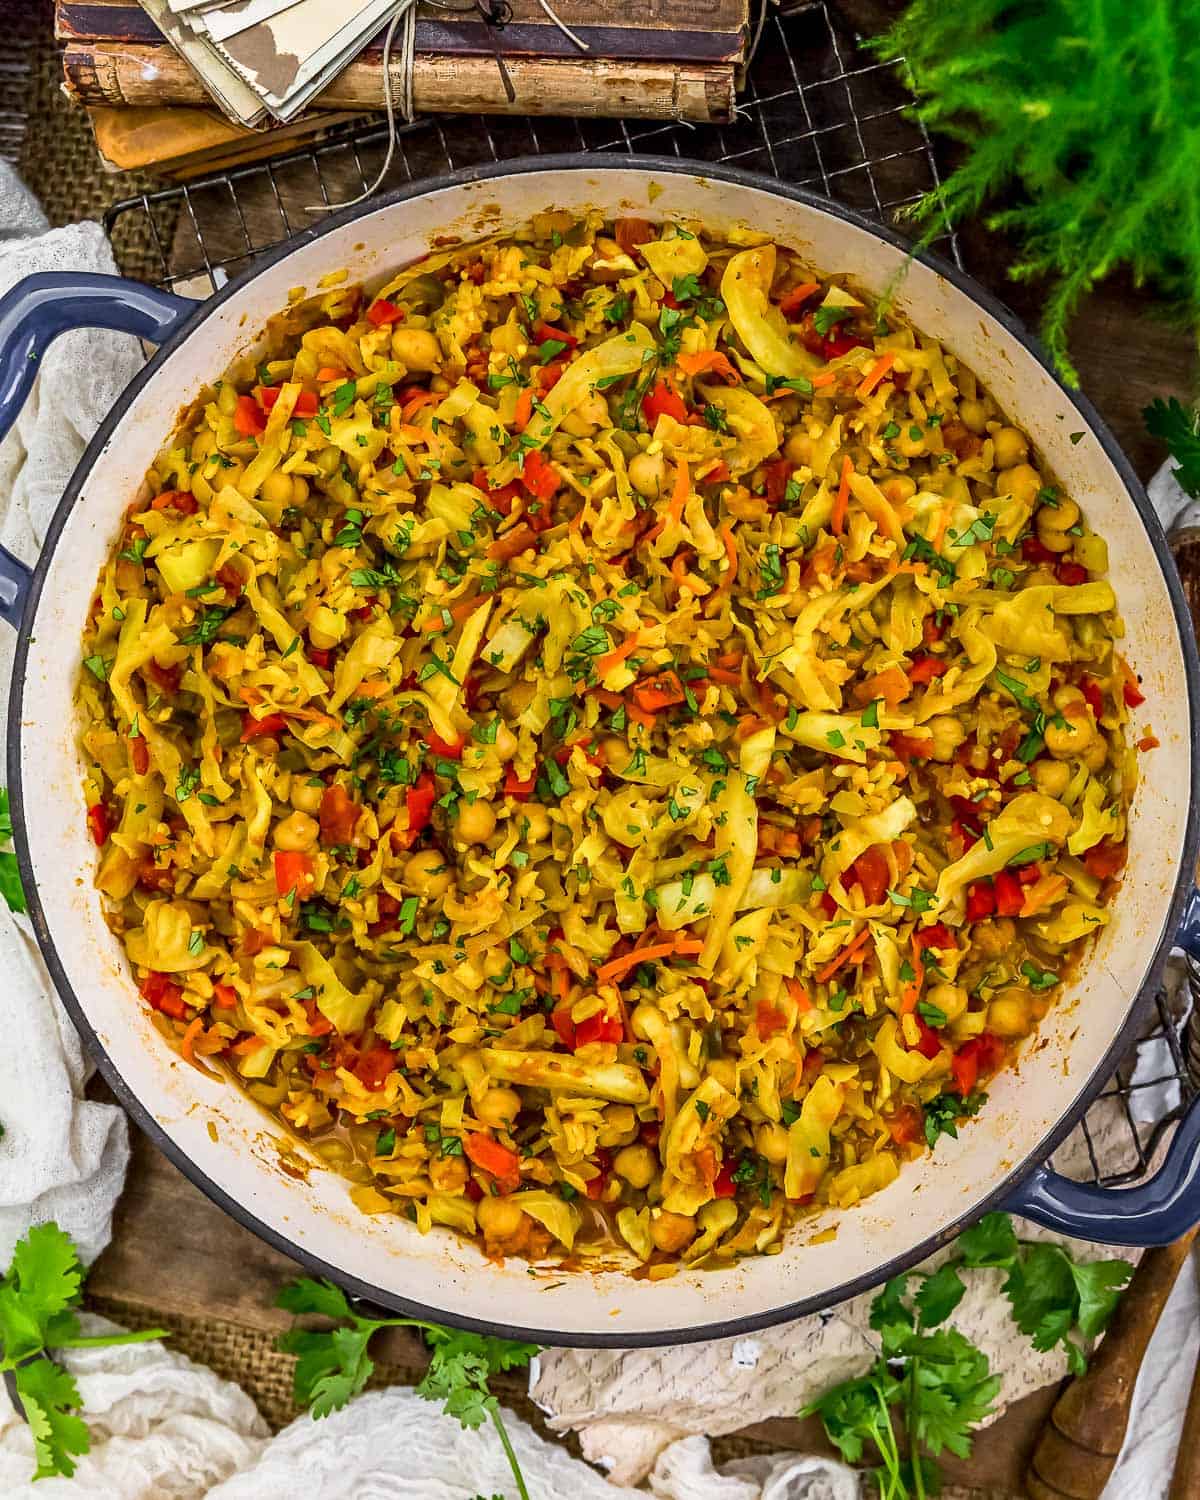
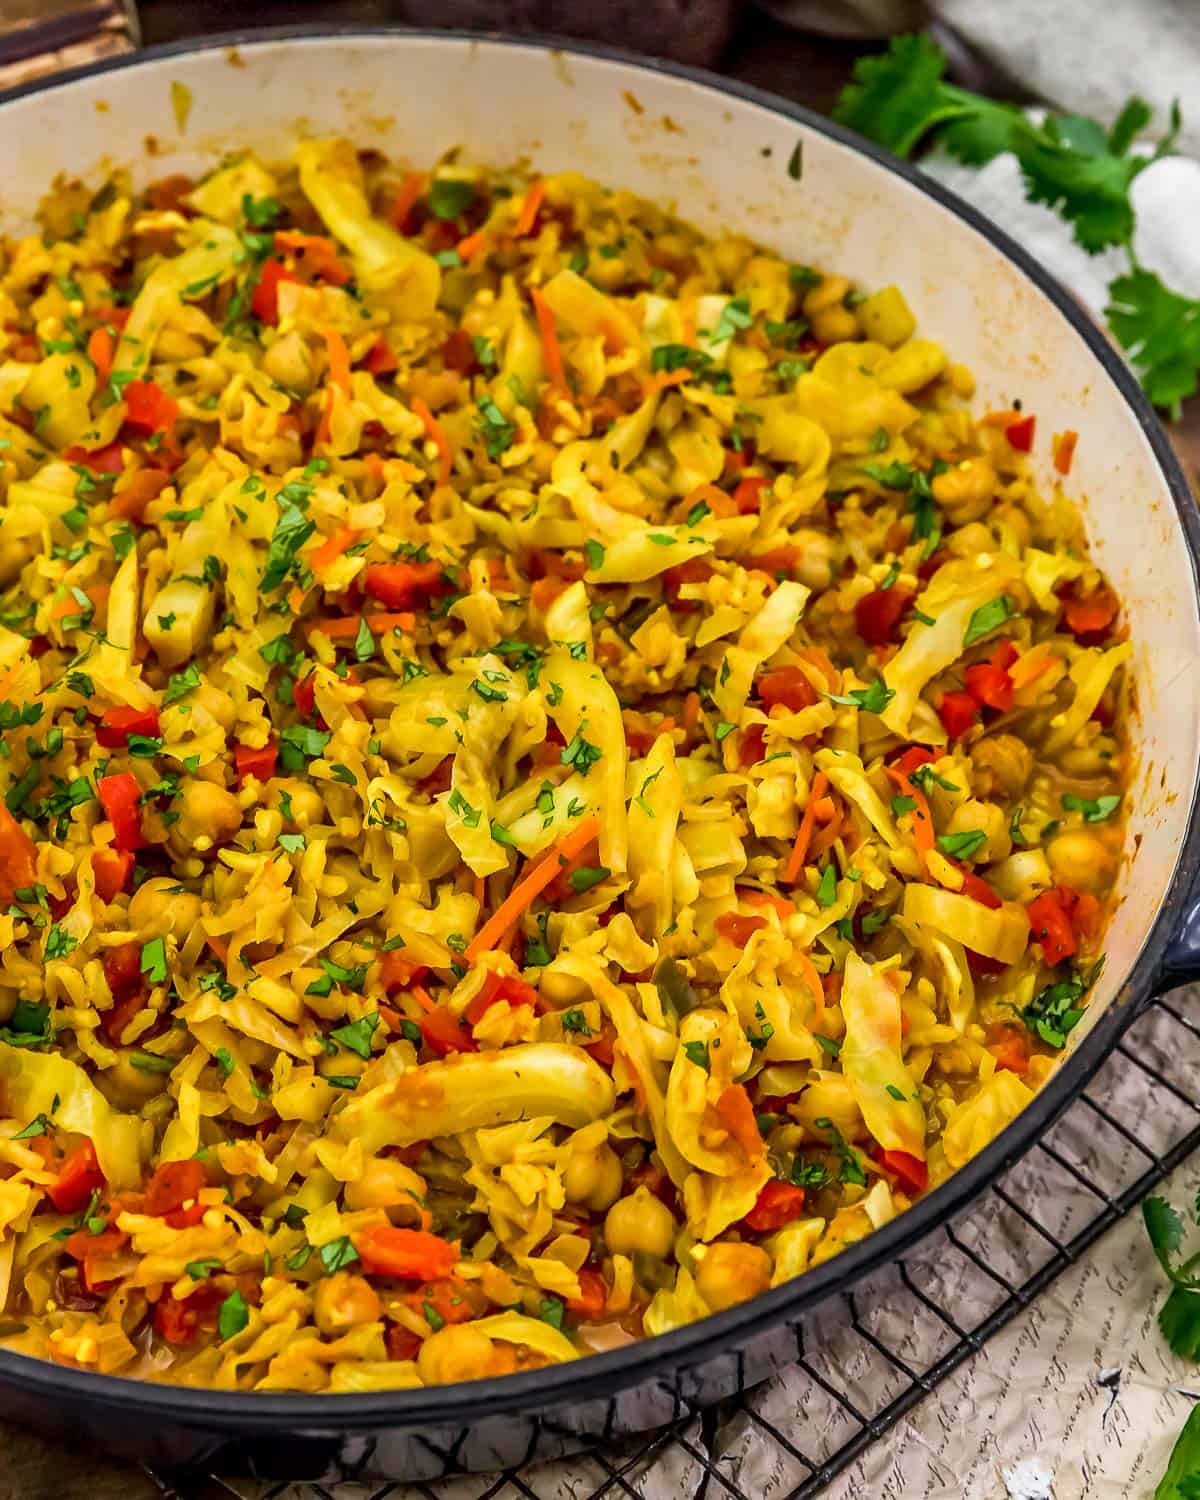
This fragrant and flavorful Curry Cabbage Rice Skillet is a fun and tasty way to enjoy all those curry spices in a one pot meal. Loaded with all your needs: tasty veggies, protein-packed beans, and carbolicious rice. It’s hearty enough to serve as a main dish, but it can also be served as a side dish.
Tips for Success:
- Rice: The cooking time is largely dependent on the rice and brand Some rice types, as well as some brands, take longer to cook. Soaking the rice in hot tap water speeds up the cooking time; however, some brands of rice take quite a bit of time. Read rice package directions for estimated cooking times. Resist the urge to stir rice while it is cooking as it causes the rice to release too much starch into the dish and the dish become murky and creamy.
- Shredded Cabbage: We used about ½ of a medium head of cabbage. Make sure you use a sharp-bladed knife and cut it very thinly. Pick through looking for thick veined cabbage to shred again to get consistent thin shreds. It’s important to shred the cabbage thinly in order to allow the cabbage to get tender.
- Flatten the Ingredients in the Skillet: The key is to press all the ingredients down into the liquids so everything is submerged or partially submerged so the rice and cabbage can cook in the liquids until tender.
- Viewing the Skillet while Cooking: You do not want to create a hot rolling boil, you want to gently simmer (low boil) the rice and cabbage in the liquid. After you flatten the ingredients as directed in the bullet above, you should see little bubble holes that gently percolate up through the mixture when you check on it about 10 minutes in. Just gently lift the lid to take a quick peak. Evaluate and increase or decrease the heat accordingly.
- Flavor: This dish has great flavor. If the curry turns out too strong, the good news is that you can add some of the leftover light coconut milk at the end to tone it down. We loved the flavor that this dish has.
- Liquids: We really enjoyed this dish with the extra liquids that did not fully evaporate/absorb while cooking the rice. If you prefer a drier dish, but the water and vegetable broth down from ½ cup each to ¼ cup each. Make sure you allow the dish to sit for 10 minutes after cooking to allow the dish to absorb in the liquids to flavor the rice and cabbage.
- Water: The total amount of water in this dish is ¾ cup. ¼ cup is used to sauté the cabbage, the remaining ½ cup is added when all the Base Ingredients are added.
- Carrots: We used a vegetable julienne peeler to cut the carrots into long thin strips, then cut those into small pieces. We used grated carrots in previous kitchen tests, and while grated carrots work perfectly in this recipe, we really enjoyed the look and texture of the julienne peeled carrots. We suggest grated or julienned carrots. For those interested, we used a Kuhn Rikon Julienne Peeler.
Leftovers and Freezing:
Leftovers will generally keep for 3-4 days in the refrigerator. Store in a covered container. Reheating can be done on the stovetop, or in the microwave.
This dish can be frozen; however, it truly is best served immediately after making. If frozen, for best results, thaw overnight in the refrigerator before reheating.
Pantry Products Used:
- Tamari: We used San J Tamari Soy Sauce, Gluten Free, Reduced Sodium. You can substitute the tamari with reduced sodium soy sauce, Braggs Liquid Aminos, or Braggs Coconut Liquid Aminos.
- Vegetable Stock: We use Pacific Organic Low Sodium Vegetable Stock. We love this brand because it is Whole Food Plant Based compliant, as it does not contain MSG, has no oil, and does not contain any highly-processed ingredients.
- Brown Rice: We used Uncle Ben’s Whole Grain Brown Rice. Feel free to use your favorite rice.
- Curry Powder: We used Penzeys The Now Curry Powder. This curry powder has amazing flavor; however, feel free to use your favorite curry powder.
- Light Unsweetened Coconut Milk: We used canned Thai Kitchen Lite Unsweetened Coconut Milk. You can find this in most grocery stores in the Asian aisle. Feel free to use your favorite light coconut milk, just make sure it is light and unsweetened. Full fat coconut milk is not part of the Whole Food Plant Based Diet. If you decide to use an unsweetened plain plant milk, then you may wish to scale back on the curry powder. The light coconut milk tempers the curry. We have not tested this recipe with anything but canned unsweetened light coconut milk.
Kitchen Products Used:
- Large non-stick skillet or similarly large skillet with a tight-fitting lid. We used Ceramic/Enamel Lined Skillet with a tight-fitting lid
- Vegetable Peeler for the Carrots: We used Kuhn Rikon Julienne Peeler
We certainly hope you give this deliciousness a try.
If you try this flavorful dish, we would love to know if you enjoy it as much as we do! Please leave us a review! Post a picture on Facebook or Instagram and tag us! We would love to hear from you.
Print
Curry Cabbage Rice Skillet
- Prep Time: 15 Minutes
- Cook Time: 50 Minutes
- Total Time: 65 Minutes
- Yield: 4-5 Servings 1x
- Category: Dinner
- Method: Stovetop
- Cuisine: Indian
- Diet: Vegan
Description
Healthy, satisfying, and delicious, this oil-free Curry Cabbage Rice Skillet is brimming plant-based goodness and aromatic spices.
Ingredients
Base Ingredients:
- 2/3 cup uncooked brown rice *
- 1 medium yellow onion, fine dice
- 1 carrot, julienne sliced *
- 1 jalapeno pepper, fine dice
- 1 red bell pepper, small dice
- 2 Tablespoons minced garlic
- 1 Tablespoon minced ginger
- 6 cups shredded green cabbage *
- ½ cup low-sodium vegetable broth *
- ½ cup water *
- 1 Tablespoon reduced-sodium tamari *
- 1 – [ 14 oz. can ] petite diced tomatoes
- 1 – [ 15 oz. can ] chickpeas, drained and rinsed
- 1 cup light unsweetened coconut milk *
Herb/Spice Ingredients:
- 1 teaspoon garlic powder
- 1 teaspoon onion powder
- 2 Tablespoons dried minced onions
- 1 Tablespoon curry powder *
- ½ teaspoon cumin
- ½ to 1 teaspoon sea salt (+/-) *
Optional Toppings:
- Fresh chopped cilantro
Instructions
- Rinse the dry uncooked brown rice really well with hot tap water for several minutes, then place the rinsed rice in a bowl and cover with hot tap water and allow to soak until ready to use in Step 5.
- Place all the Herb/Spice Ingredients into a small bowl, mix well. Set aside.
- In a large ceramic/enamel lined skillet, Dutch oven, or non-stick skillet, add the diced onions, carrots, jalapeno pepper, and bell peppers, sauté over medium-high heat for 7 to 9 minutes to soften, then add the finely minced garlic and ginger, and sauté over medium heat for one minute.
- Next add the shredded cabbage and ¼ cup of water, sauté over medium-high heat until the cabbage is wilted and most (if not all) the water is gone.
- Drain the rice, shake off any excess water, add the rice and the Herb/Spice mix, stir to coat the cabbage/rice mixture with the herbs/spices, sauté over medium heat for several minutes to allow the spices to become fragrant.
- Next add all the remaining Base Ingredients, stir well, increase the heat to a boil, then immediately lower to a simmer. Then pressed down everything to create a flattened surface. Simmer (with a very low boil – see notes). Cover with a tight-fitting lid and cook for 30 minutes undisturbed.
- After 30 minutes, check to see if the rice is tender, pull up a few rice kernels from the top and test for tenderness. Resist the temptation to stir the rice. If the rice is not tender, remove the cover and cook over low boil until the rice is tender. Brown rice takes longer than most other rice.
- Remove from the stove, uncover, allow to set for 10 minutes to marry the flavors, then serve with freshly chopped cilantro.
Notes
*Please reference the blog post for Tips for Success, Pantry Items Used, Storage and Freezing, and Kitchen Products Used.
*Sea Salt: Please adjust the sea salt based upon your family’s sea salt preferences and/or based upon dietary restrictions. We enjoyed 1 teaspoon, feel free to adjust this accordingly.
Serving: 4 to 5 (makes 9 cups)
This post contains affiliate links, and we may receive a very small commission if you purchase through those links at no additional cost to you. Thank you for supporting Monkey and Me Kitchen Adventures! For more information, see our disclosures here.


What would the instructions be for white rice? Thanks!
Hi there Crystal 🙂
Thank you so much for reaching out to us. We apologize for the late response. The directions are the same, except the cook time will be less (depending on brand and type of white rice.)
-Ameera and Robin 🙂
Delicious!
Hi there Kim 🙂
Yaaaay!!! We are so glad to hear that you enjoyed this recipe!
-Ameera and Robin 🙂
This is fantastic! I will definitely be making it again. Even my wife, who isn’t a fan of curry, liked this. The curry isn’t overwhelming, so I think that’s why.
Hi there Suzanne 🙂
Woo Hoo!!! We are so thrilled to hear that you and your wife enjoyed this recipe. We are so happy that you plant to make this dish again. We appreciate you sharing your awesome feedback and for taking the time to write.
-Ameera and Robin 🙂
This was delicious! Only issue I had was that the brown rice took a loooooong time to cook. Thinking of cooking the rice separately next time and then combining.
Hi there Sara 🙂
Yaaaayyy! We are so thrilled that you enjoyed this recipe. Yes, we made notes about different brands taking longer than others. We used Uncle Ben’s Whole Grain Brown Rice. Thank you so much for sharing your awesome review with us. We appreciate you taking the time to write.
-Ameera and Robin 🙂