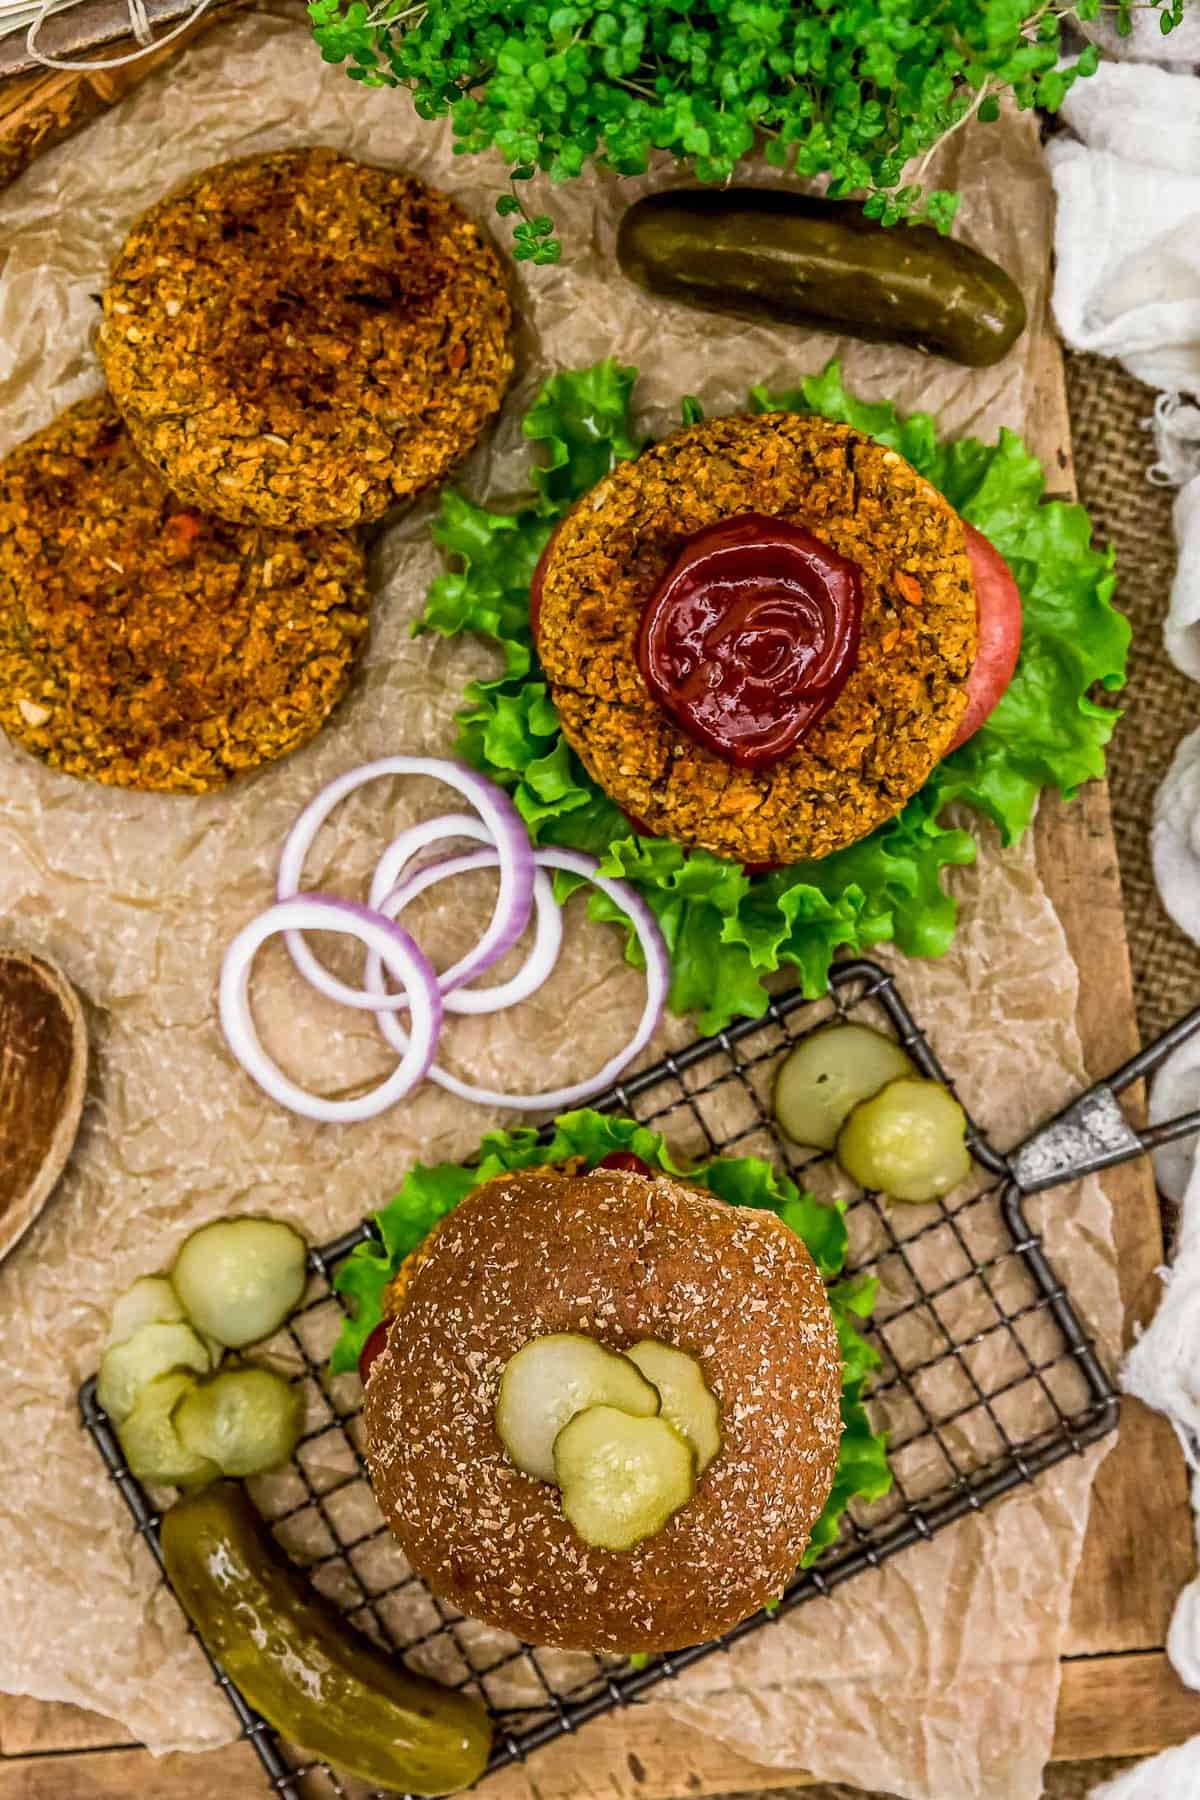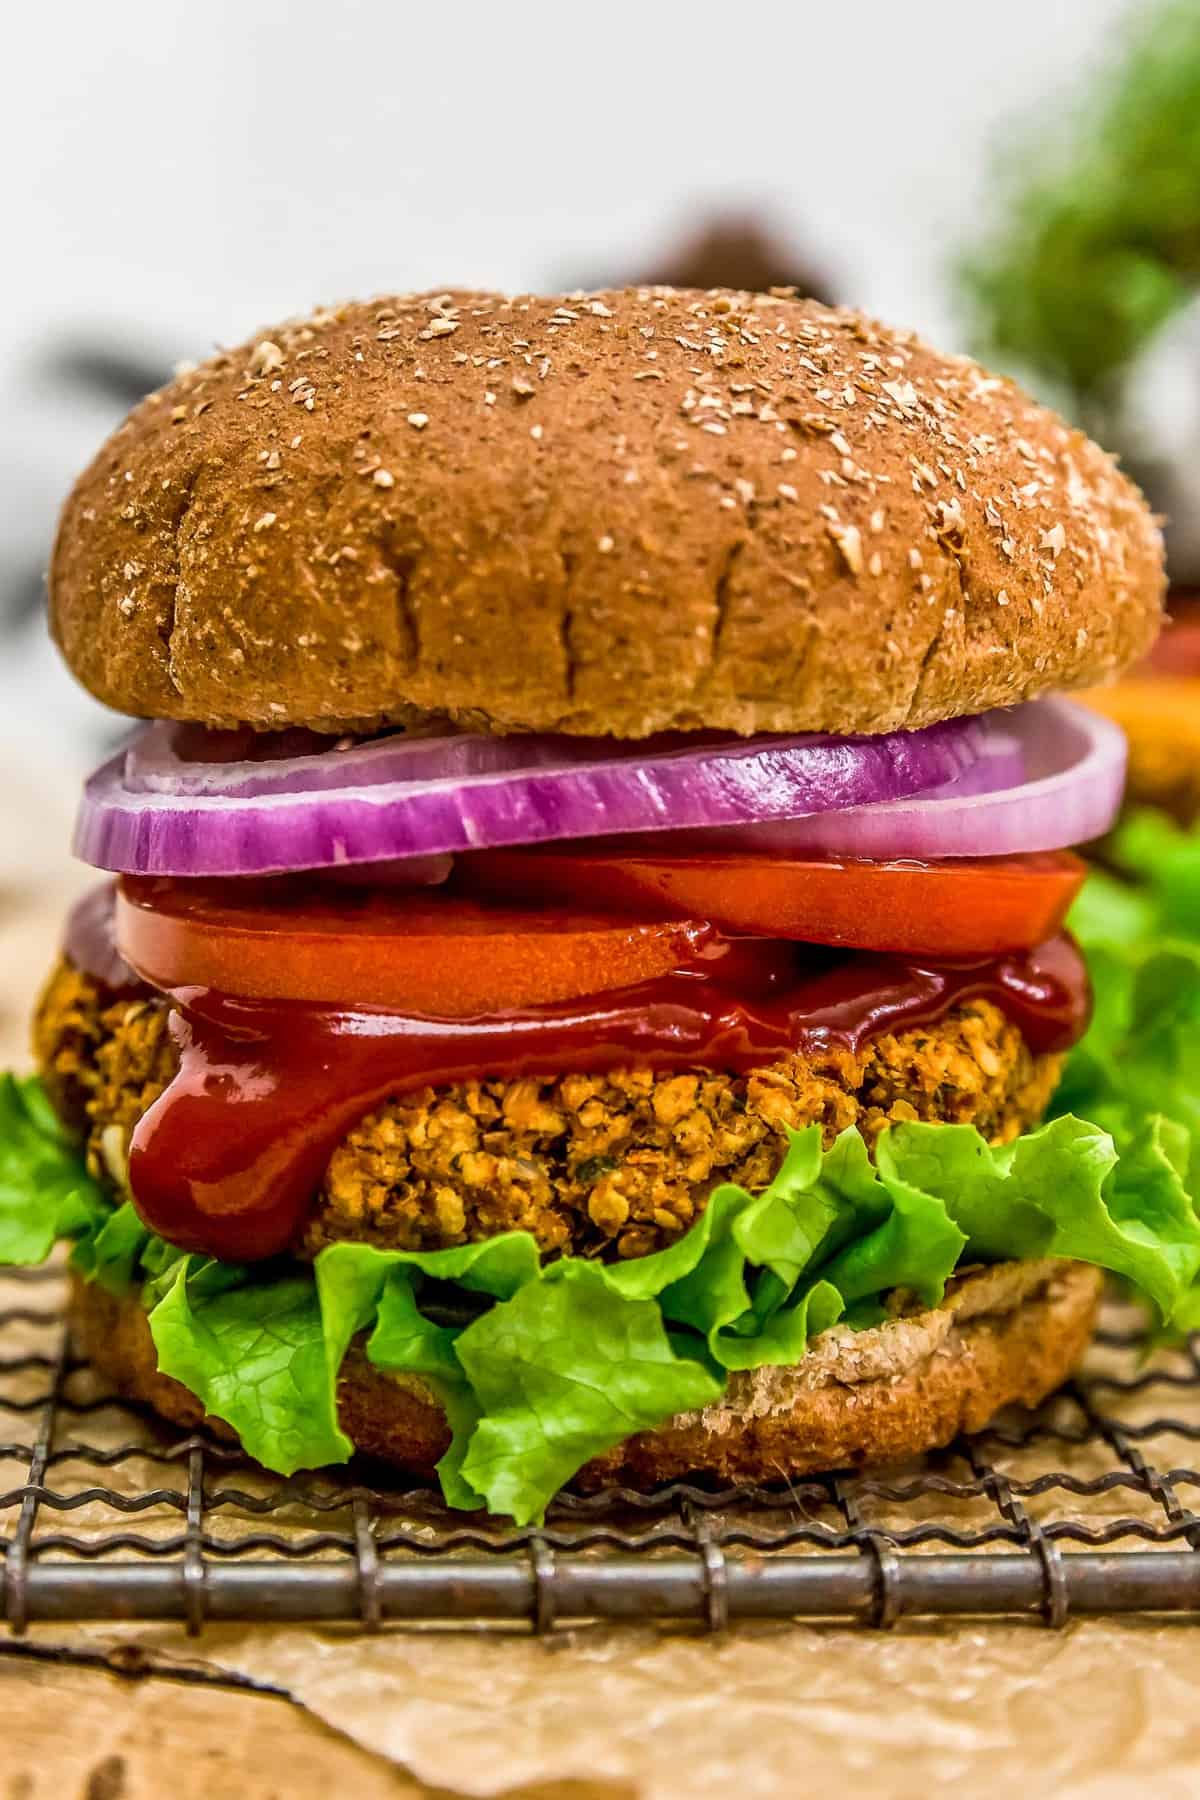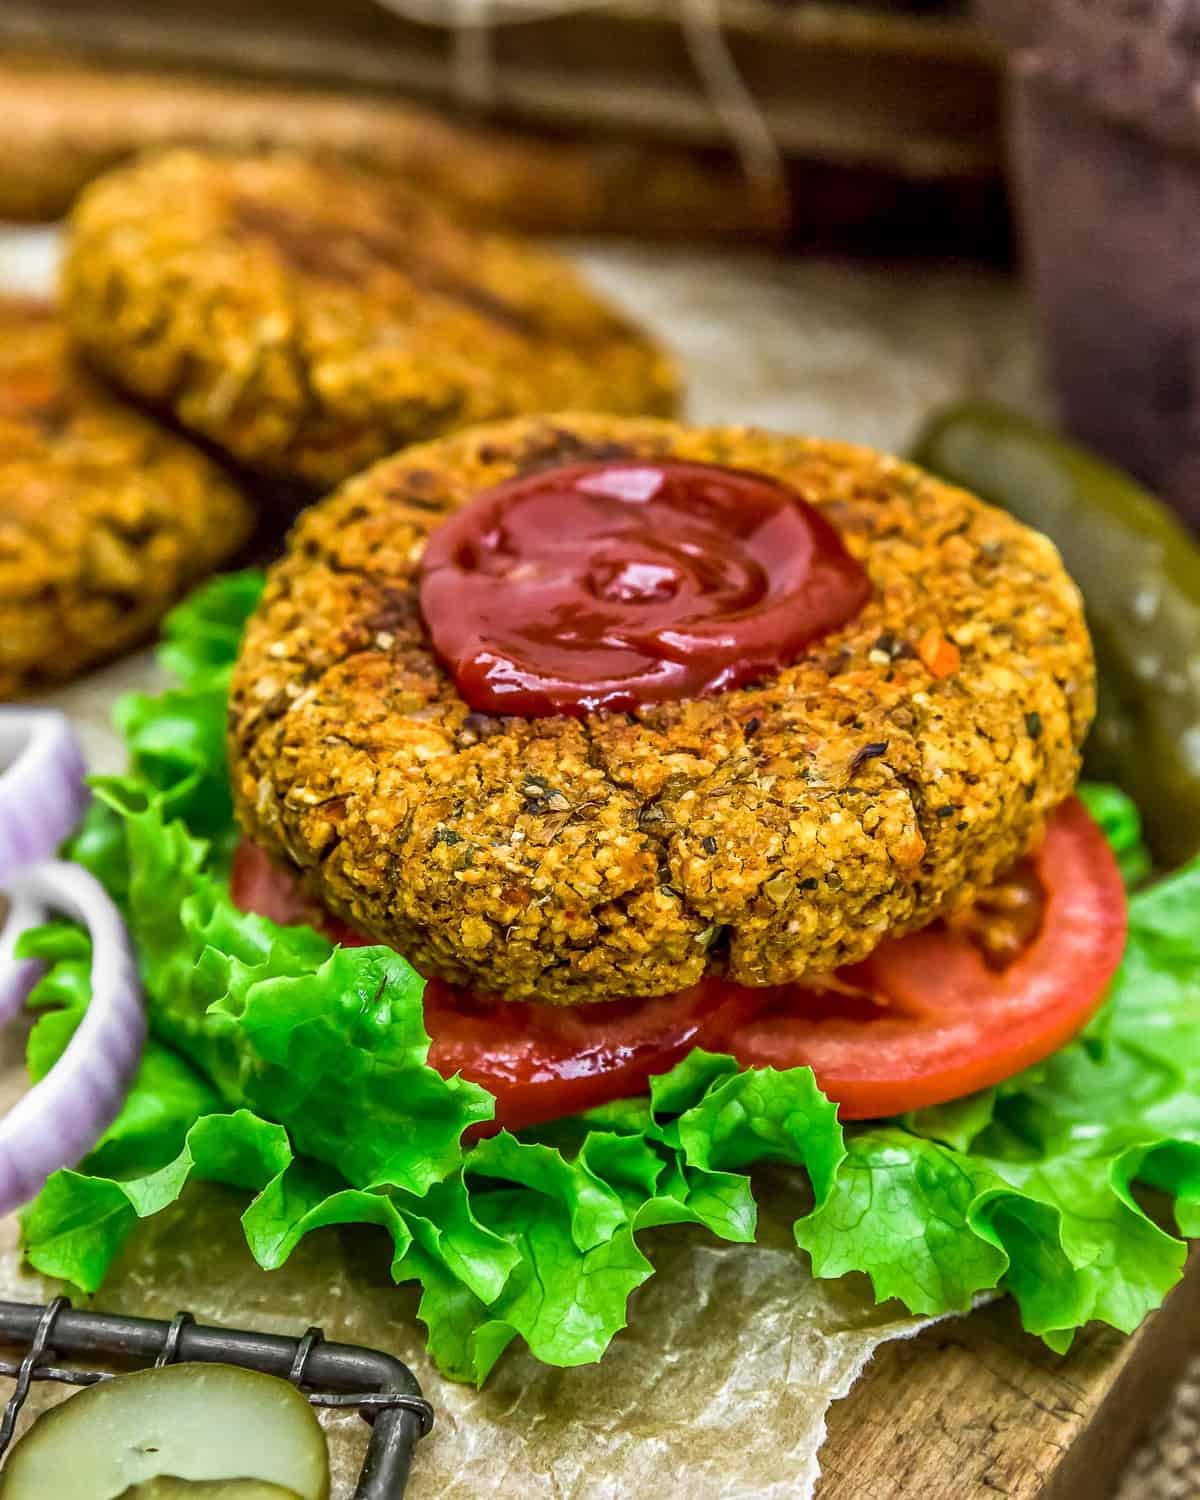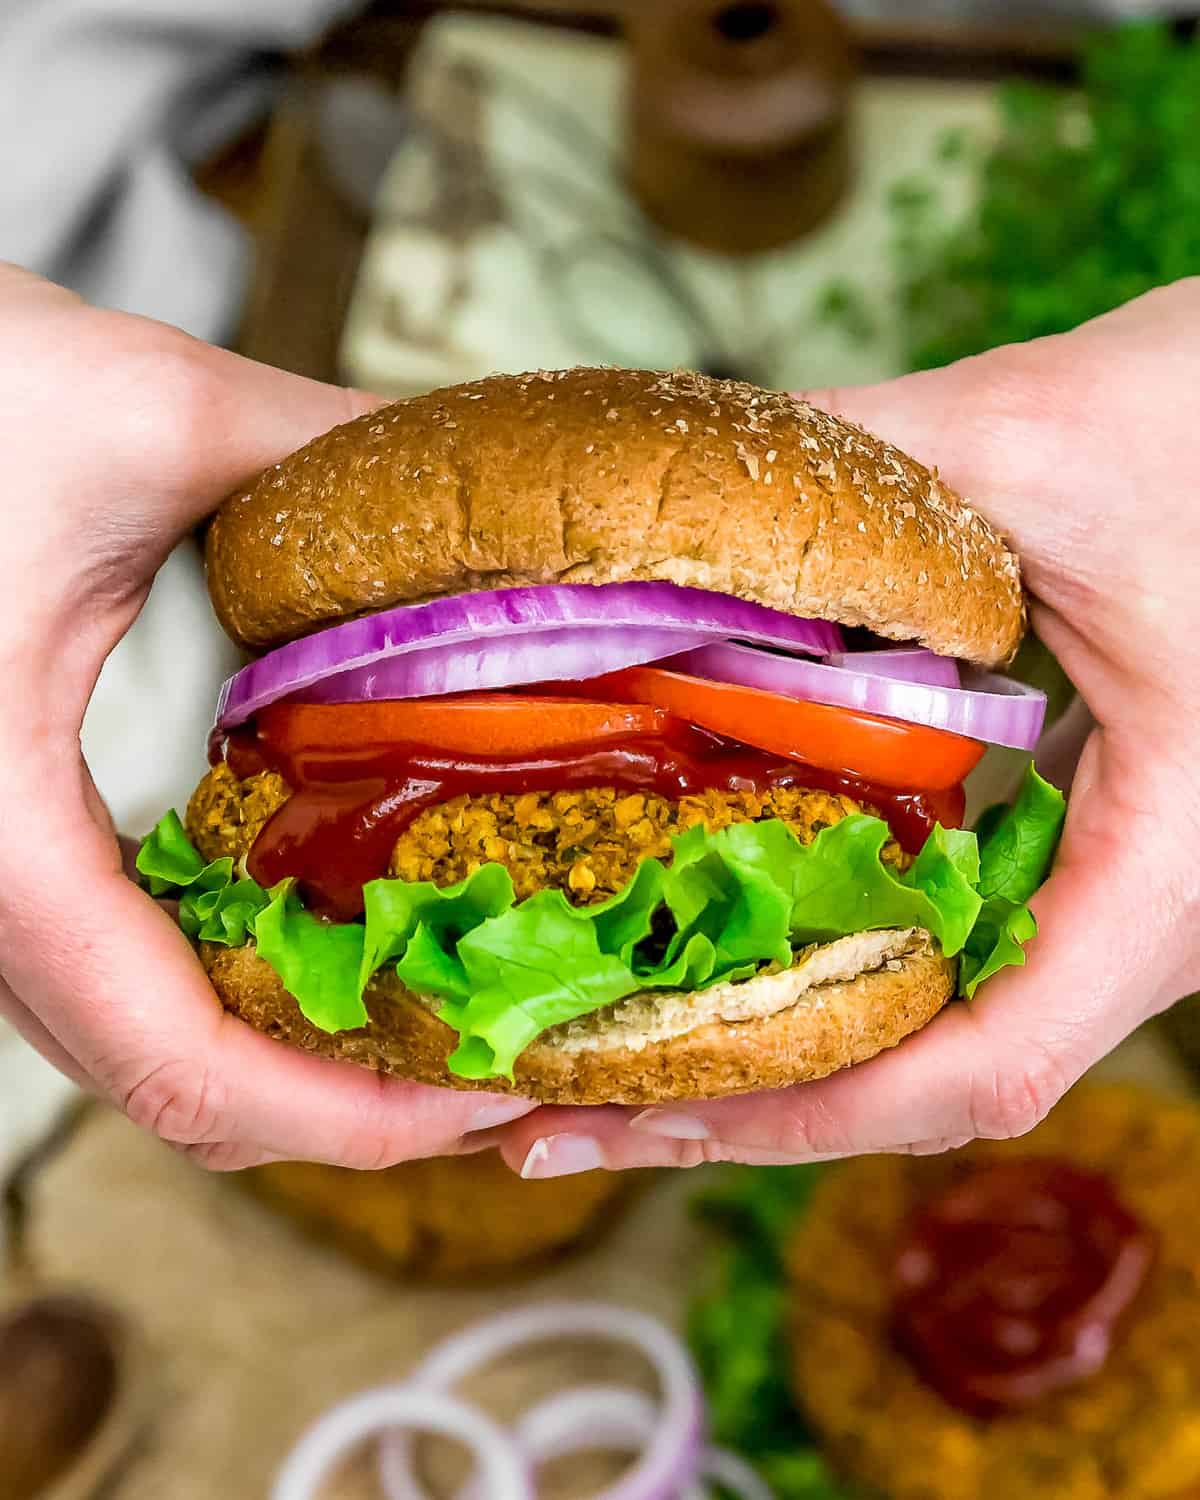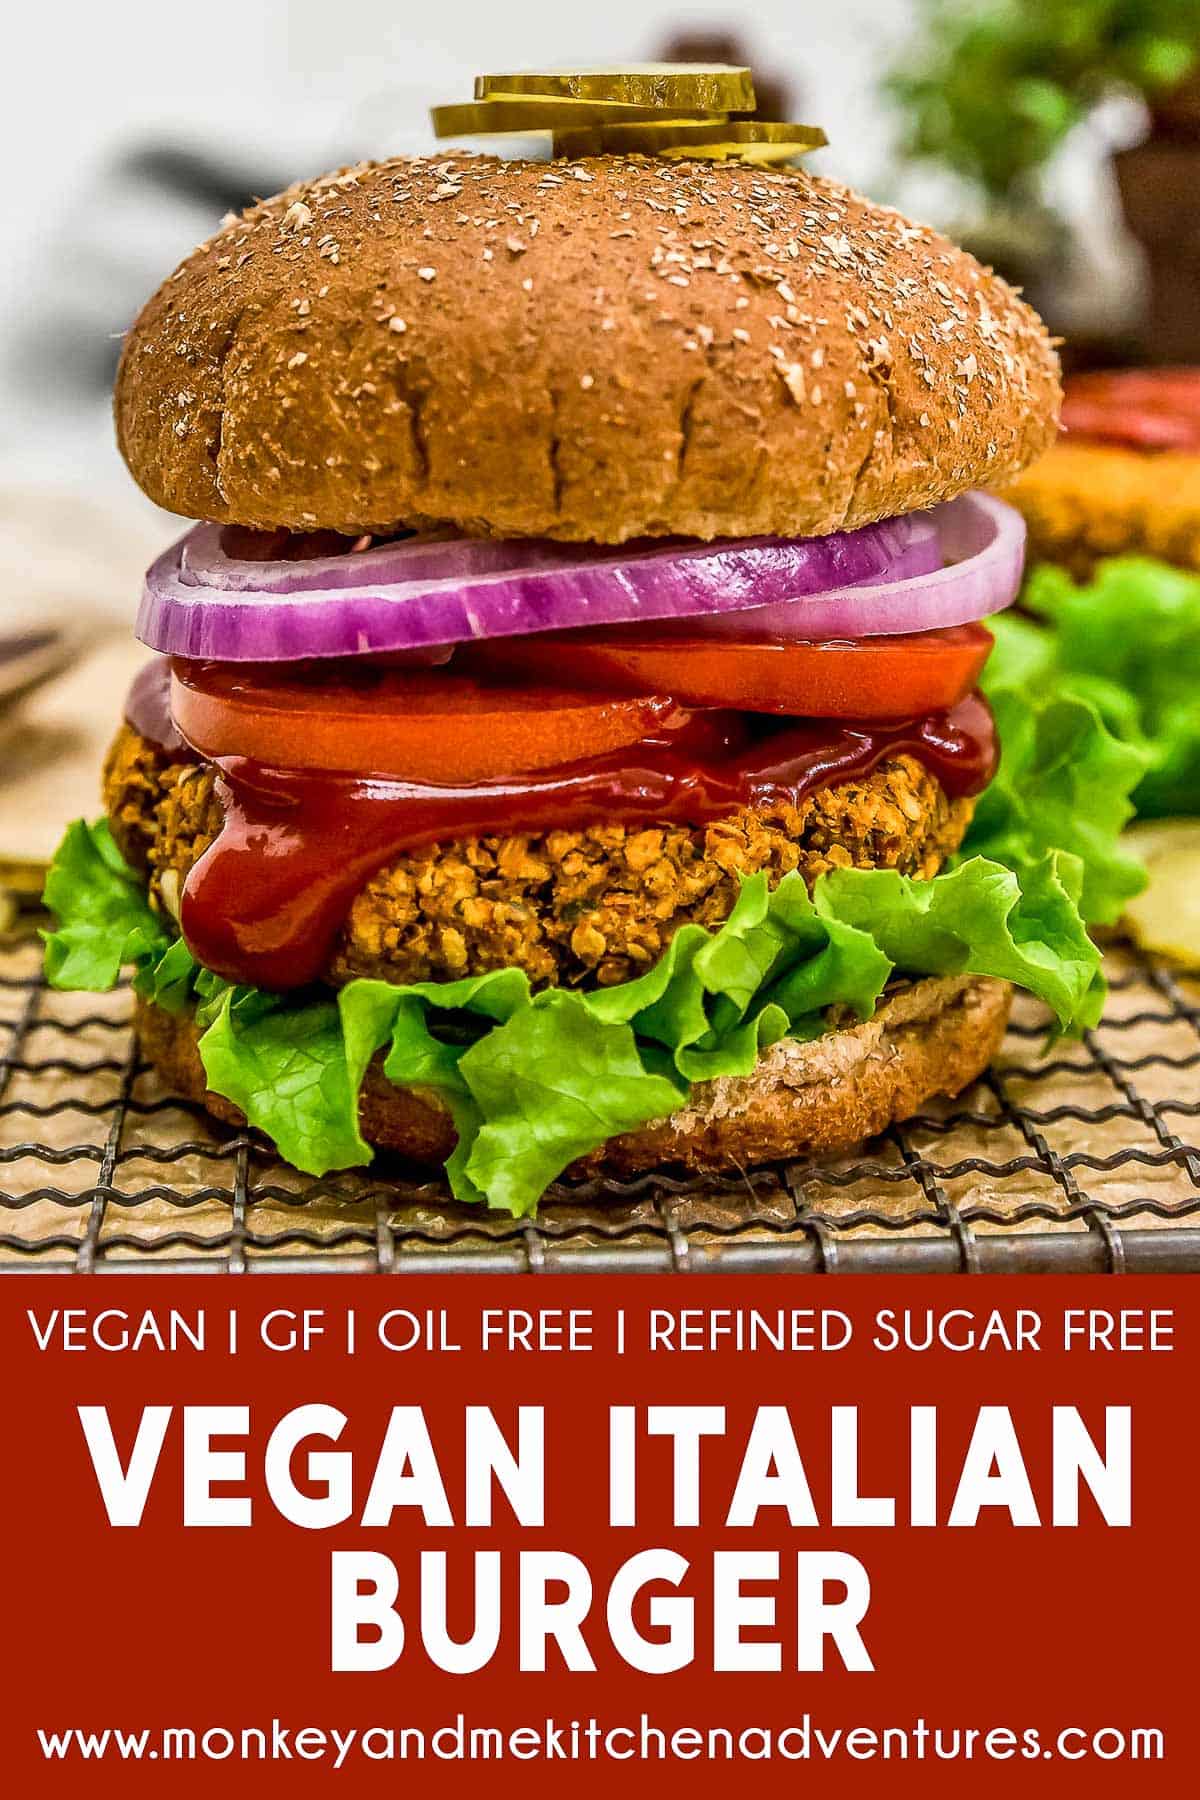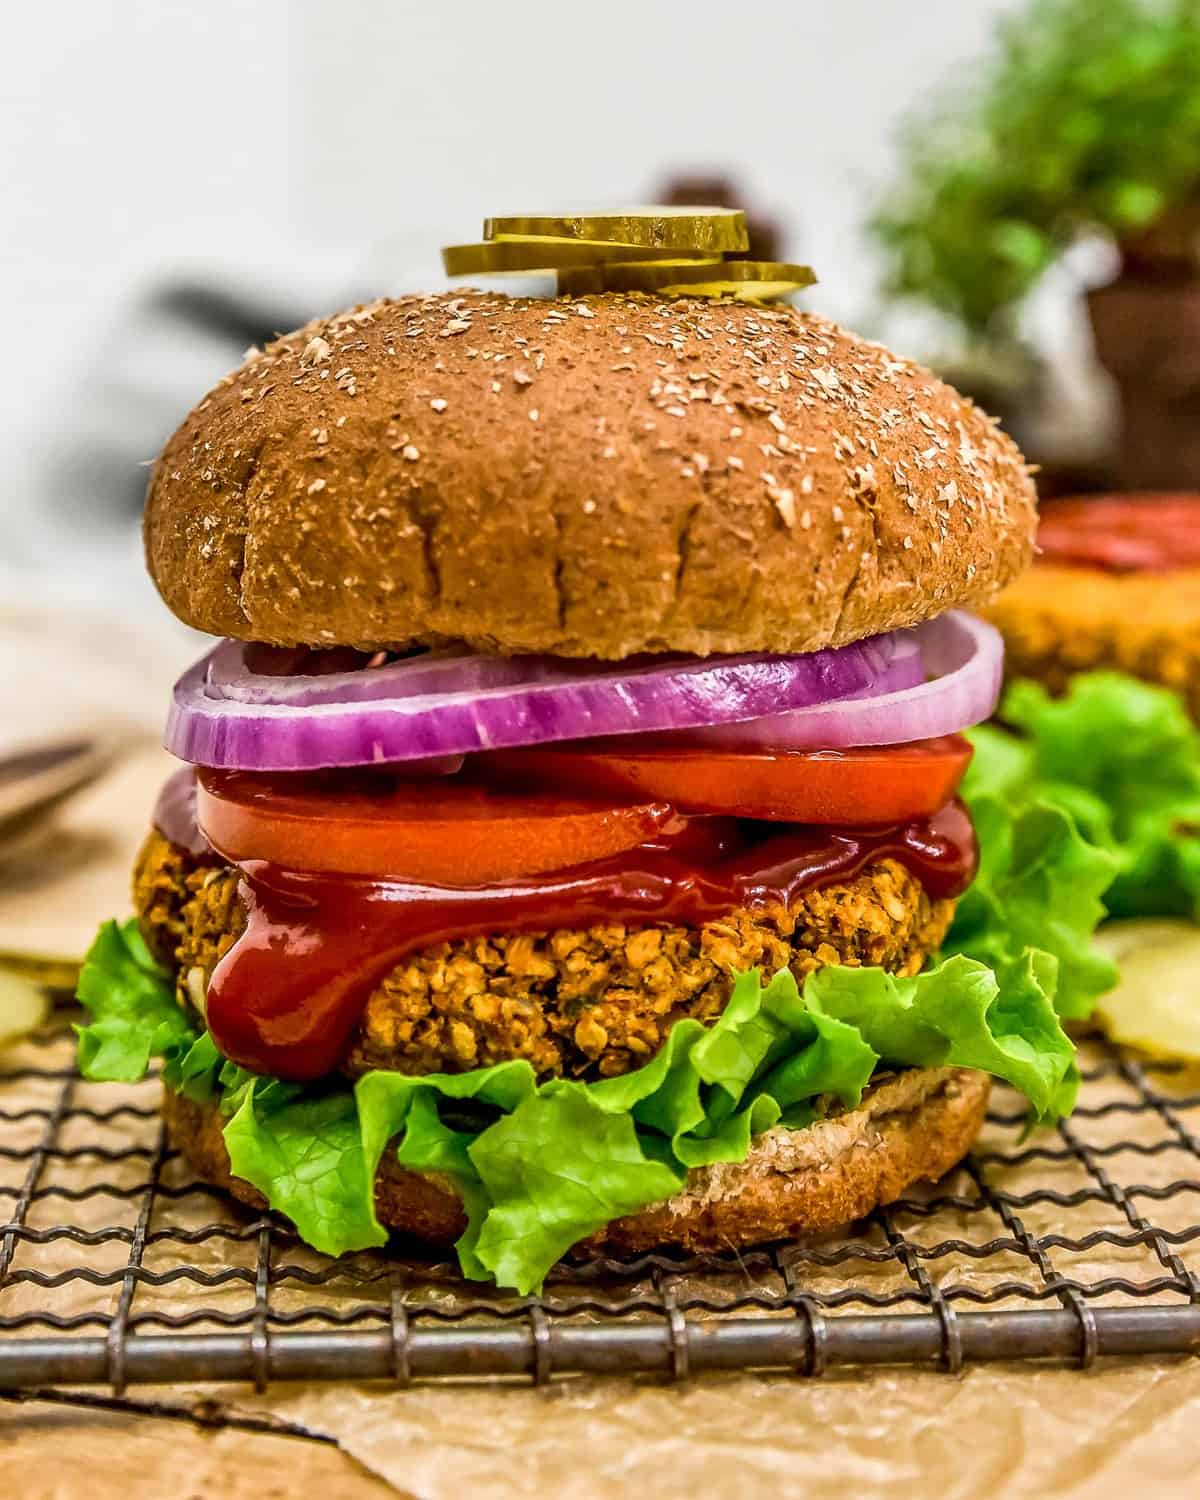
Packed with delicious Italian herbs and spices, this hearty Vegan Italian Burger is healthy, flavorful, and packed with a satisfying texture that has a perfectly crunchy exterior and a tender, but not mushy interior. It is everything a great veggie burger should be and so much more. The whole family will be raving about this yummy burger.
Whole Food Plant Based, vegan, plant based, oil free, refined sugar free, no highly processed ingredients and gluten free.
Hi there, Ameera here.
You just can’t beat a tasty burger with all the fixings, and this veggie burger really hits the spot! It is crazy delicious, bursting with flavor, hearty texture, healthy ingredients, and sure to satisfy!
Mom and I were high-fiving each other all over the kitchen. Dad even joined in because he thought this burger was . . . in his words “magnificent!”
Naming Dilemma
Believe it or not, we really struggle sometimes with what to name our dishes. You wouldn’t think it would be that hard, but it is. We try to keep our recipe titles simple and direct, something that internet “search engines” easily recognize, but no matter what we name things, someone always seems to have a problem with our recipe titles. *heavy sigh*
Yes, really! If we name something after a “meat,” or “animal product/dish” then we get a lot of people wanting to provide feedback that we shouldn’t use “meat/animal product” in the name. I mean, we get it, but we don’t plan to change because it’s important that our readers understand what traditional dish we are trying to convey in a plant based way.
The thing that gets me is I don’t see too many Vegans or WFPBers getting upset over the word “yogurt” or “milk,” ya know? But you can’t please everyone, I guess, and we do the best we can.
Sorry, didn’t mean to sing the blues, but we finally gave up trying to please everyone with recipe titles, and decided to use “search engine philosophies,” which is to name our dishes based off of the most popular “vegan naming search engine words.”
So there ya have it . . . SEO wins again. Vegan Italian Burger, simple and best describes the burger, right?
This post contains affiliate links, and we may receive a very small commission if you purchase through those links at no additional cost to you. Thank you for supporting Monkey and Me Kitchen Adventures! For more information, see our disclosures here.
Burger Goodness
I wish I could make this burger and feed it to every single one of our readers, it is just so tasty and has so much great flavor. We were so uberly happy with how it turned out, and we hope you find it just as delicious as we do!
I’ll let Mom tell you more about this yummy burger!
Hi! Robin here.
I love a great veggie burger! And this one really delivers with amazing flavor and texture. I love that it is a big hearty burger and is super satisfying. We hope you give this burger a try and let us know if you think it is awesome too!
If you try this yummy burger, we would love to know if you enjoy it as much as we do! Please leave us a review! Post a picture on Facebook or Instagram and tag us! We would love to hear from you.
Looking for more tasty burgers?
Products Used:
- Food processor
- Baking sheet
- Parchment paper
- Large enamel/ceramic lined skillet or non-stick skillet

Vegan Italian Burger
- Prep Time: 25 Minutes
- Cook Time: 30 Minutes
- Total Time: 55 Minutes (+5 Minutes Rest)
- Yield: 5-6 Burgers 1x
- Category: Dinner
- Method: Stovetop, Oven
- Cuisine: Italian, American
Description
This hearty Vegan Italian Burger is healthy, flavorful, and packed with a satisfying texture that has a perfectly crunchy exterior and a tender interior. Whole Food Plant Based, vegan, plant based, oil free, refined sugar free, no highly processed ingredients and gluten free.
Ingredients
Skillet Ingredients:
- ½ medium yellow onion, chunked *
- 1 small carrot, chunked *
- 1 celery rib, chunked *
- 4 oz. white button mushrooms
- 1 Tablespoon low-sodium tamari *
- 1 Tablespoon minced garlic
- 2 Tablespoons tomato paste
Base Ingredients:
- ½ cup cooked brown rice, pulsed *
- 1 – [ 14 oz. can ] brown lentils, drained and rinsed *
- 2 Tablespoons flax meal
- 1 cup (GF) panko crumbs *
- 1 Tablespoon nutritional yeast
- 2 Tablespoons unsalted almond butter *
Spice/Herb Ingredients:
- 1 teaspoon garlic powder
- 1 teaspoon onion powder
- 2 Tablespoons dried minced onion flakes
- 1 ½ teaspoons dried basil
- 2 teaspoons dried oregano
- 1 ½ teaspoons dried parsley
- ¼ + 1/8 teaspoon dried ground fennel (optional)
- ½ teaspoon dried crushed thyme leaves
- 1 ½ teaspoons dried ground mustard powder
- ¼ teaspoon red pepper flakes
- 1 teaspoon sea salt (+/-) *
- ¼ teaspoon black pepper
Instructions
- Preheat the oven to 350 F.
- Place all the Spice/Herb Ingredients into a small bowl, set aside.
- Line a baking sheet with parchment paper, set aside.
- Add the onions, carrot, and celery into a food processor and process until finely minced then place into an enamel/ceramic lined or non-stick skillet and sauté for 5 to 7 minutes (+/-) on medium-high heat until the water is removed.
- In the meantime, place the mushrooms into the food process and pulse just until they are finely chopped, then place the chopped mushrooms and tamari in the skillet with the onions, carrots and celery and continue to sauté until the mushrooms release their water, approx. 5 to 7 minutes.
- Then add the garlic and tomato paste in the skillet and sauté, stirring constantly for 1 minute, then remove the skillet from the stove and allow to slightly cool.
- Place the cooked and refrigerated brown rice into the food processor to break it up, pulse for about 20 seconds, then place all the remaining Base Ingredients into the food processor and pulse until they are finely minced. Do not turn the mixture into a paste, then place them in a large bowl. Then add the warm veggie/mushroom skillet mixture to the large bowl along with the Base Ingredients mixture, sprinkle the Spice/Herb Mix into the bowl, mix by using your hands until everything is well combined and sticks together.
- Take slightly heaping ½ cup of the mixture, form a smooth ball, then flatten into a 1-inch thick burger and place on the parchment-lined baking sheet. Continue until all the burgers are made. (See notes on burger formation)
- Place in the oven (center rack) and bake for 15 to 20 minutes, then flip, and bake for another 15 minutes. (See notes on baking)
- Remove from the oven and allow to sit for 5 minutes to set up before serving.
Notes
*Tips for Success:
- Burger Formation: Really pack the burger tightly in your hand to form a firm cohesive ball, then press down while still in your hands and form a flattened disk. Take the time to really smooth out the sides. This helps prevent the disk from cracking while it is baking. It will crack a tiny bit, but you want to make sure you want to shore up the edges before it goes in the oven. This makes 5 large burgers or 6 medium burgers.
- Cooked and Refrigerated Brown Rice: Use cooked and refrigerated brown rice. It works best to create the burger. Using freshly made rice will create a mushy burger as it will be too sticky.
- Baking Time/Texture: This is where our family was divided. We did multiple kitchen tests. Some members preferred a slightly drier burger while others enjoyed a less dry burger. This is completely within your control. If you bake the burger for 20 minutes on the first side, then this burger is somewhat slightly drier in comparison to other veggie burgers which was exactly the goal with this burger. We are not fans of mushy burgers or burgers that fall apart. However, some members preferred a less dry burger which meant baking 15 minutes, flipping, then baking another 15 minutes. The burger holds together perfectly with both baking times.
- Thickness of the burger: The thickness of this burger is another area within your control. We made multiple kitchen tests and preferred a 1-inch thick burger. You can make them thicker, but you may need to increase your oven time to 20 minutes, then flip and another 20 minutes.
*Notes Continued
*Yellow Onion: ½ of a medium yellow onion, weight was 4 oz. for ½ of the onion.
*Small Carrot: Weight was 1 oz.
*Celery Rib: Weight was 1 oz.
*Cooked Rice: Make sure you use refrigerated rice as it works best.
*Almond Butter Substitute: You can substitute with any other nut or seed butter with a similar texture understanding that the flavor will slightly change accordingly. We do not recommend tahini.
*Lentils: We used Delallo Imported Italian Lentils. They come in a 14 oz. can. Most grocery stores carry them in the specialty aisles. If using dry lentils, select lentils that hold their shape after cooking, we love Palouse Brand Small Brown Lentils. Cook dry lentils separately, adjust time accordingly. If cooking dry lentils, the end result measurement should be 1 2/3 cups of cooked lentils.
*Tamari: We used San J Tamari Soy Sauce, Gluten Free, Reduced Sodium. You can substitute the tamari with reduced sodium soy sauce, Braggs Liquid Aminos, or Braggs Coconut Liquid Aminos.
*Panko Crumbs: We used Ian’s Gluten Free Panko crumbs for this recipe. If you do not need to be gluten free, feel free to use panko bread crumbs of your choosing.
*Sea Salt: Please adjust the sea salt based upon your family’s sea salt preferences and/or based upon dietary needs.
*Serving: 5 to 6 burgers
*Storage: Refrigerate and use within 7 days. Freezes well.
This post contains affiliate links, and we may receive a very small commission if you purchase through those links at no additional cost to you. Thank you for supporting Monkey and Me Kitchen Adventures! For more information, see our disclosures here.
