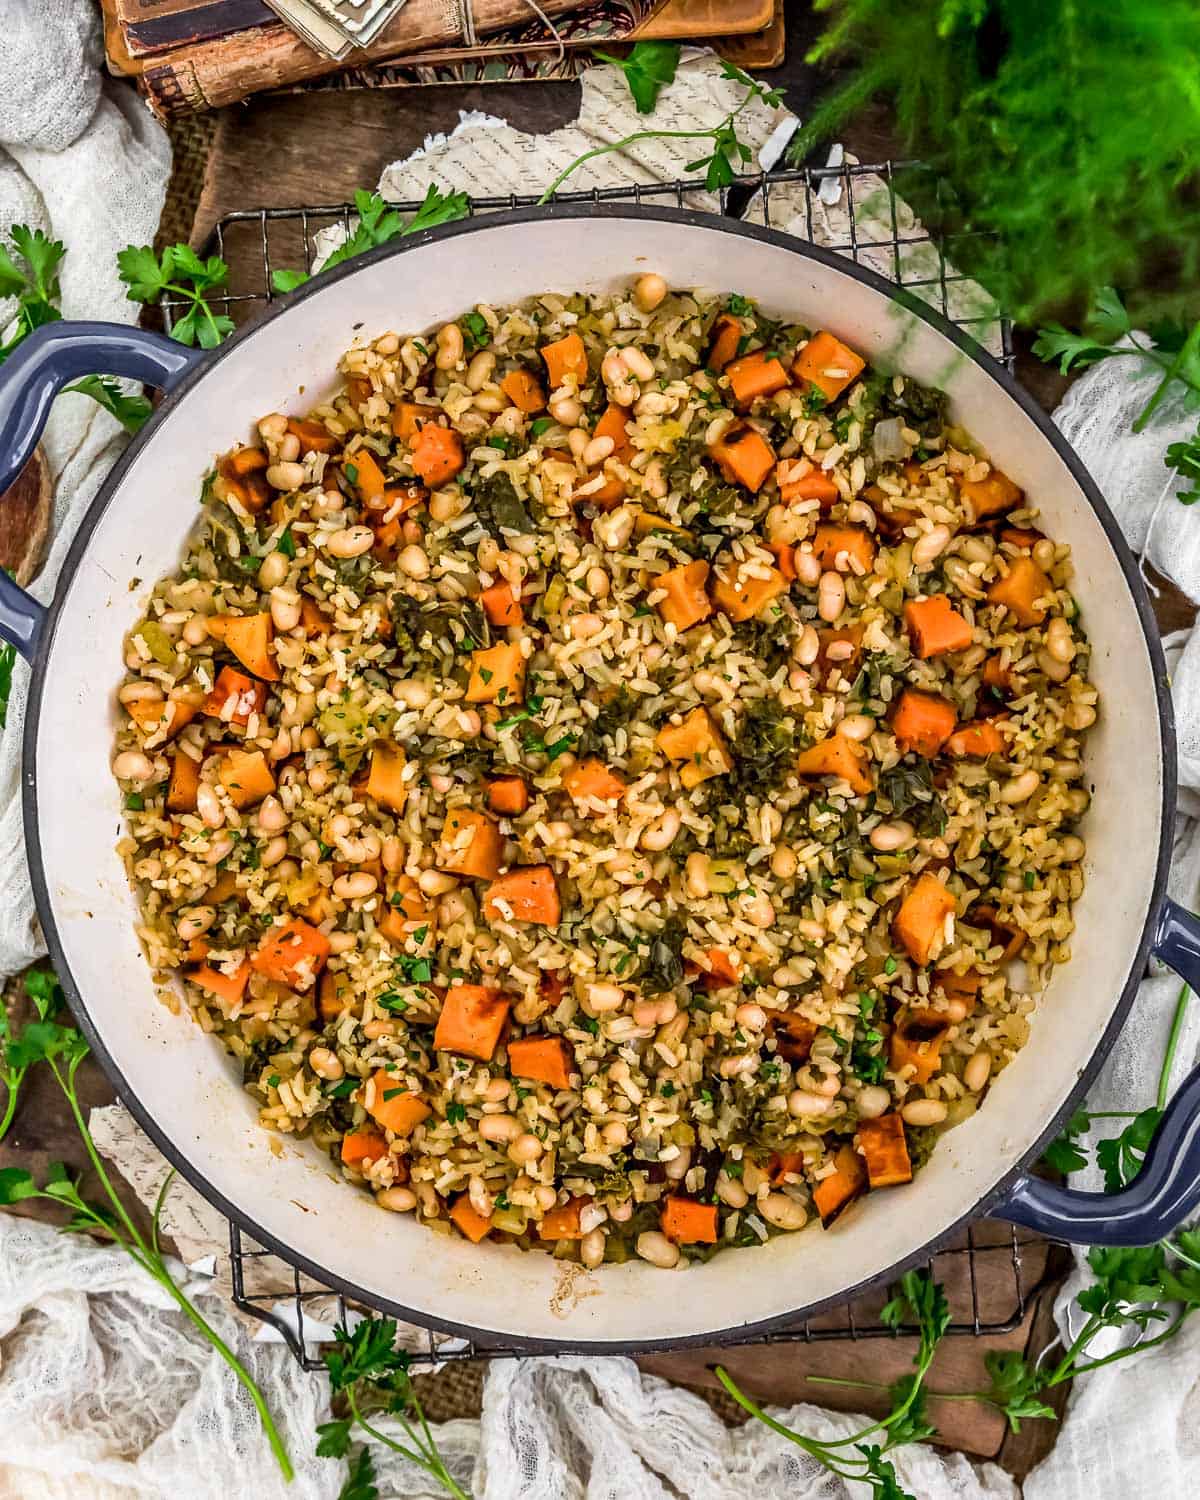
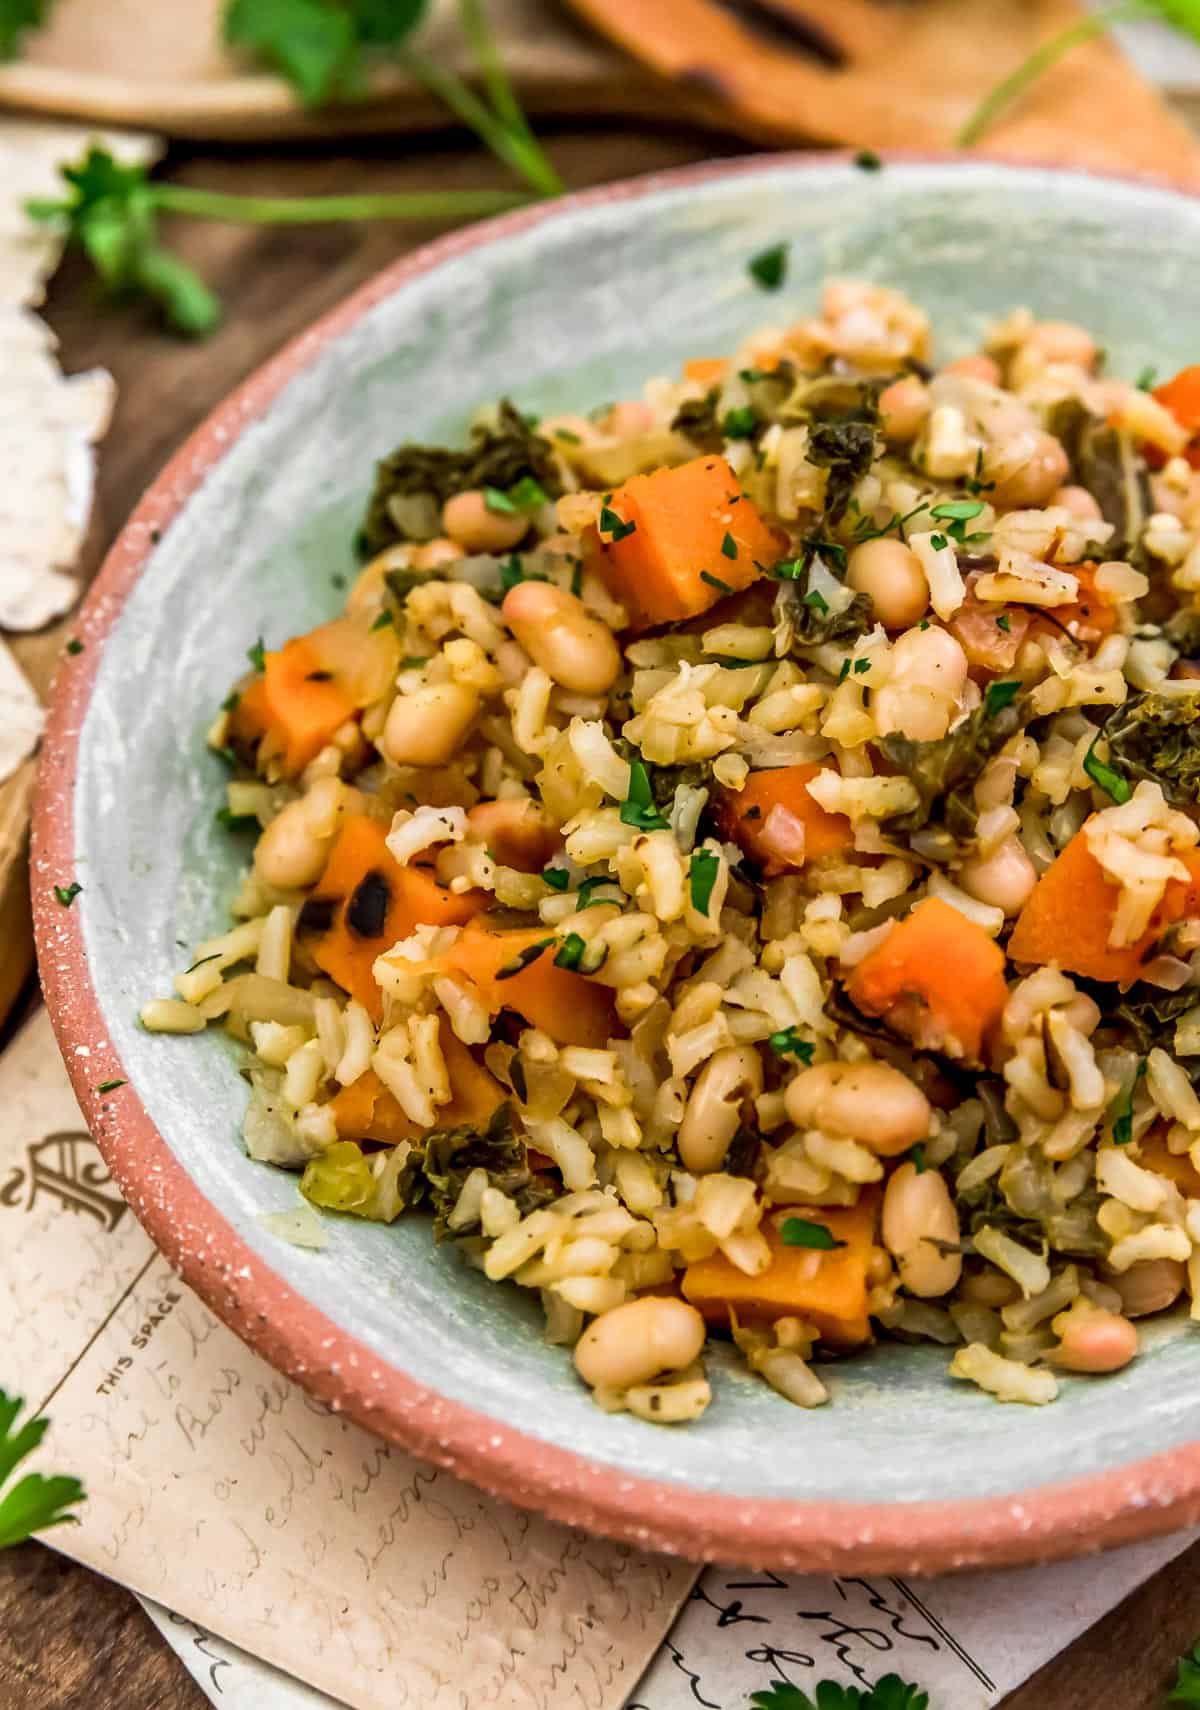
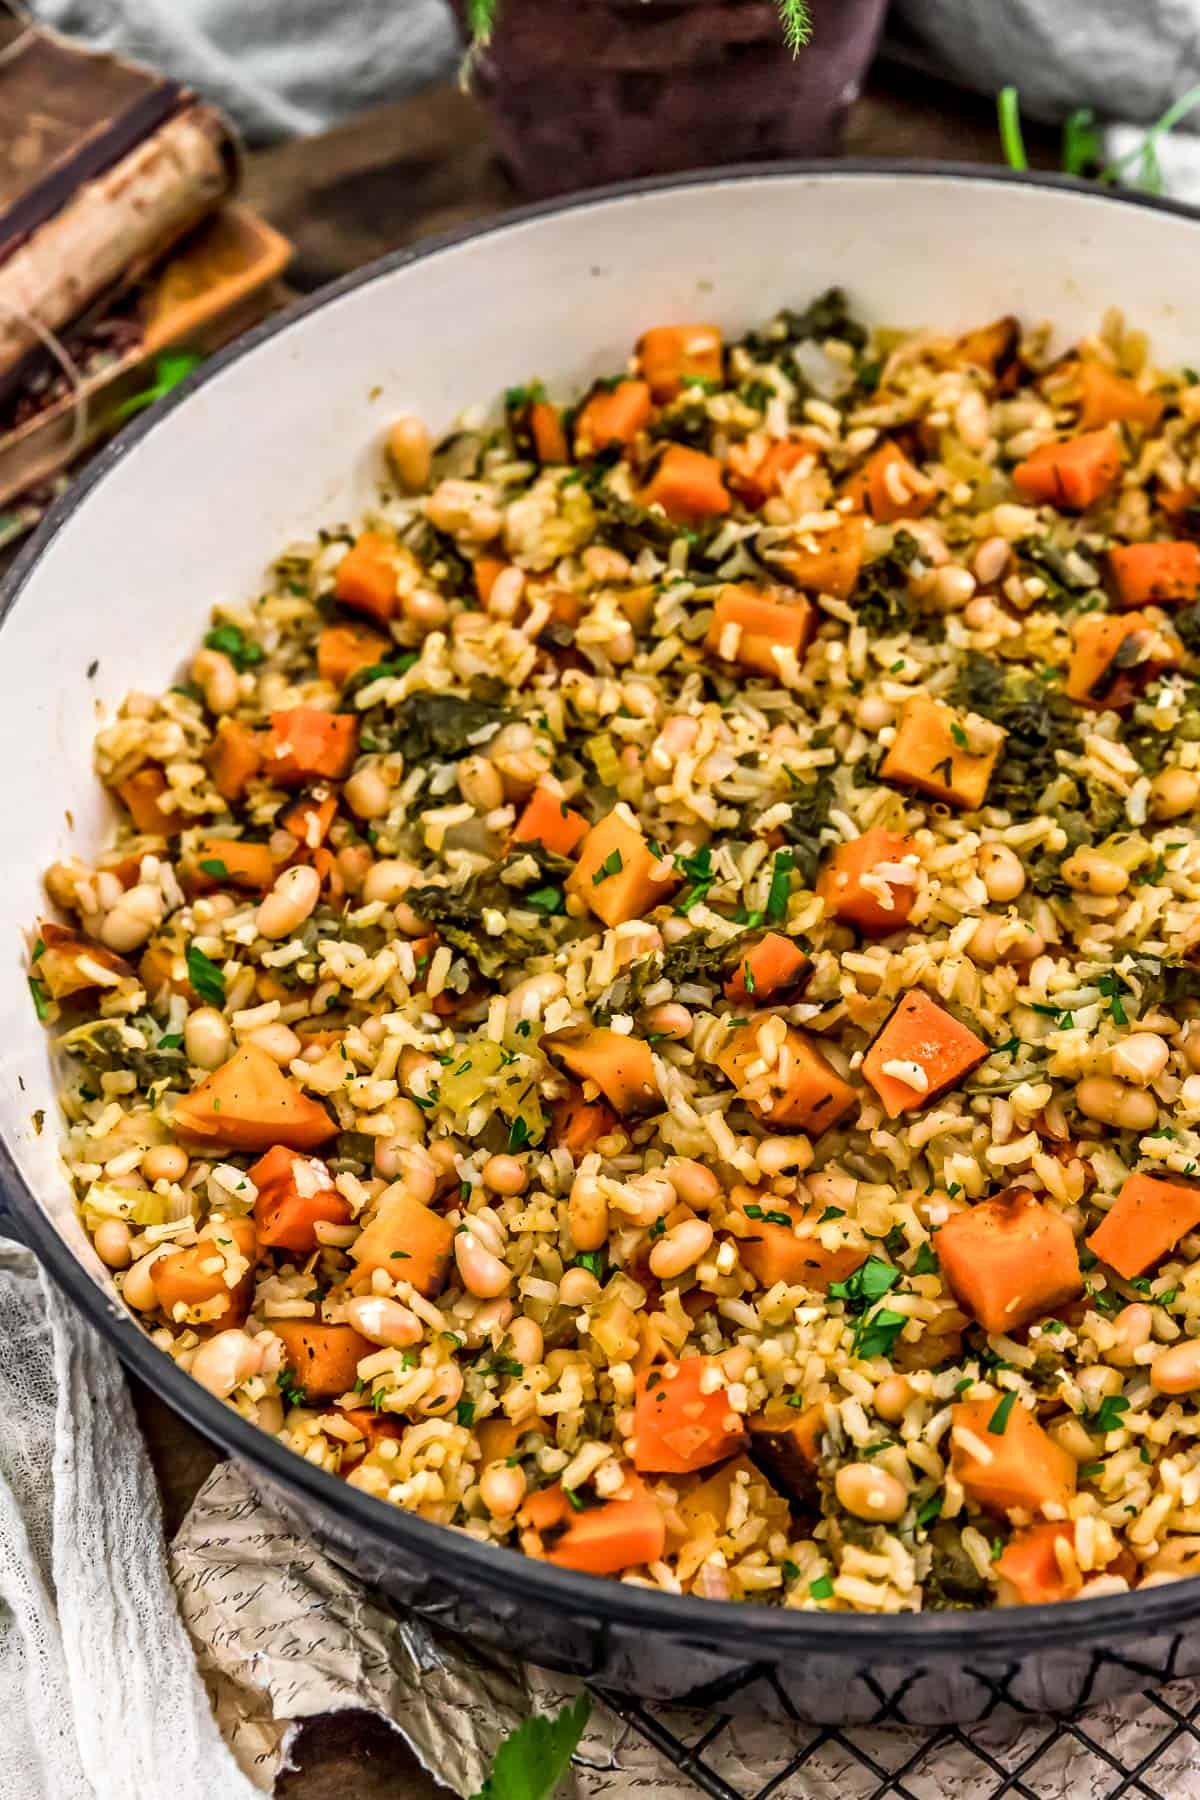
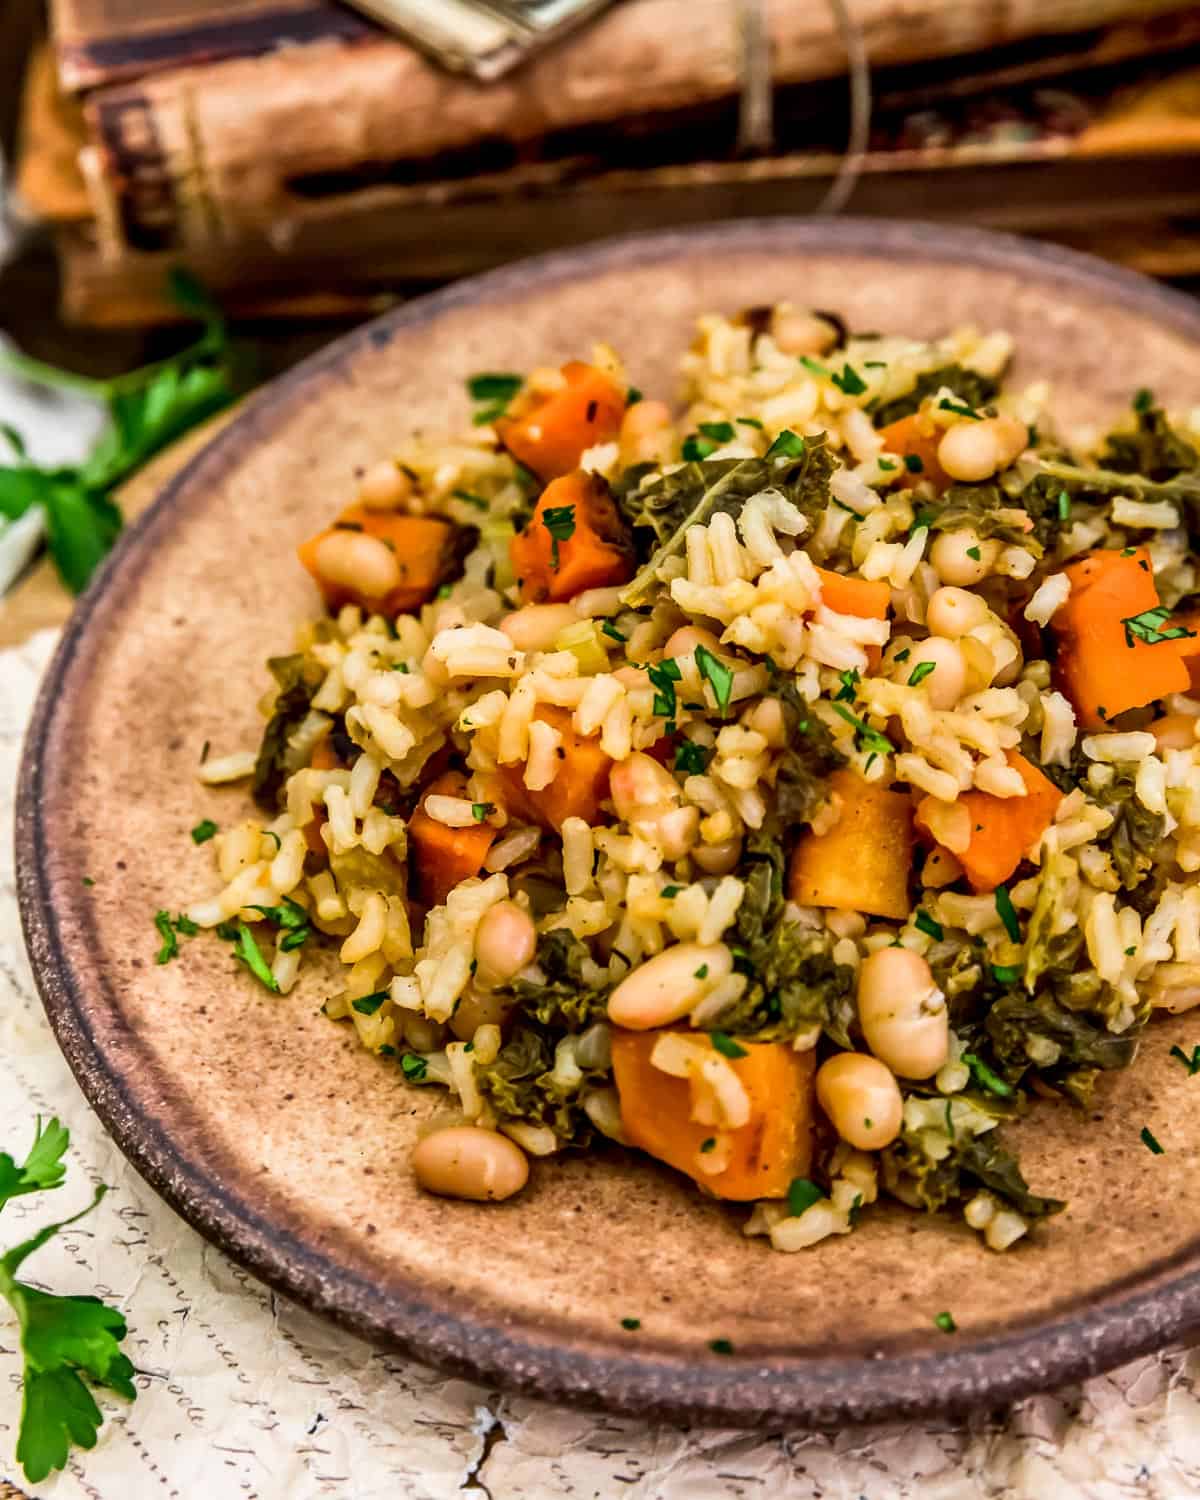
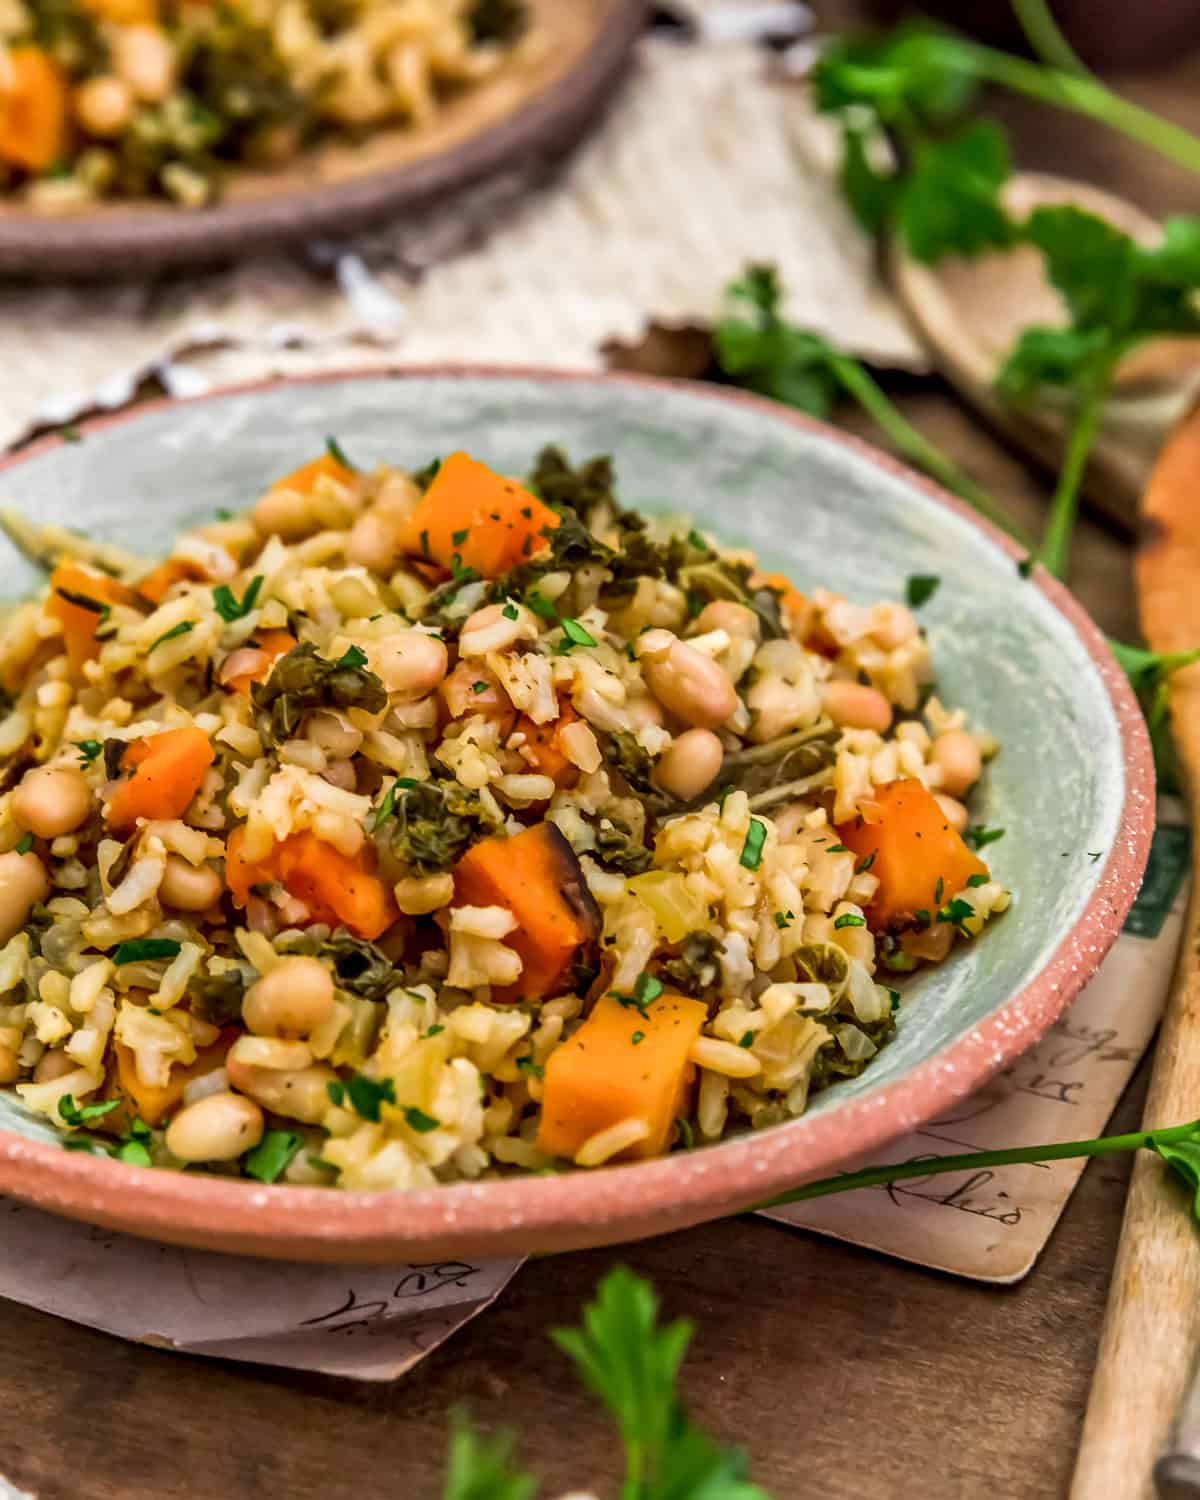
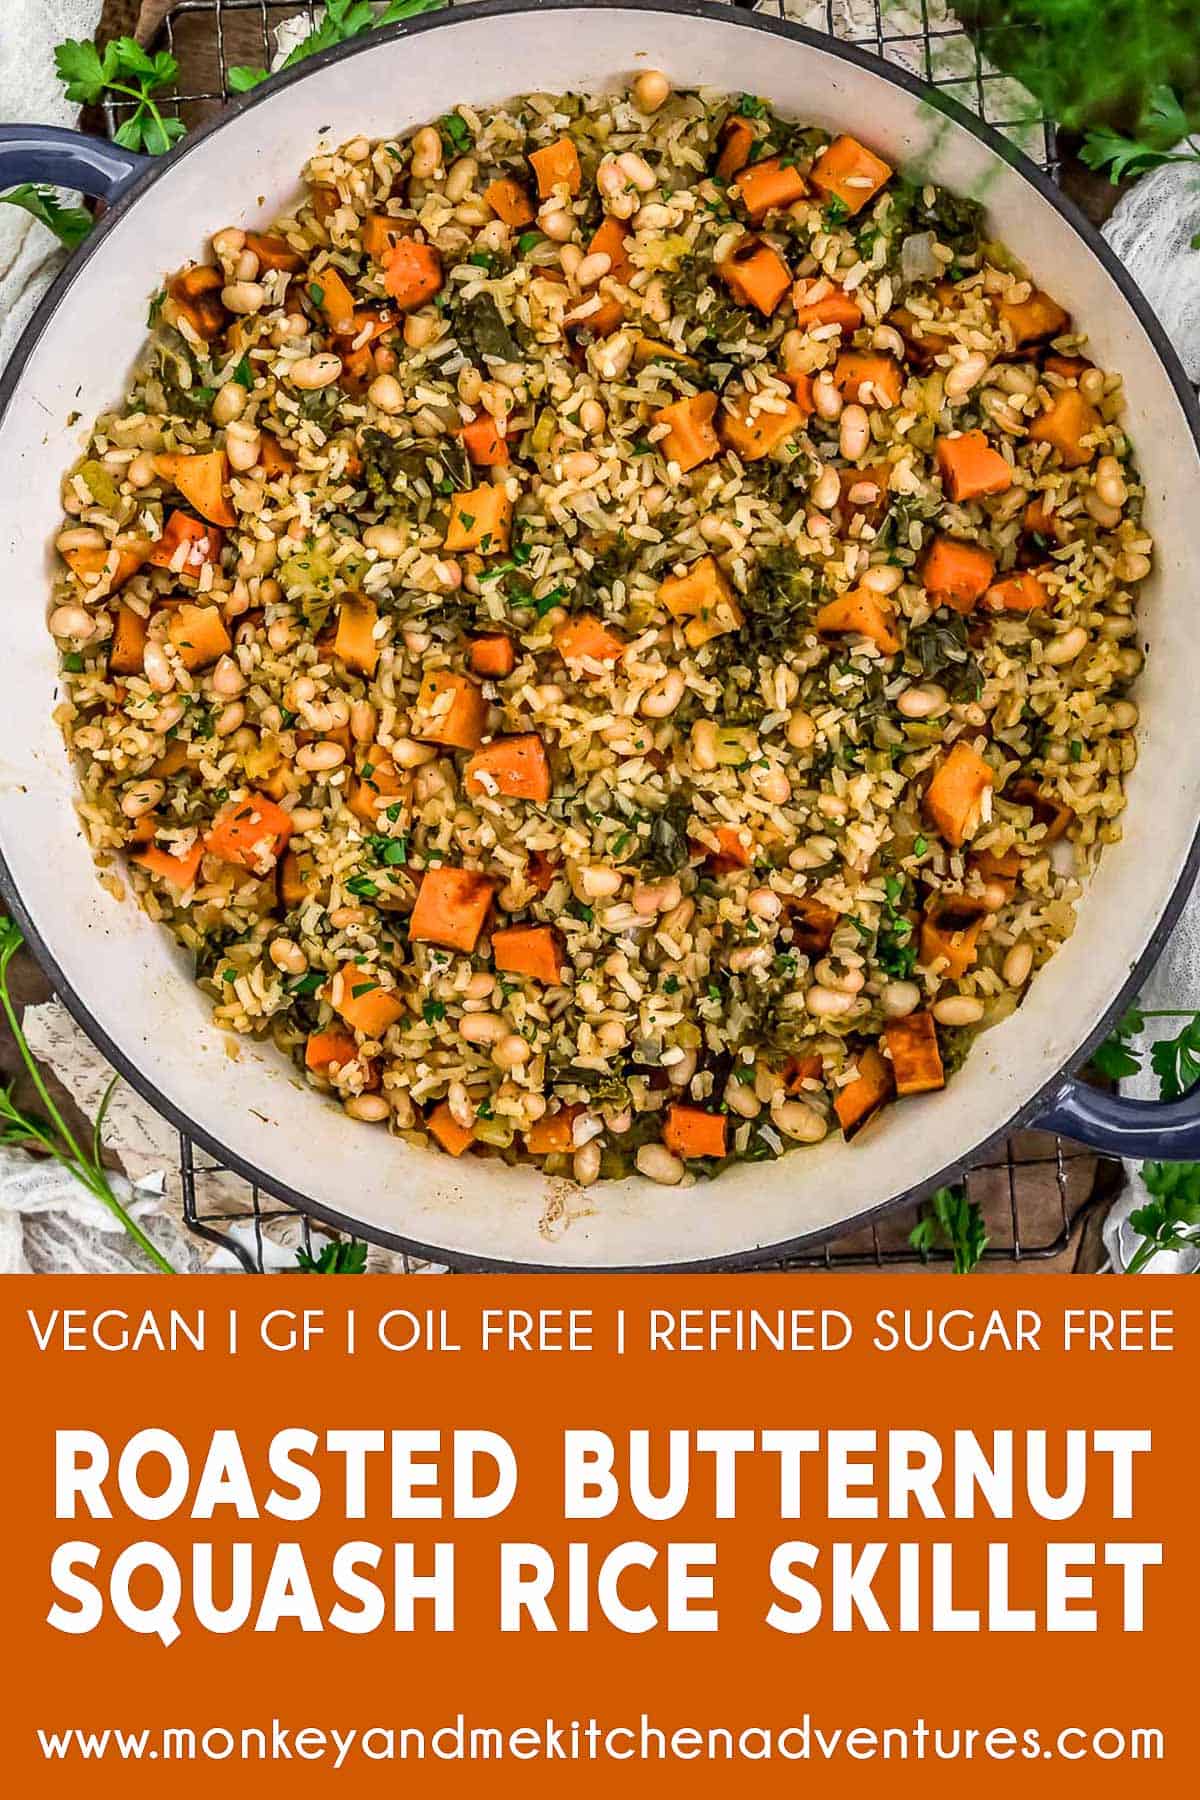
Roasted Butternut Squash Rice Skillet! We are falling in love with butternut squash all over again in this harvest infused rice dish.
Bringing all those amazing fall herbs and spices together with this delicious, hearty, and oil-free Roasted Butternut Squash Rice Skillet. Wholesome and low-fat, plant powerhouse goodness like: butternut squash, celery, garlic, onions, kale, rice, and navy beans come together in an amazingly delicious skillet dinner that the whole family is sure to love.
Whole Food Plant Based, Vegan, plant based, oil free, refined sugar free, no highly processed ingredients and gluten free.
Hi there, Ameera here!
Roasted Butternut Squash Rice Skillet is hearty enough to serve as a main dish, but it can also be served as a delicious side dish. Perfect for everyday meals and fancy enough for the holiday table.
Ingredients Needed:
- Small butternut squash
- Uncooked brown rice
- Medium yellow onion
- Celery ribs
- Garlic
- Low-sodium vegetable broth
- Kale
- Navy Beans
- Pure Maple Syrup
Herb/Spice Needed:
- Garlic powder
- Onion powder
- Dried minced onions
- Dried rubbed sage
- Dried rosemary powder
- Dried crushed thyme leaves
- Sea salt
- Black pepper
Tips for Success:
- Rice: The cooking time is largely dependent on the rice and brand Some rice types, as well as some brands, take longer to cook. Soaking the rice in hot tap water speeds up the cooking time; however, some brands of rice take quite a bit of time. Read rice package directions for estimated cooking times. Resist the urge to stir rice while it is cooking as it causes the rice to release too much starch into the dish and the dish become murky and creamy.
- Flatten the Ingredients in the Skillet: The key is to press all the ingredients down into the liquids so everything is submerged or partially submerged so the rice and kale can cook in the liquids until tender.
- Viewing the Skillet while Cooking: You do not want to create a hot rolling boil, you want to gently simmer (low boil) the rice and cabbage in the liquid. After you flatten the ingredients as directed in the bullet above, you should see little bubble holes that gently percolate up through the mixture when you check on it about 10 minutes in. Just gently lift the lid to take a quick peak. Evaluate and increase or decrease the heat accordingly.
- Seasonings: The herbs and seasonings can be customized to suit your individual tastes. Our family was totally divided over how much seasoning was the perfect amount. If unsure, start on the low end. You can always ramp up at the end, simple by sprinkling more of the herbs and seasonings on at the end and allowing the mixture in the skillet to sit and steam with the lid on.
- Maple Syrup: This is another area where our family was completely divided. We all loved 1 Tablespoon of maple syrup; however, there were some family members who wanted a tiny bit more. If unsure, simply start with 1 teaspoon and then stir in additional at the very end.
- Butternut Squash: We used a small butternut squash which equaled about to be roughly 2 cups. You can also use frozen butternut squash to speed up the process. Simple heat the butternut squash to the desired tenderness. Or you can roast it in the oven per package directions.
Leftovers and Freezing:
Leftovers will generally keep for 3-4 days in the refrigerator. Store in a covered container. Reheating can be done on the stovetop, or in the microwave.
This dish can be frozen but is best served immediately after making. The roasted butternut squash does tend to get mushy when frozen. If frozen, for best results, thaw overnight in the refrigerator before reheating.
Pantry Products:
- Vegetable Stock: We use Pacific Organic Low Sodium Vegetable Stock. We love this brand because it is Whole Food Plant Based compliant, as it does not contain MSG, has no oil, and does not contain any highly-processed ingredients.
- Brown Rice: We used Uncle Ben’s Whole Grain Brown Rice. Feel free to use your favorite rice.
Kitchen Products:
- Large non-stick skillet or similarly large skillet with a tight-fitting lid. We like to use this Ceramic/Enamel Lined Cast Iron Skillet with a tight-fitting lid.
- Large baking sheet. We like to use a Wilton 21in x 15in baking sheet.
We certainly hope you give this deliciousness a try.
If you try this wholesome rice skillet, we would love to know if you enjoy it as much as we do! Please leave us a review! Post a picture on Facebook or Instagram and tag us! We would love to hear from you.
Print
Roasted Butternut Squash Rice Skillet
- Prep Time: 25 Minutes
- Cook Time: 40 Minutes
- Total Time: 65 Minutes (+Rest Time)
- Yield: 4-5 Servings 1x
- Category: Dinner, Side
- Method: Stovetop, Oven
- Cuisine: American
- Diet: Vegan
Description
Bringing all those amazing fall herbs and spices together with this delicious, hearty, and oil-free Roasted Butternut Squash Rice Skillet.
Ingredients
Base Ingredients:
- 1 – small butternut squash, peeled, chopped into ½ inch cubes *
- 1 cup uncooked brown rice *
- 1 medium yellow onion, fine dice
- 2 celery ribs, fine chop
- 1 Tablespoon minced garlic
- 1 ¼ cups low-sodium vegetable broth *
- 1 cup water
- 2 cups kale, cut into small bitesize pieces
Herb/Spice Ingredients:
- 1 teaspoon garlic powder
- 1 teaspoon onion powder
- 2 Tablespoons dried minced onions
- ½ teaspoon dried rubbed sage (+/-)
- ¼ teaspoon dried rosemary powder (+/-)
- ½ teaspoon dried crushed thyme leaves (+/-) *
- ½ to 1 teaspoon sea salt (+/-) *
- 1/8 teaspoon black pepper (+/-)
Other Ingredients:
- 1 – [ 15 oz. can ] navy beans, drained and rinsed
- ¼ to ½ teaspoon dried rubbed sage (+/-)
- 1/8 teaspoon dried rosemary powder (+/-)
- 1/8 teaspoon dried crushed thyme leaves (+/-) *
- 1/8 teaspoon sea salt (+/-) *
- 1/8 teaspoon black pepper (+/-)
- 1 Tablespoon low-sodium vegetable broth
- 1 Tablespoon pure maple syrup (+/-) *
Instructions
- Preheat the oven to 400 F.
- Peel and cut the butternut squash into small ½ cubes, scatter onto a parchment paper covered baking sheet. Bake in a preheated oven 400 F oven for 20 to 25 minutes, flipping the squash around about ½ way through. Remove and set aside until ready to use.
- Rinse the dry uncooked brown rice really well with hot tap water for several minutes, then place the rinsed rice in a bowl and cover with hot tap water and allow to soak until ready to use in Step 6.
- Place all the Herb/Spice Ingredients into a small bowl, mix well. Set aside.
- In a large ceramic/enamel lined skillet or non-stick skillet, add the diced onions, celery, sauté over medium-high heat for 7 to 9 minutes to soften, then add the finely minced garlic, and sauté over medium heat for one minute.
- Drain the rice, shake off any excess water, add the rice and the Herb/Spice mix, stir to coat the rice with the herbs/spices, sauté over medium heat for several minutes to allow the spices to become fragrant.
- Next add all the vegetable broth, water and kale, stir well, increase the heat to a boil, flatten the surface of the ingredients to ensure everything is covered with liquids, then immediately lower to a simmer. Cover with a tight-fitting lid and cook for 20 minutes undisturbed.
- In the meantime, add the roasted butternut squash, navy beans, and all the remaining Other Ingredients into a medium-sized bowl. Stir well to combine to ensure the squash and beans are thoroughly coated, then set aside until the rice has cooked for 20 minutes.
- After the rice has cooked for 20 minutes, remove the lid and lay the bean/squash mixture (including any liquids) onto of the rice. Do not stir. Place the lid back on and cook for an additional 10 minutes.
- After the rice has cooked for 30 minutes (in total), check to see if the rice is tender, pull up a few rice kernels from the top (push aside some squash/beans) and test for tenderness. Resist the temptation to stir the rice. If the rice is not tender, place the lid back on and cook until tender. If the liquid has evaporated, simple add a tablespoon or two of veggie broth and continue to cook until the rice is tender.
- Remove from the stove, stir well to incorporate the squash and beans, leave the cover on and allow to set for 10 minutes to marry the flavors, then serve with freshly chopped parsley.
Notes
*For recipe Tips for Success, Pantry Products, Kitchen Products Used, and Storage, please reference the blog post for details.
*Sea Salt: Please adjust the sea salt based upon your family’s sea salt preferences and/or based upon dietary needs.
*Serving: 4 to 5
This post contains affiliate links, and we may receive a very small commission if you purchase through those links at no additional cost to you. Thank you for supporting Monkey and Me Kitchen Adventures! For more information, see our disclosures here.
