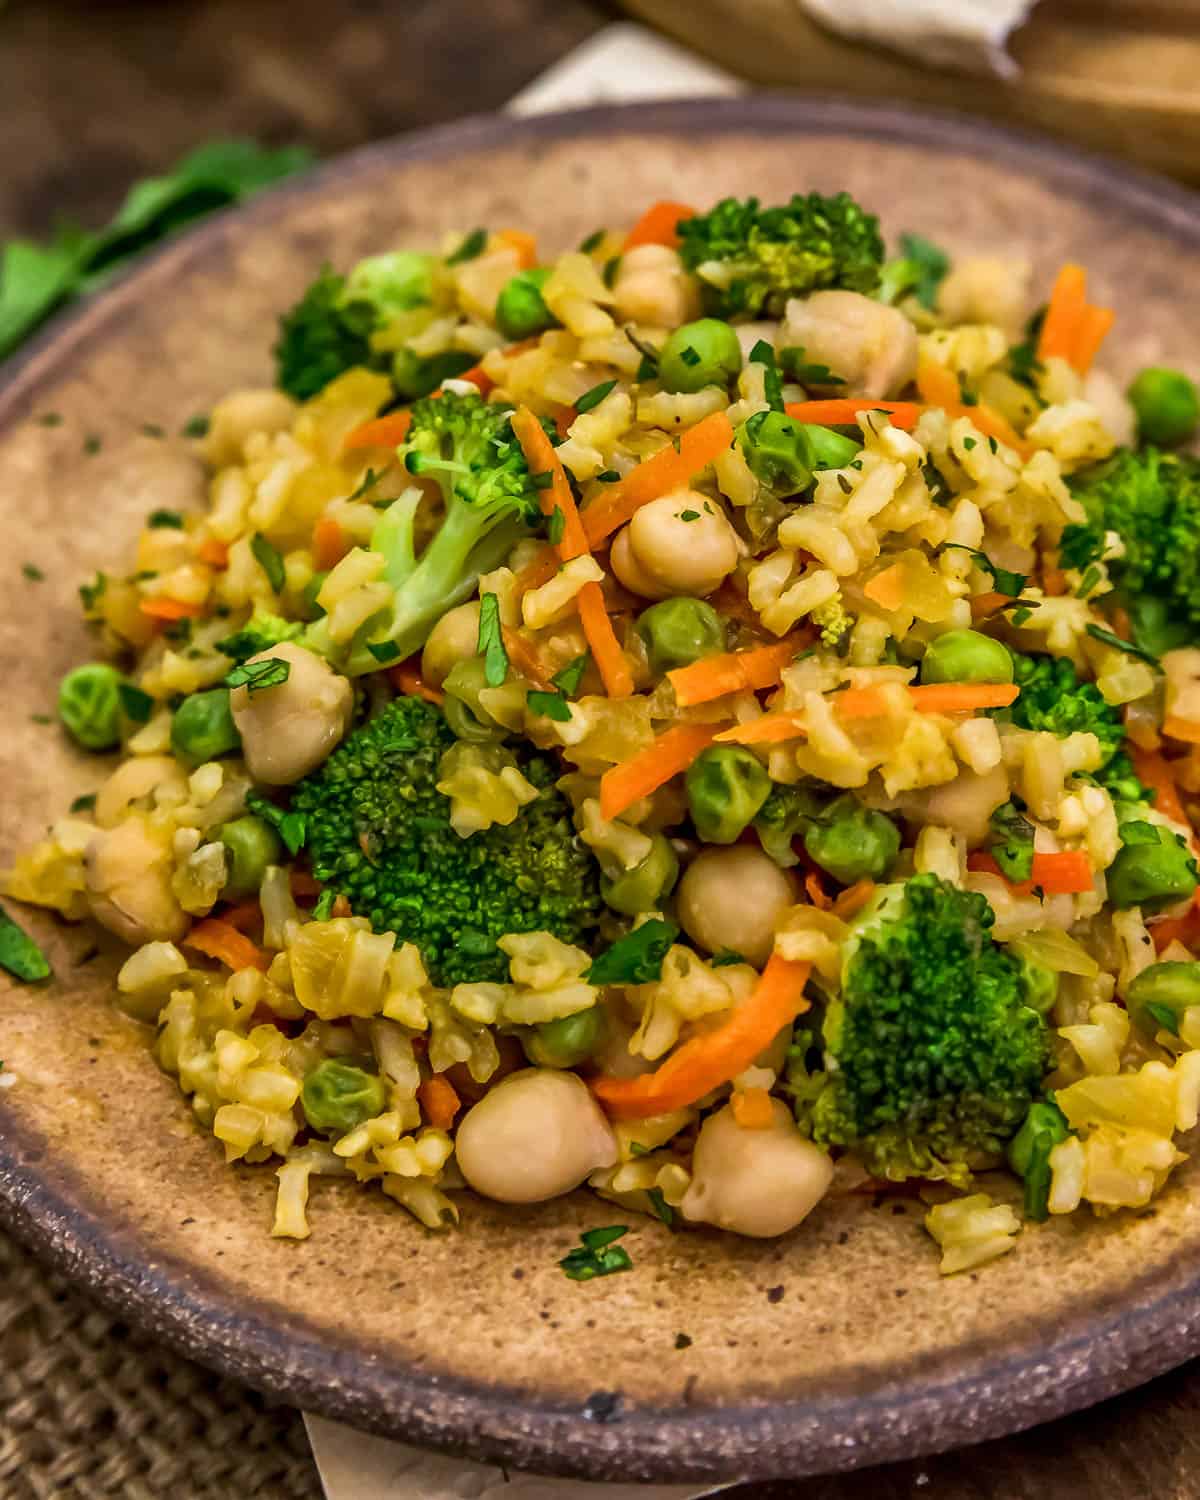
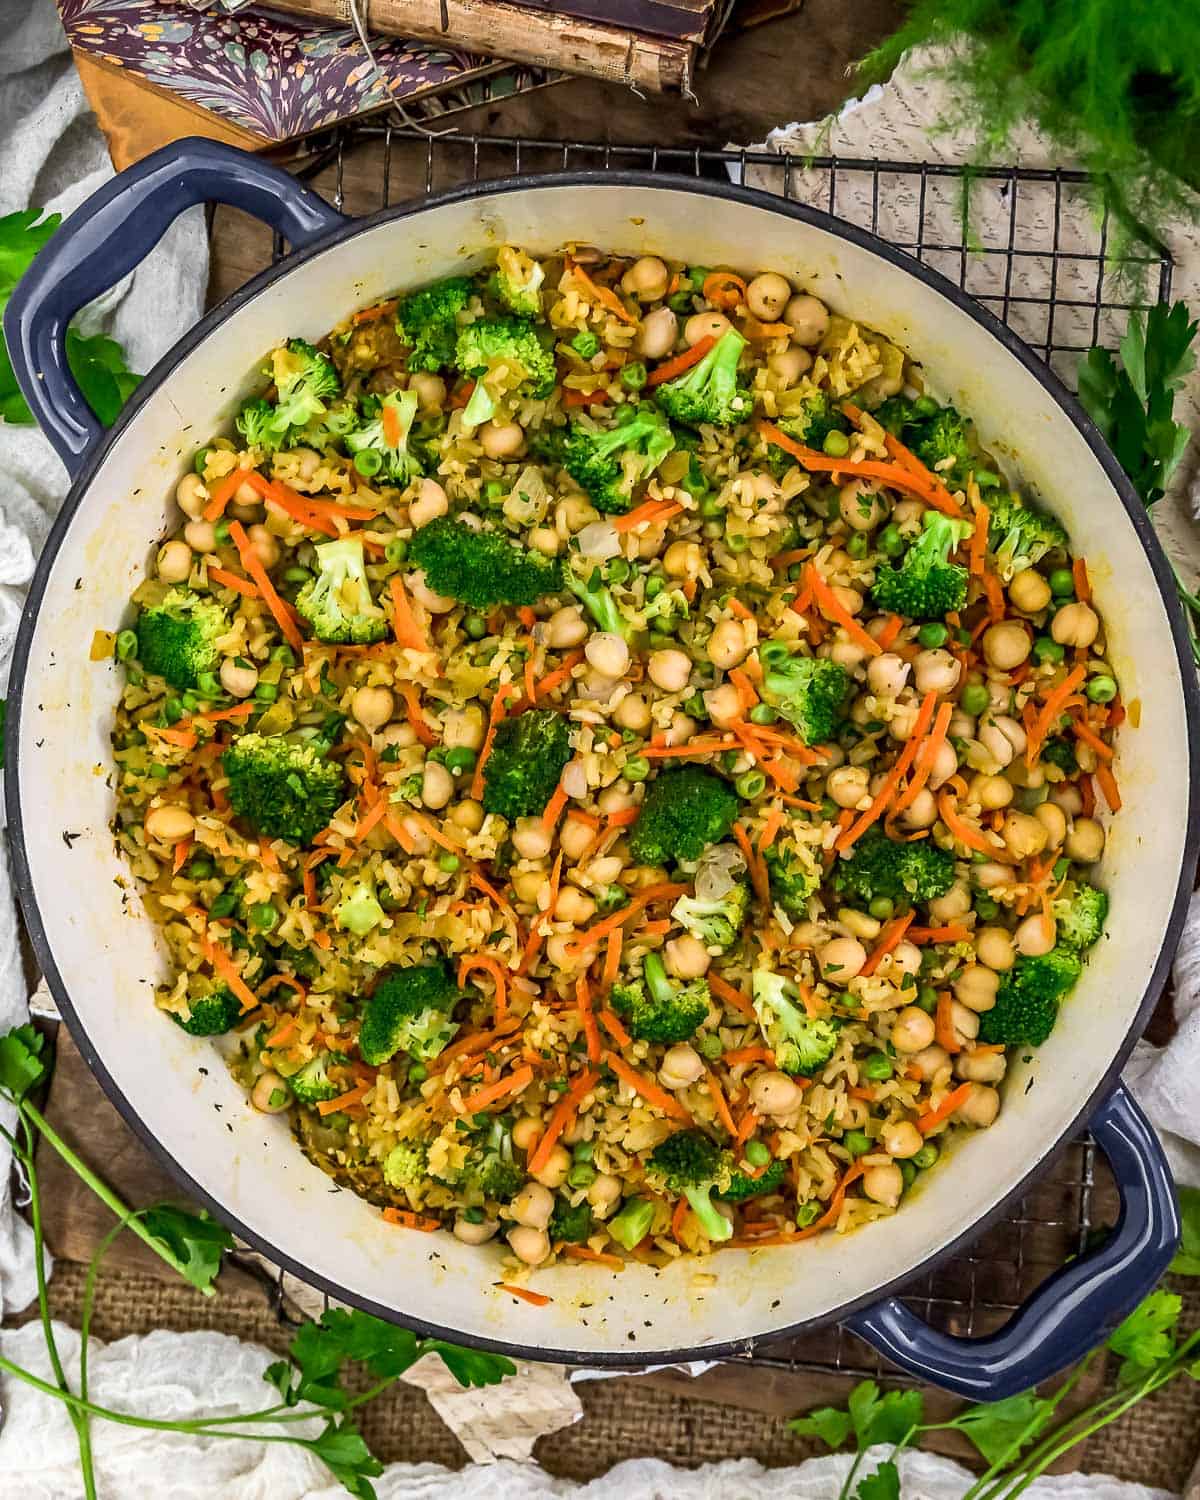
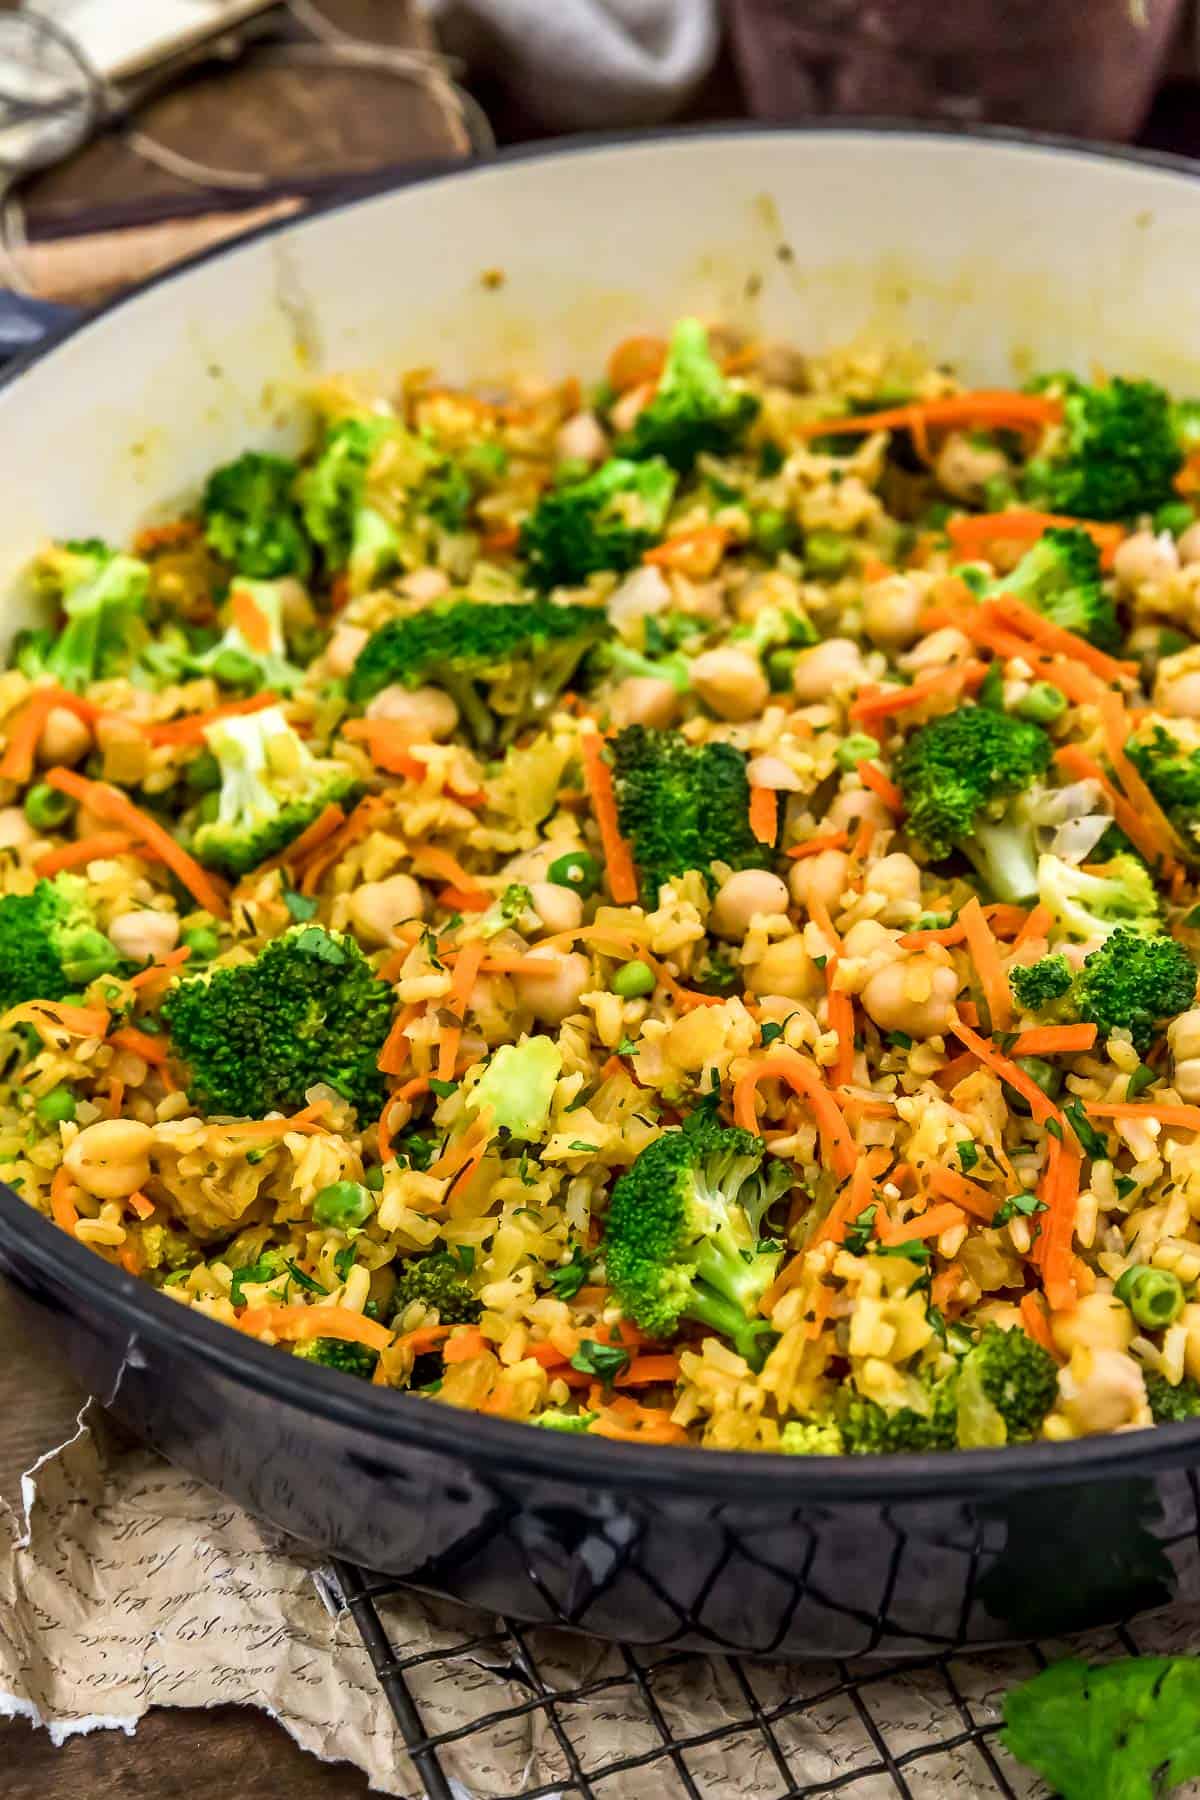
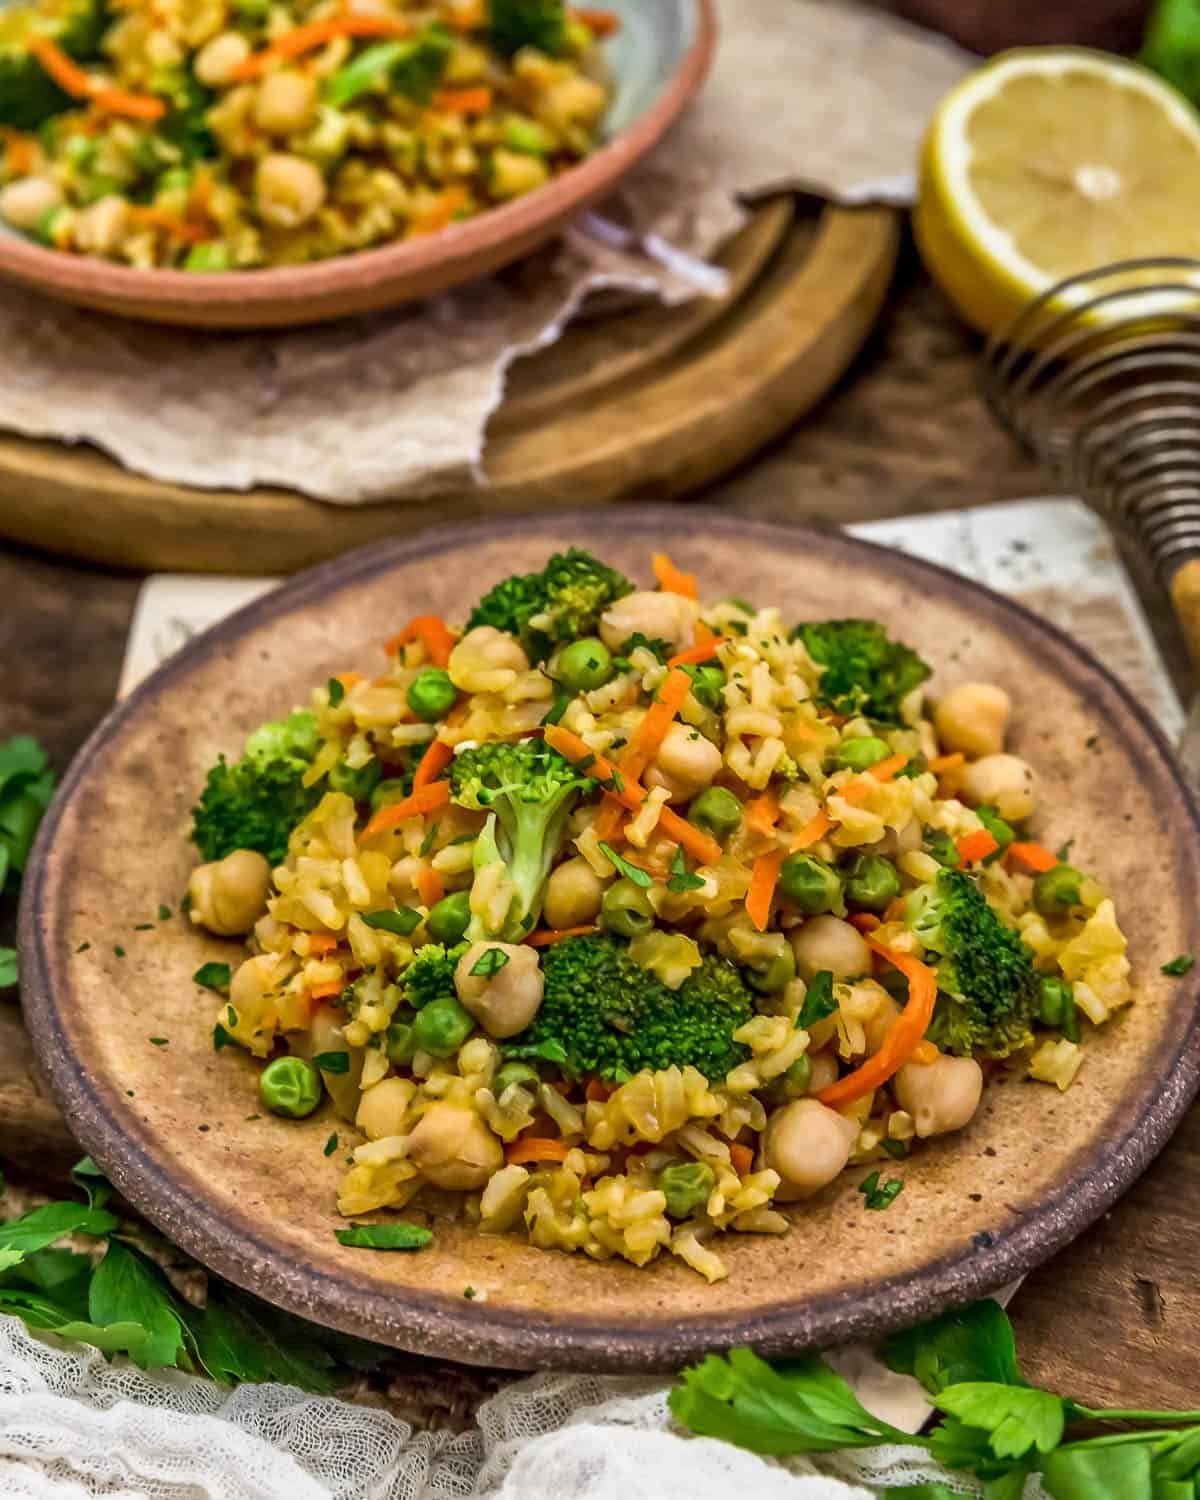
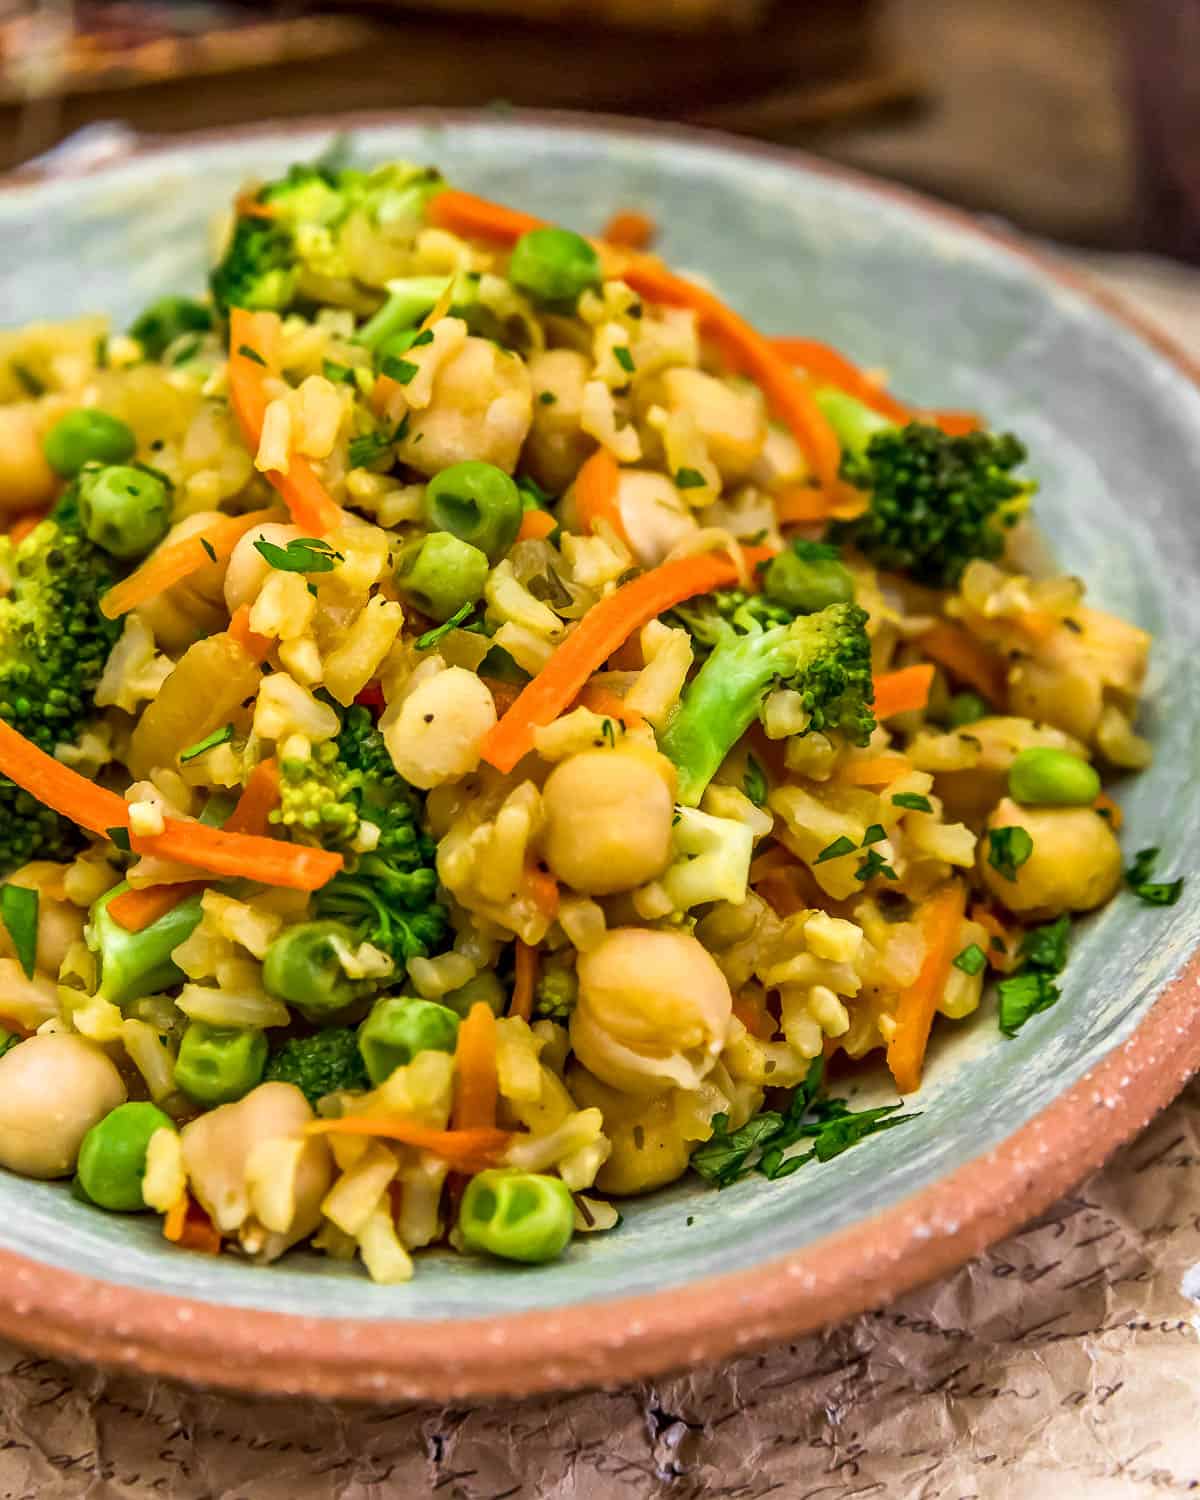
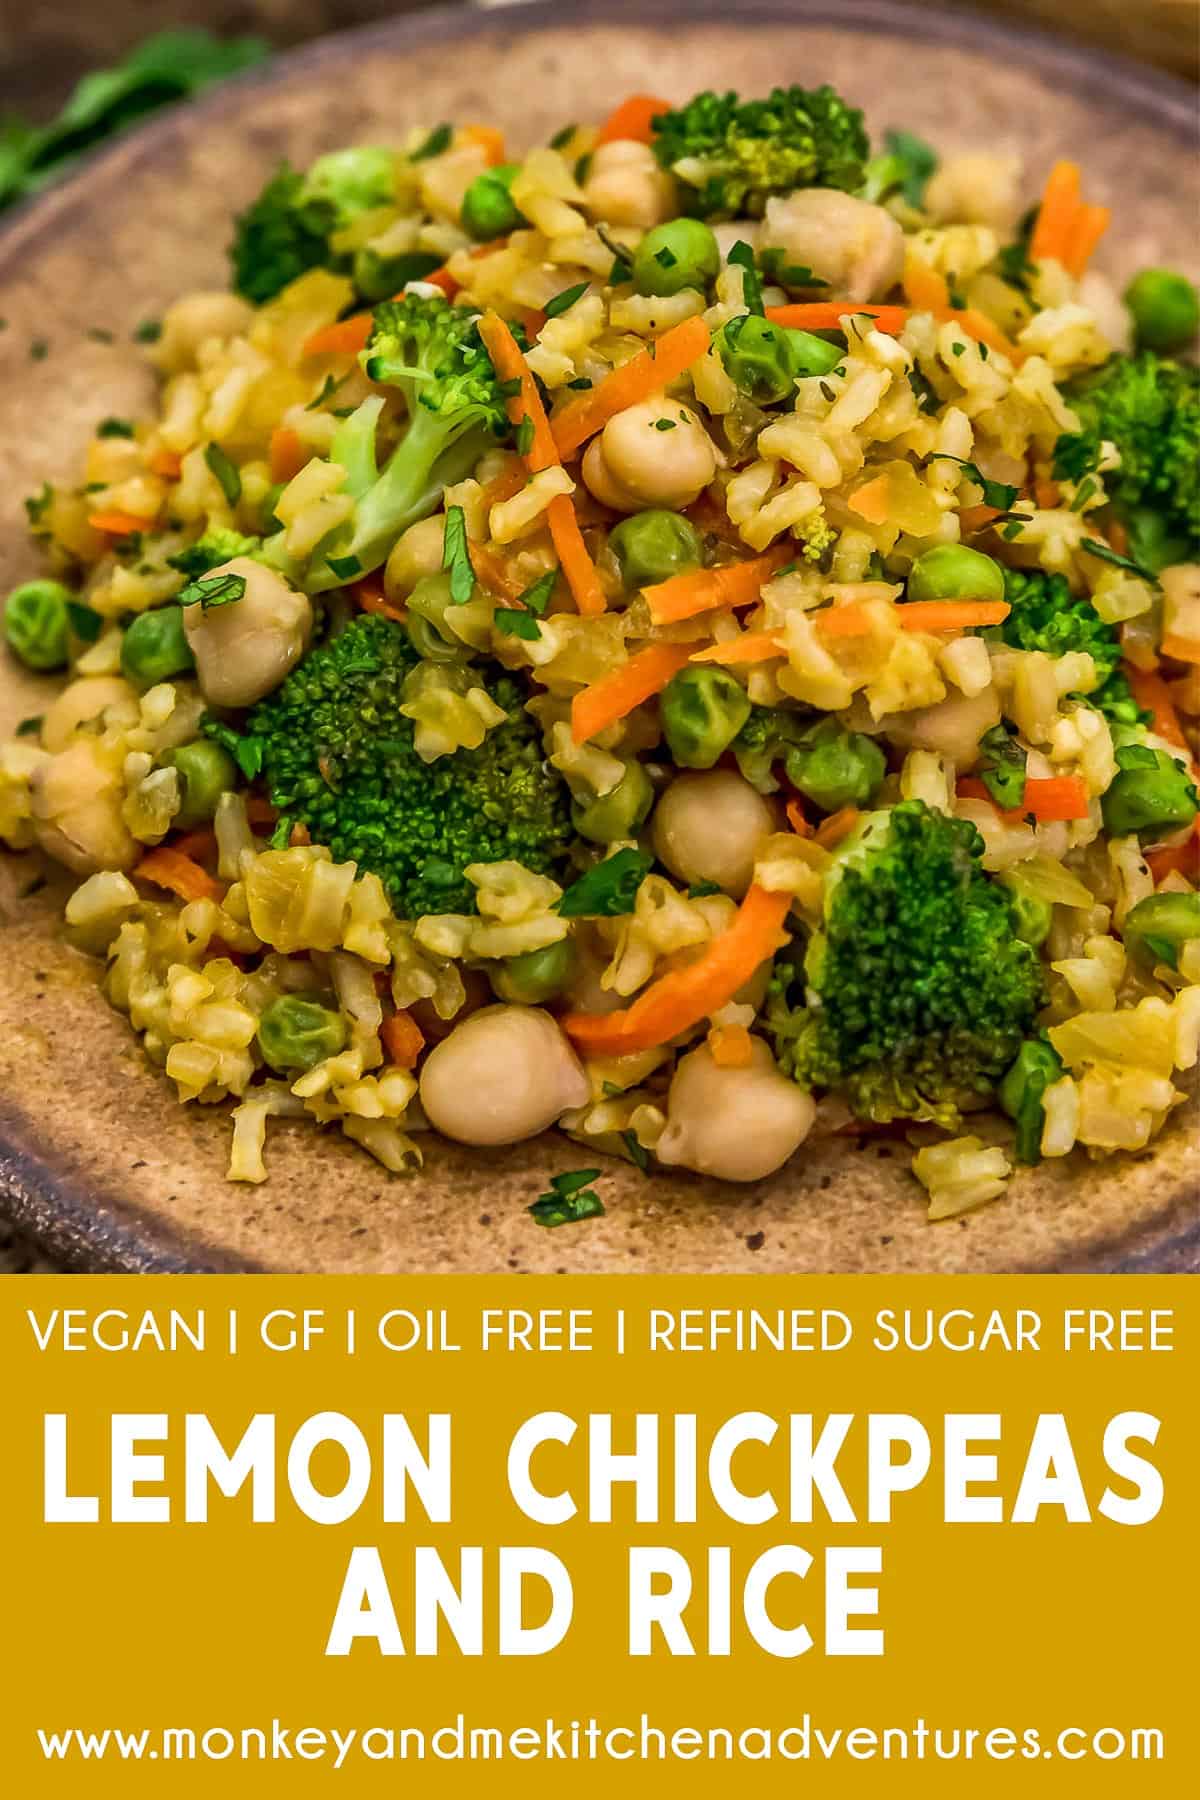
Lemon Chickpea and Rice Skillet! This skillet dinner is delivering on all the nourishing veggies, protein-packed beans, and carbalicious rice that we crave in a comfort food meal.
Easy, flavorful, and healthy, this oil-free, low-fat Lemon Chickpea and Rice Skillet is made with simple pantry and fridge ingredients with a POW of lemony yum. This delicious rice recipe makes for a fantastic main dish or bold side. A great way to turn plain rice into beautiful and wholesome skillet dinner that brings lemony goodness to the table in the most delightful way.
Whole Food Plant Based, Vegan, plant based, oil free, refined sugar free, no highly processed ingredients and gluten free.
Hi there, Ameera here!
Lemon Chickpea and Rice Skillet is hearty enough to serve as a main dish, but it can also be served as a side dish.
Tips for Success:
- Rice: The cooking time is largely dependent on the rice and brand Some rice types, as well as some brands, take longer to cook. Soaking the rice in hot tap water speeds up the cooking time; however, some brands of rice take quite a bit of time. Read rice package directions for estimated cooking times. We suggest selecting a rice that does not have a really long cooking time. Resist the urge to stir rice while it is cooking as it causes the rice to release too much starch into the dish and the dish become murky and creamy.
- Viewing the Skillet while Cooking: You do not want to create a hot rolling boil, you want to gently simmer the rice in the liquid. You should see little bubble holes that gently percolate up through the mixture when you check on it about 10 minutes in. Just gently lift the lid to take a quick peak. Evaluate and increase or decrease the heat accordingly.
- Broccoli and Peas: We used fresh broccoli and cut them into tiny florets and microwaved (or steam) them for 2 minutes on high to give the broccoli a head start. If using frozen broccoli, microwave (or steam) until it very close to the desired tenderness. The key is to use tiny broccoli florets. If using frozen broccoli, cut the pieces down after they are heated through. We used frozen peas and microwaved them until warm.
- Adding the Broccoli and Peas at the End: The reason the broccoli and peas are added near the end is two-fold. First, we do not want the broccoli and peas to turn to mush while cooking the rice. And Second, we do not want to broccoli or peas to compete with the liquid used to cook the rice. By microwaving them separately and just laying them on top of the rice, allows the rice to continue to utilize the liquid for cooking, but at the same time allows the broccoli and peas to steam on top of the rice.
- Lemon Juice/Lemon Zest: This recipe has a beautiful lemony flavor. If unsure how much lemon you want, use the lemon juice only, and add the lemon zest to individual servings. Feel free to add more lemon zest if you really want to punch up the lemon flavor. If you are not a fan of lemon, then skip this recipe.
- Julienne Carrots: We used a vegetable julienne peeler to cut the carrots into long thin strips, then cut those into small pieces. We used grated carrots in previous kitchen tests, and while grated carrots work perfectly in this recipe, we really enjoyed the look and texture of the julienne peeled carrots. We suggest grated or julienned carrots. For those interested, we used a Kuhn Rikon Julienne Peeler.
- Broccoli: You can use either fresh or frozen broccoli. The key is to cut the broccoli into tiny florets.
Leftovers and Freezing:
Leftovers will generally keep for 3-4 days in the refrigerator. Store in a covered container. Reheating can be done on the stovetop, or in the microwave.
This dish can be frozen but is best served immediately after making. If frozen, for best results, thaw overnight in the refrigerator before reheating.
Pantry Products:
- Vegetable Stock: We use Pacific Organic Low Sodium Vegetable Stock. We love this brand because it is Whole Food Plant Based compliant, as it does not contain MSG, has no oil, and does not contain any highly-processed ingredients.
- Brown Rice: We used Uncle Ben’s Whole Grain Brown Rice. Feel free to use your favorite rice. Avoid rice that takes an excessive amount of time to cook.
- Tamari: We used San J Tamari Soy Sauce, Gluten Free, Reduced Sodium. You can substitute the tamari with reduced sodium soy sauce, Braggs Liquid Aminos, or Braggs Coconut Liquid Aminos.
- Dried Thyme Crushed Leaves: We use Penzeys French Thyme. It has amazing flavor. If you can’t find dried crushed thyme leaves, you can use ground thyme, but use half the amount.
- Miso: We used Miso Master Organic Mellow White Premium Lite Miso, Certified Gluten Free. Miso really lends itself to balancing flavors when you don’t use oil. You can also use chickpea miso for a soy free version. The miso helps balance the acidity of the lemon.
- Frozen Peas: We used Birds Eye Baby Sweet Peas. Feel free to use your favorite sweet peas. We do not recommend using canned peas.
Kitchen Products:
- Large non-stick skillet or similarly large skillet with a tight-fitting lid. We used Ceramic/Enamel Lined Cast Iron Skillet with a tight-fitting lid
- Grater. We used Kuhn Rikon Julienne Peeler
We certainly hope you give this deliciousness a try.
If you try this comforting skillet dinner, we would love to know if you enjoy it as much as we do! Please leave us a review! Post a picture on Facebook or Instagram and tag us! We would love to hear from you.
Print
Lemon Chickpea and Rice Skillet
- Prep Time: 15 Minutes
- Cook Time: 45 Minutes
- Total Time: 60 Minutes
- Yield: 4-5 Servings 1x
- Category: Dinner
- Method: Stovetop
- Diet: Vegan
Description
Easy, flavorful, and healthy, this oil-free, low-fat Lemon Chickpea and Rice Skillet is made with simple pantry and fridge ingredients.
Ingredients
Base Ingredients:
- ¾ cup uncooked brown rice (or rice of choice)
- 1 cup yellow onions, fine dice
- 1 cup carrots, julienne sliced *
- 2 Tablespoons minced garlic
- 1 cup low-sodium vegetable broth *
- 1 cup water
- 3 Tablespoons lemon juice *
- 1 Tablespoon nutritional yeast
- 1 Tablespoon reduced-sodium tamari *
- 1 Tablespoon white miso *
- ¼ to ½ teaspoon lemon zest (+/-) *
- 1 – [ 15 oz. can ] chickpeas, drained and rinsed
Herb/Spice Ingredients:
- 1 teaspoon garlic powder
- 1 teaspoon onion powder
- 2 Tablespoons dried minced onions
- ½ teaspoon dried crushed thyme leaves *
- 1 teaspoon dried parsley
- 1 bay leaf
- ¼ to ½ + 1/8 teaspoon sea salt (+/-) *
- 1/8 teaspoon black pepper (+/-)
Other Ingredients:
- 1 cup frozen peas *
- 2 cups tiny broccoli florets *
Optional Toppings:
- Fresh chopped parsley
Instructions
- Rinse the dry uncooked brown rice really well with hot tap water for several minutes, then place the rinsed rice in a bowl and cover with hot tap water and allow to soak until ready to use in Step 6.
- Place all the Herb/Spice Ingredients into a small bowl, mix well. Set aside.
- Place the water, veggie broth, lemon juice, and tamari in a bowl, add the miso, whisk to dissolve the miso, set aside until ready to use in Step 5.
- In a large ceramic/enamel lined skillet, Dutch oven, or non-stick skillet, add the diced onions and carrots, sauté over medium-high heat for 7 to 9 minutes to soften, then add the finely minced garlic and sauté over medium heat for one minute.
- Next add the liquid mix (water, veggie broth, lemon juice, tamari, miso) and all the remaining base ingredients. Increase to a boil, then lower to a medium-low simmer.
- Drain the rice, shake off any excess water, add the rice and the Herb/Spice mix, stir well. Then pressed down everything to create a flattened surface. Simmer (with a low boil – see notes). Cover with a tight-fitting lid and cook for 20 minutes undisturbed.
- In the meantime, microwave the broccoli florets for 2 minutes, set aside.
- Microwave the frozen peas until warm, set aside.
- After the rice mixture has cooked for 20 minutes, remove the lid and lay the tiny broccoli florets and peas on top of the rice mixture. Do not stir. Continue to cook covered for an additional 10 to 15 minutes or until the rice is tender. The cooking time is largely dependent on the rice selected. To check if the rice is tender, pull up a few rice grains from the top and test for tenderness. Resist the temptation to stir the rice. If the rice is not tender and there is no liquid left, add a Tablespoon of water and check every 10 minutes or so, repeat the same process until the rice is tender. Brown rice takes longer than most other rice.
- Remove from the stove, allow to set for 10 minutes to marry the flavors, stir the broccoli and peas down into the mixture, remove and discard the bay leaf, then serve and enjoy!
Notes
*Please reference the blog post for Tips for Success, Pantry Items Used, Storage and Freezing, and Kitchen Products Used.
*Sea Salt: Please adjust the sea salt based upon your family’s sea salt preferences and/or based upon dietary restrictions.
*Serving: 4 to 5 (makes 7 ½ to 8 cups)
This post contains affiliate links, and we may receive a very small commission if you purchase through those links at no additional cost to you. Thank you for supporting Monkey and Me Kitchen Adventures! For more information, see our disclosures here.

I just made this. Taste pretty good! I will make this often. Thank you for such a great recipe.
Hi there Tina 🙂
Yaaaayyy!!! We are so EXCITED that you enjoyed this recipe and plan to make this recipe often. Thank you so much for sharing your awesome feedback with us. We appreciate you taking the time to write!
-Ameera and Robin 🙂
Any idea where to get chickpea miso? I cannot find it online and don’t go in stores but can’t find it on grocery delivery either. I have to be gluten free and soy free
Hi there Jane 🙂
Thank you so much for reaching out to us. We love the Miso Master Brand. Here is an amazon link: https://www.amazon.com/Miso-Master-Paste-Chickpea-Organic/dp/B07FTJMM4N
We hope that you are able to find some.
-Ameera and Robin 🙂
This was really tasty! I am saving the recipe to make it again. Thank you!
Hi there Martha 🙂
Woo hoo! We are SUPER excited you enjoyed this recipe. We appreciate you sharing your wonderful review. Thank you so much for taking the time to write.
-Ameera and Robin 🙂
Weird question. I have never made this before and it looks good. I have some fantastic, just picked oranges. Looking at the ingredients, orange could swap in (thinking Asian) but I’m not sure having never tasted the dish. Thoughts?
Hi there Kristina,
Thank you for your question. Oranges may not be acidic enough to carry the dish. We have not tested it with oranges, but if you do, let us know how it turned out.
-Ameera and Robin