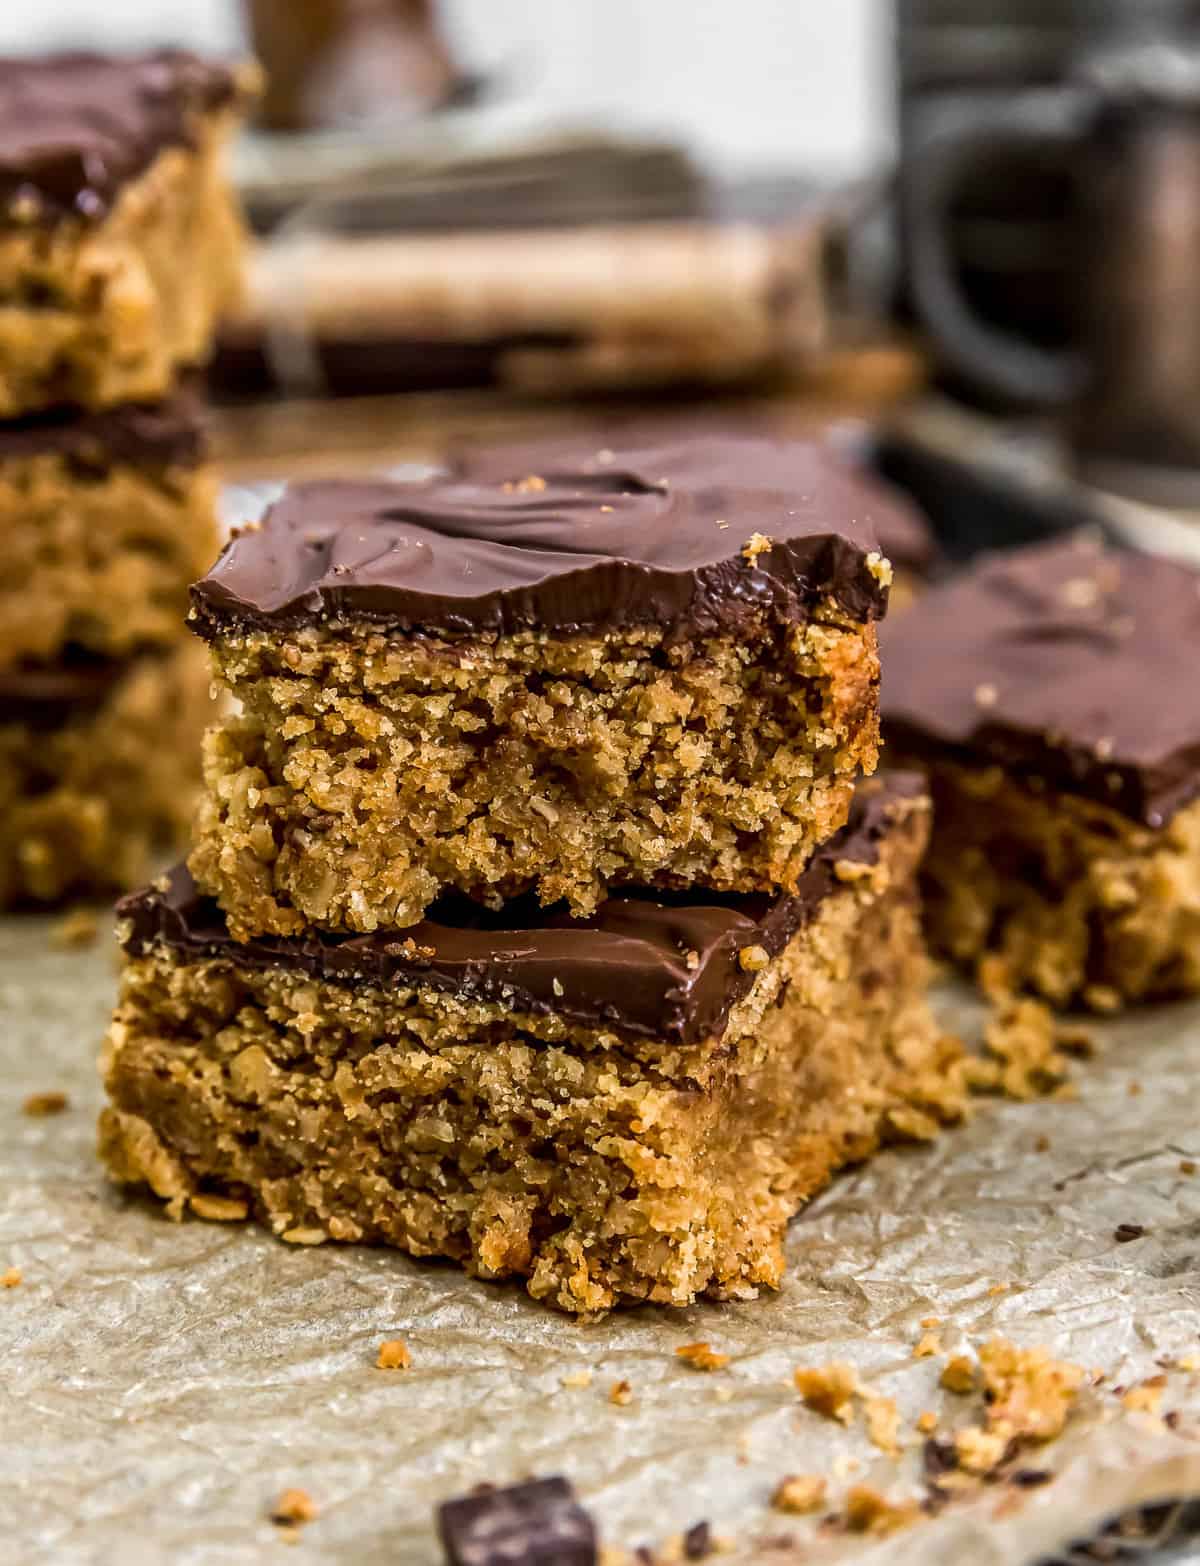
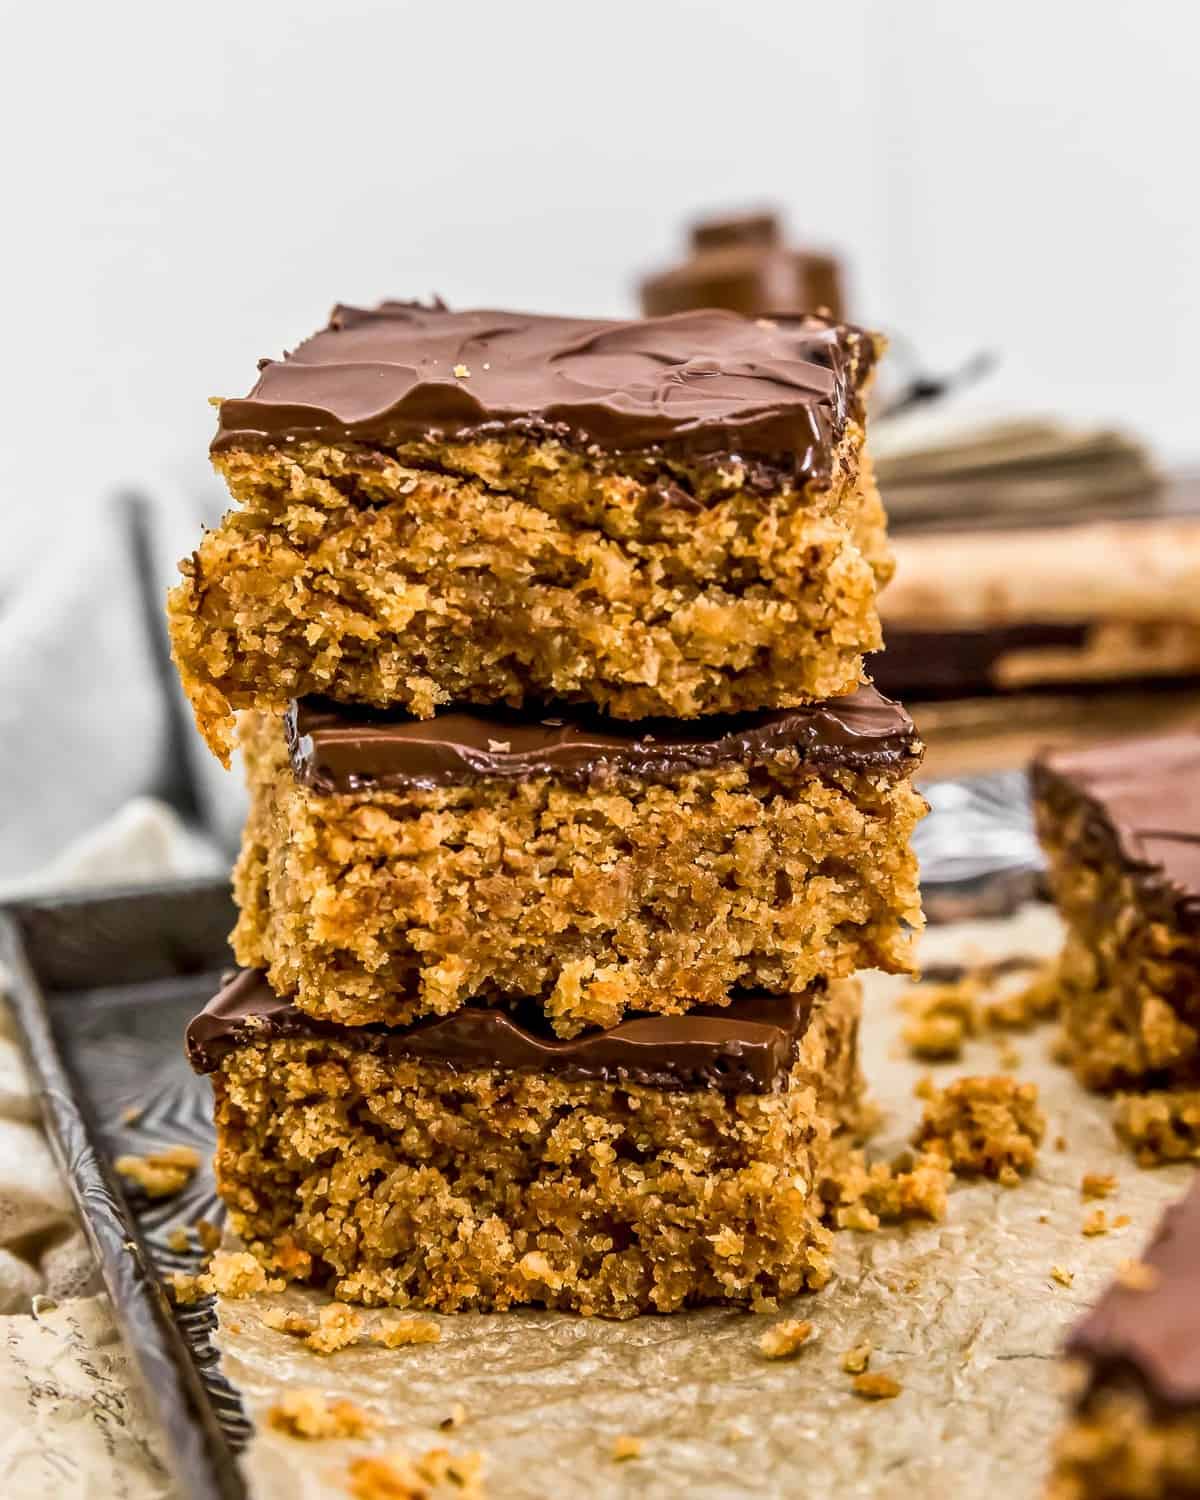
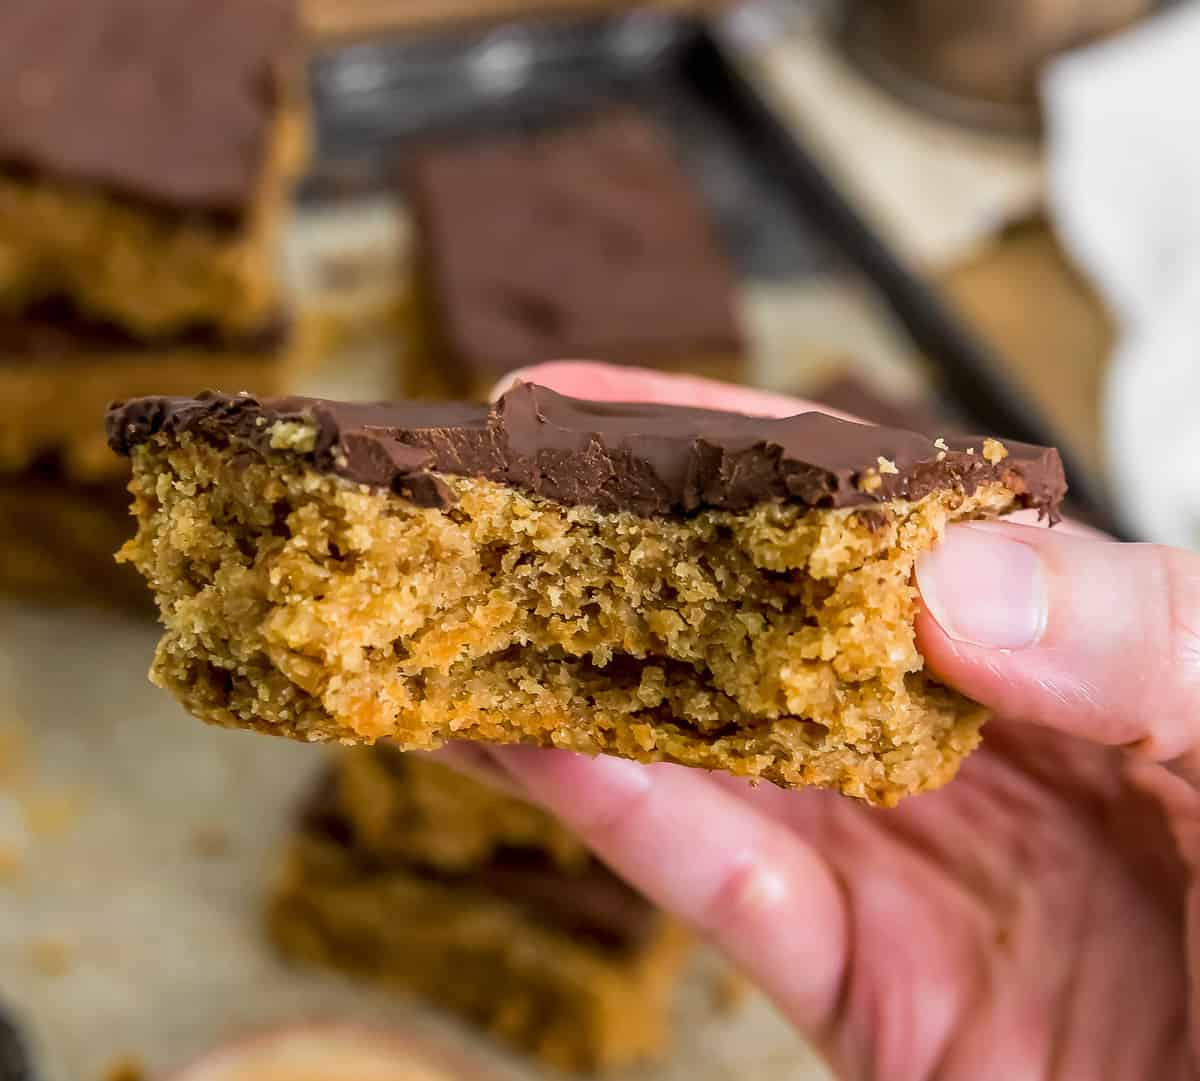
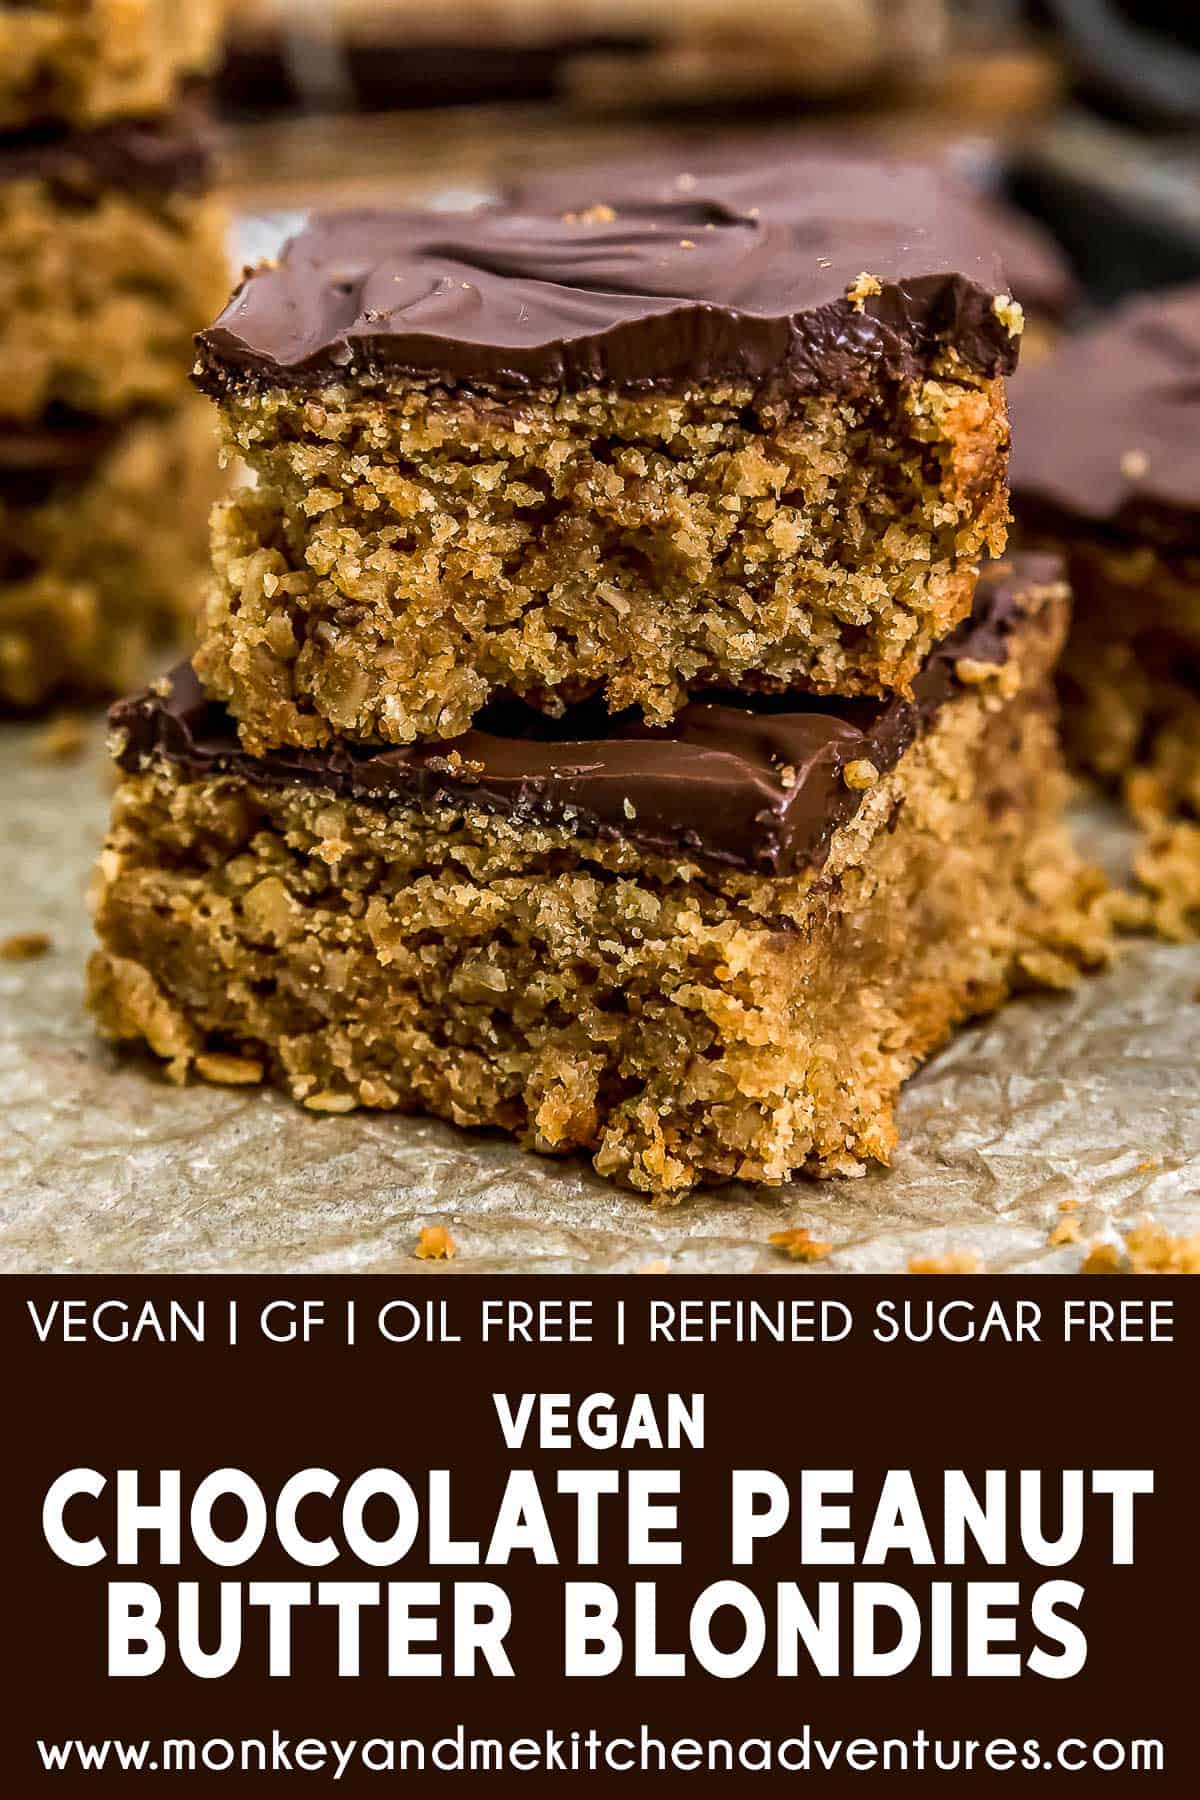
These healthy, oil-free Vegan Chocolate Peanut Butter Blondies are pure decadence! A delightful peanut butter blondie covered with a layer of melted chocolate is what dessert dreams are made of! Soft, dense, yet fluffy, and packed with a POW of peanut butter flavor and just the right amount of chocolatey goodness, these blondies are sure to find its way into your heart! These lovelies are perfect for holidays, picnic, or any day of the week.
Whole Food Plant Based, vegan, plant based, oil free, refined sugar free, gluten free, no highly processed ingredients.
Hi there, Ameera here!
I must say that this recipe has been a long time in the making . . . in other words, multiple kitchen tests, then set aside, then more kitchen tests until we were finally happy.
AND let me say, “We are very happy!” Our baked desserts often get rave reviews, so we wanted to make sure this one would put a huge smile on our Readers’ faces with the first bite!
The Hardest Part
I must say the hardest part of this recipe is the waiting. We wanted to make sure that the chocolate topping set before slicing into these babies.
If you don’t wait, then you will more than likely get a melty chocolate topping that oozes into the blondie. For some folks, that concept is perfect, while others (like us) want to be able to pick up the blondie and eat it rather than using a fork.
Either way is divine, you decide.
Tips and Tricks
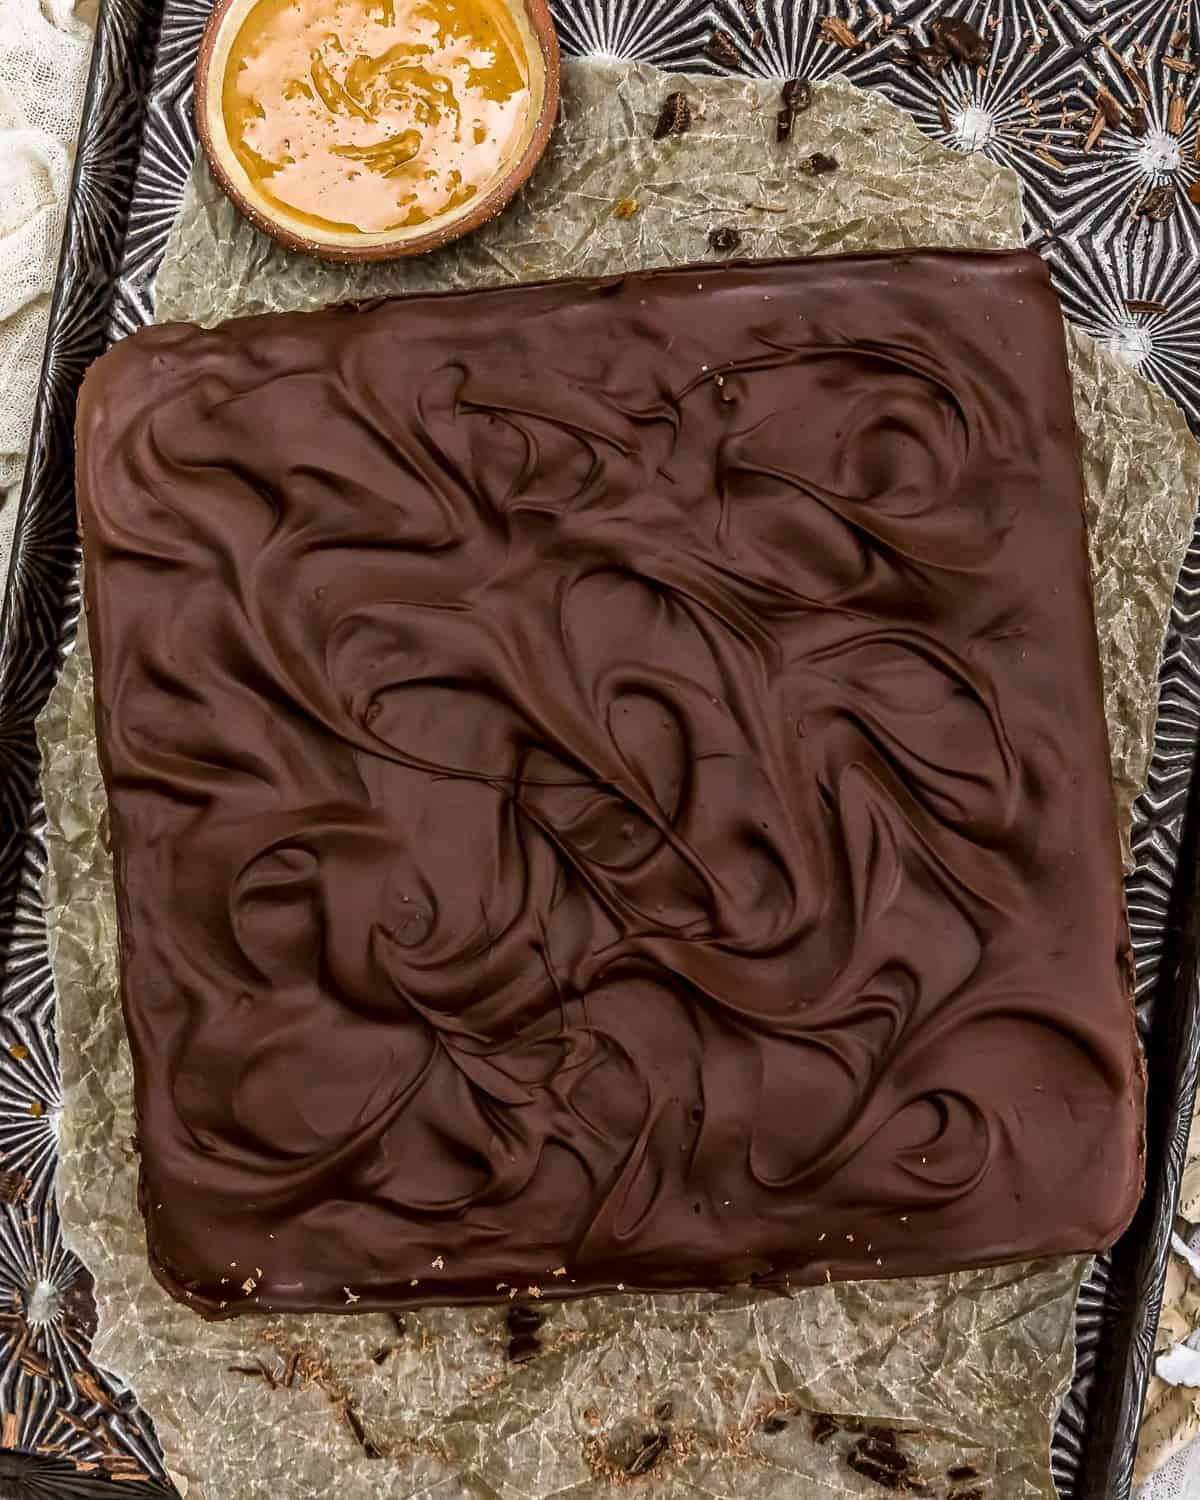
Allow the Chocolate to Set: We suggest allowing the chocolate to set and firm up before scoring and serving. If after an hour, the chocolate is still not set. Wait until the blondies have completely cooled, then pop the pan in the fridge until the chocolate has set.
While it is tempting to place a hot/warm pan in the fridge to speed up the process – don’t! Placing a warm/hot pan in the fridge will create condensation as the warmth from the blondies collides with the cold refrigeration, which will make the blondies soggy and gummy.
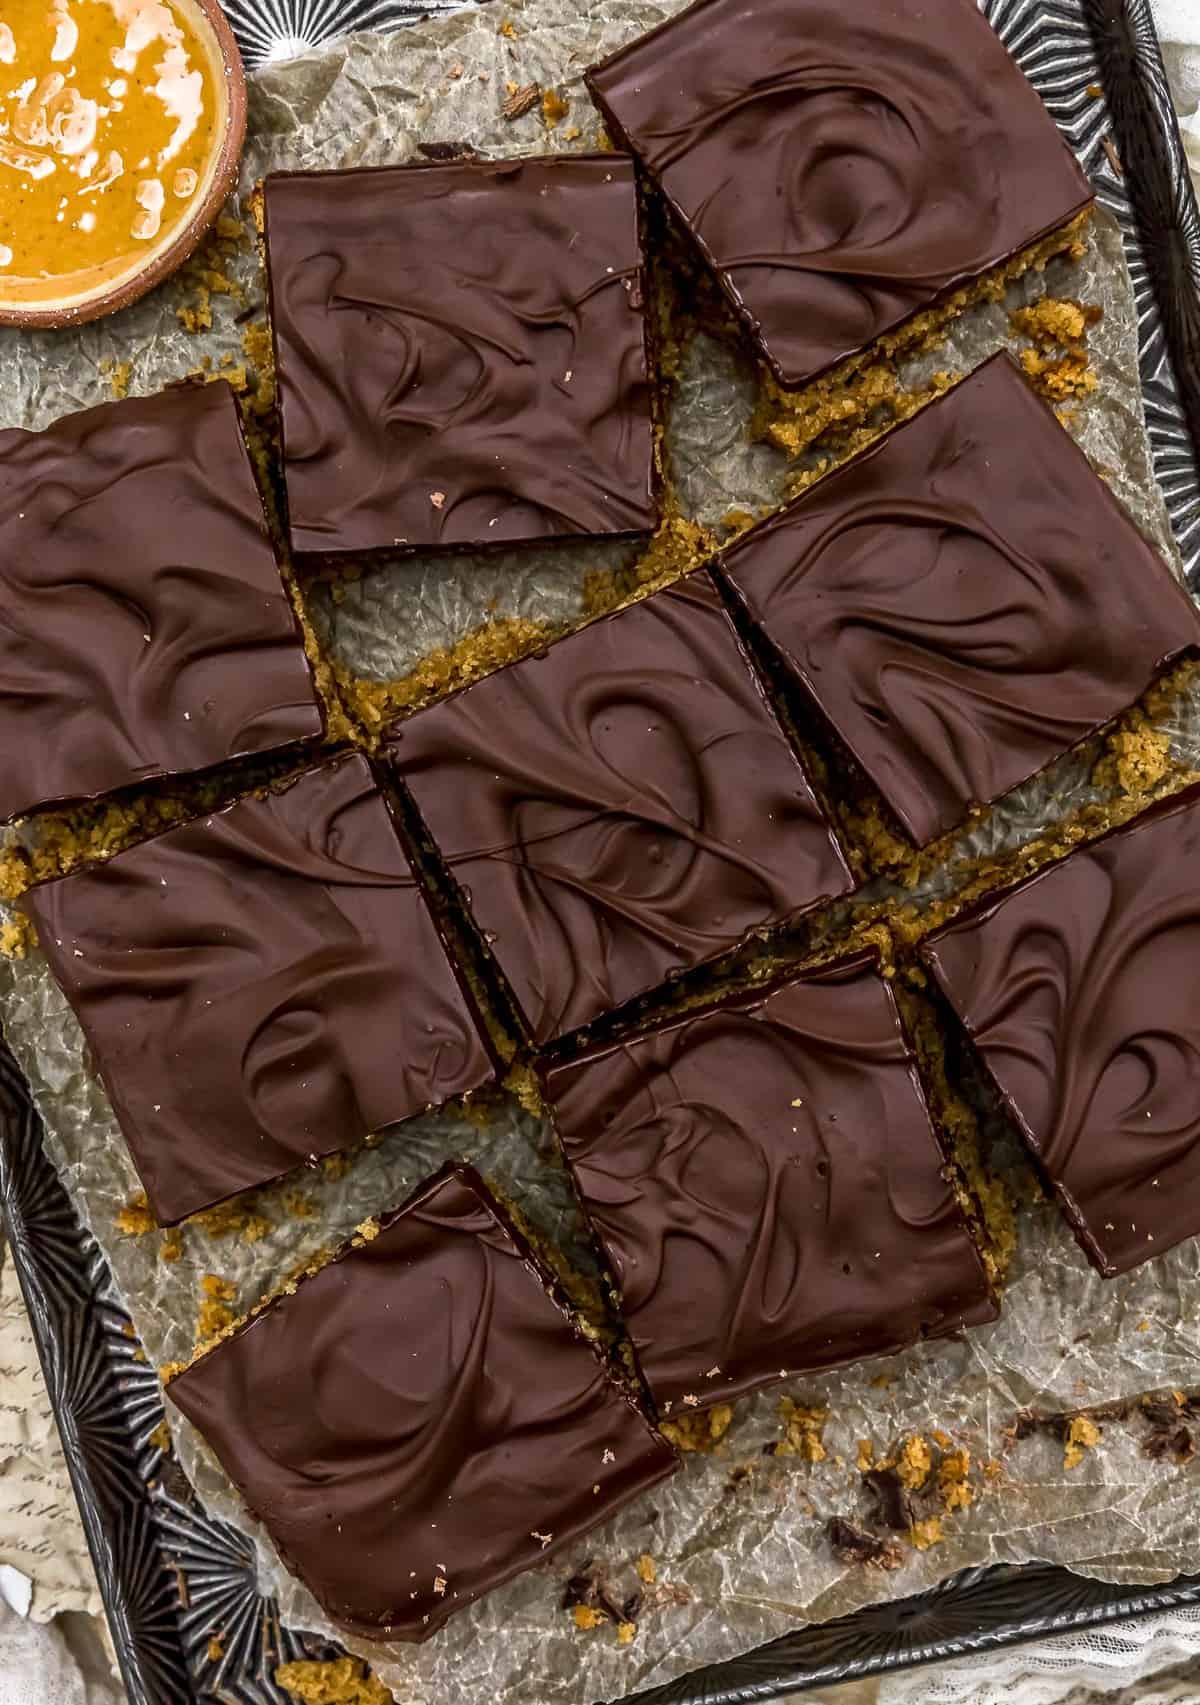
Scoring the Blondies: When the chocolate has set, you do not want to break the beautiful chocolate, so we ran a large thin-bladed knife under hot water until the knife blade was really hot. We then wiped it dry and just let the knife blade rest on top of the chocolate frosting where we wanted to cut it.
The heat of the blade will melt through the chocolate with a beautiful scoring cut. Repeat until all the blondies have been scored. You don’t have to do this, but it makes for beautifully cut blondies.
These blondies are soooooo DELISH! I’ll let Mom tell you more.
Hi! Robin here!
These blondies are crazy delicious! They were totally worth all those kitchen tests perfecting this recipe! Don’t be intimated by all the notes as these blondies are really easy to make, we just want to make sure you have all the tools, concepts and ideas that we employed so you too can ensure a successful baking experience.
TP109 absolutely loved them! He was so upset when we made them the night before we shot them because he wanted to dig in. We wanted to make sure the chocolate topping was set before cutting into them, and he simply didn’t want to wait. He wanted his blondies now! LOL
If you try these delicious treats, we would love to know if you enjoy it as much as we do! Please leave us a review! Post a picture on Facebook or Instagram and tag us! We would love to hear from you.
More Delish Desserts:
- Mexican Hot Chocolate Cookies
- Peanut Butter Shortbread Cookies
- Vegan Chocolate Molten Lava Soufflé
- Vegan Peanut Butter Pie
- Healthy Vegan Chocolate Chip Cookies
- German Chocolate Bars
- Peanut Butter Banana Cookie Scones
Products Used:
- Food Processor
- 8 x 8 baking pan
- Parchment paper
Vegan Chocolate Peanut Butter Blondies
- Prep Time: 15 Minutes
- Cook Time: 22 Minutes
- Total Time: 37 Minutes (+Rest)
- Yield: 9 Servings 1x
- Category: Dessert
- Method: Oven
- Cuisine: American
- Diet: Vegan
Description
These healthy, oil-free Vegan Chocolate Peanut Butter Blondies are pure decadence and perfect for the holidays, picnic, or any day of the week.
Ingredients
Dry Ingredients:
- 1 ½ cup rolled oats, coarsely chopped *
- 1 ½ cups almond flour (lightly packed) *
- 2 Tablespoons flax meal
- 2 teaspoons baking powder
- ¼ teaspoon baking soda
- ¾ teaspoon sea salt *
Wet Ingredients:
- ½ cup unsweetened plain plant milk
- ¾ cup unsalted, unsweetened creamy peanut butter *
- ½ cup organic maple syrup
- 2 teaspoons vanilla
Topping:
- 1 cup vegan chocolate chips, melted *
Instructions
- Preheat the oven to 350 F. Place the oven rack in the center position.
- Line an 8 x 8 baking pan with parchment paper. Set aside.
- Place the rolled oats into the food processor, and pulse for 10 seconds, then place into a large bowl.
- Then add all the remaining Dry Ingredients into the large bowl with the chopped oats, whisk until well combined.
- Then add the Wet Ingredients to the bowl with the dry ingredients, mix until combined. The mixture will be thick.
- Place the mixture into the parchment lined 8 x 8 baking dish, smooth out carefully using slightly damped hands and press out evenly into the pan.
- Place in a preheated oven and bake at 350 F for 21 to 22 minutes until set and the edges are slightly pulling away from the sides of the pan.
- In the meantime, melt the chocolate chips in the microwave. Start off with 20 seconds, remove and stir for 10 seconds, then microwave for another 10 seconds, repeat the 10 second intervals until the mixture is melted and perfectly smooth.
- Remove the blondies from the oven, and immediately place the melted chocolate on top, smooth out for an even layer of chocolate. Allow to cool for at least one hour, then score, cut and serve.
Notes
*Tips for Success:
- Parchment Paper Liner: Line the baking dish with parchment paper to cover the bottom, allow excess paper to go up two of the sides and hang over the edge for easy removal of the blondies.
- Slightly Packed Almond Flour: Almond flour can be light and fluffy so it can be challenging to get a consistent cup measurement. We weighed it to be sure. 1 ½ cups of slightly packed almond flour weighs approximately 5 ½ ounces. Don’t sweat it if you don’t have a scale, just slightly pack the almond flour. Do not push-pack it in the measuring cup.
- Mixture in the Pan: The blondie batter is somewhat thick, so you will need slightly dampened hands to gently pat the batter evenly in the pan.
- Firm up the sides: Since you are using your hands to pat out the batter evenly, the batter can sometimes slide up the side of the pan and get a little thin. We took a flat edged spatula and gently pressed it against the side of the baking pan and pushed the stray batter downward to gently tuck any stray batter back down . Otherwise if you have any thin batter peaks along the edges of the pan, tucking/pushing them down so they won’t get overly crisp.
- Removal from Pan: Make sure you run a sharp knife all along the edges of the pan where the parchment paper isn’t covering the edges to ensure that the blondies don’t stick to the sides when lifting it from the pan. You may need to run a thin-bladed knife around the sides of the pan where the chocolate has set against the side of the pan. We ran the knife under hot water until it was good and hot, wiped it dry, then ran the knife along the edge where the chocolate had set. This will help get the blondies out of the pan where the chocolate has set against the side of the pan.
- Allow the Chocolate to Set: We suggest allowing the chocolate to set and firm up before scoring and serving. If after an hour, the chocolate is still not set. Wait until the blondies have completely cooled, then pop in the fridge until the chocolate has set or continue to allow the blondies to sit out until the chocolate has set (that is what we did). While it is tempting to place a hot/warm pan in the fridge to speed up the process – don’t! Placing a warm/hot pan in the fridge will create condensation as the warmth from the blondies collides with the cold refrigeration, which will make the blondies soggy and gummy.
- Scoring the Blondies: Since the chocolate has set, you do not want to break the beautiful chocolate, so we ran a large thin-bladed knife under hot water until the knife blade was really hot, then we wiped it dry, then just let the knife blade rest on top of the chocolate frosting where we wanted to cut it. The heat of the blade will melt through the chocolate with a beautiful scoring cut. Repeat until all the blondies have been scored. You don’t have to do this, but it makes for beautifully cut blondies.
*Notes Continued:
*Almond Flour: This recipe was specifically created to use almond flour. We do not have any substitutions to offer.
*Chocolate Chips: We used Enjoy Life Mega Chunks Semi-Sweet Chocolate Chunks.
*Sea Salt: Please adjust the sea salt based upon your family’s sea salt preferences and/or based upon dietary needs.
*Serving: 9
*Storage: Use within 3 days.
This post contains affiliate links, and we may receive a very small commission if you purchase through those links at no additional cost to you. Thank you for supporting Monkey and Me Kitchen Adventures! For more information, see our disclosures here.

Okay this is good! Kinda giving me the Butterfinger candy bar vibe (but nowhere near as sweet). ? Thank goodness!!
I only had maybe 3/4 cup of the mega chunk chips, but it worked out. I chopped them smaller and when the blondies were done, I sprinkled the chocolate over the top and put back in the still warm oven for a minute. And then I just needed to spread the melted chocolate. ?
Such a yummy treat.
Hi there Sandra 🙂
Woot woot!!! We are SUPER excited that you enjoyed this recipe! Totally can see the butterfinger vibes in these blondies – Mmmmm! Love the idea of sprinkling the chocolate chips on top and warming them up – SMART! Thank you so much for your wonderful feedback; we truly appreciate you!
-Ameera and Robin 🙂
Absolutely delicious! Great texture and flavor!
Hi there Lisa,
YAYYYYY!!! We are thrilled that you enjoyed this recipe. Thank you so much for the awesome review.
-Ameera and Robin