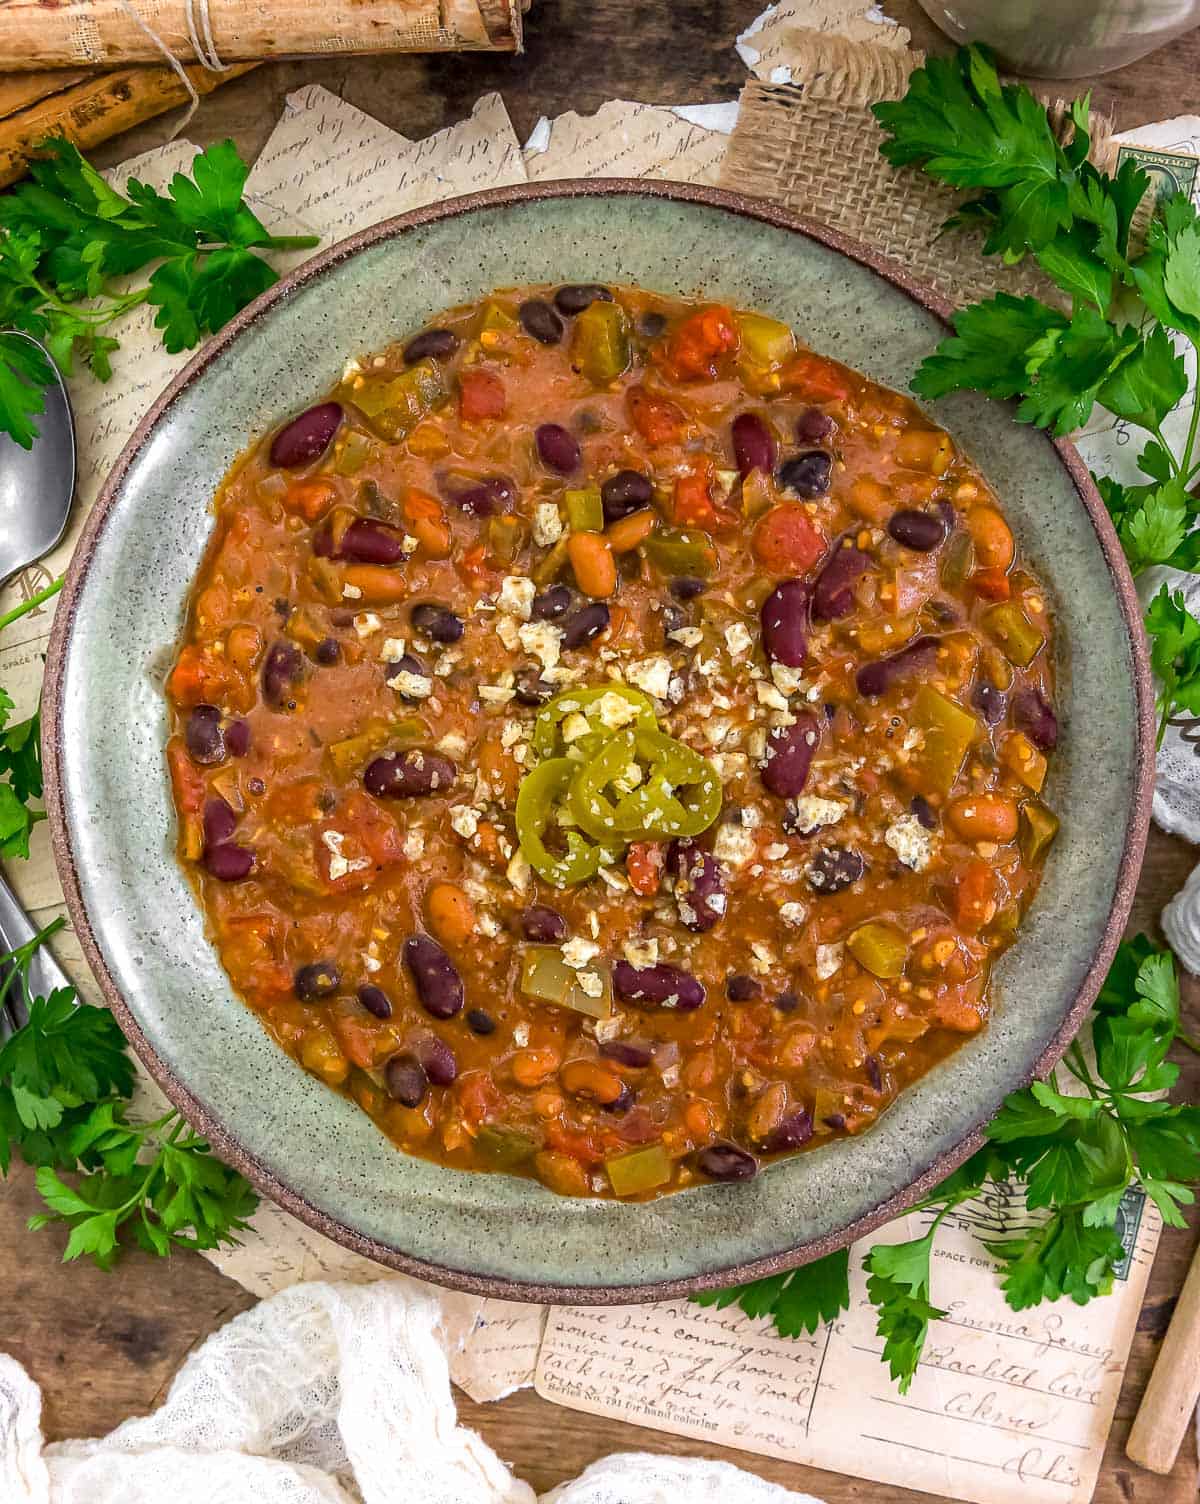
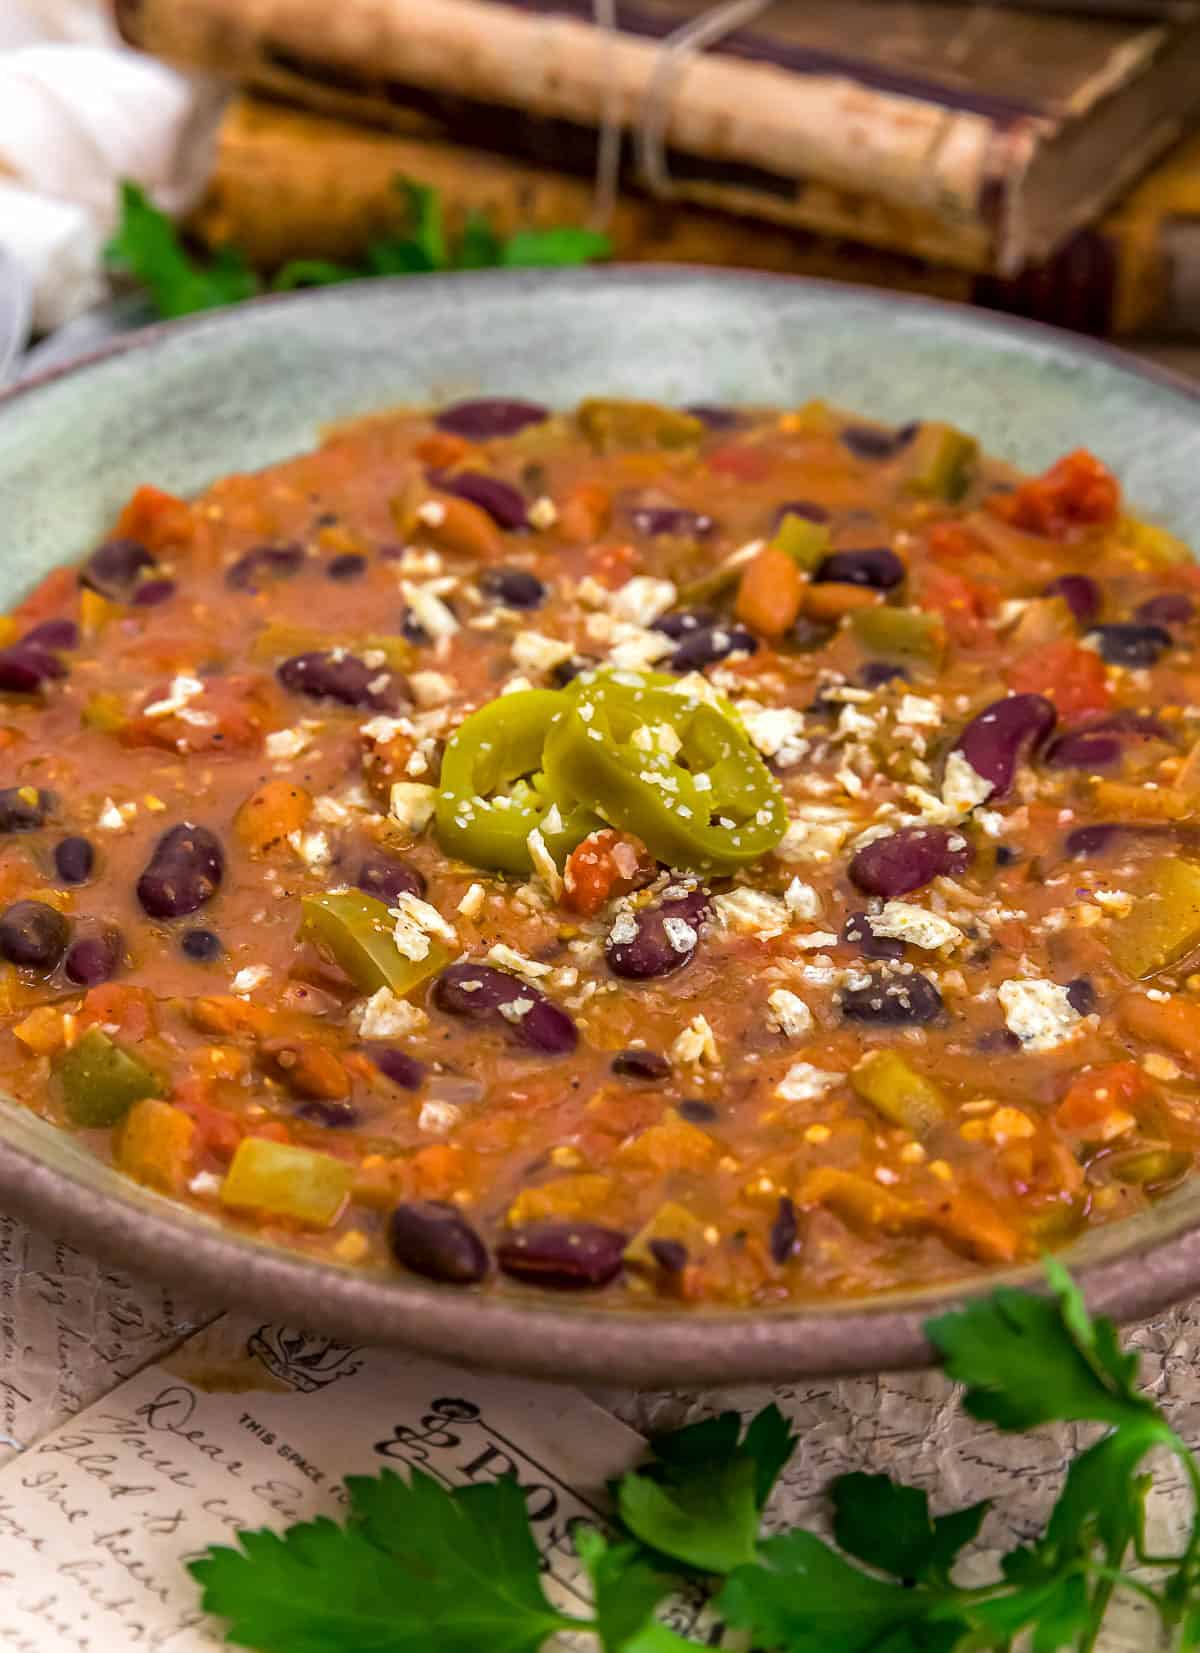
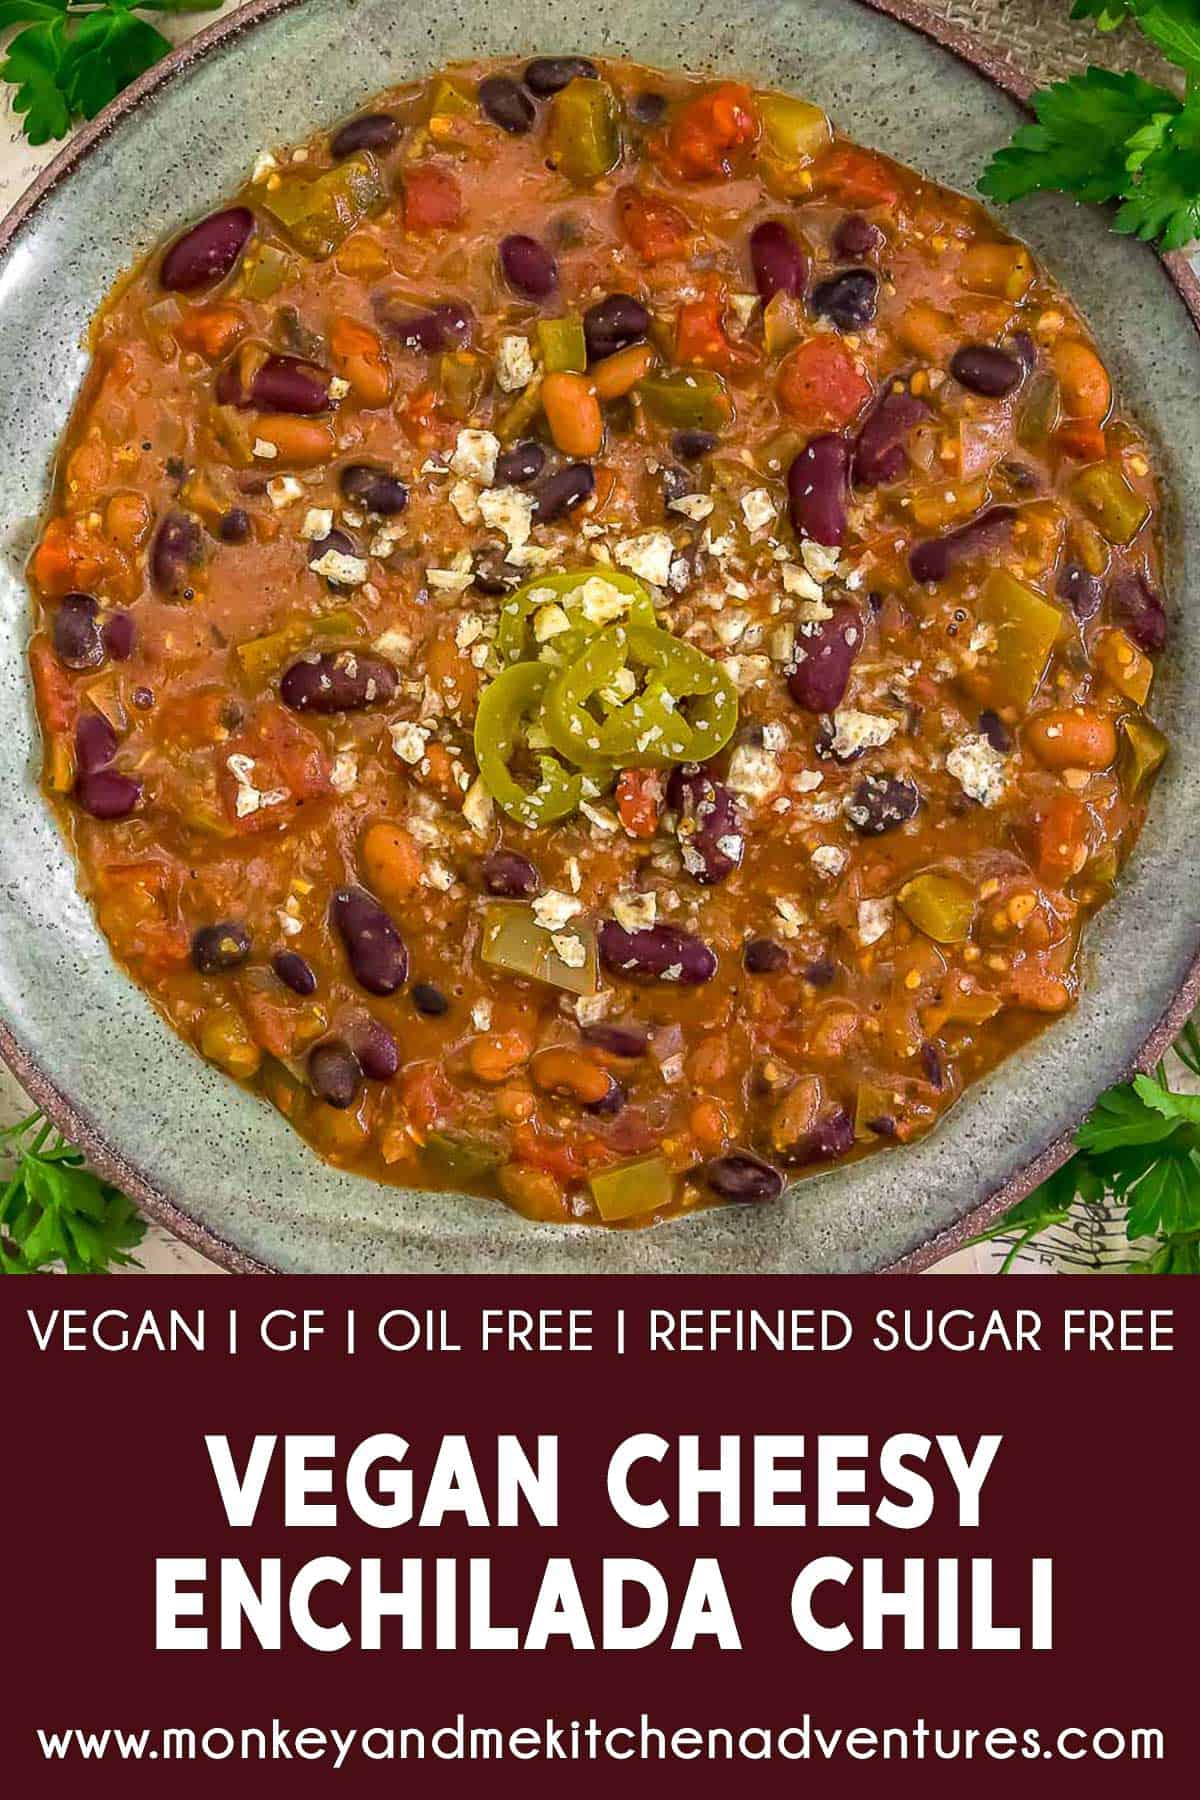
Vegan Cheesy Enchilada Chili! Bursting with flavor, this dish combines the rich, savory goodness of enchilada sauce with a generous sprinkle of nutritional yeast, delivering a creamy, cheesy taste without any dairy.
If you’re on the hunt for a mouthwatering, plant-based dish that brings the cozy vibes of chili and the zesty flair of enchiladas together, look no further than this Vegan Cheesy Enchilada Chili! Each spoonful is perfectly seasoned, making it not just delicious but also hearty enough to satisfy even the most ravenous appetites. Whether you’re curling up on a chilly evening or hosting a fun dinner party, this delightful chili is sure to impress friends and family alike.
Whole Food Plant Based, Vegan, plant based, oil free, refined sugar free, no highly processed ingredients and gluten free.
Hi there, Ameera here!
We absolutely LOVED this Vegan Cheesy Enchilada Chili! Honestly, it’s soooooo gosh darned delicious that our taste buds threw a little fiesta in celebration. If you’re looking for a quick and easy weeknight meal that packs a punch of flavor and warmth, you gotta give this one a try!

Tips for Success:
- Flavor Profile: This Vegan Cheesy Enchilada Chili is a delicious twist on chili. Enchilada sauce and a hearty amount nutritional yeast gives it a cheesy flavor. Perfectly seasoned, this tasty chili is delightful and filling.
- Beans: We used canned kidney, pinto, and black beans. Feel free to use dry lentils, but they will need to be cooked separately, then added to the chili later.
- Bean Substitutions: Feel free substitute the kidney, kidney, or black beans with your favorite beans or feel free to use all of the same bean.
- Enchilada Sauce: We used our Enchilada Sauce; however, feel free to use your favorite enchilada sauce recipe or canned from the store. Use between 8 to 10 ounces. We found 10 ounces to be perfect which about 1 1/8 cups of sauce. If buying enchilada sauce from the store, make sure you purchase a mild
- Green Chiles: Be sure to use canned mild green chiles for this not and not hot green chiles.
- Cornmeal: We love the flavor the cornmeal gives to this chili. It authenticates the enchilada flavor. If you have masa harina, that works really well too. If you don’t have either and don’t wish to purchase either one, then you can also use very finely crushed corn tortillas or tortilla chips.
- Stirring Frequently: The cornmeal tends to sink to the bottom of the pan and will stick if you do not stir frequently, about every 7 to 8 minutes.
- Simmer: Simmer the chili, which is a very low boil, not a rolling boil. Rolling boils will burst the beans and cause the chili to stick to the bottom of the pot.
- Oil-Free Recipes: This chili has great flavor. Because it is low in fat, we suggest tasting it 3 times before adding any additional seasonings. Oil-free, low-fat dishes tend to build on the palate. By tasting this chili 3 times, you have a better chance of not over-seasoning or under-seasoning it. Recipes with oil coat the palate making the spices and herbs feel smooth and more pleasing. Removing oil from dishes requires more finesse to ensure that a dish is properly seasoned. Tasting a dish 3 times allows the cook the chance to better understand the flavor profile and if the flavor of the dish builds on the front-end or back-end of the palate.
- Maple Syrup: That tiny bit (1/4 teaspoon) makes all the difference in the world. It really doesn’t sweeten the chili, but since enchilada sauce can have a tiny bite to it, that little tiny hint of maple syrup perfectly mellows the flavor beautifully.
- Ume Plum Vinegar: We get a lot of questions on ume plum vinegar. It is fairly inexpensive and adds amazing flavor. It enhances the nutritional yeast to give it a more cheesy flavor. You can find it in most health food grocery stores or online. You can leave it out if you can’t find it, adjust ingredients accordingly.
- Mexican Oregano: Mexican oregano is stronger and has a citrus note to it while “regular” oregano, typically associated with Mediterranean cuisine, is milder and has a more earthy, slightly bitter flavor. If you can’t find Mexican oregano or choose to not make the extra purchase, then feel free to use “regular” oregano.
- Next Day: As with most chilis, this chili tastes even better the next day as the spices begin to infuse into the rich, thick broth.
- Regular Chili Powder: Feel free to use your favorite chili powder, just be sure to select a mild one and not one that has a lot of heat to it.
- Baking Soda: Baking soda is often used as a neutralizer for dishes that contain a lot of acidity, typically from tomatoes. We use it in this dish to remove some of the tomato acidity (from the petite diced tomatoes) without losing the tomatoey flavor. When you add it, the mixture may bubble up, then settle down as it neutralizes the acidity. If you prefer that tinny taste that is typically associated with canned tomatoes, feel free to leave it out or only add a pinch.
- 10 Minute Resting Period: The 10-minute resting period allows the chili to rest and the spices to marry and slightly mellow out.
- Table Salt: If using table salt, you should use less table salt than the amount listed in the ingredients as sea salt crystals are larger than table salt crystals. Since table salt crystals are very fine, less table salt is required to season a dish. We would suggest starting with about 1/4 to 1/2 the amount of sea salt listed. You can always add more salt but cannot take it away. We recommend using sea salt as it is less refined than table salt.
Leftovers and Freezing:
Leftovers will generally keep 7 days in the refrigerator. Store in a covered container.
This chili freezes well.
Pantry Products:
- Vegetable Stock: We use Pacific Organic Low Sodium Vegetable Stock. We love this brand because it is Whole Food Plant Based compliant, as it does not contain MSG, has no oil, and does not contain any highly-processed ingredients. Feel free to use your favorite vegetable broth.
- Ume Plum Vinegar: We used Eden Ume Plum Vinegar. You can find it in most health food grocery stores or online.
- Sea Salt: Please adjust the sea salt based upon your family’s sea salt preferences and/or based upon dietary needs.
Kitchen Equipment:
- Large stock pot
If you try this comforting chili, we would love to know if you enjoy it as much as we do! Please leave us a review! Post a picture on Facebook or Instagram and tag us! We would love to hear from you.
Print
Vegan Cheesy Enchilada Chili
- Prep Time: 15 Minutes
- Cook Time: 45 Minutes
- Total Time: 60 Minutes
- Yield: 9 ½ Cups 1x
- Category: Stew
- Method: Stovetop
- Diet: Vegan
Description
If you’re on the hunt for a mouthwatering, plant-based dish that brings the cozy vibes of chili and the zesty flair of enchiladas together, look no further than this Vegan Cheesy Enchilada Chili!
Ingredients
Base Ingredients:
- 1 large yellow onion, fine dice
- 1 small jalapeno pepper, stemmed, seeded, fine dice
- 1 medium green bell pepper, diced
- 2 Tablespoons minced garlic
- 2 cups low-sodium vegetable broth *
- 2 – [ 14.5 oz. cans ] petite diced tomatoes, undrained
- 1 – [ 10 oz. can ] mild enchilada sauce (1 cup + 2 Tablespoons) *
- 1 – [ 4 oz. can ] mild green chiles, undrained *
- 1 – [ 15 oz. can ] pinto beans, drained and rinsed *
- 1 – [ 15 oz. can ] black beans, drained and rinsed *
- 1 – [ 15 oz. can ] kidney beans, drained and rinsed *
- ½ cup nutritional yeast
- 2 Tablespoons cornmeal *
- 1 Tablespoon distilled white vinegar
- ¼ teaspoon baking soda *
Spice/Herb Ingredients:
- 2 teaspoons garlic powder
- 1 teaspoon onion powder
- 2 ½ teaspoons regular chili powder (+/-) *
- 1 teaspoon cumin (+/-)
- 1 teaspoon smoked paprika (+/-)
- 1 teaspoon Mexican (or regular) oregano
- ¼ to 1 ¼ teaspoons sea salt (+/-) *
- Pinch black pepper (+/-)
Optional Ingredients:
- 1 teaspoon ume plum vinegar *
- ¼ teaspoon pure maple syrup *
Optional Toppings:
- Avocado chunks
- Crushed corn tortillas
- Pickled jalapeno peppers
- Vegan sour cream
Instructions
- Place the Spice/Herb Ingredients in a small bowl, mix well, set aside.
- In a large stock pot, add the diced onions, green bell peppers, and jalapeno peppers; sauté over medium-high heat until they begin to soften, approximately 7 to 9 minutes. Add a couple of tablespoons or so of water if they start to stick and/or to prevent burning.
- Reduce the heat to medium and add the minced garlic, sauté for one minute.
- Add all the remaining Base Ingredients (except the baking soda) and Spice/Herb Mix, stir well to combine. Bring to a boil, then immediately lower to a simmer.
- Add the baking soda, stir well. Simmer for 1 minute.
- Simmer on low, stirring frequently to prevent sticking (the cornmeal tends to stick to the bottom) for 30 minutes. After 30 minutes, add the ume plum vinegar and maple syrup, stir for several minutes. Remove from the stove and allow to sit for 10 minutes, then serve with your favorite toppings.
Notes
*Please reference the blog post for Tips for Success, Pantry Items Used, Storage and Freezing, and Kitchen Products Used.
*Sea Salt: Please adjust the sea salt based upon your family’s sea salt preferences and/or based upon dietary needs.
*Servings: 5 to 6 (makes 9 ½ cups)

This post contains affiliate links, and we may receive a very small commission if you purchase through those links at no additional cost to you. Thank you for supporting Monkey and Me Kitchen Adventures! For more information, see our disclosures here.
Another fantastic recipe! Enjoyed this for lunch and was surprised how much the ume plum vinegar really intensified the cheesy flavor.
Hi there Vee,
YAYYYY!!! We are thrilled that you enjoyed this recipe! Yes, ume plum vinegar gives it an awesome cheesy flavor! Thank you so much for the lovely review. We appreciate it.
-Ameera and Robin