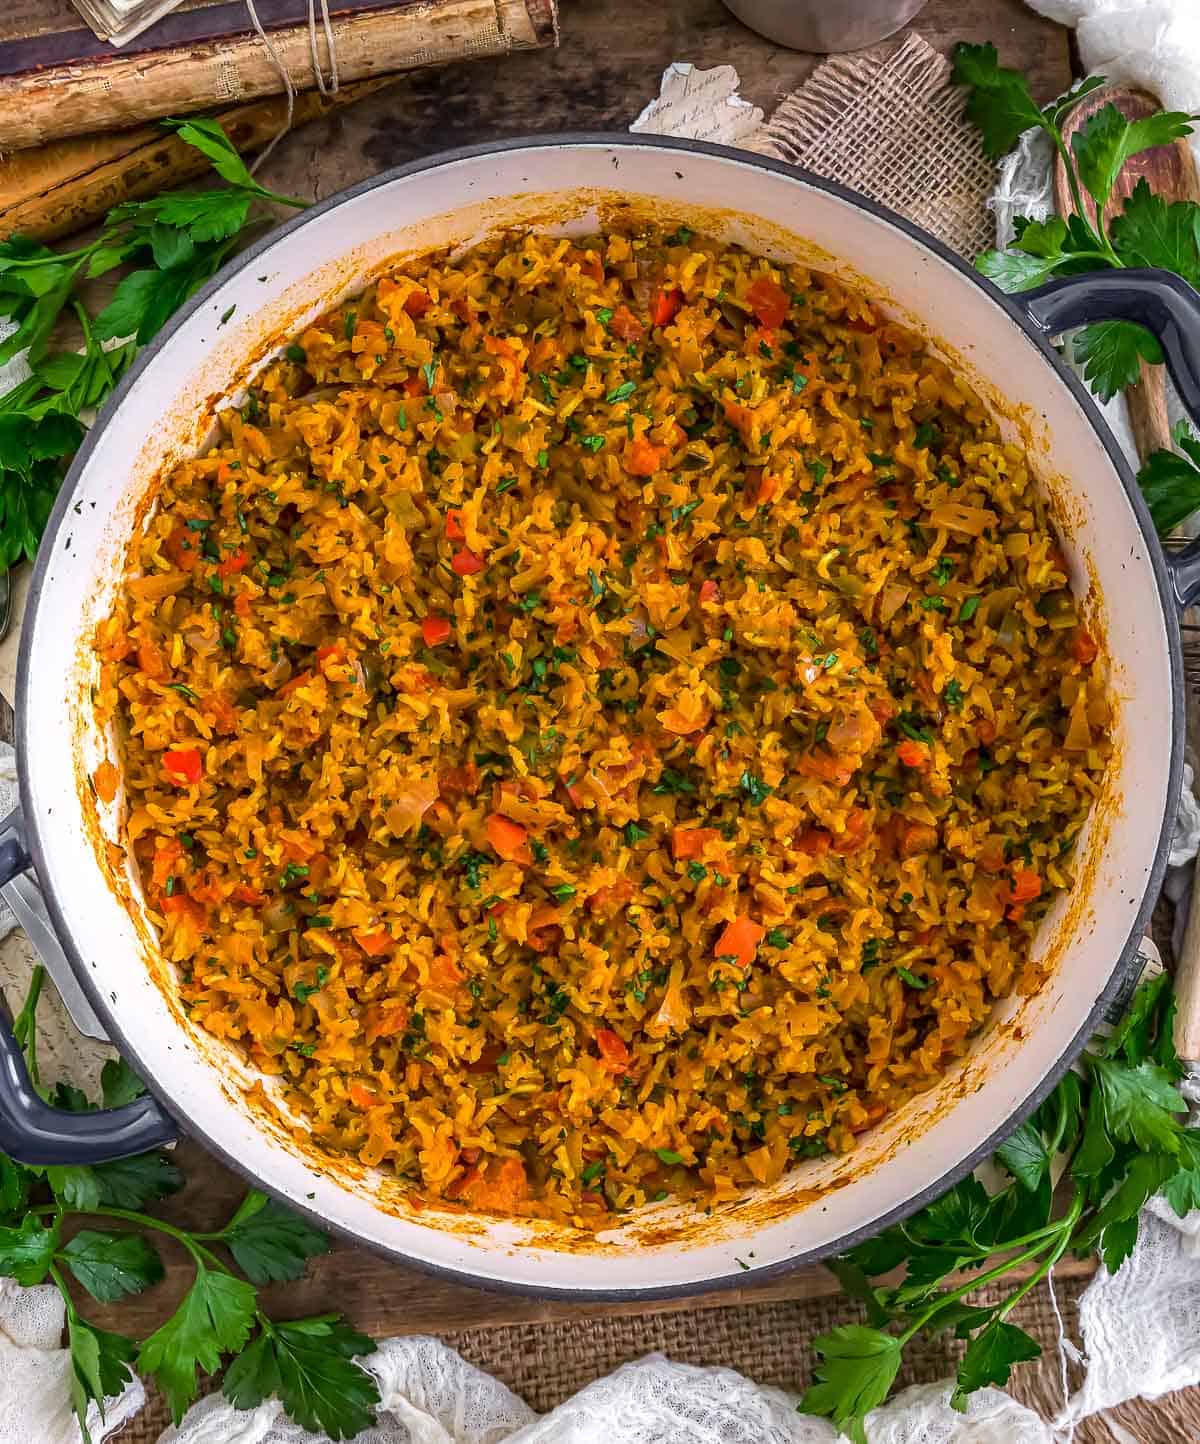
Oil Free Vegan Jollof Rice! Whether you’re a seasoned Jollof aficionado or just dipping your toes into the world of African flavors, this oil-free version will have you coming back for seconds—and thirds!
If you’re looking for a dish that captures the vibrant essence of African cuisine, then this Oil-Free Vegan Jollof Rice is your ticket to flavor town! This delightful recipe pays homage to the beloved traditional Jollof Rice, but with a health-conscious twist that doesn’t skimp on taste. Bursting with aromatic spices, fresh vegetables, and perfectly cooked rice, this dish is not only a feast for the palate but also a nourishing option for those who want to eat well.
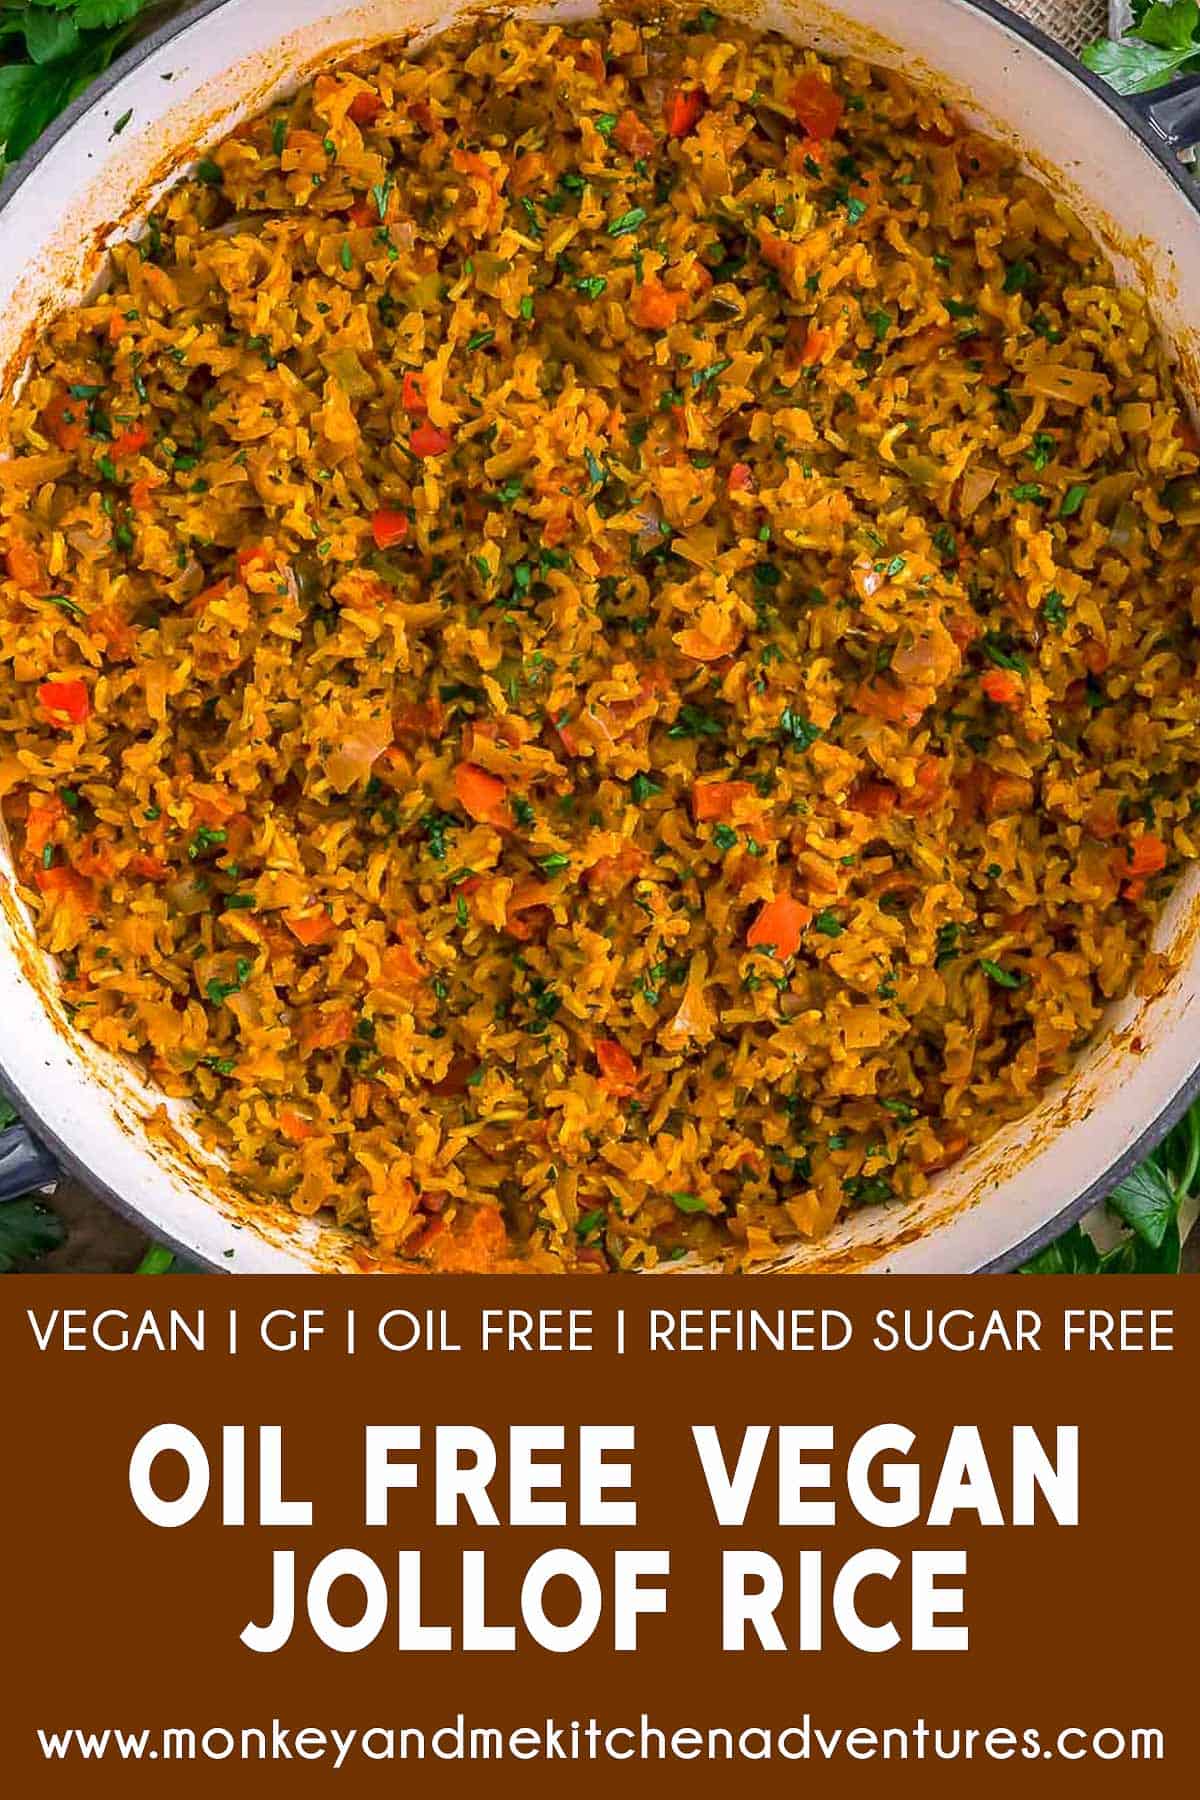
Whole Food Plant Based, Vegan, plant based, oil free, refined sugar free, no highly processed ingredients and gluten free.
Hi there, Ameera here!
This recipe was inspired by Whisk It Real Gud. We Whole Food Plant Based it. This Oil-Free Vegan Jollof Rice recipe stands out for its unique blend of flavors that will leave you craving more. If you’re a curry lover, then you’re in for a treat; this dish is packed with all the comforting spices and rich aromas you adore, guaranteed to bring a smile to your face.
You absolutely have to give this one a try—your taste buds will thank you!
Tips for Success:
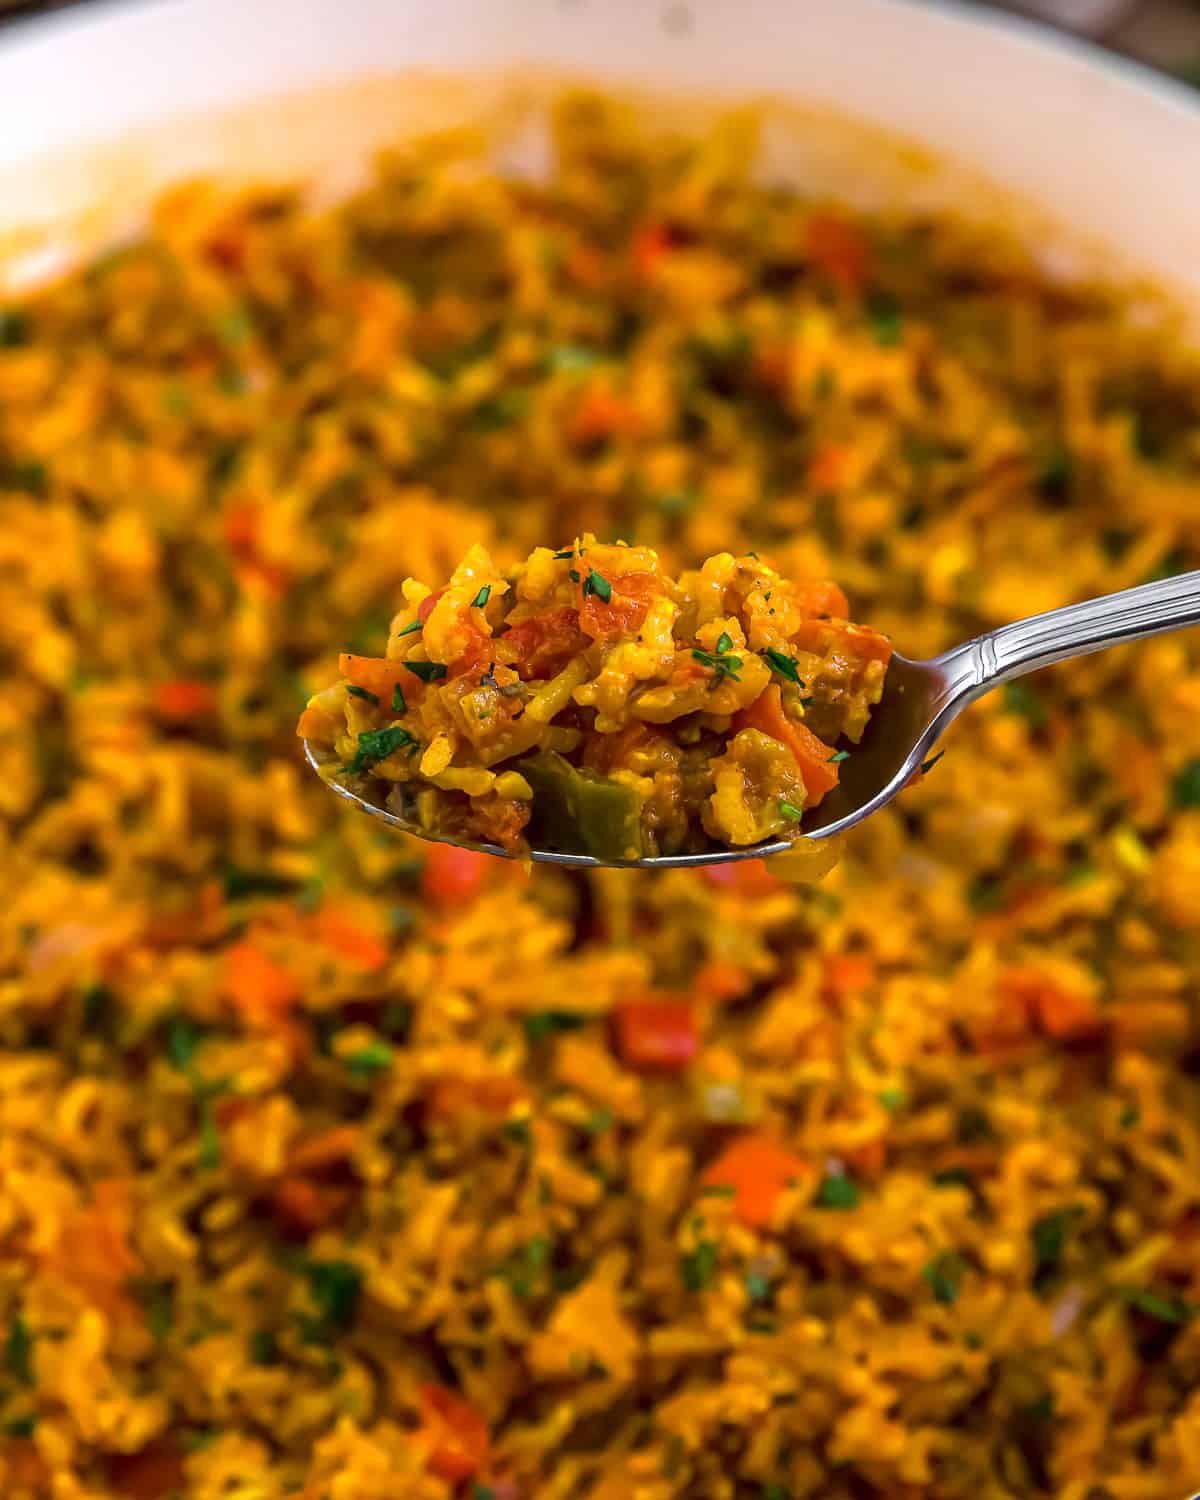
- Flavor Profile: This Oil Free Vegan Jollof Rice dish is a healthy, oil-free, delicious nod to a traditional Jollof Rice. Easy to make and just as tasty, this rice dish is sure to please lovers of the African cuisine.
- Traditional Jollof Rice: This dish is a nod to Jollof Rice. Traditionally Jollof Rice would have a scotch bonnet hot pepper. We purposefully left it out because they are so hot. Feel free to add a small amount if you wish to make this dish hot and spicy. We made this dish with a jalapeno pepper and without a jalapeno pepper. We enjoyed both versions.
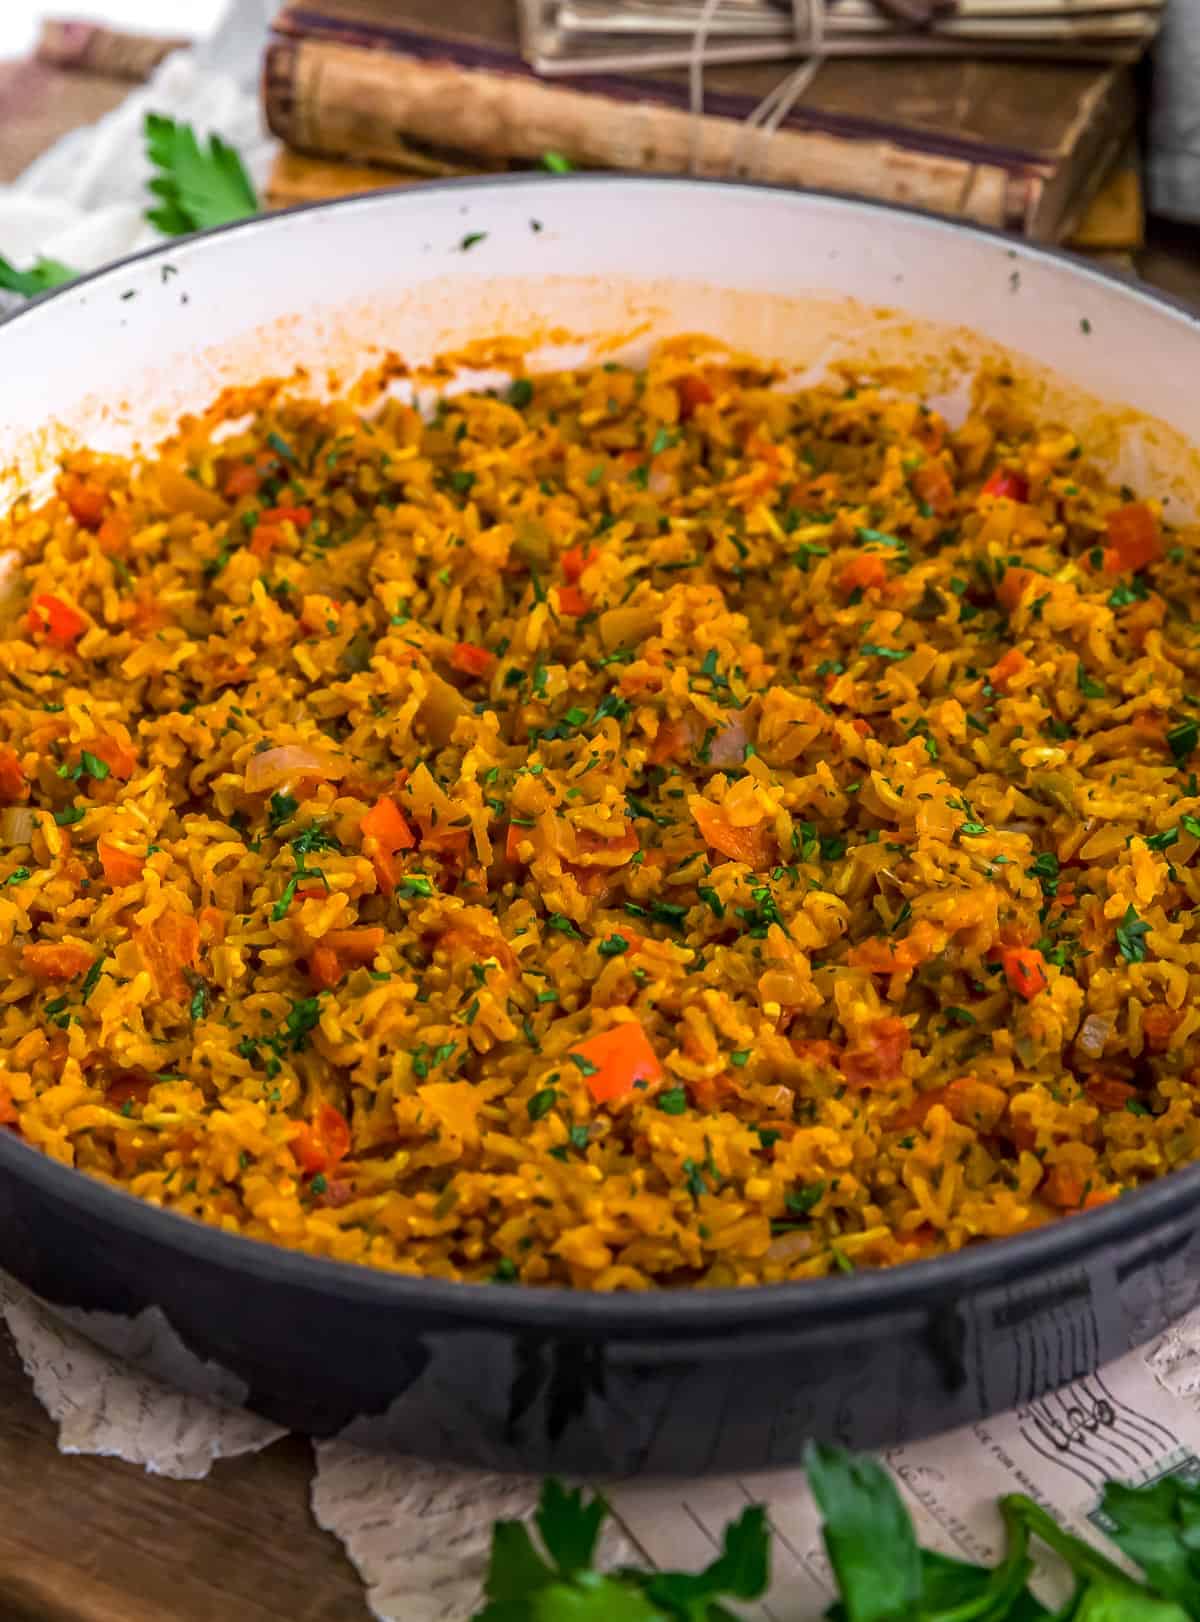
- Texture: The texture of this dish is slightly sticky and very moist, but definitely not like a risotto.
- Rice: This dish can be made with your favorite long grain rice such as brown whole grain, brown basmati, regular basmati, or white. We suggest a type and/or brand that can often be made within 30 to 40 minutes. Avoid brands known to take a long time to cook like Lundberg.
- Soaking the Rice in Boiling Water: Soaking the rice in the boiling water allows the rice to get a head start on cooking, cutting down on the time spent on the stove top.
- Rice Cooker: We have not tested this recipe in a rice cooker.
- Rice in the Skillet: There should be enough liquid to completely cover the rice to allow it to cook. Covering the skillet allows the rice to steam as well as gently boil.
- Boiling versus Simmering: Simmer the rice at a very low boil, do not use a rolling boil or you will evaporate all the liquids before the rice has completely cooked. Rolling boils can also potentially cause the rice to stick to the bottom of the skillet. Do not constantly stir the rice as this will cause the rice to release its starches and become more like a risotto.
- Maple Syrup: This rice dish has great flavor. We suggest tasting it 3 times before adding any additional seasonings. Oil-free dishes tend to build on the palate. By tasting this dish 3 times, you have a better chance of not over-seasoning or under-seasoning it. Recipes with oil coat the palate making the spices and herbs feel smooth and more pleasing. Removing oil from dishes requires more finesse to ensure that a dish is properly seasoned. Tasting a dish 3 times allows the cook the chance to better understand the flavor profile and if the flavor of the dish builds on the front-end or back-end of the palate. The maple syrup helps balance the flavors in this dish. If unsure of the amount to use, start with 3 teaspoons, you can always stir in more maple syrup at the end of the cooking process if you find you need more maple syrup to balance the flavors.
- Curry Powder: All curry powders are not the same. There are tons of curry options and blends. Use your favorite curry blend. Each blend tends to accent different spices within the blend. We have found that some blends are heavy with turmeric and tend to be slightly acidic on the backend of the palate and others may contain a lot of heat. Others have a hint of sweetness. Feel free to adjust the amount based upon the curry blend selected.
- Rice: The key to creating a great stove top rice dish is resisting the urge to stir the rice while it is cooking. Stirring causes the rice to release starches and become more like a creamy risotto, which we don’t want. Just pull up a few rice kernels off the top of the dish to test for rice tenderness. If not tender, just continue to cook until tender. If all the liquid evaporates, then add a tablespoon (or more) of water and continue to simmer until tender. Repeat the process above until the rice is done. Please note that the timing of cooking dry rice is based upon several factors: 1) the type of rice selected 2) the brand of rice selected 3) the age of the rice and 4) the cooking method. Each plays a factor in how long rice takes to cook. Brands like Lundberg will not work as they take longer to cook.
- Tender Rice: After 20 minutes of cooking, check for tenderness by pulling up a couple grains of rice off the top with a fork to eat. If not tender, continue to cook, but watch very closely as you do not want to overcook the rice.
- Table Salt: If using table salt, you should use less table salt than the amount listed in the ingredients as sea salt crystals are larger than table salt crystals. Since table salt crystals are very fine, less table salt is required to season a dish. We would suggest starting with about 1/4 to 1/2 the amount of sea salt listed. You can always add more salt but cannot take it away. We recommend using sea salt as it is less refined than table salt.
Leftovers and Freezing:
Leftovers will generally keep 3 days in the refrigerator. Store in a covered container.
This dish can be frozen.
Pantry Products:
- Vegetable Stock: We use Pacific Organic Low Sodium Vegetable Stock. We love this brand because it is Whole Food Plant Based compliant, as it does not contain MSG, has no oil, and does not contain any highly-processed ingredients.
- Dried Crushed Thyme Leaves: If you can’t find dried crushed thyme leaves, you can use ground thyme but use half the amount.
- Sea Salt: Please adjust the sea salt based upon your family’s sea salt preferences and/or based upon dietary needs.
Kitchen Equipment:
- Large skillet with a tight-fitting lid
- Medium-sized glass bowl (to soak the rice)
- Fine mesh sieve (to rinse the rice)
If you try this flavorful dish, we would love to know if you enjoy it as much as we do! Please leave us a review! Post a picture on Facebook or Instagram and tag us! We would love to hear from you.
Print
Oil Free Vegan Jollof Rice
- Prep Time: 20 Minutes
- Cook Time: 40 Minutes
- Total Time: 60 Minutes
- Yield: 6 ½ Cups 1x
- Category: Dinner, Side
- Method: Stovetop
- Cuisine: African Inspired
- Diet: Vegan
Description
If you’re looking for a dish that captures the vibrant essence of African cuisine, then this Oil-Free Vegan Jollof Rice is your ticket to flavor town!
Ingredients
Base Ingredients:
- 1 cup long grain rice (of choice) *
- Boiling water
Skillet Ingredients:
- 1 large red onion, small dice
- 1 medium red bell pepper, small dice
- 1 small jalapeno pepper, seeds removed, fine dice (optional)
- 5 green onions, sliced
- 1 Tablespoon minced garlic
- 3 Tablespoons tomato paste
- 2 cups low-sodium vegetable broth *
- 1 cup petite diced tomatoes (from can)
- 1 Tablespoon tahini
- 1 to 3 teaspoons pure maple syrup *
Spice/Herb Ingredients:
- 1 teaspoon onion powder
- 1 teaspoon garlic powder
- 1 Tablespoon curry powder *
- 2 teaspoon dried crushed thyme leaves *
- Pinch ginger powder
- ¼ to 1 teaspoon sea salt (+/-)
- 2 bay leaves
Instructions
- Rinse the rice well in a fine mesh sieve, then place in a glass bowl, cover with boiling water, then allow to soak uncovered for 20 minutes, then drain off the water, shake well to remove excess water, then set aside until Step 5.
- Place the Spice/Herb Ingredients in a small bowl, mix well, set aside.
- In a large skillet, add the diced onions, red bell pepper, jalapeno pepper, and green onions sauté over medium-high heat for 7 to 9 minutes to soften, add a splash of water, if needed to avoid burning.
- Then lower the heat to medium, add the minced garlic and tomato paste, sauté, stir constantly for one minute.
- Then add all the soaked and drained rice and the Spice/Herb Mix to the skillet, stir to incorporate and coat the rice really well with the spices (and other ingredients).
- Then add all the remaining Skillet Ingredients, stir well to incorporate, tuck in the bay leaves, then bring the mixture to a boil, then immediately lower to a simmer. Cover with a tight-fitting lid and allow to simmer with a very low boil for 20 minutes, check to see if the rice is tender after 20 minutes. This is largely dependent upon the brand of rice and type of rice. If not tender, then continue to cook 5 to 10 minutes longer or until the rice is perfectly tender. If needed, add a couple tablespoons of water. Repeat, if necessary, until the rice is tender.
- Once the rice is perfectly tender, remove from the stove and allow to sit uncovered for 10 minutes. After 10 minutes, stir well, serve, and enjoy!
Notes
*Please reference the blog post for Tips for Success, Pantry Items Used, Storage and Freezing, and Kitchen Products Used.
*Sea Salt: Please adjust the sea salt based upon your family’s sea salt preferences and/or based upon dietary needs.
*Serving: 4 to 6 (makes 6 ½ cups)

This post contains affiliate links, and we may receive a very small commission if you purchase through those links at no additional cost to you. Thank you for supporting Monkey and Me Kitchen Adventures! For more information, see our disclosures here.
This was delicious! I added some black eyed peas to make it more filling, along with white pepper and some smoked paprika.
Hi there Vee,
We are are so happy that you enjoyed this recipe. Thank you so much for the great review.
-Ameera and Robin
My husband is Nigerian and I’ve eaten Jolloff rice many times, but not since going WFPBed. I’ve been wanting to WFPB it and was so glad when I saw that you had done it. This rice is absolutely delicious! Both my husband and I had second and third helpings. I’ve made it twice already and it will go into our regular rotation. Thanks for this great recipe!
Hi there Kerry,
YAYYYYY!!! We are so happy that you gave this recipe a try and that you and your husband enjoyed it. We truly appreciate your wonderful comments and review. Thank you so much for taking time to leave it!
-Ameera and Robin