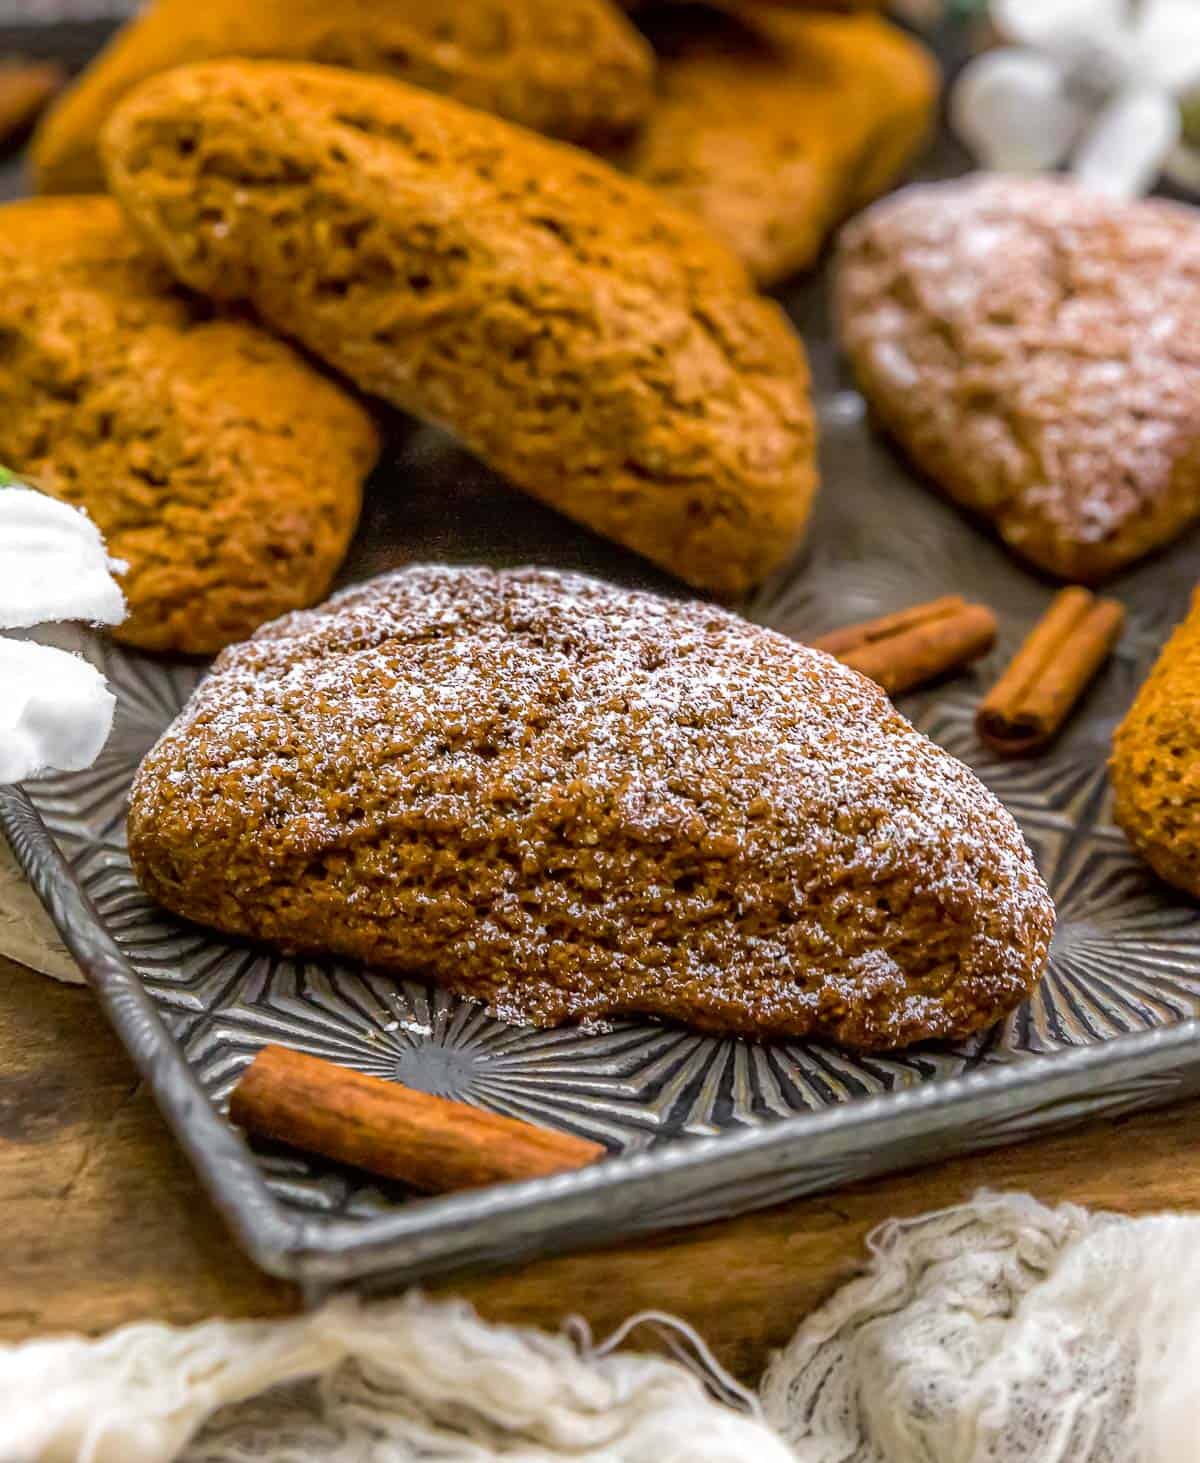
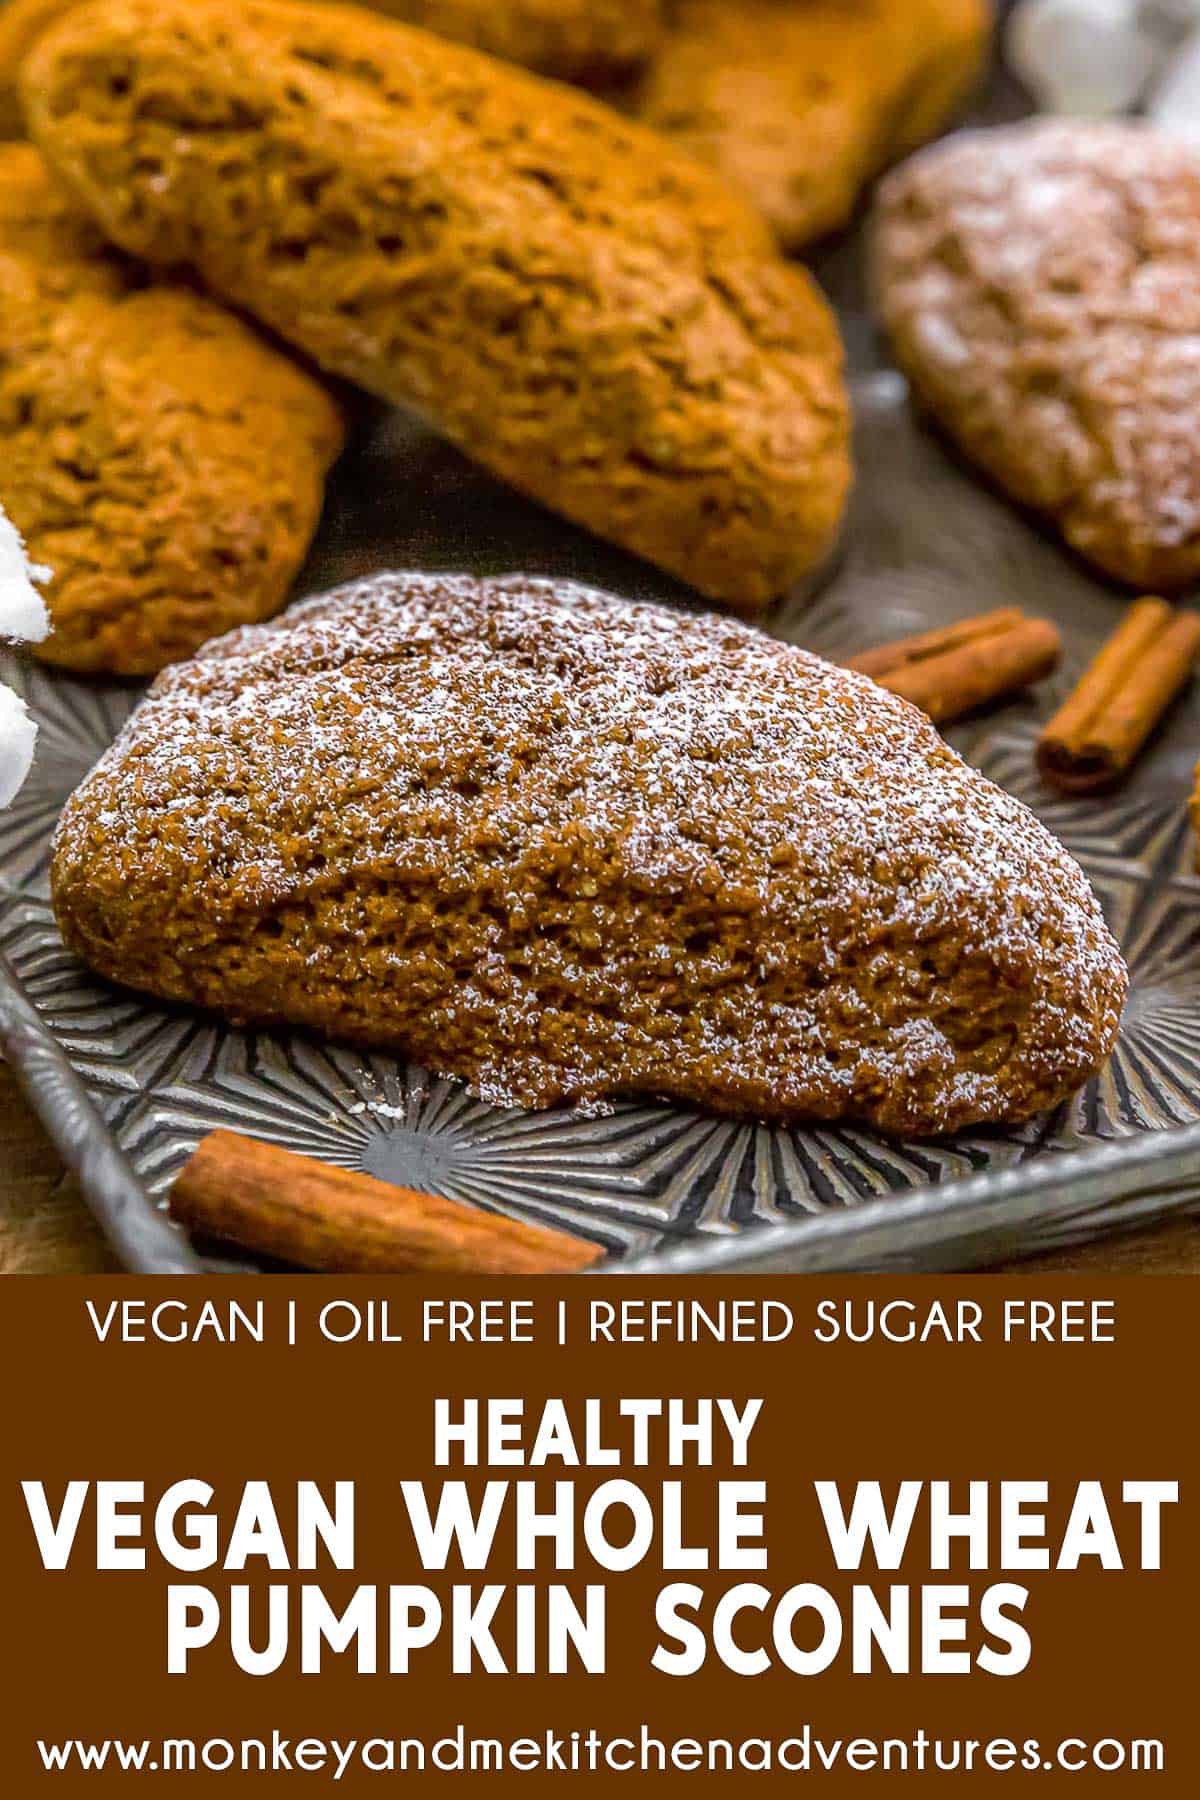
Healthy Vegan Whole Wheat Pumpkin Scones! If you’re craving easy vegan baking with wholesome ingredients, these scones are a delicious go-to and great with a cup of coffee or tea.
These Healthy Vegan Whole Wheat Pumpkin Scones are soft, hearty, and irresistibly cozy: packed with warm pumpkin pie spices and an extra cinnamon boost that makes every bite feel like fall in the best way. Lightly sweet and naturally satisfying, they turn out tender and wonderfully textured, with a delicate crumb that’s perfect for breakfast or an anytime snack when you want something comforting but still feel-good.
Whole Food Plant Based, Vegan, plant based, oil free, refined sugar free, no highly processed ingredients.
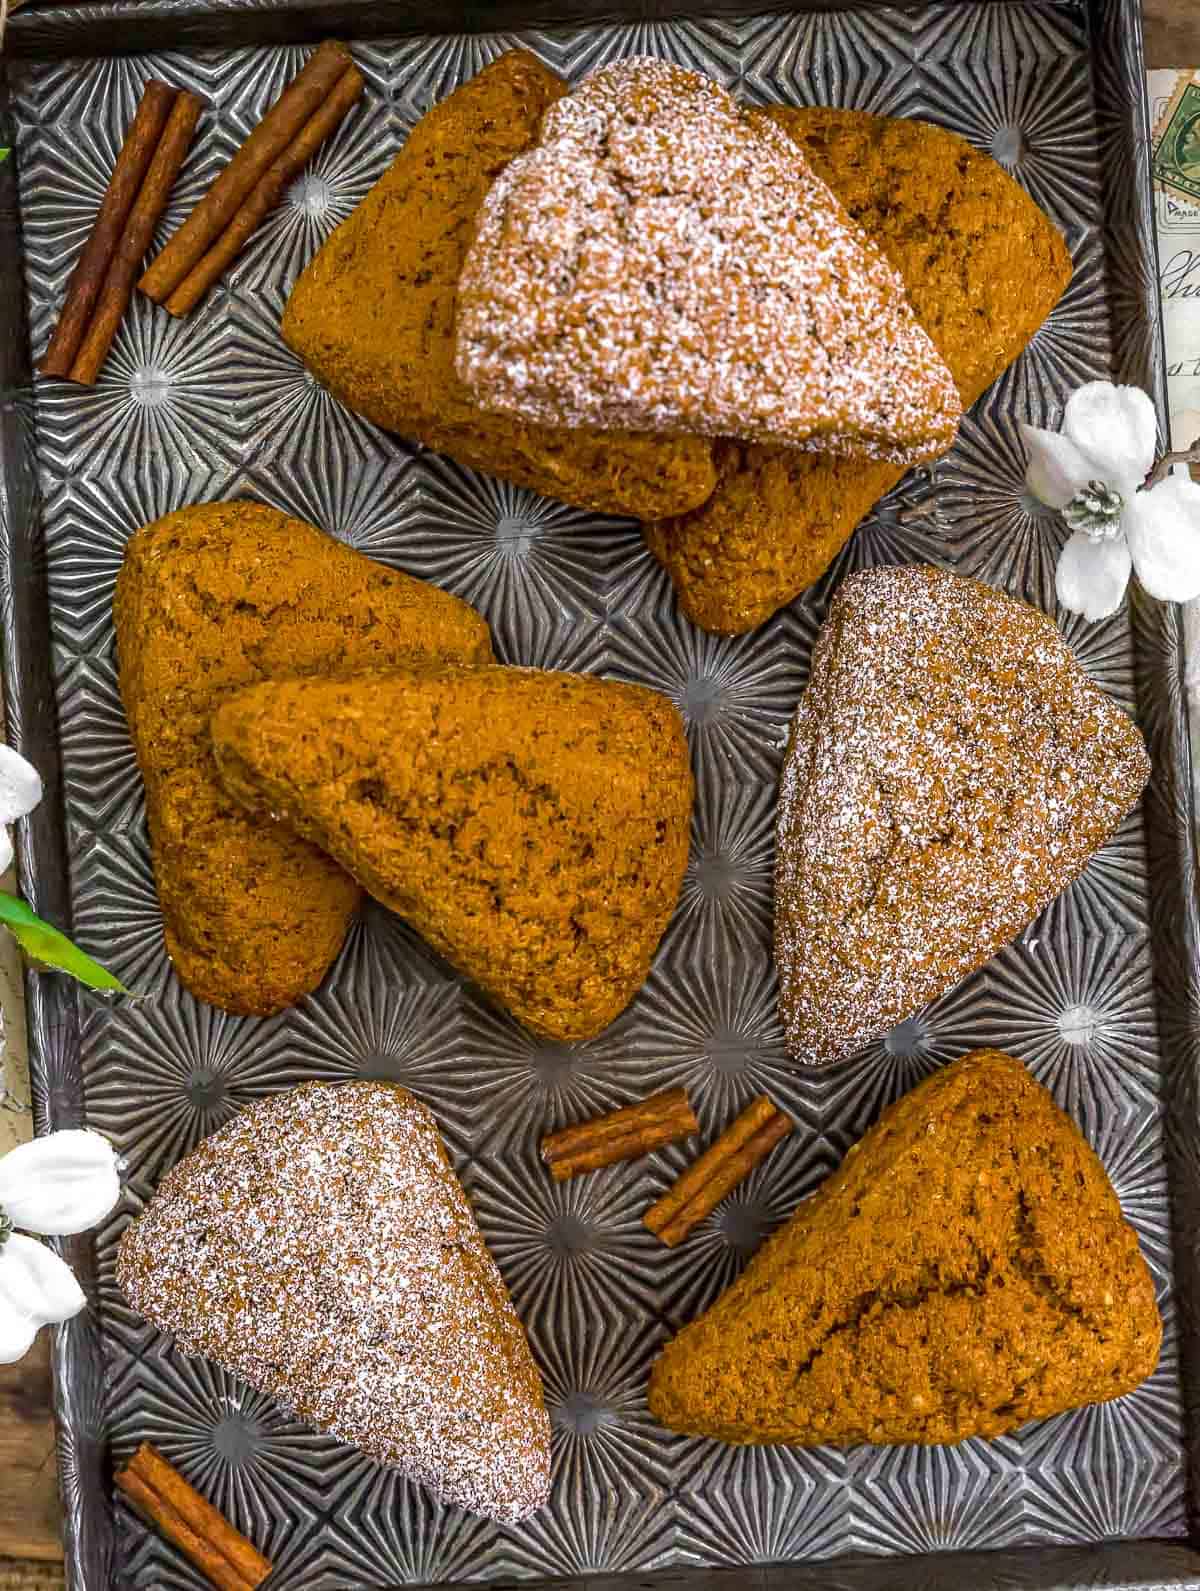
Hi there, Ameera here!
Everyone devoured these pumpkin scones, and honestly, we didn’t stand a chance. Yasmeen and Yara both loved them, and we quickly turned into that “hands off my scone” kind of family. I’m not even exaggerating: we fought over the last one, which is the ultimate review in our house.
So yes, you’ve gotta give this one a try. If you’re looking for healthy vegan pumpkin scones that taste absolutely indulgent (without being overly sweet), consider this your sign to bake a batch ASAP.
Tips for Success:
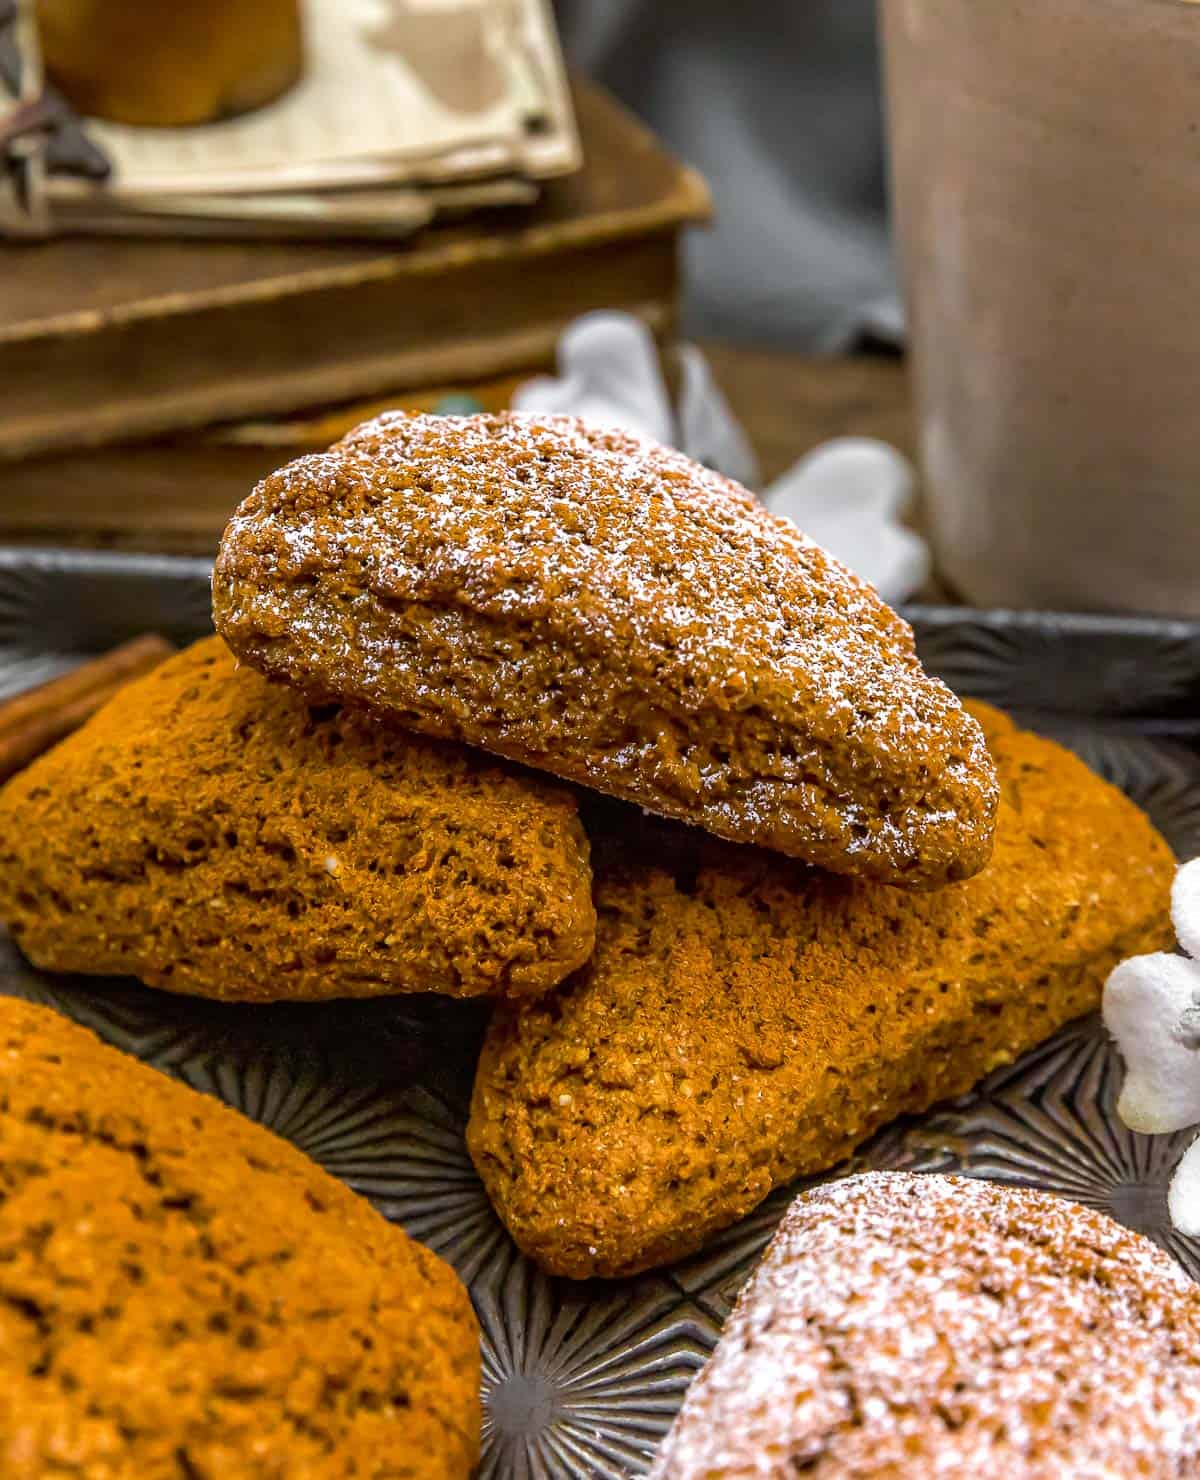
- Flavor Profile: These Healthy Vegan Whole Wheat Pumpkin Scones are soft, fluffy and filled with delicious pumpkin pie spices with and extra boost of cinnamon. Lightly sweet, these healthy scones are moist with great texture perfect for breakfast or as a delicious snack.
- Dough: When mixing the dough in the bowl, use a stiff wooden spoon, turning the mixture over and over until the flour has been completely incorporated. The dough will initially seem dry, but keep mixing with the stiff wooden spoon to fully incorporate the flour, eventually it will all mix in, and you will be left with a stiff dough that is slightly sticky; that is exactly what you want.
- Purpose of the Lemon Juice: Lemon juice is used in baking to trigger chemical leavening and tenderize dough.
- Baking: While baking the scones will puff up high, then toward the very end of the baking period, they will come down a little bit, but they should still remain decently high.
- Scone Texture: These healthy scones have a slightly different texture than a traditional scone that is filled with butter. Traditional scones are crumblier. These scones are not crumbly, but they are soft, light and fluffy.
- Whole Wheat Flour Substitutions: We used whole wheat flour, but you can use whole wheat pastry flour or all-purpose flour with the understanding that the texture may be slightly different.
- Measuring Flour: Spoon the flour into the measuring cup and level off. Do not pack it in and do not scoop it in.
- Sweetness: These scones are very lightly sweet. We enjoyed the slight extra sweetness that the maple syrup glaze adds to the scones.
- Cinnamon: Not all cinnamon is created equal. Some brands of cinnamon are light and passively flavored while others are strong, sharp, and astringent. You can use your favorite cinnamon in this recipe; however, we suggest starting on the low end until you have a strong understanding of how the cinnamon that you are using in this recipe impacts the flavor.
- Pumpkin Pie Spice: Not all pumpkin pie spices are the same. Some brands accent different spices. Find one that you love. We enjoy blends that are lighter on the cloves thereby reducing any sharp notes. Feel free to use your favorite pumpkin pie spice in this recipe.
- Table Salt: If using table salt, you should use less table salt than the amount listed in the ingredients as sea salt crystals are larger than table salt crystals. Since table salt crystals are very fine, less table salt is required to season a dish. We would suggest starting with about 1/4 to 1/2 the amount of sea salt listed. You can always add more salt but cannot take it away. We recommend using sea salt as it is less refined than table salt.
Leftovers and Freezing:
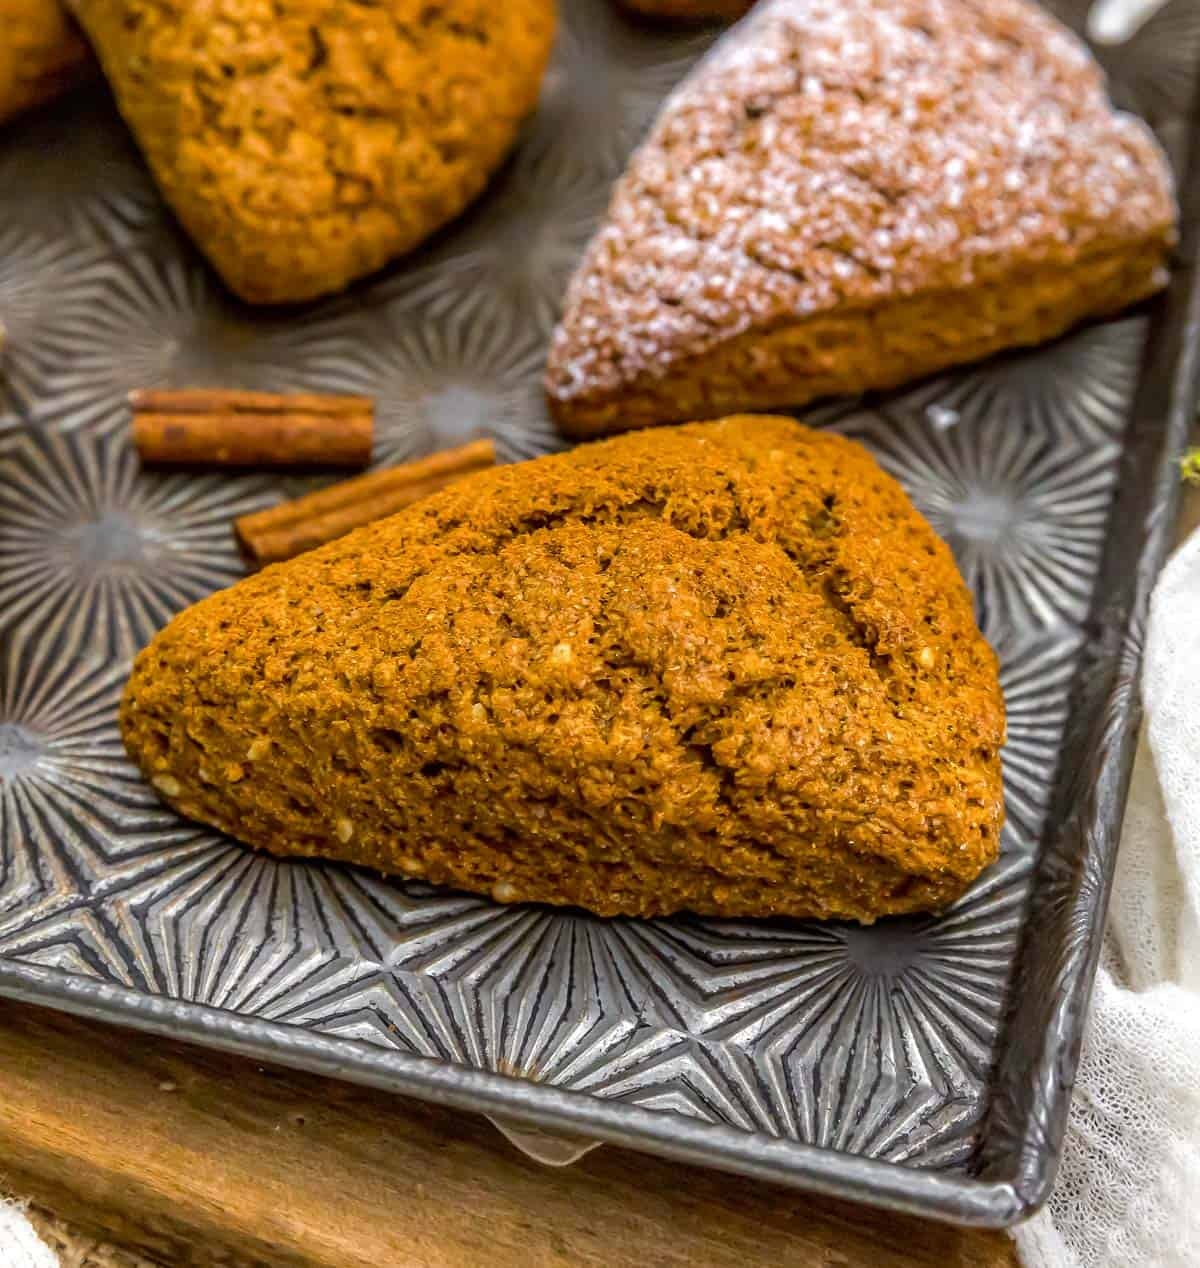
Leftovers will generally keep 3 days at room temperature . Store in a covered air-tight container.
These scones freeze well.
Pantry Products:
- Molasses: We used Grandma’s Unsulfured Original Molasses. Feel free to use your favorite molasses.
- Almond Butter: We used Artisana Organics Raw Vegan Almond Butter. Feel free to use your favorite raw almond butter in this recipe. Read the label, make sure the only ingredient is raw almonds. Do not use a salted or sweetened almond butter.
- Sea Salt: Please adjust the sea salt based upon your family’s sea salt preferences and/or based upon dietary needs.
Kitchen Equipment:
- Large cookie sheet (14×20 inches – or similar size)
- Silicone pads or parchment paper
If you try these delicious scones, we would love to know if you enjoy it as much as we do! Please leave us a review! Post a picture on Facebook or Instagram and tag us! We would love to hear from you.
Print
Healthy Vegan Whole Wheat Pumpkin Scones
- Prep Time: 20 Minutes
- Cook Time: 16-17 Minutes
- Total Time: 36 Minutes
- Yield: 8 Scones 1x
- Category: Dessert
- Method: Oven
- Cuisine: American
- Diet: Vegan
Description
These Healthy Vegan Whole Wheat Pumpkin Scones are soft, hearty, and irresistibly cozy: packed with warm pumpkin pie spices.
Ingredients
Dry Ingredients
- 2 cups (9.1 oz.) whole wheat flour *
- 2 teaspoons baking powder
- ½ teaspoon baking soda
- ½ cup coconut sugar (or other dry sugar) *
- ½ teaspoon cinnamon *
- 2 teaspoons pumpkin pie spice *
- ½ teaspoon sea salt *
Wet Ingredients
- ½ cup pumpkin puree (canned) *
- ¼ cup almond butter *
- 1/3 cup unsweetened applesauce
- ½ teaspoon molasses *
- 1 teaspoon vanilla
- 2 Tablespoons pure maple syrup
- 1 teaspoon lemon juice
Optional Toppings
- Glaze with pure maple syrup
- Sprinkle Whole Food Plant Based Powdered Sugar
- Sprinkle chopped walnuts (or nuts of choice)
- Sprinkle cinnamon
Instructions
- Preheat the oven to 400 F, center rack.
- Line a large cookie sheet with parchment paper (or silicone pads), set aside.
- Place the all the Dry Ingredients into a large mixing bowl, whisk to combine.
- Add all the Wet Ingredients to the dry ingredients and mix thoroughly by hand with a stiff wooden spoon to incorporate all the ingredients. At first it will feel like the dough is too dry, keep turning the dough and mixing in the bowl until all the ingredients are completely incorporated and the flour is fully incorporated. The dough will be stiff and slightly sticky. Press the dough into a dough ball with the wooden spoon.
- Sprinkle flour out onto a flat surface, then dump the dough ball onto the lightly floured surface. Pat and press the dough together to create a thick round disk about 7 inches in diameter. The disk should be about ¾-ish inch thick. With the sides of your (floured) palms form to create a circle that is cohesive, round, and even in thickness.
- Using a sharp knife or bench scraper, cut the dough in half, then in half again. You now have four triangular pieces. Then cut each piece in half, you now have 8 pieces in total (cut and shaped like a pizza).
- Gently pick up each piece and place onto the baking sheet, blunt or dull the sharp edges by slightly rounding them out, then place onto the parchment paper (or silicone pad) covered baking sheet about 3 inches apart.
- Optional Toppings Instructions:Option 1: Glaze with Maple Syrup: Before baking use a pastry brush or your fingers, completely glaze the tops and sides of each of the scones with maple syrup. Option 2: Sprinkle with Whole Food Plant Based Powdered Sugar: After baking and completely cooled, sprinkle with Whole Food Plant Based Powdered Sugar (or regular powdered sugar if your diet allows).Option 3: Sprinkle with Chopped Walnut (or nuts of choice): Before baking, lightly press the tops with chopped walnuts (or include the chopped walnuts inside the dough rather than on top!)Option 4: Sprinkle with Cinnamon: Before baking sprinkle with a dusting of cinnamon.What we did: Before baking, we glazed the unbaked scones with maple syrup and then we then sprinkled the tops with cinnamon. For half of them, after they completely cooled, we sprinkled some Whole Food Plant Based Powdered Sugar on top for some extra pizzaz.
- Place in a 400 F preheated oven (center rack) for 16 to 17 minutes or until the scones are set.
- Remove from the oven and allow the scones to cool on the baking sheet for 5 minutes, then move them to a cooling rack. Allow to cool for 20 minutes, then enjoy!
Notes
Please reference the blog post for Tips for Success, Pantry Items Used, Storage and Freezing, and Kitchen Products Used.
Sea Salt: Please adjust the sea salt based upon your family’s sea salt preferences and/or based upon dietary needs.
Servings: Makes 8 scones

This post contains affiliate links, and we may receive a very small commission if you purchase through those links at no additional cost to you. Thank you for supporting Monkey and Me Kitchen Adventures! For more information, see our disclosures here.
Leave a Reply