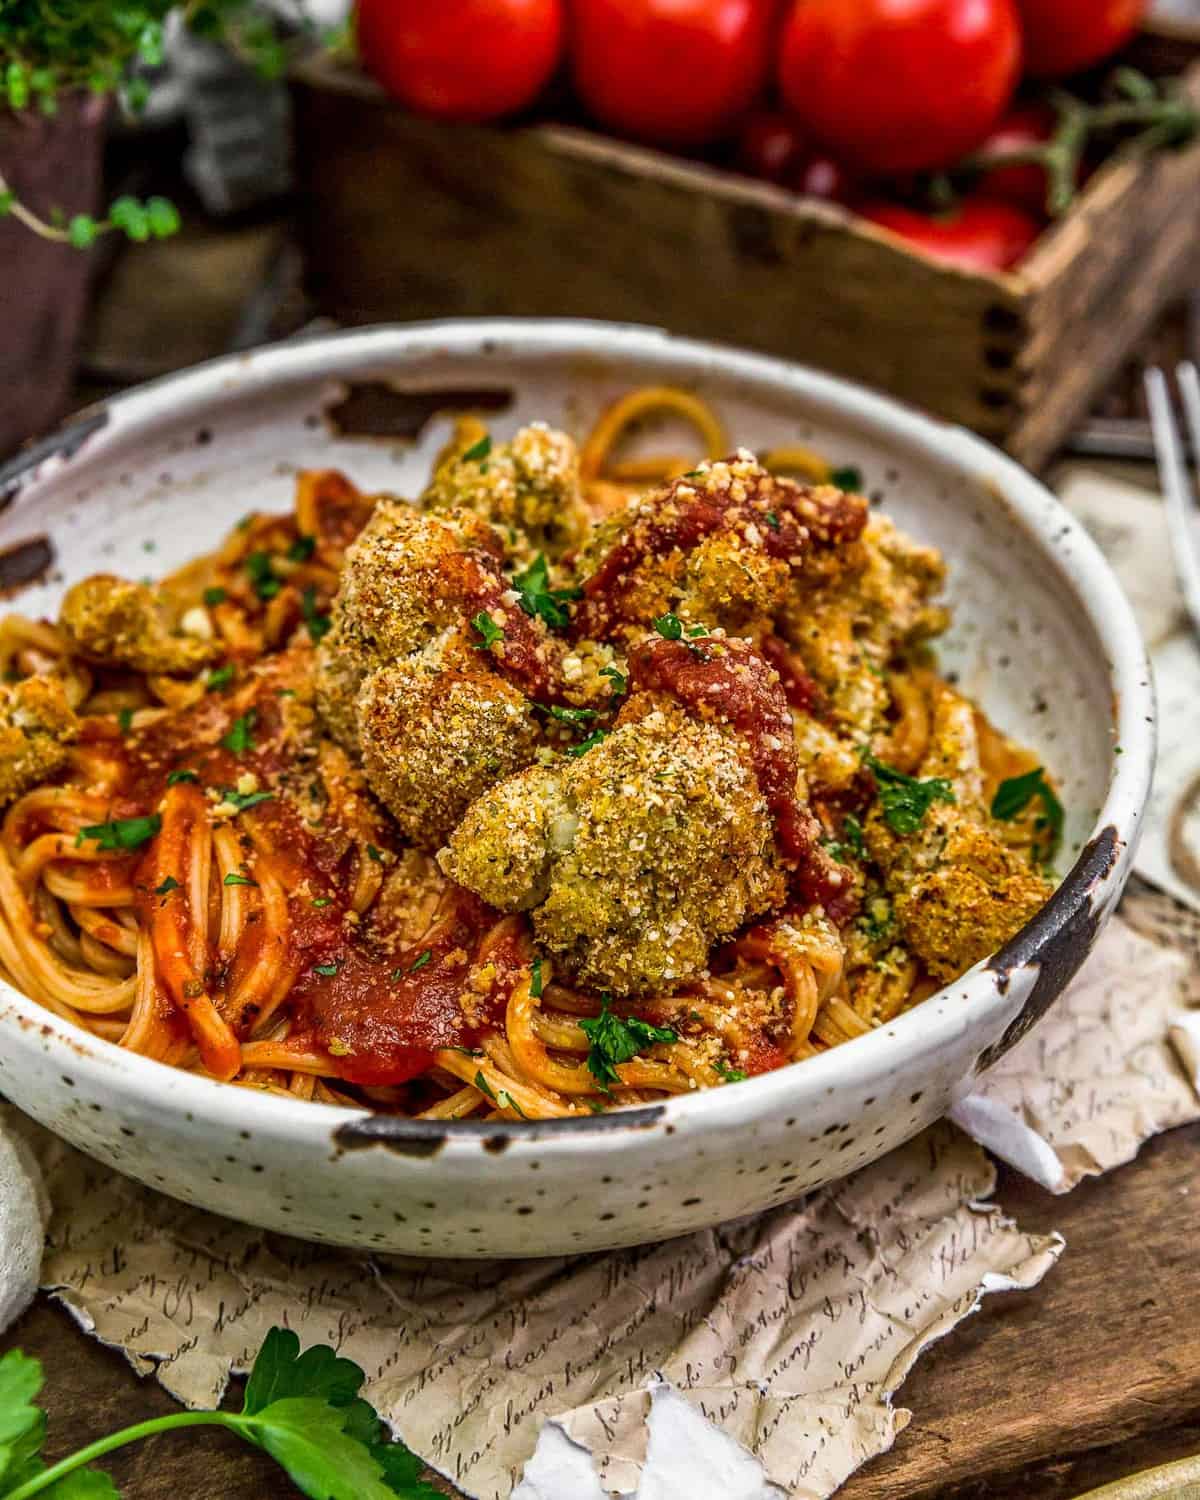
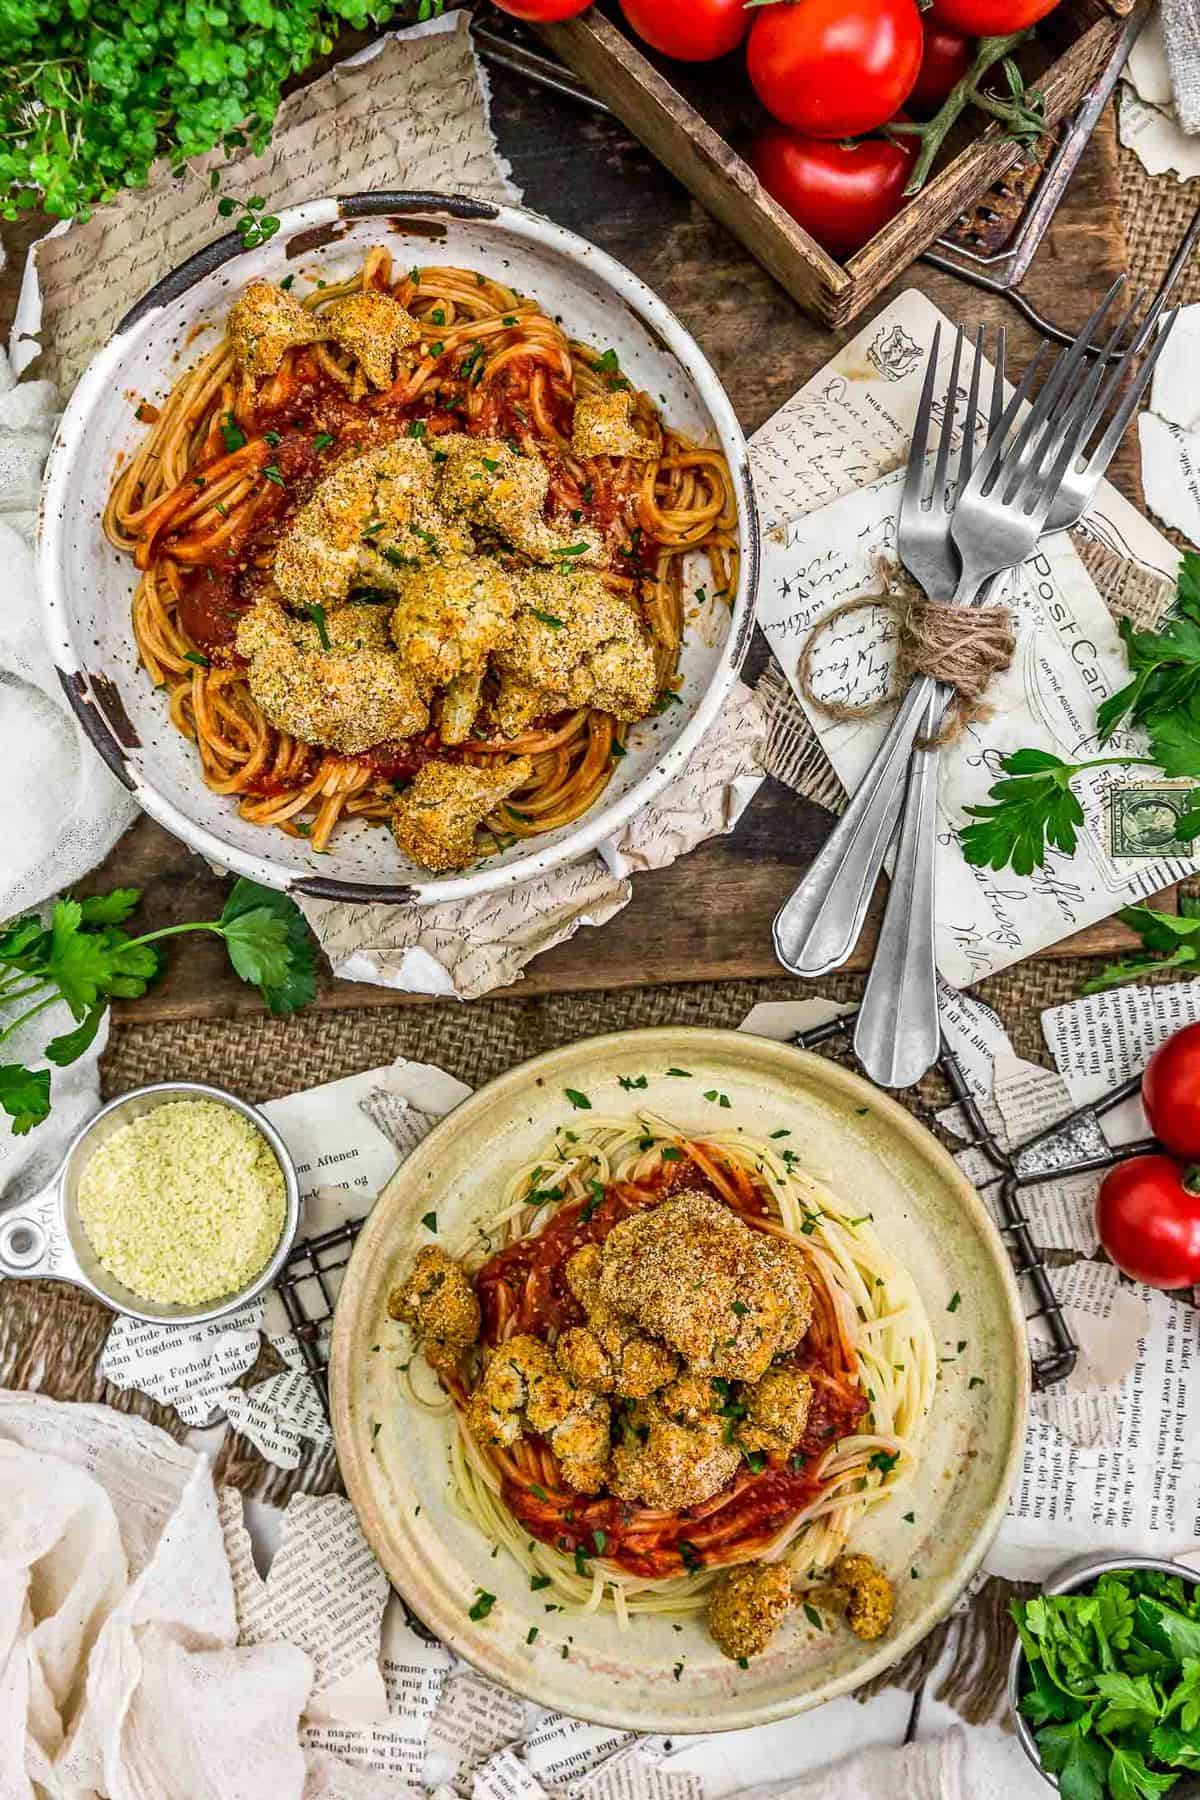
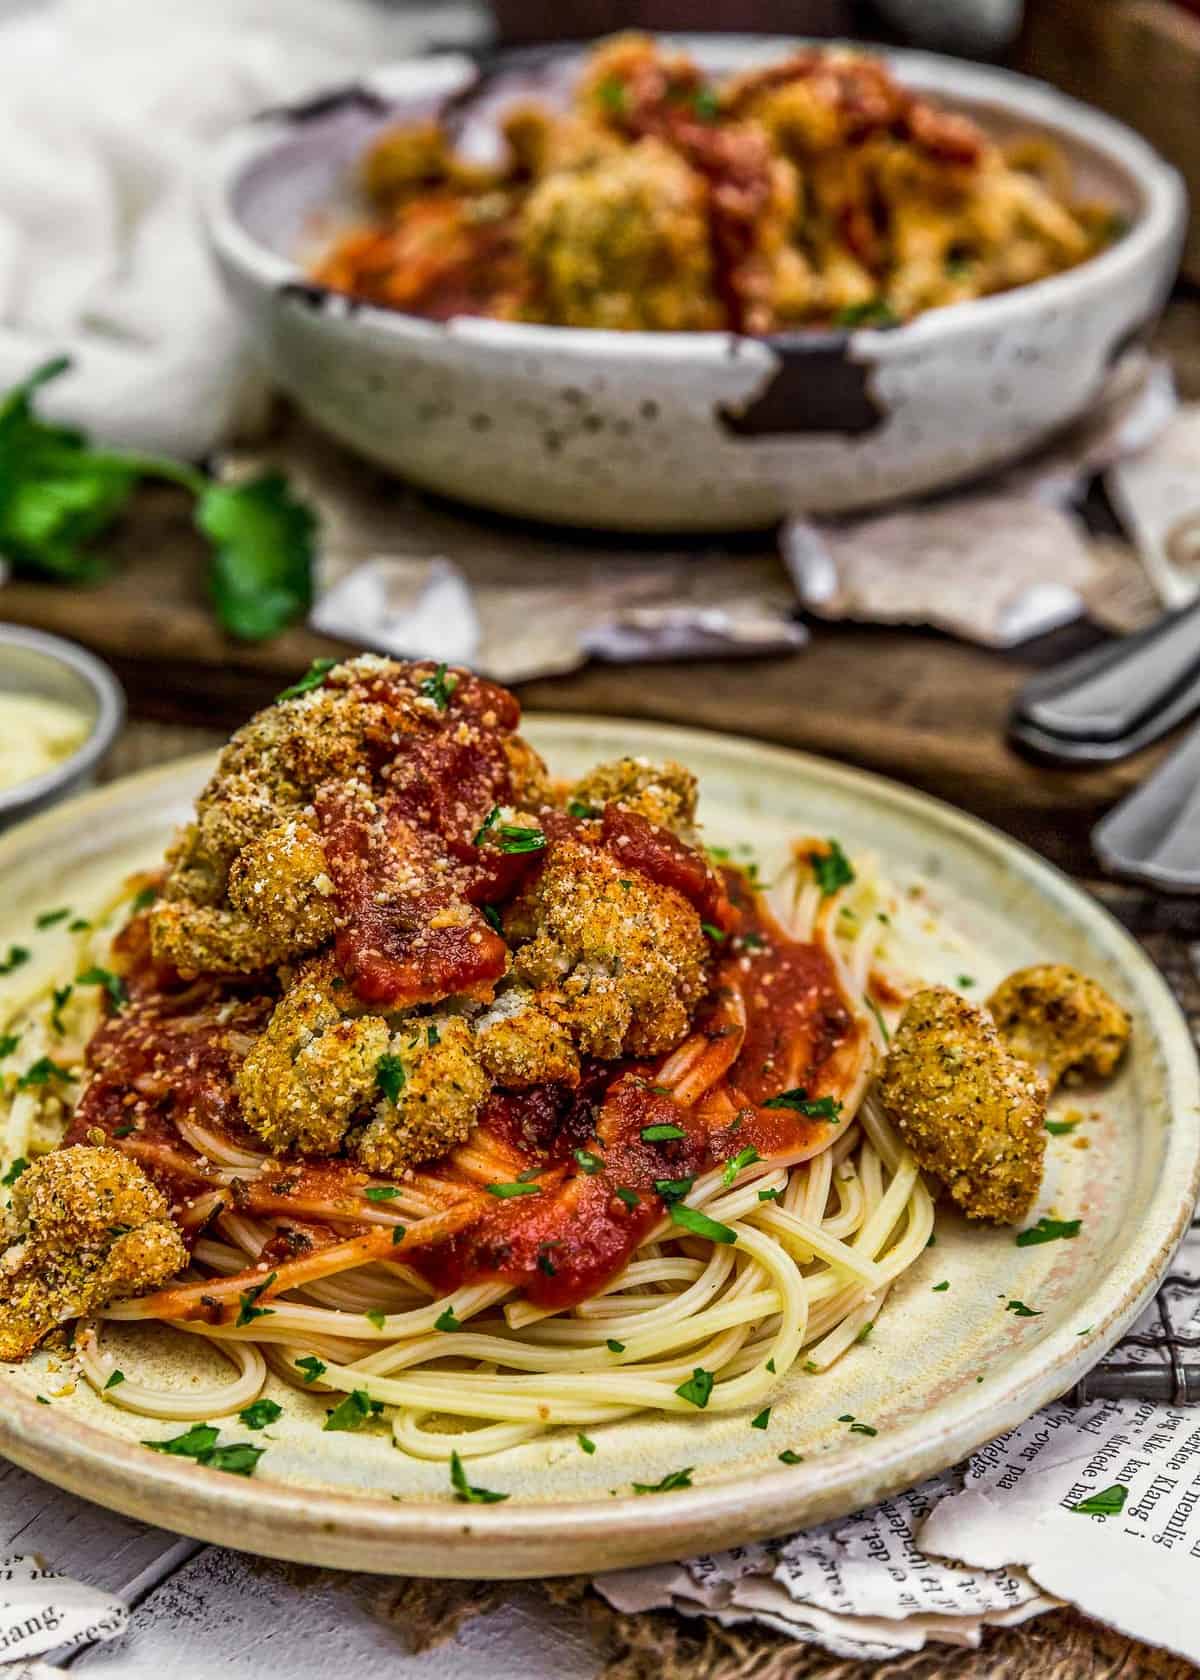
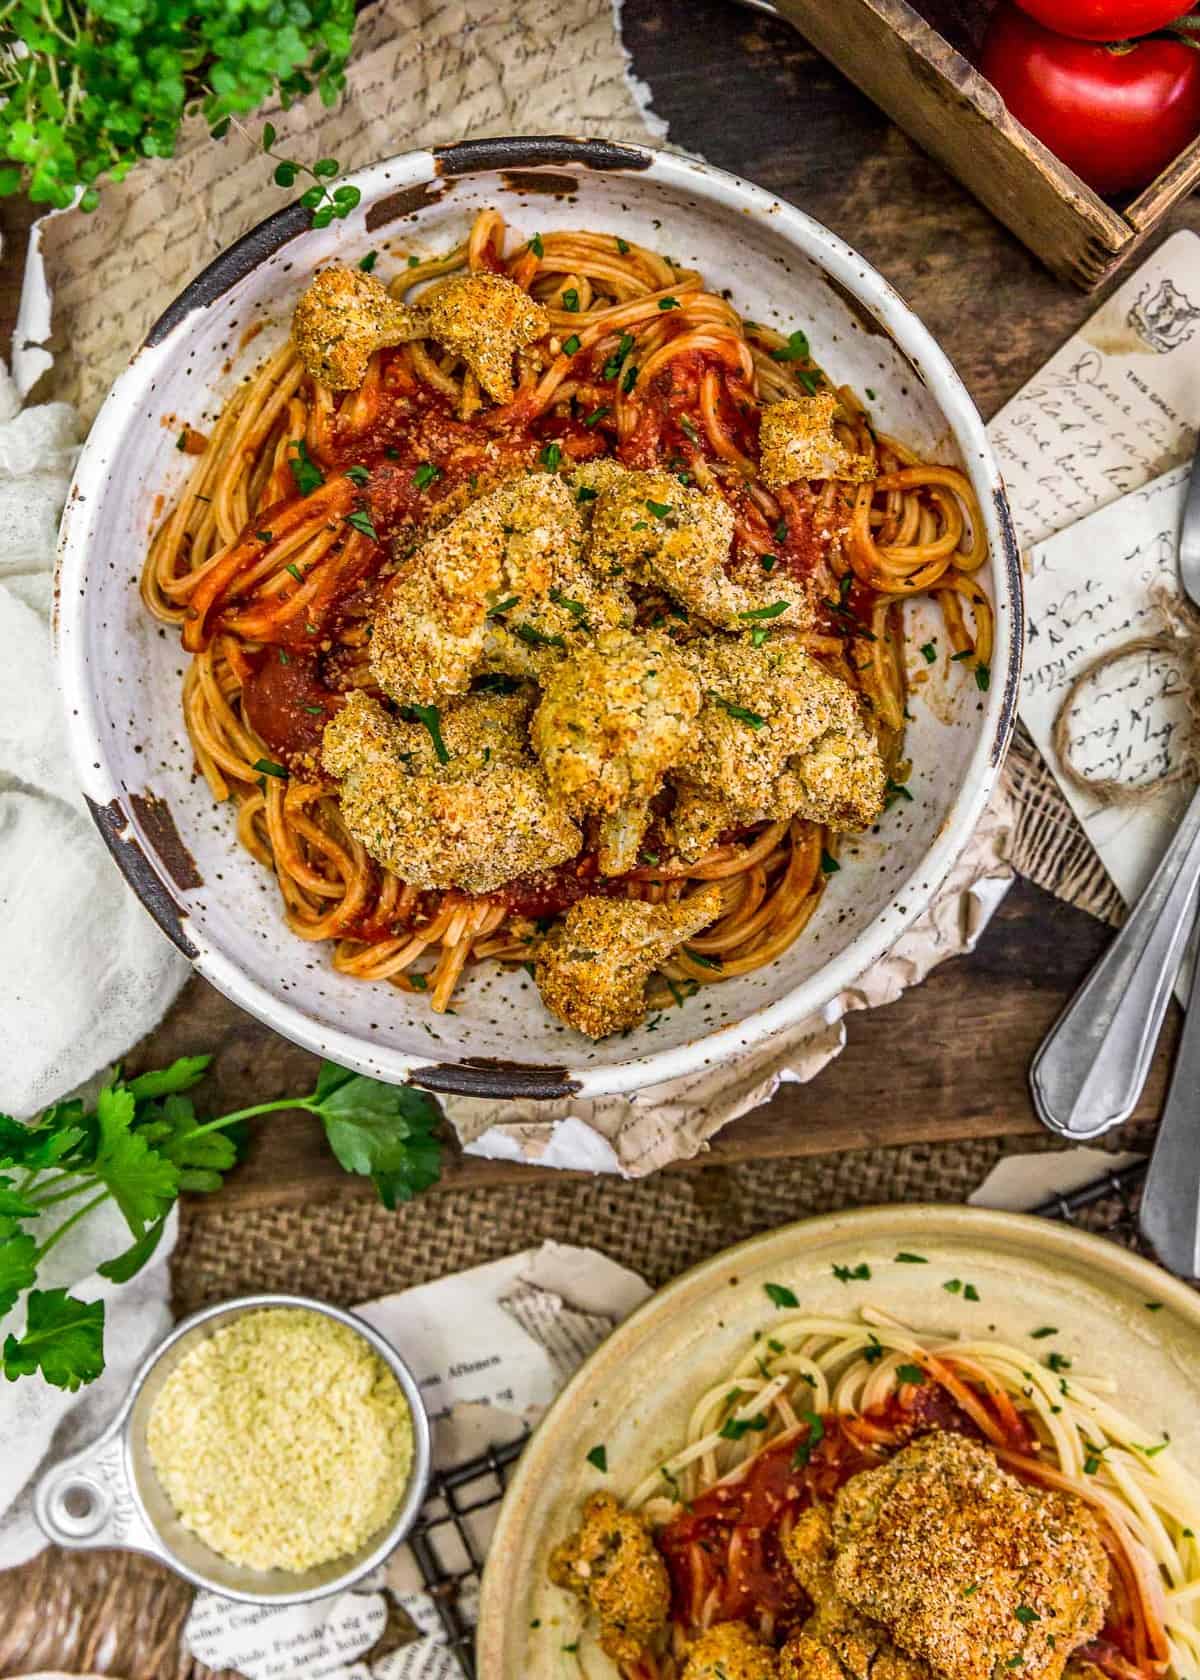
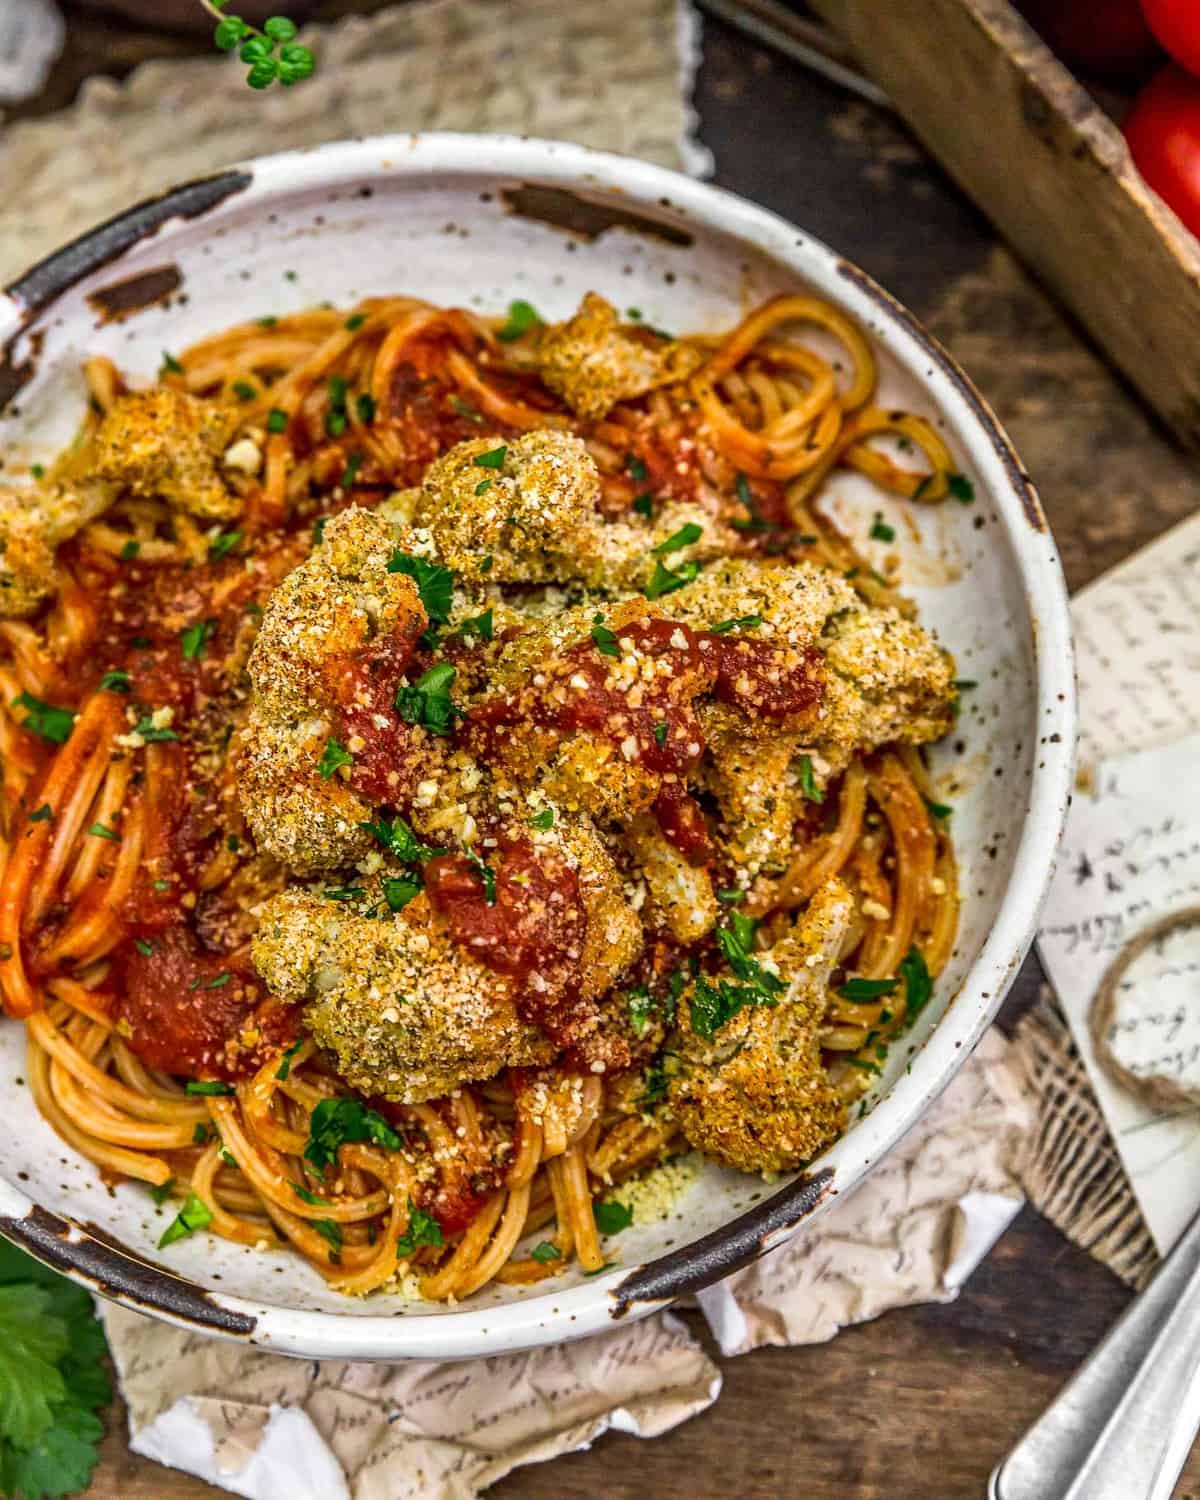
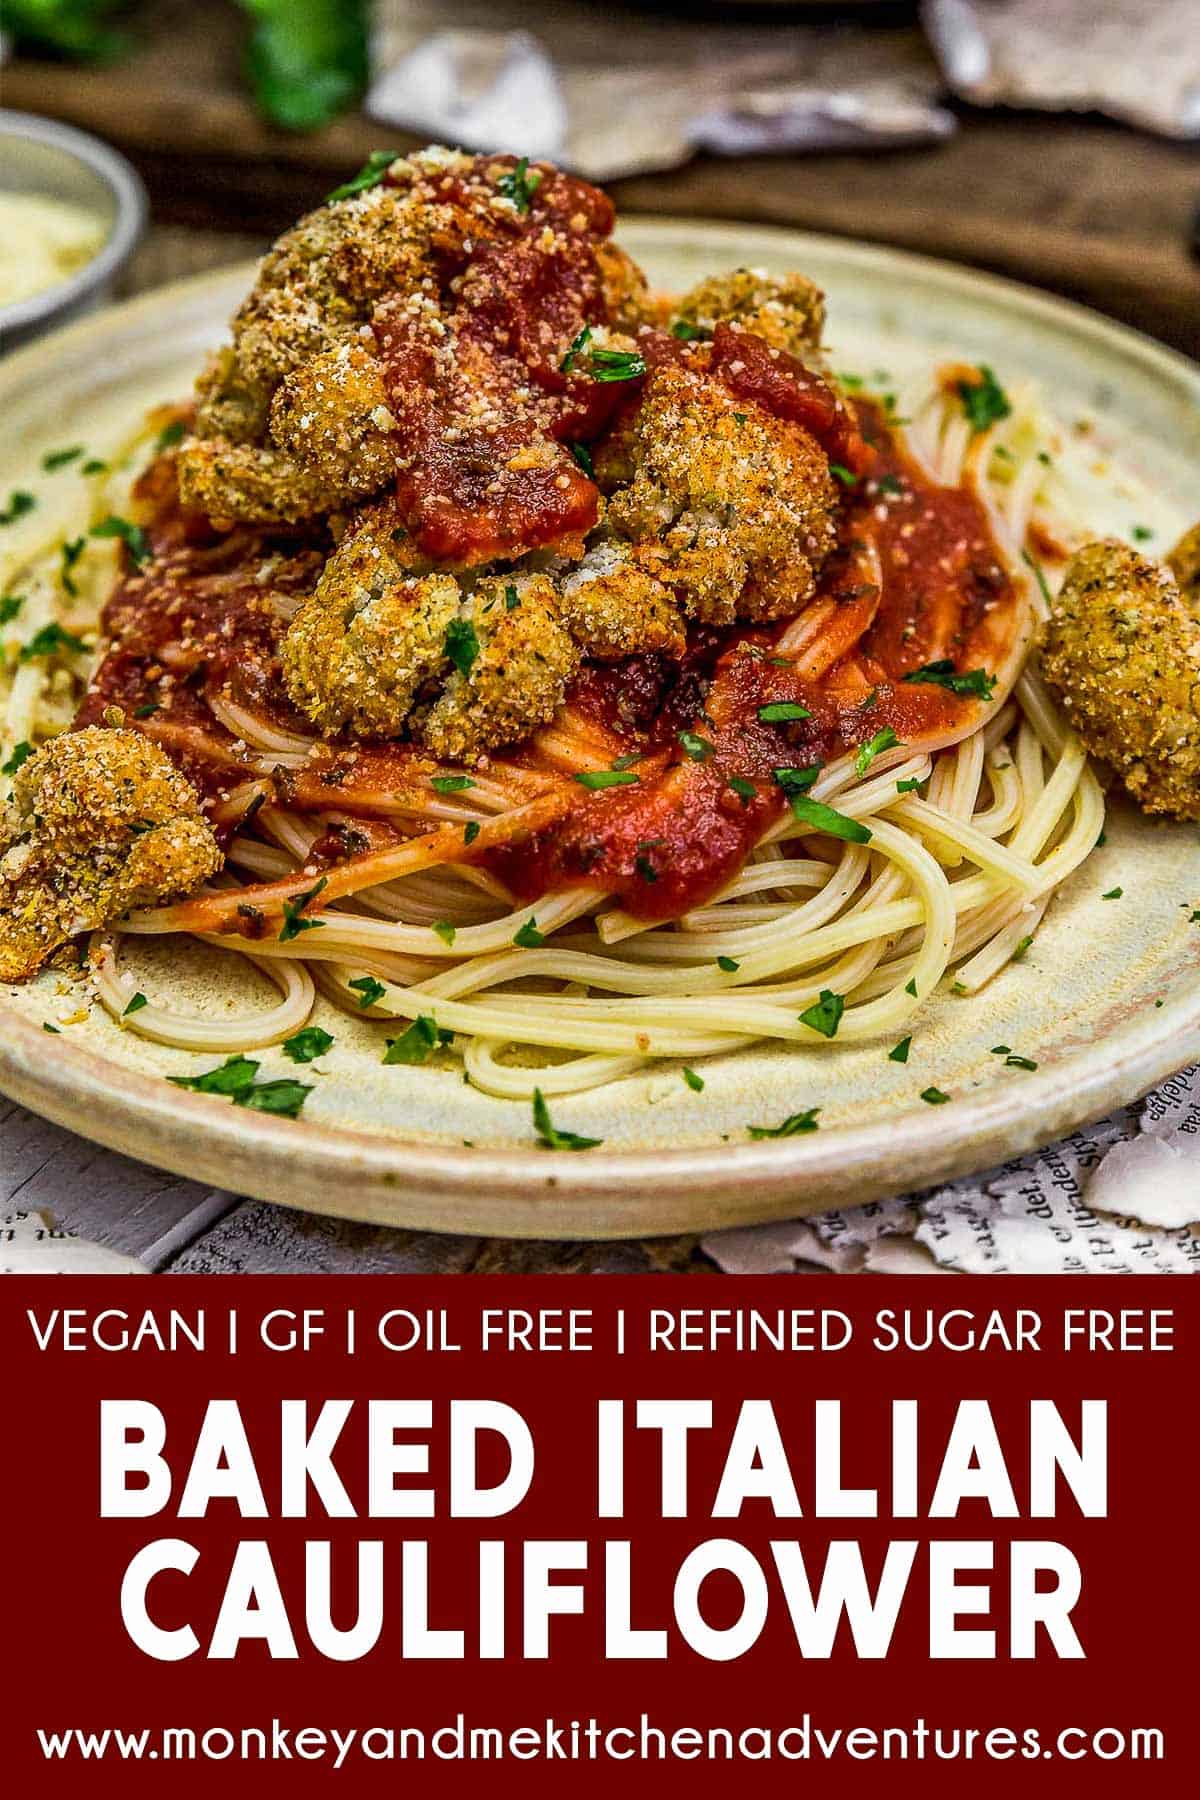
Cauliflower, an ultra-versatile veggie, it can be almost anything! Healthy, comforting, and delicious, this oil-free Baked Italian Cauliflower features nourishing cauliflower that is battered, coated in tantalizing Italian seasonings, and baked in the oven to perfection. Pair it up with your favorite pasta or eat as finger food with marinara dipping sauce! The whole family will be delighted with your culinary skills in the kitchen!
Whole Food Plant Based, vegan, plant based, oil free, refined sugar free, gluten free and no highly processed ingredients.
Hi there, Ameera here!
This Whole Food Plant Based conversion had us fighting for the leftovers. So gosh darned tasty! Poor Dad was late to the party and was seriously upset that there were only a few left.
He ate those and begged for us to make them again, which of course we did. He is our “official recipe taste tester” after all – a job he takes very seriously. He wants all our Readers to know that.
This post contains affiliate links, and we may receive a very small commission if you purchase through those links at no additional cost to you. Thank you for supporting Monkey and Me Kitchen Adventures! For more information, see our disclosures here.
Baked vs Fried
I think it is important to understand that there is a distinct texture difference between fried foods and baked foods. While bake foods may initially have a “crispy” coating once pulled from the oven, the coating will start to soften as the baked and battered veggie cools.
This recipe creates delicious battered cauliflower that is coated and a flavorful panko coating. It totally satisfies; however, don’t expect these tasty baked cauliflower florets to be crispy-crunchy like a traditional frying method. We love them for what they are – a delicious WFPB version.
Tips for Success
- Bake them in a spaced out, single layer. If you pile them up on top of each other or put them too close together, they steam rather than bake and they will be soggy.
- Take the necessary time to ensure that all the sides of the cauliflower have been evenly coated in the dredge and panko coating.
- You control the tenderness of the cauliflower. Some like their cauliflower very tender while others prefer them less tender.
- Eat them immediately. The cauliflower florets will eventually become less crisp over time as the moisture will start to come out of the cauliflower and saturate the breading.
- Serve them with your favorite pasta or dip them in a delicious marinara.
I’ll let Mom tell you more!
Hi! Robin here.
It’s true, TP109 struggles with the names of the WFPB doctors as there are so many and each of them have just slightly different perspectives on the WFPB diet. But it’s all good, because he is much healthier now than ever. All his numbers are excellent! There is no doubt in our minds that this lifestyle works.
We are happy to create WFPB recipes for our family and yours! We hope you give this deliciousness a try! We just know you are going to love it!
If you try this delicious cauliflower dish, we would love to know if you enjoy it as much as we do! Please leave us a review! Post a picture on Facebook or Instagram and tag us! We would love to hear from you.
Products Used:
- Large baking sheet(s)
Baked Italian Cauliflower
Description
Healthy and delicious, this oil-free Baked Italian Cauliflower features nourishing cauliflower that is battered, coated in spices, and baked to perfection. Whole Food Plant Based, vegan, plant based, oil free, refined sugar free, gluten free, no highly processed ingredients.
Ingredients
- 2 lbs. cauliflower florets
- 2 Tablespoons almond butter
- 3 Tablespoons unsweetened plain plant milk
Crumb Mixture Ingredients:
- 1 ½ teaspoon onion powder
- 1 ½ teaspoon garlic powder
- ¾ teaspoon sweet paprika
- 1 Tablespoon + 1 teaspoon Italian seasoning
- ¾ teaspoon sea salt (+/-) *
- pinch black pepper
- 2 Tablespoons brown rice flour (or flour of choice)
- 1/2 cup panko crumbs
- 3 Tablespoons nutritional yeast
Instructions
- Preheat the oven to 400 F.Place the oven rack towards the middle, avoiding the lower oven rack placement. If using two racks, keep them toward the center and upper position.
- Line a 14 x 20 baking sheet(s) with parchment paper, set aside.
- Place the almond butter and plant milk into a small bowl, whisk until well combined. The mixture should be like a thin-set pancake batter, set aside. Note: If too thick, add a little extra plant milk. If too runny, add a little extra almond butter, mix well.
- Place the Crumb Mixture Ingredients into a bowl, stir to combine, set aside.
- Cut the cauliflower florets into uniform sizes.Don’t cut them too small, cut off the harder ends, then place into a large bowl, drizzle the almond butter/milk mixture over the cauliflower florets. Coat the cauliflower florets with the almond butter/mixture, using your hands to ensure all sides are coated. When all are nicely coated, move the coated cauliflower to a new large bowl. (see notes)
- Then start sprinkling the almond butter/milk coated florets with the seasoning mixture. Keep turning them in the bowl as you continue sprinkling them with the seasoning mixture.Make sure they are all coated really well. Then place them individually onto the parchment lined baking sheet(s), allowing space. Giving them space will ensure they are crispy. If they are close together, they will not get crispy as they will steam rather than crisp up in the oven.
- Bake in a 400 F oven for 20 minutes. If using two baking sheets, rotate them at the half-way mark (10 minutes).
- Serve immediately on top of your favorite pasta with your favorite marinara sauce or our Easy Healthy Marinara Sauce.
Notes
*Tips for Success:
- You will need 2 large bowls: After you have put the cauliflower florets into a large bowl and coated them with the almond butter/plant milk mixture, you will then remove them from that bowl and add them to a clean, large bowl. This helps when you are sprinkling the crumb mixture over the cauliflower, so it sticks to the cauliflower and not the inside of the bowl (if you only used one bowl).
- Trimming the Cauliflower Florets: We like to buy fresh cauliflower florets in a 2 lb. bag at our local grocery store. We then trim off any hard parts as they tend to take longer to bake. We typically end up with about 8 to 9 cups of trimmed, uniform cauliflower florets.
- Placing on Parchment Paper: While it is very tempting to just dump the coated cauliflower florets onto the parchment paper covered baking sheet, take the time to place them individually onto the parchment paper. This prevents a bunch of loose crumbs from falling onto the parchment paper and burning in the oven. Place the largest pieces on the outer edges and the smaller ones in the center. The edges tend to get more heat than the center.
Notes Continued:
*Oven Baking Time: Cauliflower retains a lot of moisture. If you like your cauliflower more tender, bake them for 20 minutes or longer and if you like them el dente, then bake them shorter. They will not be as crispy as if they were battered and deep fried but will somewhat crispy and taste just as awesome!
*Sea Salt: Please adjust the sea salt based upon your family’s sea salt preferences and/or based upon dietary needs.
*Serving: 4
*Storage: Use within 4 days.

This post contains affiliate links, and we may receive a very small commission if you purchase through those links at no additional cost to you. Thank you for supporting Monkey and Me Kitchen Adventures! For more information, see our disclosures here.
Ohhhhhhhhhh my goodness, you ladies know how much I love your recipes. I’m not one for posting comments about a recipe in which I’ve changed or substituted the ingredients so I wanted to ask…do you think I could sub tahini for the almond butter?
Hi there Lynda 🙂
Thank you so much for your kind words and support; we truly appreciate! We apologize for the delayed response. Yes, tahini will work as a substitute. Depending on the consistency of your tahini, you may need to use just a little less plant milk. Additionally, the flavor will be slightly different, but still delicious. We hope you enjoy this recipe as much as we do!
-Ameera and Robin 🙂
Wow, that was so easy. They came out to crispy and yummy. They would be great to dip into a sauce. Thanks – this is a keeper.
Hi there Susan 🙂
Yaaaay!!! We are so thrilled you enjoyed this recipe. We appreciate you sharing your awesome feedback and for taking the time to write.
-Ameera and Robin 🙂
I have made this and I really enjoyed it. It was rather time consuming to make, but it was worth it! Very tasty and it tasted great with the spaghetti I made using your Easy Marinara Sauce.
Hi there Helene 🙂
Yaaay!!!! We are so glad that you gave this recipe a try and enjoyed it! And we are so thrilled that you made it with our easy marinara sauce too! We appreciate you trying our recipes and sharing your fantastic feedback with us!
-Ameera and Robin 🙂