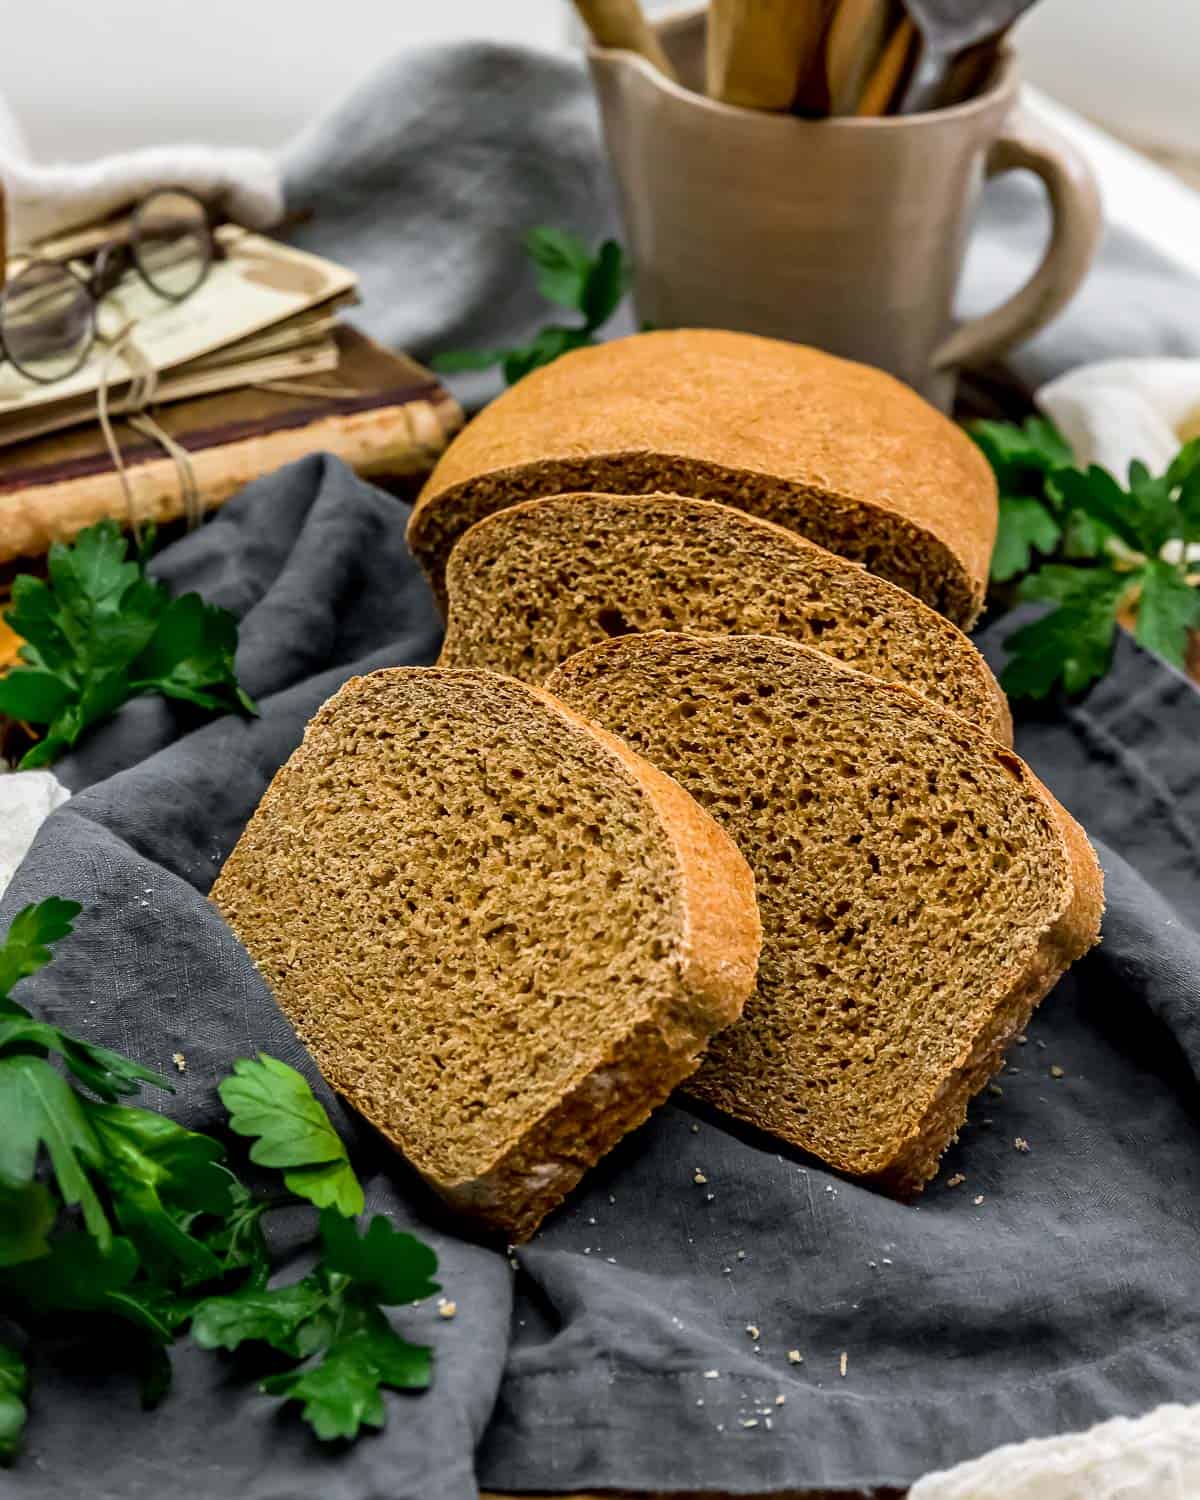
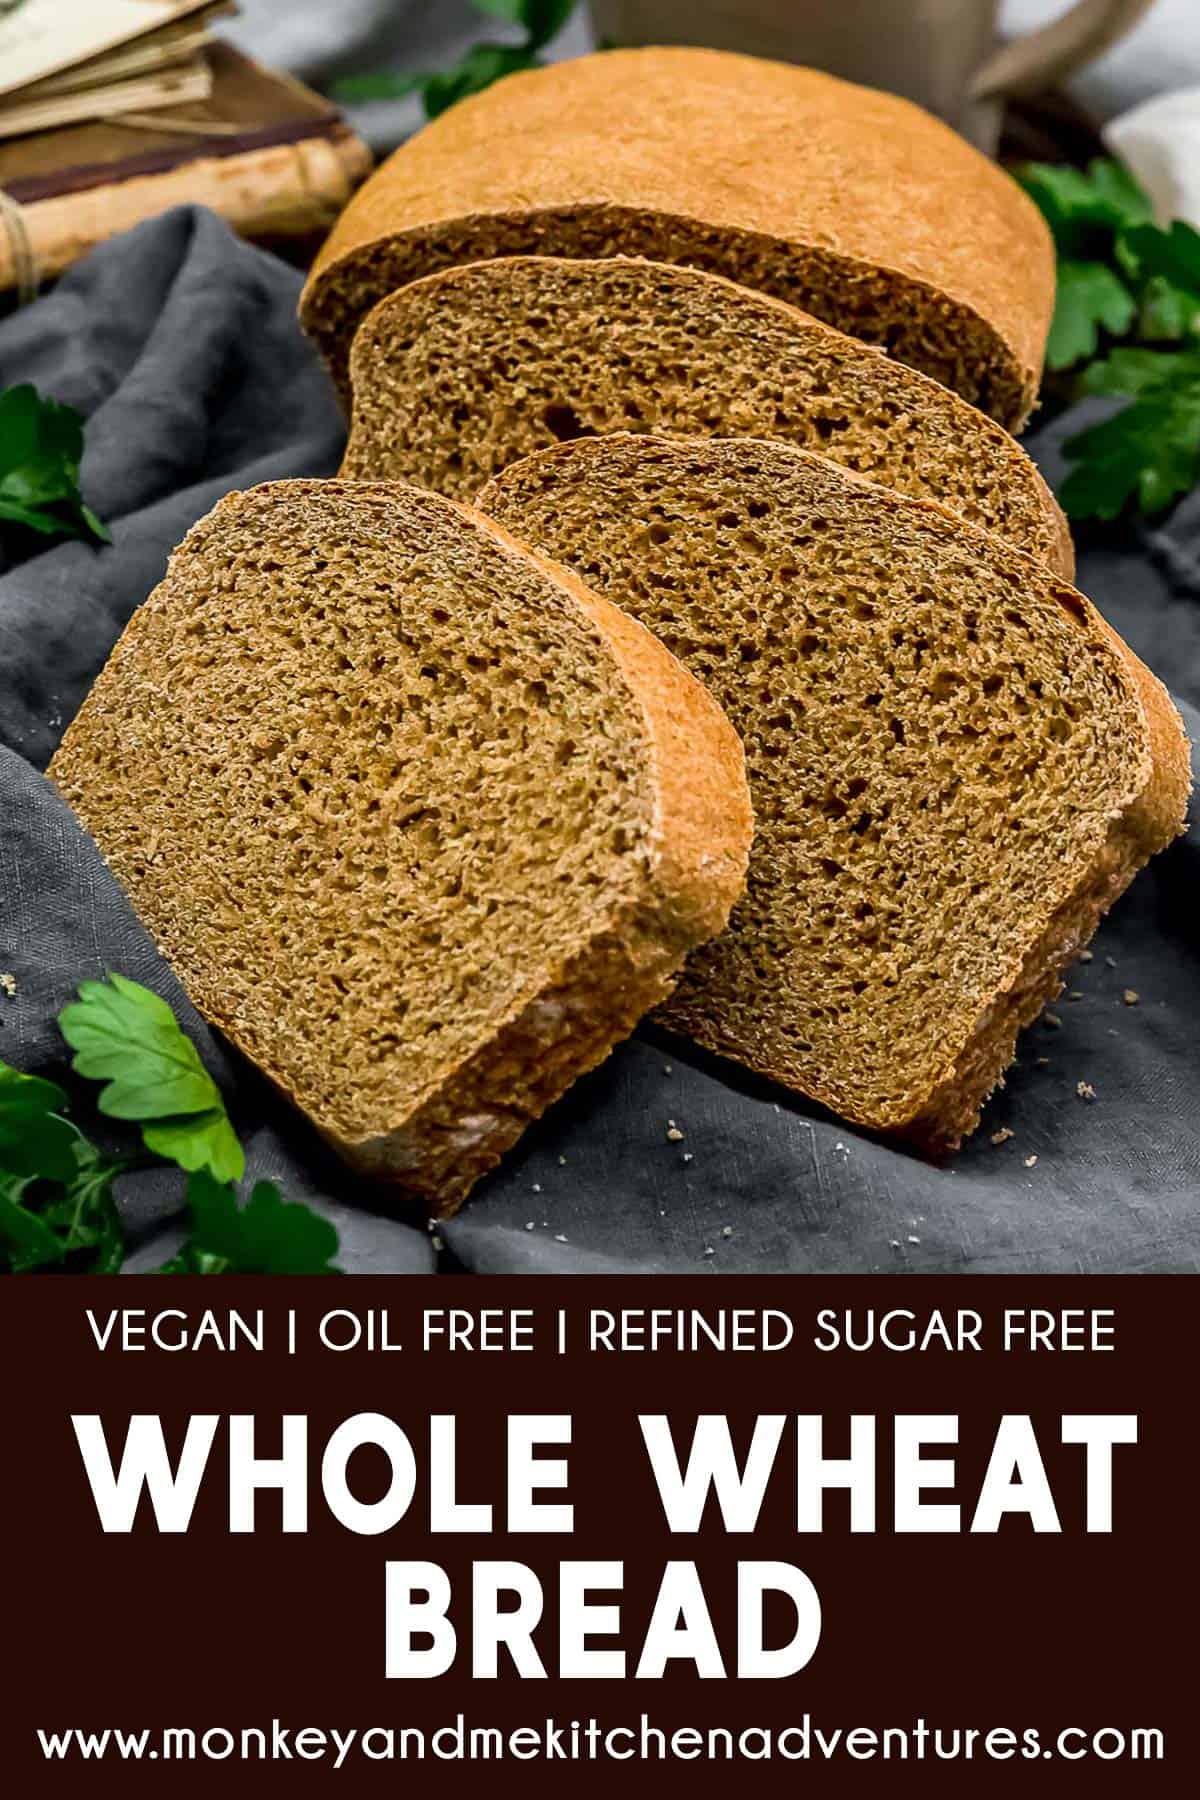
Whole Wheat Bread (100% Whole Wheat)! Nothing beats the smell of delicious bread baking in the oven, and this plant-powerhouse bread is bringing comforting rich, bold flavors.
This Whole Wheat Bread (100% Whole Wheat) recipe is perfect for sandwiches, toast, or simply enjoying a delicious slice of wholesome, homemade bread. You will absolutely love this soft, tender, and tasty bread.
Whole Food Plant Based, Vegan, plant based, oil free, refined sugar free, and no highly processed ingredients.
Hi there, Ameera here!
I have a passion for baking, especially breads of all types. This delicious, wholesome bread is sure to be a family favorite.
You gotta give this one a try!
Tips for Success:
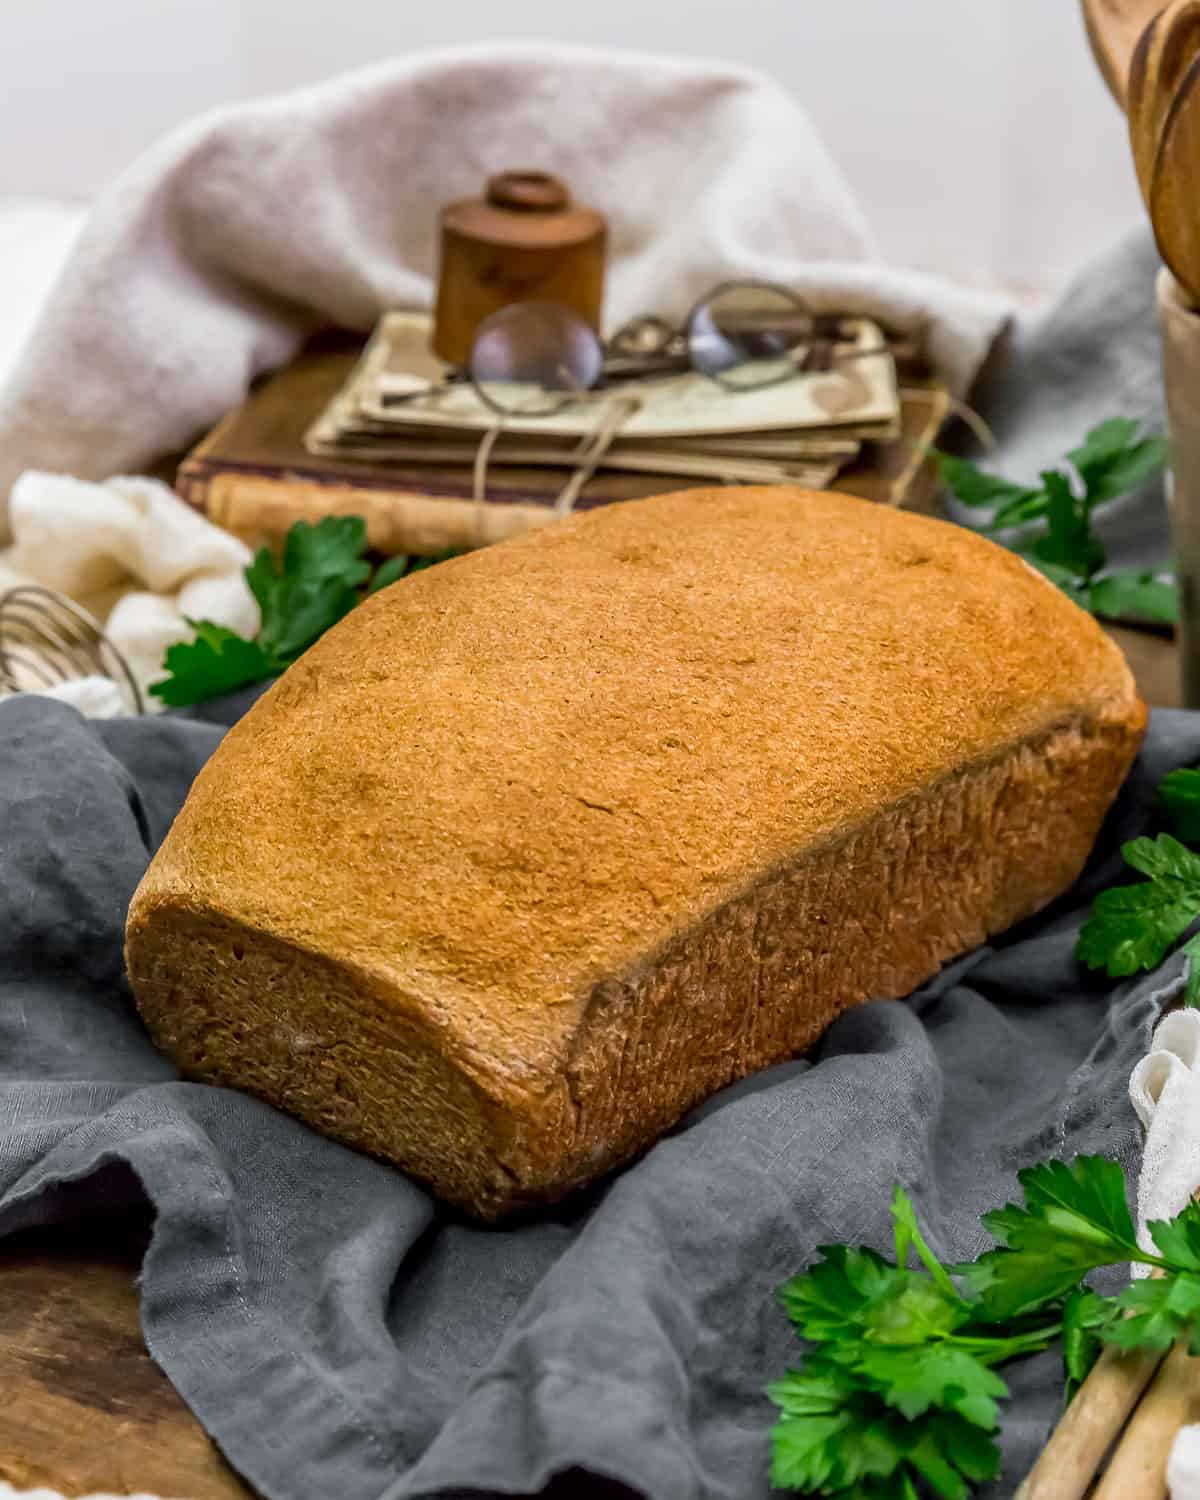
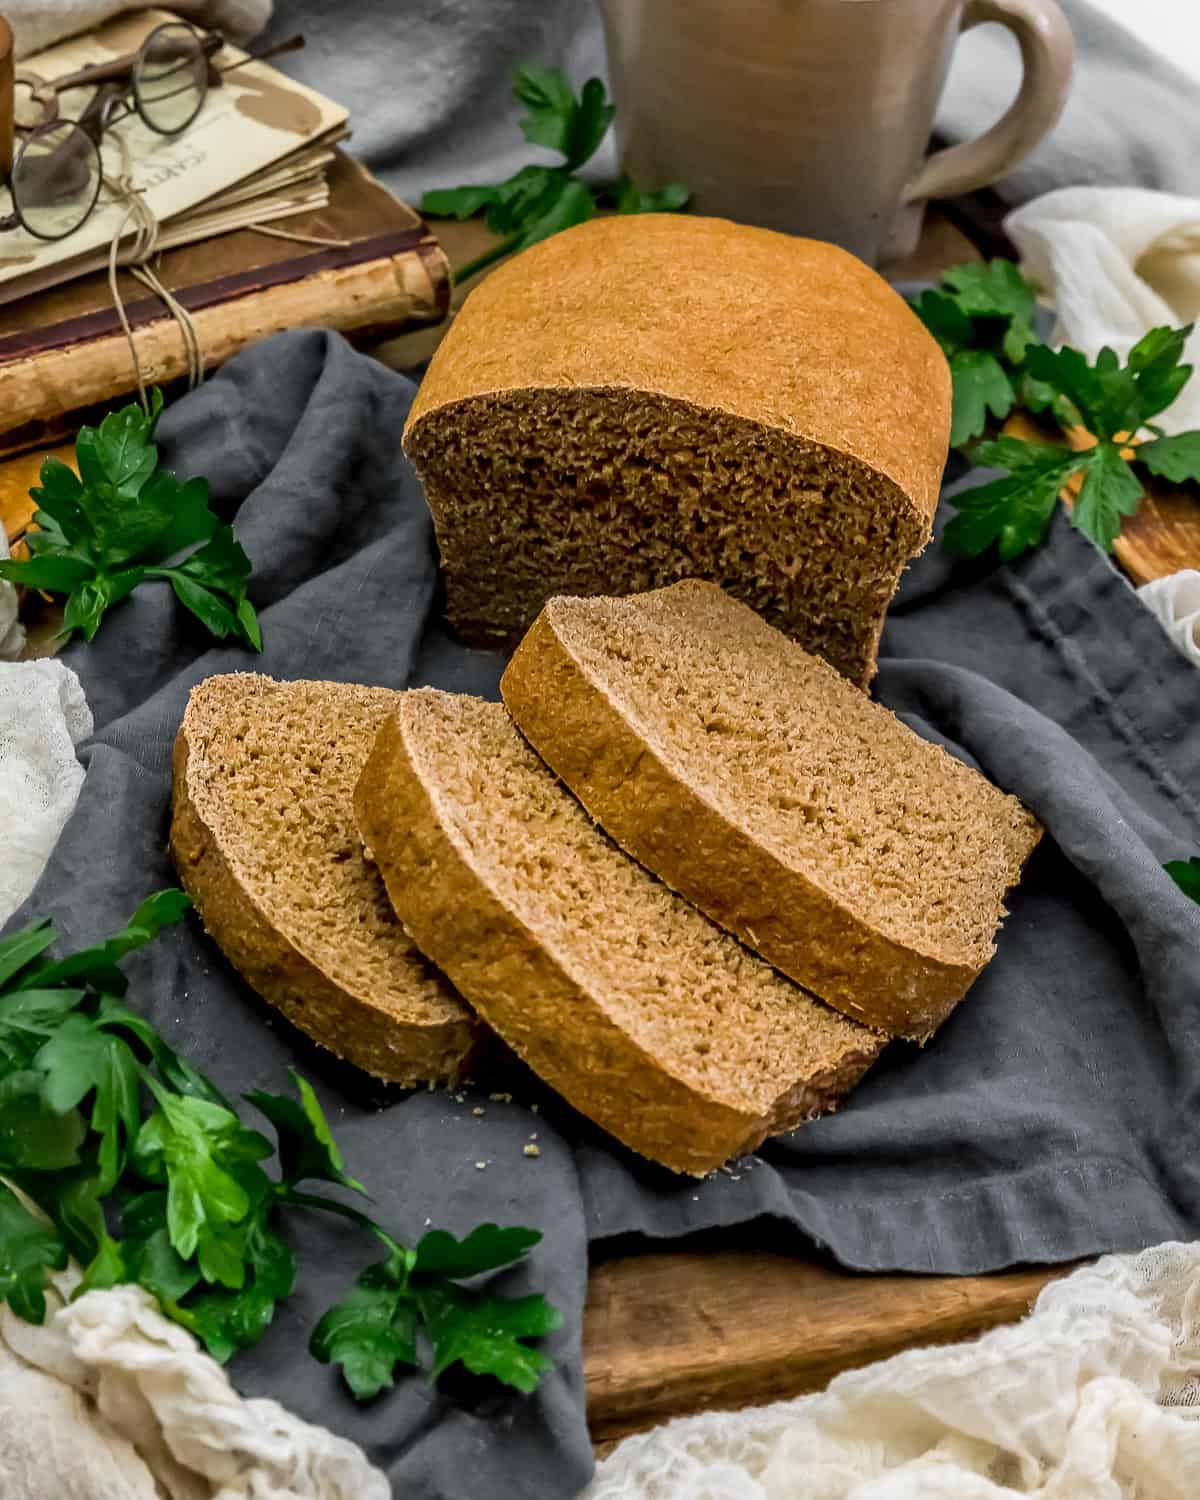
- Flavor Profile: This delicious Whole Wheat Bread is made with 100% whole wheat flour. There are no other flours introduced such as white flour which is typically added to whole wheat breads to lighten the bread. Because of this, the bread is slightly denser than a traditional whole wheat bread recipe. It is quite tasty and obviously healthier.
- What is a Sponge and Why are you using this Sponge Method? The sponge method is a two-step bread making process in which the first step is to create a wet flour/yeast loose batter mixture that is allowed to lightly ferment. The second step is adding the sponge to the dough’s final ingredients. This sponge mixture gives the bread dough a leavening boost to create a more open crumb and a less heavy bread.
- Why Orange Juice: Orange juice helps tone down the bitterness sometimes associated with whole wheat flour. Pure whole wheat breads will have just a tiny hint of bitterness on the back end of the palate.
- Patience: Making homemade bread takes patience simply because there are 3 waiting periods. The sponge part of this recipe calls for a 2-hour fermentation period, then making the dough in the second step is followed by a 60-minute rise, then a 30-minute proof, then bake in the oven for approximately 35 minutes. From start to finish, this recipe is approximately 5 hours in time, 245 minutes (4 hours) are inactive (rising/proofing/baking).
- Slicing the Bread: We admit, it is so tempting to slice warm bread and eat it up but resist the temptation. Slicing warm bread causes the bread to tear instead of slicing and then it becomes gummy inside. It also releases the steam rather than allowing it to dissipate naturally which can result in a dry bread. Additionally, never place a hot/warm loaf of bread in the refrigerator in an attempt to cool it down faster, the bread will completely gum up inside.
- Making Homemade Bread: Don’t be intimidated by the thought of making your own bread or bakery items. It can be very rewarding and a lot of fun not to mention it is one of the healthiest breads you and your family will ever eat.
- Whole Wheat Flour: Whole Wheat flour has a slightly denser texture and has a more pronounced wheat flavor.
- Measuring Flour: Spoon the flour into the measuring cup and level off. Do not pack it in and do not scoop it in. You will end up with a much denser bread. If you have a food scale, use the food scale for precise amounts, but don’t sweat it if you don’t.
- Warm Water: Don’t worry if you do not have a thermometer to measure the water temperature. We don’t use one. Just ensure the water is warm and not hot. It doesn’t matter too much because we don’t bloom the yeast. Blooming the yeast is adding the yeast, sugar, and water in a small bowl and allowing it “wake up”.
- Dough: This dough is soft and moister than a typical bread dough. Initially, it will stick to your hands quite a bit when you initially start to knead it. Keep at it, whole wheat flour is very thirsty, and it will start to absorb the moisture from the water and sponge. You may need to wash your hands several times before you get it going to knead. If you find that it simply will not come together then add a couple Tablespoons of whole wheat flour at a time until the dough can be kneaded without sticking to your hands. Try not to use too much extra flour than the recipe amount as the end result will become denser and heavier bread.
- Kneading Dough: You can use a stand mixer or mix the dough by hand. We have a stand mixer, but really enjoy kneading the dough by hand. While it is tempting to keep adding flour until it is no longer sticky, resist the temptation. The amount of flour to dough ratio can vary by seasons. In the summer, when the humidity is high, you may need slightly more flour.
- Yeast: Use Active Dry Yeast. We have not tested this recipe using Quick-Rise Instant Yeast.
- Sea Salt: Our family was divided over the amount of sea salt. We ultimately landed on 1 ½ teaspoons of sea salt for this recipe. Feel free to use more or less if you wish. If you use regular table salt, then use less as sea salt is not as fine as table salt.
- Parchment Paper: Measure the parchment paper across the loaf lengthwise allowing the paper to hang over the edges for easier removal. Crumble up the parchment paper, flatten it out and then line the bread pan. This helps it fit in the pan more securely.
- Spray of Water: Using a spray bottle with a “mister” setting allows a fine mist on the surface of the dough during resting to prevent a “crust” from forming on the dough since we do not use oil. It is also used right before baking to introduce some steam. If you don’t have a spray bottle, you can wet your fingers and lightly stroke the surface of the dough. We bought this spray bottle from Amazon. It works perfectly. Feel free to use your favorite spray bottle or use your fingers.
- Leftovers: Because this bread has no additives or preservatives, if you want it to last longer, place it in the refrigerator or freeze. This bread freezes really well. We prefer cutting it into slices, wrapping individual slices in plastic wrap, then placing the individually wrapped slices into a gallon freezer bag, and freezing.
- Bread Machine: This recipe has not been tested in a bread machine.
- Not Gluten Free: This recipe is not gluten free. We do not have a gluten free alternative for this recipe.
Leftovers and Freezing:
Leftovers will generally keep 3 days at room temperature. Store in a covered container.
This bread freezes well.
Pantry Products:
- Whole Wheat Flour: We used Bob’s Red Mill 100% Stone Ground Whole Wheat Flour.
- Molasses: We used Grandma’s Unsulfured Original Molasses. Feel free to use your favorite molasses.
- Yeast: We used Red Star Active Dry Yeast. Feel free to use your favorite active dry yeast.
Kitchen Products:
- Large mixing bowl
- Loaf pan
- Parchment paper
- Water spray bottle (optional)
If you try this hearty and wholesome bread, we would love to know if you enjoy it as much as we do! Please leave us a review! Post a picture on Facebook or Instagram and tag us! We would love to hear from you.
Print
Whole Wheat Bread (100% Whole Wheat)
- Prep Time: 4 Hours
- Cook Time: 30-40 Minutes
- Total Time: About 5 Hours
- Yield: About 12 Slices 1x
- Category: Side
- Method: Oven
- Diet: Vegan
Description
This Whole Wheat Bread (100% Whole Wheat) recipe is perfect for sandwiches, toast, or simply enjoying a delicious slice of wholesome, homemade bread.
Ingredients
Sponge Ingredients:
- 1 cup whole wheat flour (4.4 oz.) *
- 2 teaspoons active dry yeast *
- 1 ½ cups warm water (120 to 130F degrees) *
Bread Ingredients:
- 3 ¾ cups whole wheat flour (17.2 oz.) *
- 1 teaspoon active dry yeast *
- 3 Tablespoons pure maple syrup
- 1 teaspoon molasses *
- ½ cup orange juice *
- ¼ cup warm water (120 to 130F degrees) *
- 1 ½ teaspoons sea salt (+/-) *
Instructions
- To make the sponge, combine the whole wheat flour and active dry yeast into a large mixing bowl, whisk to combine. Then pour the 1 ½ cups of warm water into the bowl, stir well. Cover the bowl with a tea towel and place in a warm place for 2 hours to ferment.
- After 2 hours, add all the bread ingredients into the sponge mixture, mix well with your hands until the dough starts to come together. While the dough is still in the bowl, start kneading the dough inside the mixing bowl to form a ball. At first the dough will seem too wet and sticky, but keep kneading, the flour will start to absorb the water, the stickiness will start lessening, and the dough will become easier to knead. This dough is slightly wetter than a typical dough. Knead the dough inside the bowl for 3 to 4 minutes, then transfer the dough to a lightly floured surface, wash your hands (dry completely), and continue to knead the dough for another 6 to 7 minutes. The dough should be smooth and elastic. This dough is soft, but easy to knead. Replenish lightly floured surface with whole wheat flour as needed to create a dough that can be easily kneaded. Form a dough ball.
- Wash the bowl where the dough was kneaded. Place the dough ball inside, spray the top with a mist of water. Cover with a tea towel and let rest in a warm place for 60 minutes or until doubled in size.
- In the meantime, line a bread loaf pan with parchment paper, set aside.
- After 60 minutes or doubled in size, punch the dough down and place the dough onto a lightly floured surface, form into loaf with your hands, place in the parchment-lined loaf pan, spray mist the top with water, and cover with a tea towel, allow to rest for 30 to 40 minutes in a warm place or until the dough has crested the loaf pan.
- Preheat the oven to 375 F degrees.
- After the dough has risen in the loaf pan, then spray mist the top with water, then place into a 375 F preheated oven for 35 to 38 minutes, the oven rack should be on the lower bottom 3rd position in the oven.
- Remove from the oven, after 3 minutes of resting, remove from the loaf pan and allow to cool completely at room temperature, then slice and enjoy!
Notes
*Please reference the blog post for Tips for Success, Pantry Items Used, Storage and Freezing, and Kitchen Products Used.
*Sea Salt: Please adjust the sea salt based upon your family’s sea salt preferences and/or based upon dietary needs.
*Servings: Makes one loaf (about 12 slices)
This post contains affiliate links, and we may receive a very small commission if you purchase through those links at no additional cost to you. Thank you for supporting Monkey and Me Kitchen Adventures! For more information, see our disclosures here.

What size loaf pan
Hi there Jane,
Thank you for your question. We used a traditional bread loaf pan which is approximately 9 x 5.
-Ameera and Robin
Can a bread machine be used for this recipe?
Hi there Jamie,
Thank you for your question. We have not tested this recipe with a bread machine. If you decide to test it, let us know how it turns out.
-Ameera and Robin
If I’m grinding my own wheat berries, would I use soft white? How much does it matter?
Hi there DeAnne,
Thank you for your question. In regards to the wheat berries. The flour we used (Bob’s Whole Wheat) uses hard red wheat berries. You can more than likely use soft white with some slight adjustments in liquids. You may have to experiment a tad to get a feel for the dough. We have not tested any other flour types. If you try it, let us know.
-Ameera and Robin
I notice you hand knead all your bread dough recipes. Can I use my Kitchenaid with the dough hook to knead the whole wheat bread dough, the focaccia, and others? And are you using an 8×4 or 9×5 loaf pan for you bread loaves? Thank you. I really enjoy your recipes.
Hi there Claudi,
Thank you for your questions. We love to hand knead bread (just love the process), but you can certainly use a Kitchenaid with a dough hook (we have that too and will use it occasionally when making bread). We have just about every loaf pan that has ever been made. We have a serious loaf pan obsession. LOL. For this particular recipe, we used an 8 x 4, but we have also used our 8.5 x 4.5 pan, both work equally well. I hope this helps.
-Ameera and Robin
Thank you!
It is our pleasure! 🙂