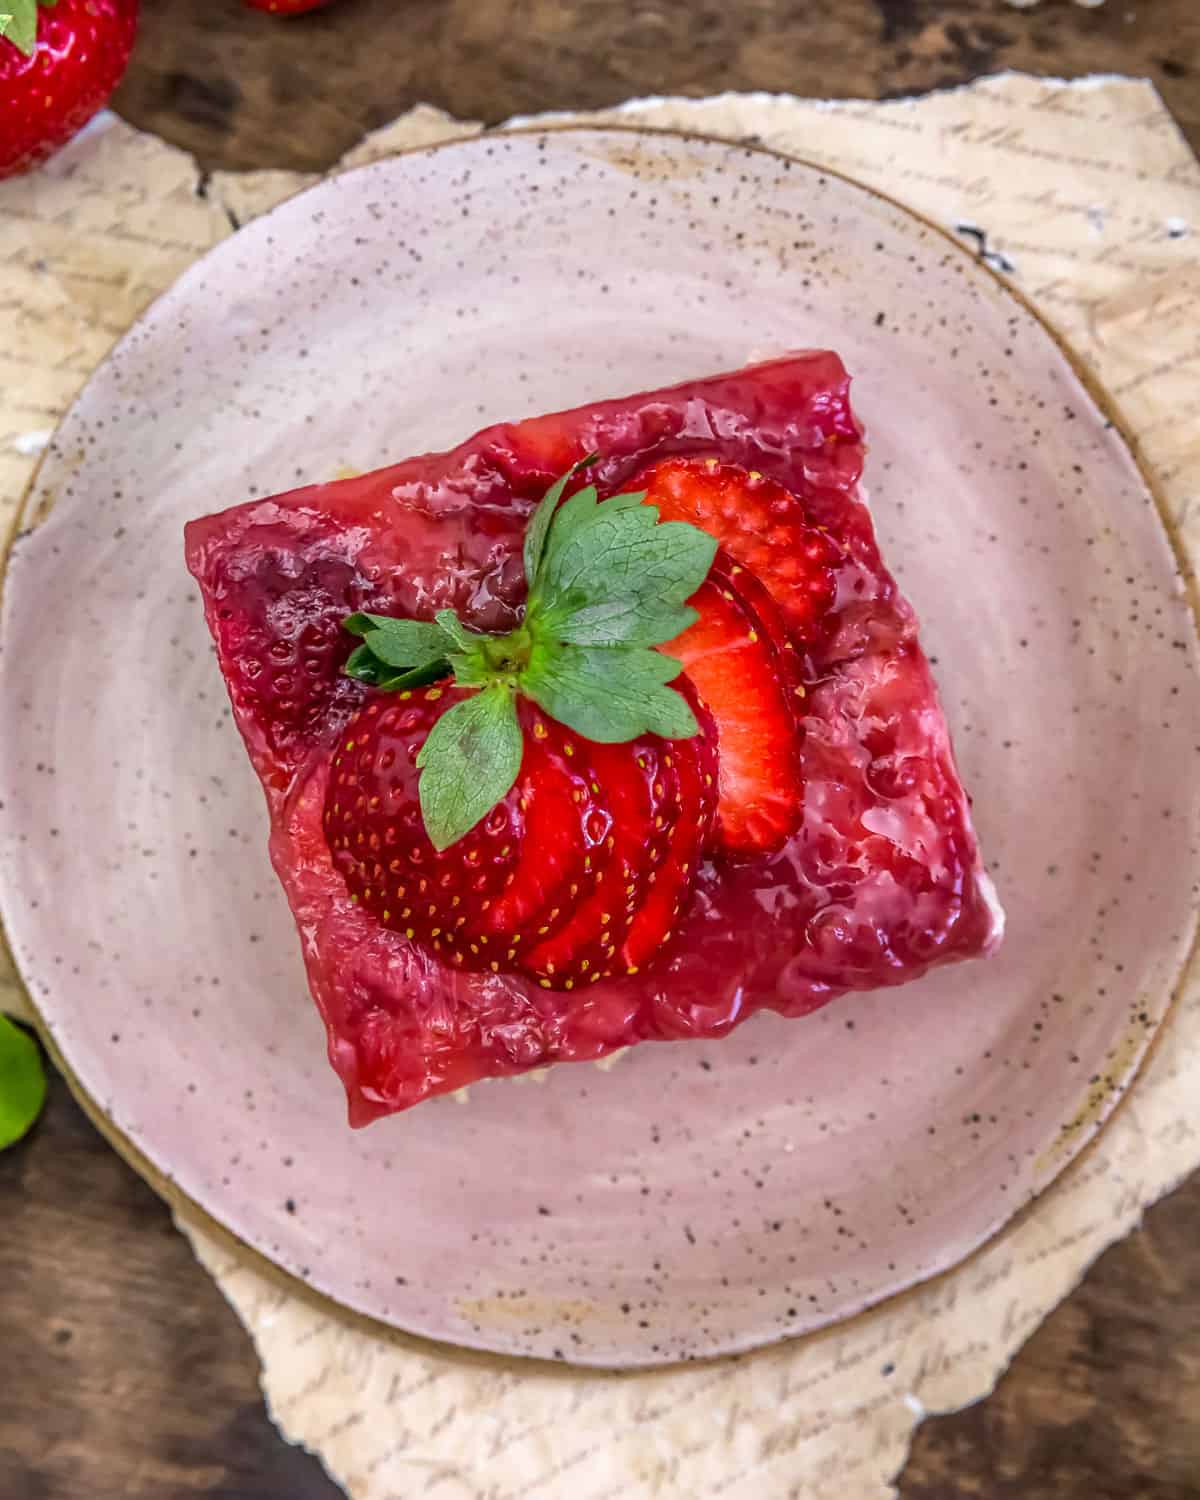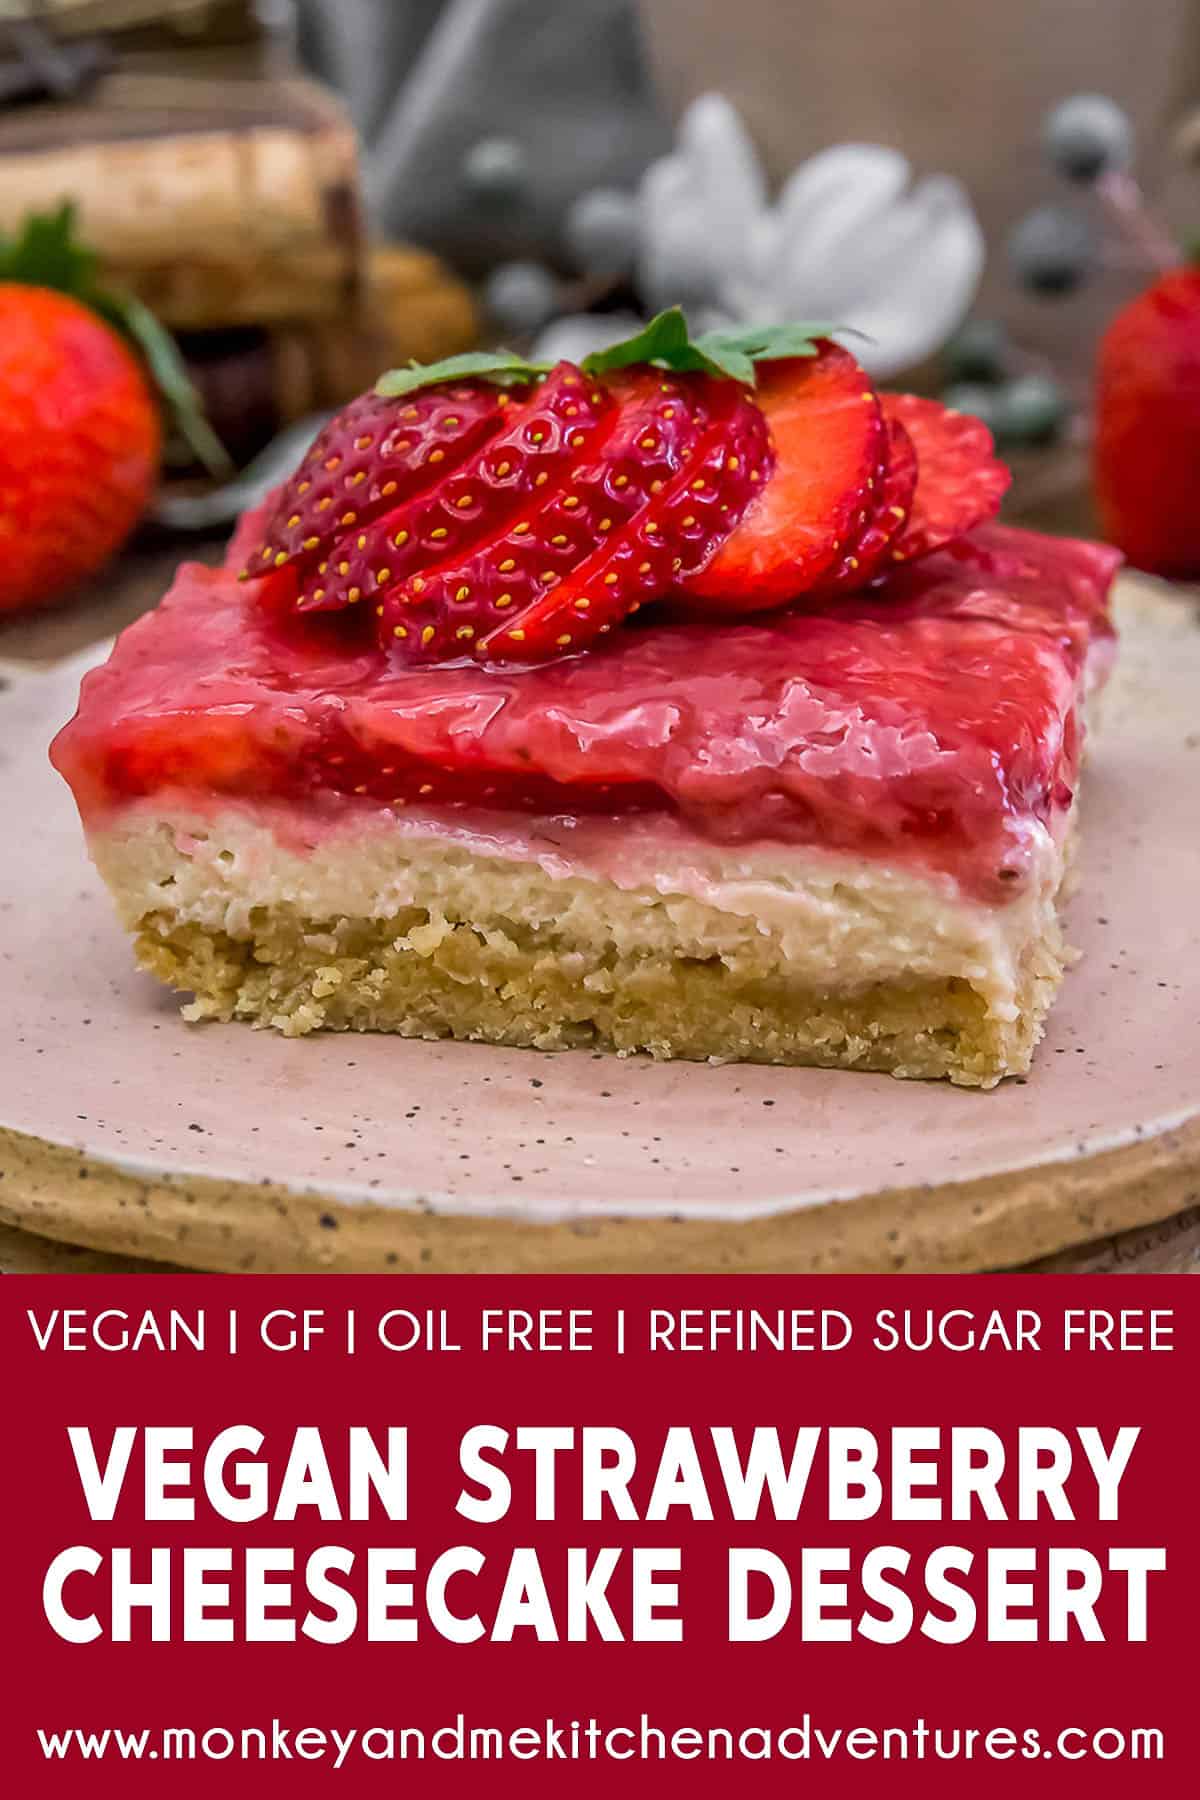
Vegan Strawberry Cheesecake Dessert! No summer is complete without a cooling, summer treat, and this freezer-friendly strawberry dessert is sure to please.
Sweet, tangy, and brimming with summer goodness, this gluten free Vegan Strawberry Cheesecake Dessert is the perfect cooling treat on warm summer days. Baked shortbread-like cookie crust is topped with a tangy, slightly sweetened cheesecake layer, and topped with a delightful strawberry glaze.
Whole Food Plant Based, Vegan, plant based, oil free, refined sugar free, no highly processed ingredients and gluten free.
Hi there, Ameera here!
This dessert is so yummy with it’s perfect trifecta of shortbread-like cookie crust, cooling, tangy cheesecake middle, and sweet, summery strawberry topping. We all devoured it; especially dad, he ate half of the dessert himself lol.
You gotta give this one a try!
Tips for Success:
- Flavor Profile: This dessert is a Whole Food Plant Based nod to a strawberry shortcake/cheesecake style dessert. It is very delicious for what it is and that is a Whole Food Plant Based dessert. It is not as dense and rich as the real deal. We want to make sure the reader understands that this dessert if not going to taste like a true cheesecake before attempting to make this recipe.
- Crust: The crust is baked. The crust layer of the dessert is a cross between a thin shortcake and a shortbread cookie. If the dessert is kept in the refrigerator rather than the freezer, the crust starts to become moist every so slightly and becomes more of a crumbly shortcake version. We didn’t mind this at all, but we could see how some individuals might not enjoy this. Our suggestion is to keep the dessert in the freezer at all times except when serving.
- Texture of the Dessert: The texture of the cream cheese layers is largely dependent upon the Vegan Cream Cheese used. Our Vegan Cream Cheese recipe is firm, yet soft and not nearly as firm as regular dairy cream cheese.
- Freezer: Keep the dessert frozen until ready to serve. It will keep the integrity of the dessert because the cream cheese layer is softer than a true cheesecake. You can store it in the refrigerator with the understanding that the cream cheese layer is soft and could spill over when slicing. Our suggestion is to keep the dessert in the freezer. Then when ready to serve, remove the dessert from the freezer and immediately cut into serving squares. It will be easier to cut while frozen. Then plate and allow the individual servings to sit about 10 to 15 minutes before serving to guests. We place a fresh strawberry on top of each individual serving – sliced in a fan like fashion. This is optional.
- Is This a Frozen Dessert? No, it’s not. It is kept in the freezer until ready to serve to make the slicing of the dessert easier and to keep the integrity of the dessert intact. In other words, it looks prettier. However, after slicing the dessert into individual slices onto plates, the idea is that the dessert will thaw out before serving to guests. It will transition from frozen to cold, and the cream cheese layer will be cold, but not frozen. It should thaw out in about 15 to 20 minutes.
- Parchment Paper Liner: Line the bottom of the baking dish with parchment paper.
- Size of the Pan Matters: Do not use a pan larger than 7 x 10 or your dessert will be too thin. We used a #232 Pyrex 7 x 10 glass baking dish. You can use an 8×8 or a 9×9 pan. Do not use a 9×13.
- Maple Sugar and Maple Syrup: This recipe uses both maple sugar (dry) and maple syrup (liquid). You can substitute the dry maple sugar with coconut sugar if you wish. Do not use all maple syrup in the cream cheese layer, it will become too runny and not set up at all.
- Removal from Pan: Make sure you run a sharp knife all along the edges of the pan. Use a thin-bladed spatula to get underneath the dessert. Be careful of the parchment paper that lines the bottom of the pan.
- Almond Flour Substitutions: This recipe was designed to use almond flour. We have no substitutions to offer.
- Cashew Butter Substitutions: This recipe was specifically created to use cashew butter. You can easily substitute the cashew butter for almond butter or sun butter with the understanding that the flavor will change slightly.
- Fresh Strawberries: We used ripe, firm, sweet, fresh strawberries. You can use frozen strawberries with the understanding that the layer of fresh strawberries will change the topping texture.
- Vegan Cream Cheese: We would typically use Kite Hill Cream Cheese simply for convenience; however, Kite Hill has a very distinct flavor that is not easily masked when coupled with lighter flavored ingredients such as this vanilla base. We love Kite Hill. It is Whole Food Plant Based. Kite Hill typically works fantastic when coupled with stronger ingredients like peanut butter or chocolate, etc. Feel free to use your favorite store-bought vegan cream cheese, favorite vegan cream cheese recipe, or our Vegan Cream Cheese recipe keeping in mind that most homemade cream cheese recipes are not as firm as store purchased cream cheese, and homemade cream cheese needs to be made the day before in order to set up. Our cream cheese recipe works very well for this dessert recipe as it is a freezer-style dish.
Leftovers and Freezing:
Leftovers will generally keep several days in the refrigerator; however, the preference is to store in the freezer. Store in a tightly covered container.
This dessert can be frozen.
Pantry Products:
- Sea Salt: Please adjust the sea salt based upon your family’s sea salt preferences and/or based upon dietary needs.
- Cashew Butter: We used Artisana Organic Raw Vegan Cashew Butter. Feel free to use your favorite raw cashew butter in this recipe. Read the label, make sure the only ingredient is raw cashews. Do not use a salted or sweetened cashew butter.
Kitchen Products:
- 7 x 10 baking pan (we used a #232 Pyrex baking pan)
- Parchment paper
- Food processor
We certainly hope you give this sweet treat a try! If you try it, please leave us a review! Post a picture on Facebook or Instagram and tag us! We would love to hear from you.
Print
Vegan Strawberry Cheesecake Dessert
- Prep Time: 30 Minutes
- Cook Time: 25 Minutes (Crust + Sauce)
- Total Time: 55 Minutes (+4hr to Overnight Freezer Rest Time)
- Yield: 6 to 8 Servings 1x
- Category: Dessert
- Method: Stovetop
- Cuisine: American
- Diet: Vegan
Description
Sweet, tangy, and brimming with summer goodness, this gluten free Vegan Strawberry Cheesecake Dessert is the perfect cooling treat on warm summer days.
Ingredients
Crust Ingredients:
- 1 ½ cups almond flour
- ½ cup rolled oats, chopped
- 3 Tablespoons pure maple syrup
- 3 Tablespoons cashew butter, softened *
- 1 teaspoon baking powder
- Pinch baking soda
- 1 teaspoon vanilla
- 1 Tablespoon water
- ¼ teaspoon sea salt *
Cream Cheese Layer Ingredients:
- 2 cups (16 oz.) Vegan Cream Cheese
- ¼ cup pure maple syrup
- ¼ cup maple sugar
- 1 teaspoon vanilla
- 1 teaspoon lemon juice (optional)
Strawberry Sauce Topping Ingredients:
- 1 lb. (3 cups) sliced strawberries
- ¼ cup pure maple syrup
- ½ cup water
Cornstarch (Arrowroot Powder) Slurry Ingredients:
- 1 Tablespoons cornstarch (or arrowroot powder)
- 2 Tablespoons water
Optional Topping:
- Sliced, fanned strawberry with green stem attached (decorative)
Instructions
- Preheat the oven to 350 F. Place the oven rack in the center position.
- Line the bottom of a 7 x 10 baking pan with parchment paper. Set aside.
- Make the Crust Layer. Place the rolled oats into a food processor, process for 10 seconds to break them up, then place in a large bowl.
- Place all remaining Crust Ingredients (dry ingredients first including the chopped oats, mix to combine, then add the wet ingredients) into the large bowl, stir until well combined and forms a ball, then break the dough into 6 to 8 pieces and pat into the bottom of a parchment paper lined 7 x 10 baking pan, bake 12 to 14 minutes until lightly golden brown, remove the baking dish from the oven, set aside until completely cooled . Do not remove from the baking pan.
- Make the Cream Cheese Layer by placing all the Cream Cheese Layer Ingredients into a bowl, mix until smooth, then place the cream cheese mixture onto the cooled crust layer and place in the freezer for 2 hours. This helps strengthen the cream cheese layer, so the strawberry topping layer is easier to spread.
- Make the Strawberry Sauce Topping: While the crust/cream cheese pan is in the freezer, slice the strawberries, 3 cups in total. Take 1 ½ cups of the sliced strawberries and place in the refrigerator for later. Take the other 1 ½ cups of the sliced strawberries and place them into medium-sized stockpot with ½ cup of water and ¼ cup of maple syrup.
- Bring to a rolling boil, then lower to a simmering boil. Simmer on low for 5 minutes, then take a potato masher and mash the strawberries in the pot. It’s ok if there are small pieces of strawberries remaining.
- Make the Cornstarch Slurry, by placing all the Cornstarch Slurry Ingredients into a small bowl and whisking until smooth. Increase the heat on the strawberry sauce and then stir in the cornstarch slurry, stirring constantly for several minutes until the strawberry sauce has thickened. Then the remove the strawberry sauce from the stove to cool. Place the Strawberry Sauce in the refrigerator until the time is up on the cream cheese/crust layers that has been in the freezer for 2 hours.
- After two hours, remove from the cream cheese/crust pan from the freezer. Test the cream cheese layer, it should be frozen solid. If not frozen solid, return to the freezer until frozen solid. Once frozen solid, then place a very thin layer of refrigerated strawberry sauce over top of the cream cheese layer. Next place a layer of all the sliced fresh strawberries (1 ½ cups that were reserved), followed by all the rest of the strawberry sauce taking time to coat all the sliced strawberries.
- Cover tightly, not allowing the cover to touch the dessert. Place in the freezer for several hours or overnight. When ready to serve, remove the dessert from the freezer, cut into squares and allow to sit for 15 minutes prior to serving. This allows the dessert to thaw. Keep leftovers in the freezer or refrigerator.
Notes
*Please reference the blog post for Tips for Success, Pantry Items Used, Storage and Freezing, and Kitchen Products Used.
*Sea Salt: Please adjust the sea salt based upon your family’s sea salt preferences and/or based upon dietary needs.
*Serving: Makes 6 to 8
This post contains affiliate links, and we may receive a very small commission if you purchase through those links at no additional cost to you. Thank you for supporting Monkey and Me Kitchen Adventures! For more information, see our disclosures here.


What was the outcome like if I did use Kite hill?
Hi there Julia,
Thank you for your question. Kite Hill works great; however, the cheesecake layer will have a stronger flavor. I hope this helps.
-Ameera and Robin
This was an absolutely delicious dessert! Perfect for a hot summer day. 😋
I did make the minor mistake of using my silicone pan, and then realized I was going to need to use a sharper knife to cut it. I needed up having to pop the whole thing out and a couple pieces fell apart in the process but were still just as delicious.
Hi there Heather,
YAYYYY!!! We are thrilled that you gave this recipe a try and enjoyed it. We appreciate you taking time to leave us a fantastic review.
-Ameera and Robin
So dang good!! Made your cream cheese recipe with coconut yogurt (which was perfect for this dessert).
Such a great dessert for the summer. This dessert is summer!!
Hi there Sandra,
WOOO HOOOO!!! We are so happy that you gave this recipe a try and thought it was a great dessert for summer! Thank you so much for taking time to leave us a fantastic review.
-Ameera and Robin