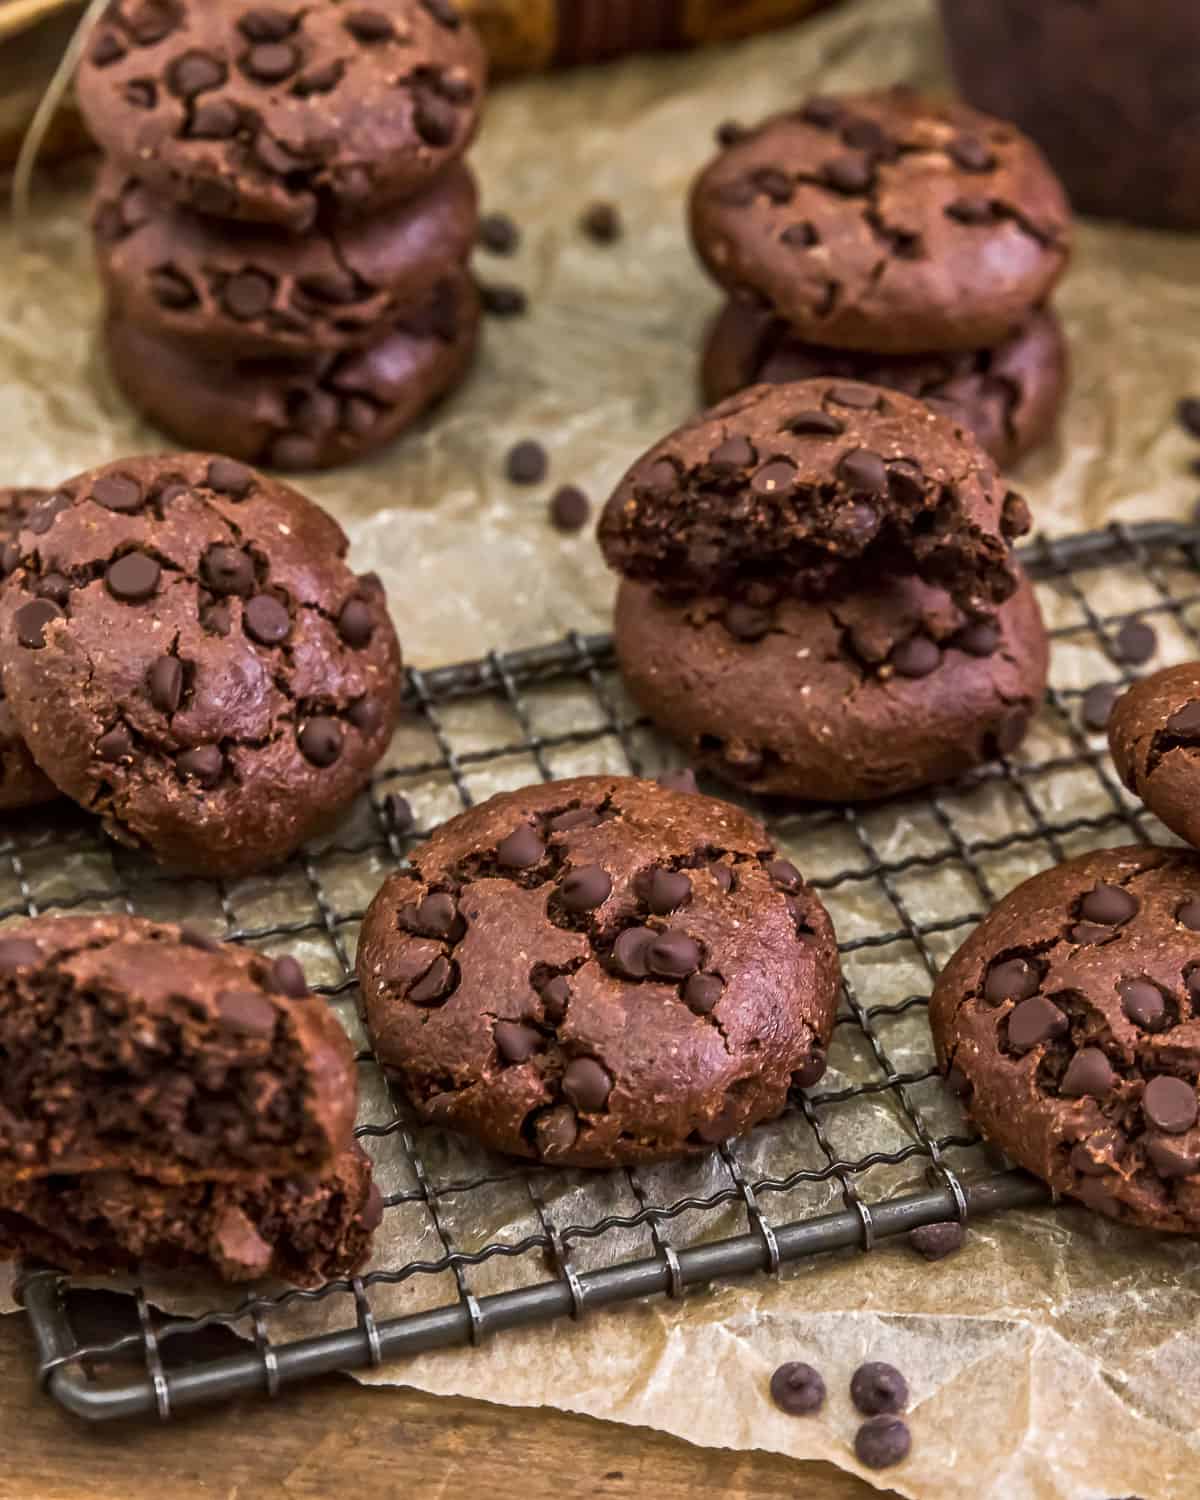
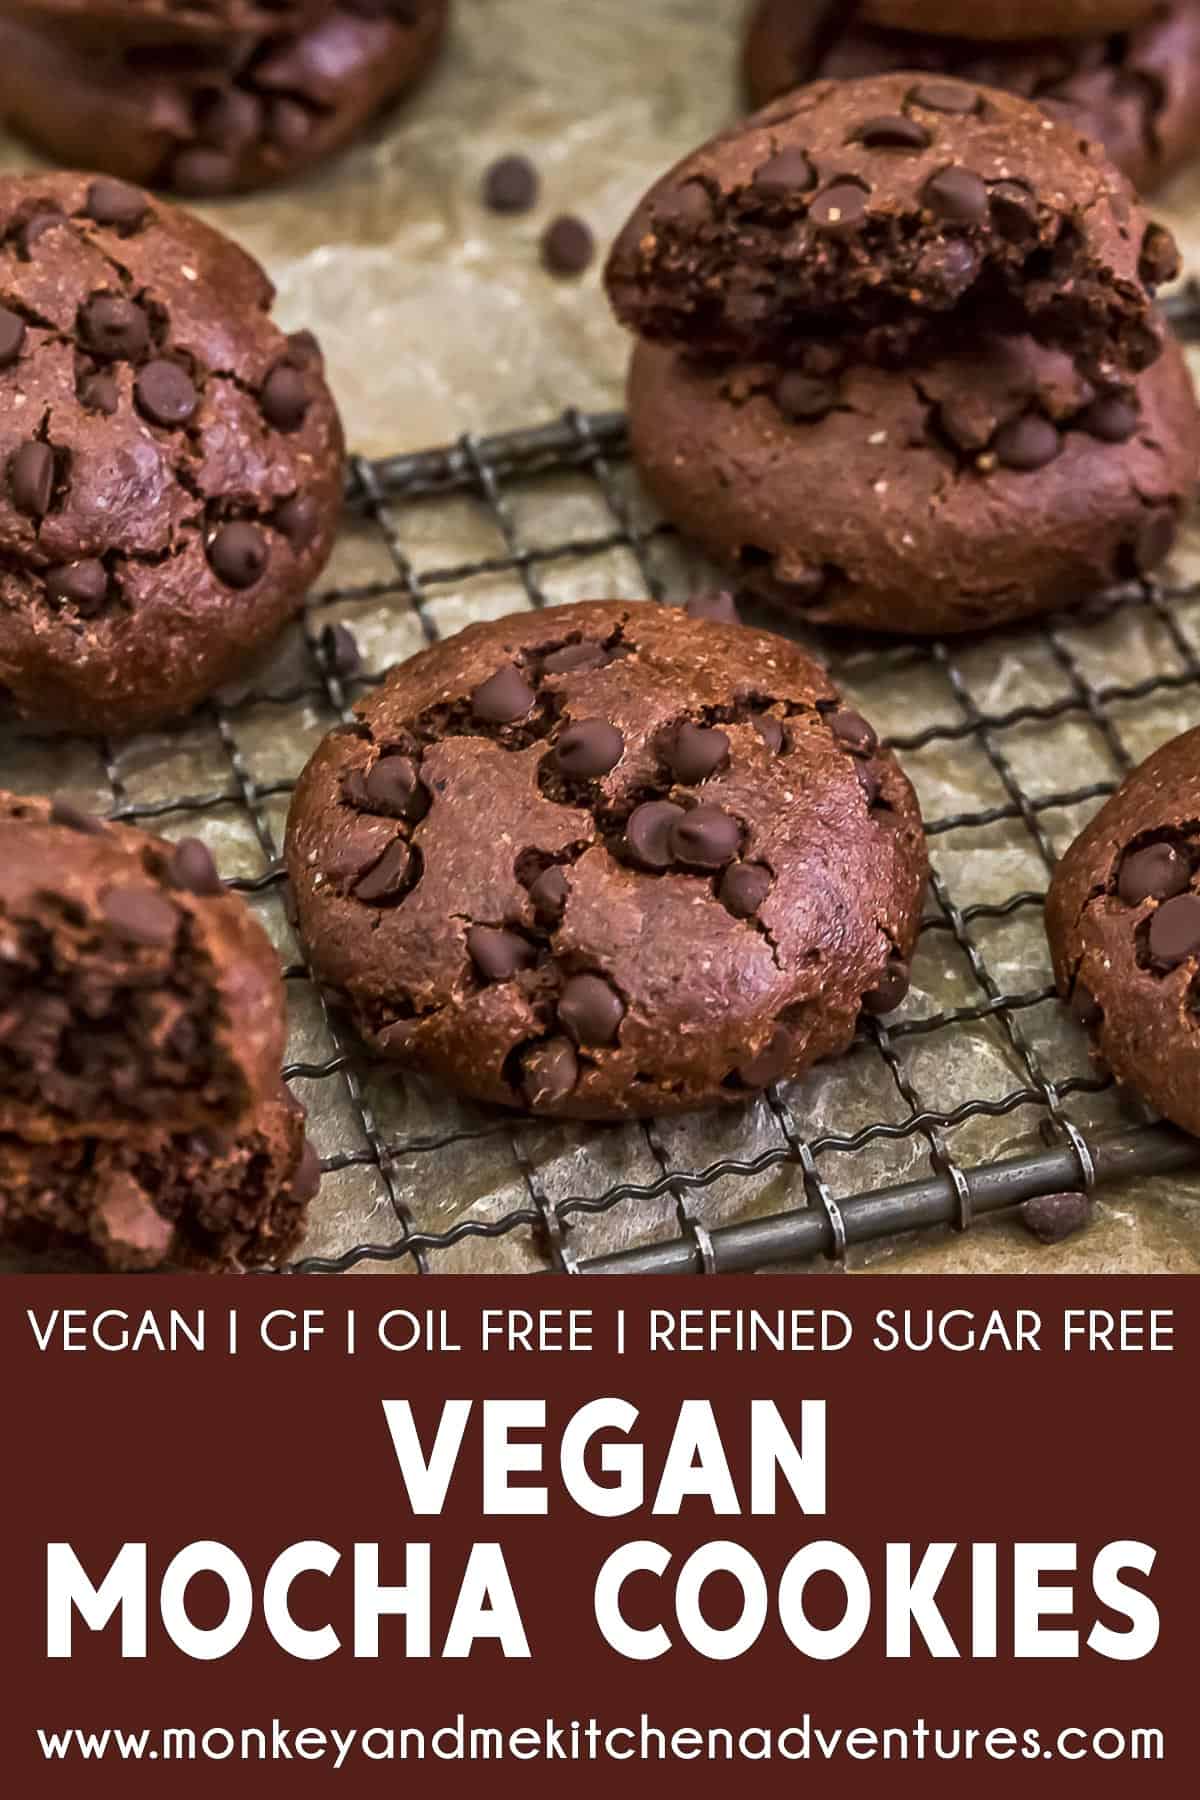
Vegan Mocha Cookies! When rich, bold coffee combines with decadent, sweet chocolate, you’ve got a match made in dessert heaven.
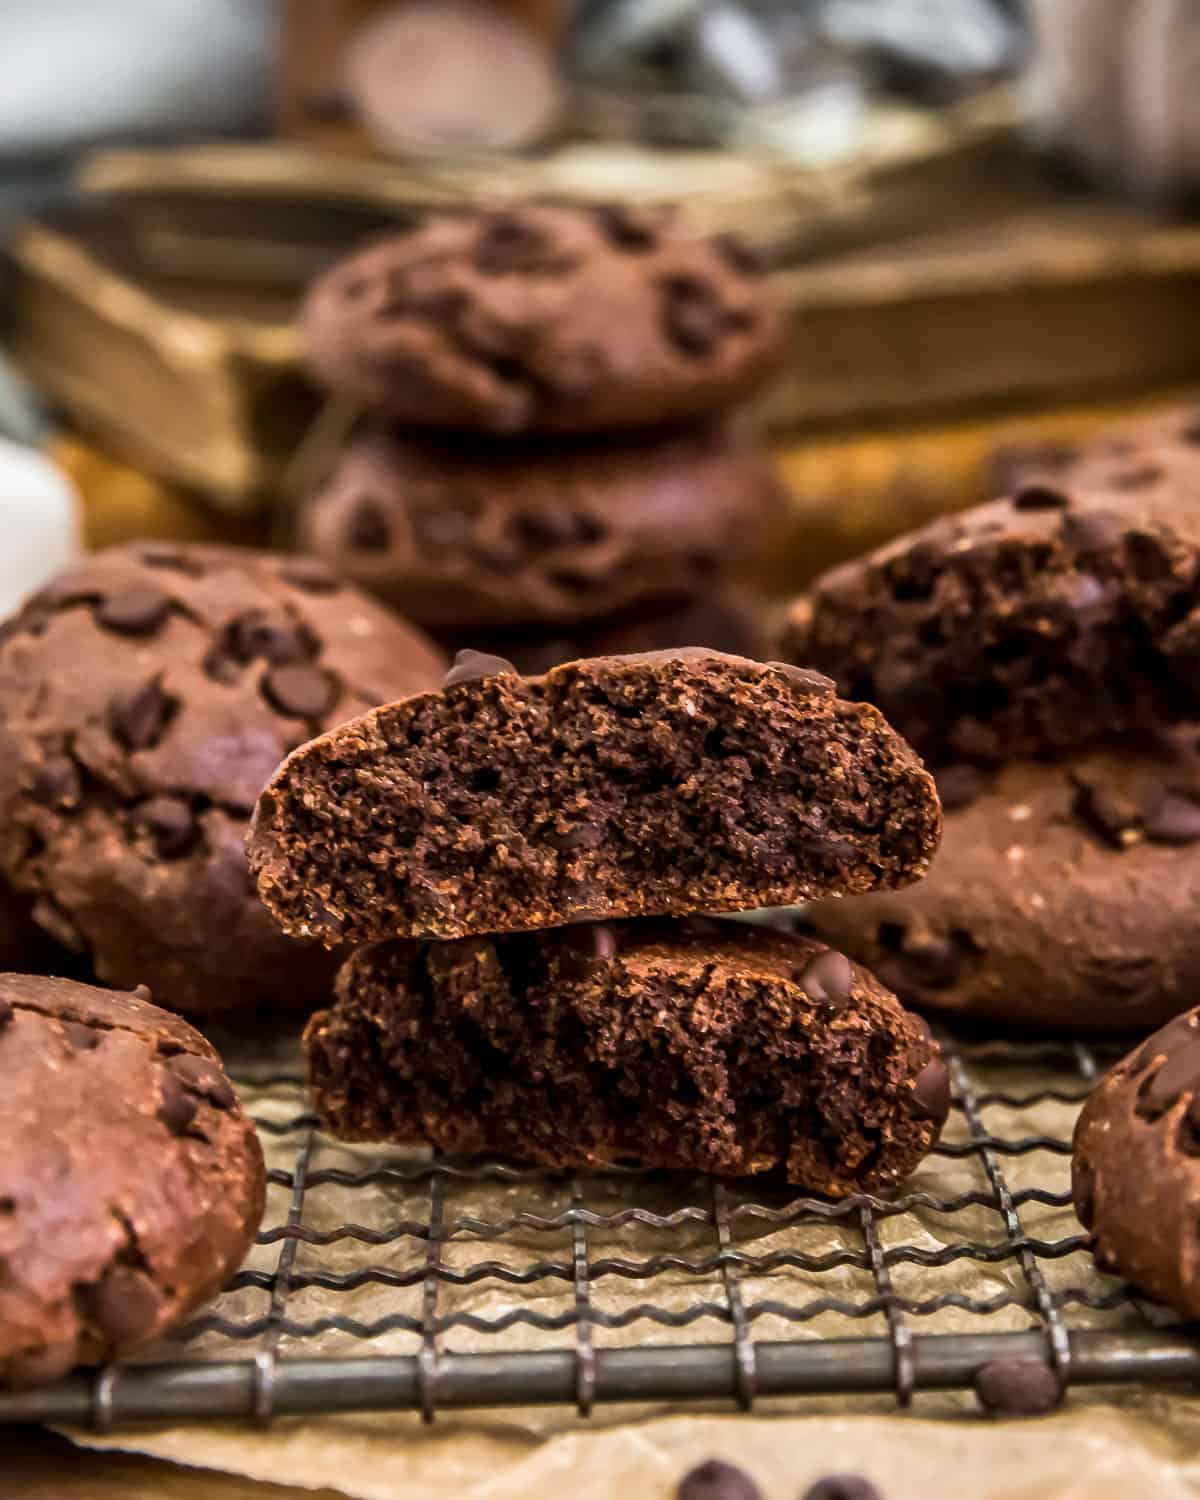
Sweet, simple, and oh-so scrumptious, these healthy, oil-free Vegan Mocha Cookies are the perfect texture of soft and chewy. Intense chocolate cookie dough infused with coffee and studded with mini chocolate chips ensures mocha deliciousness in every bite.
Whole Food Plant Based, Vegan, plant based, oil free, refined sugar free, no highly processed ingredients and gluten free.
Hi there, Ameera here!
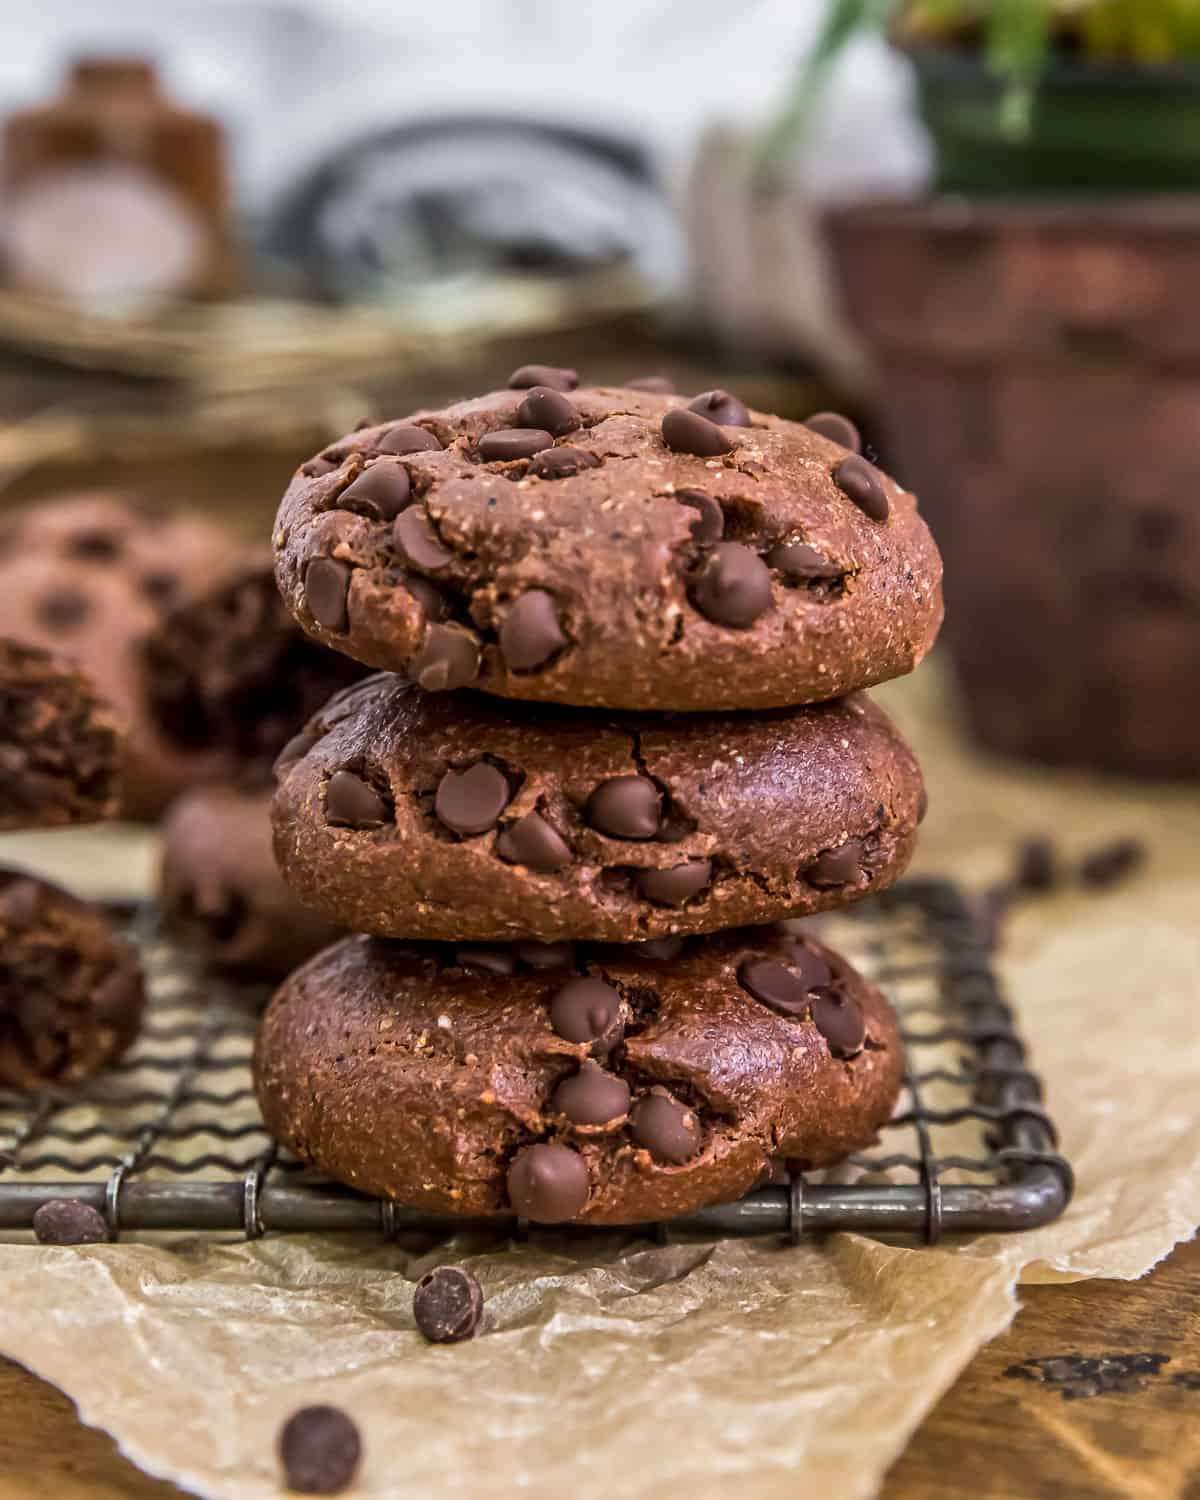
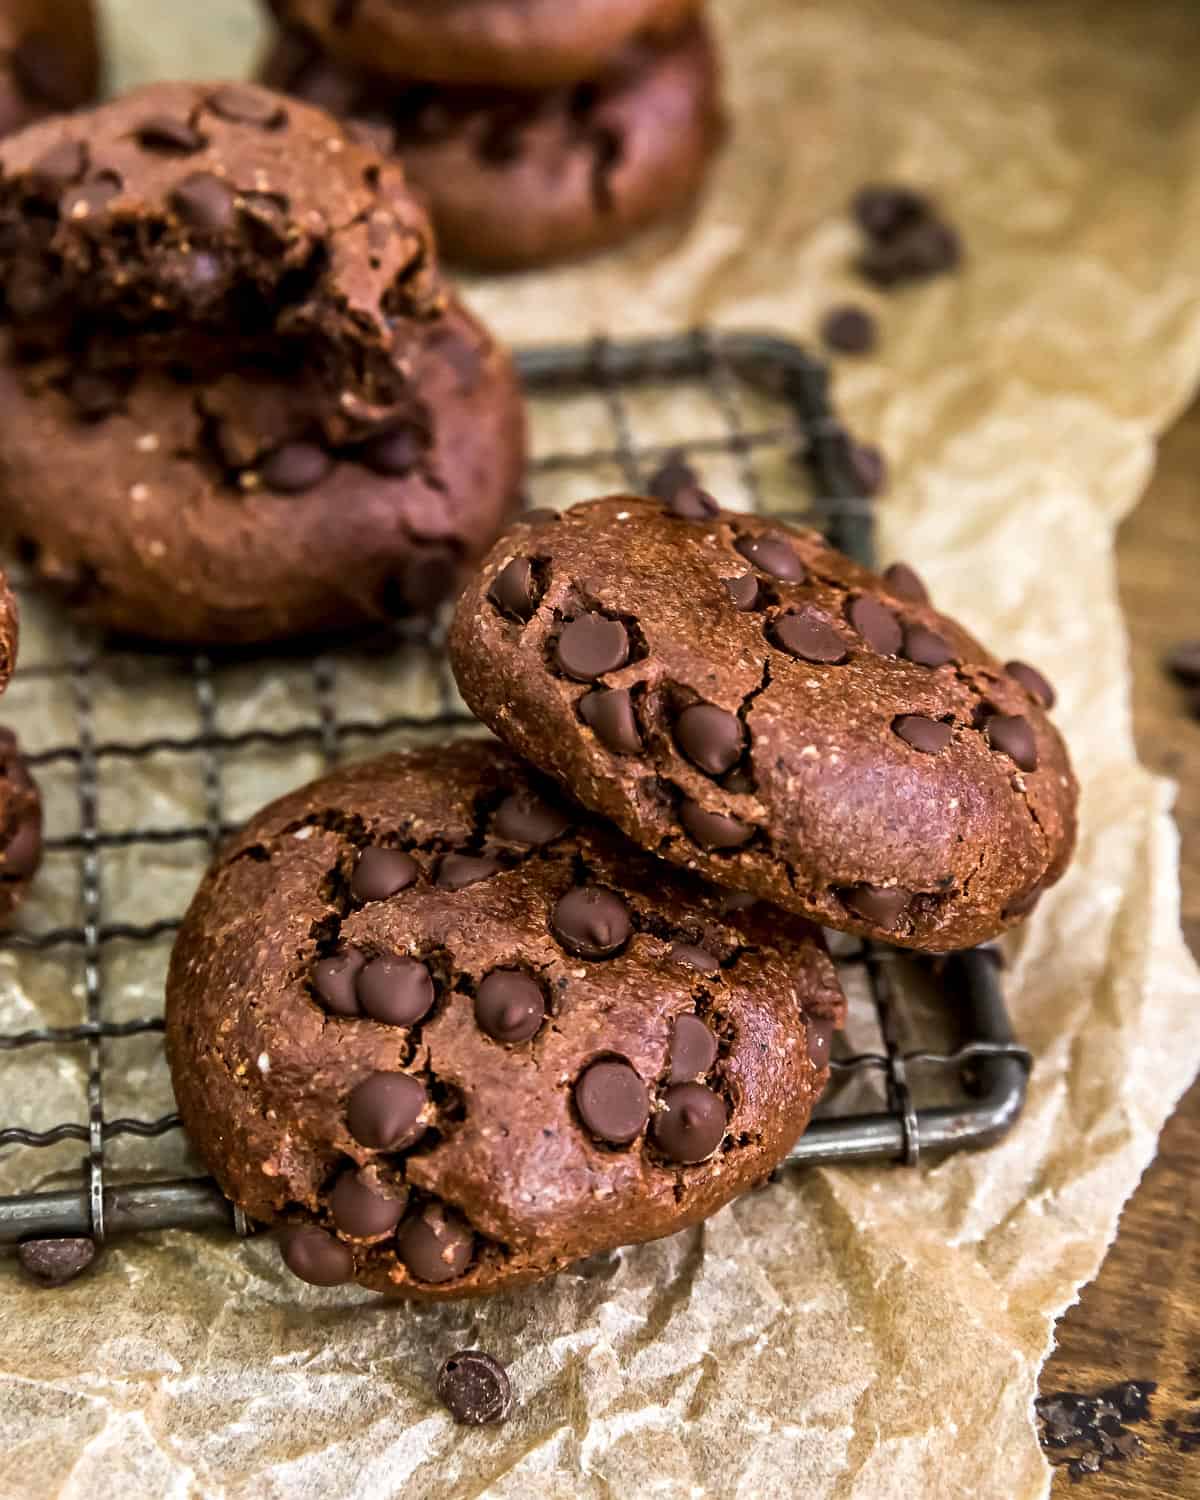
Vegan Mocha Cookies are a new family favorite! We just can’t get enough of them. These cookies are rich and chewy, filled with chocolatey, coffee goodness.
The biggest debate we had was “how much coffee” flavor to add. Some of us loved a POW of coffee, while others enjoyed a subtle coffee taste. Feel free to adjust the coffee amounts to fit your personal preference.
Tips for Success:
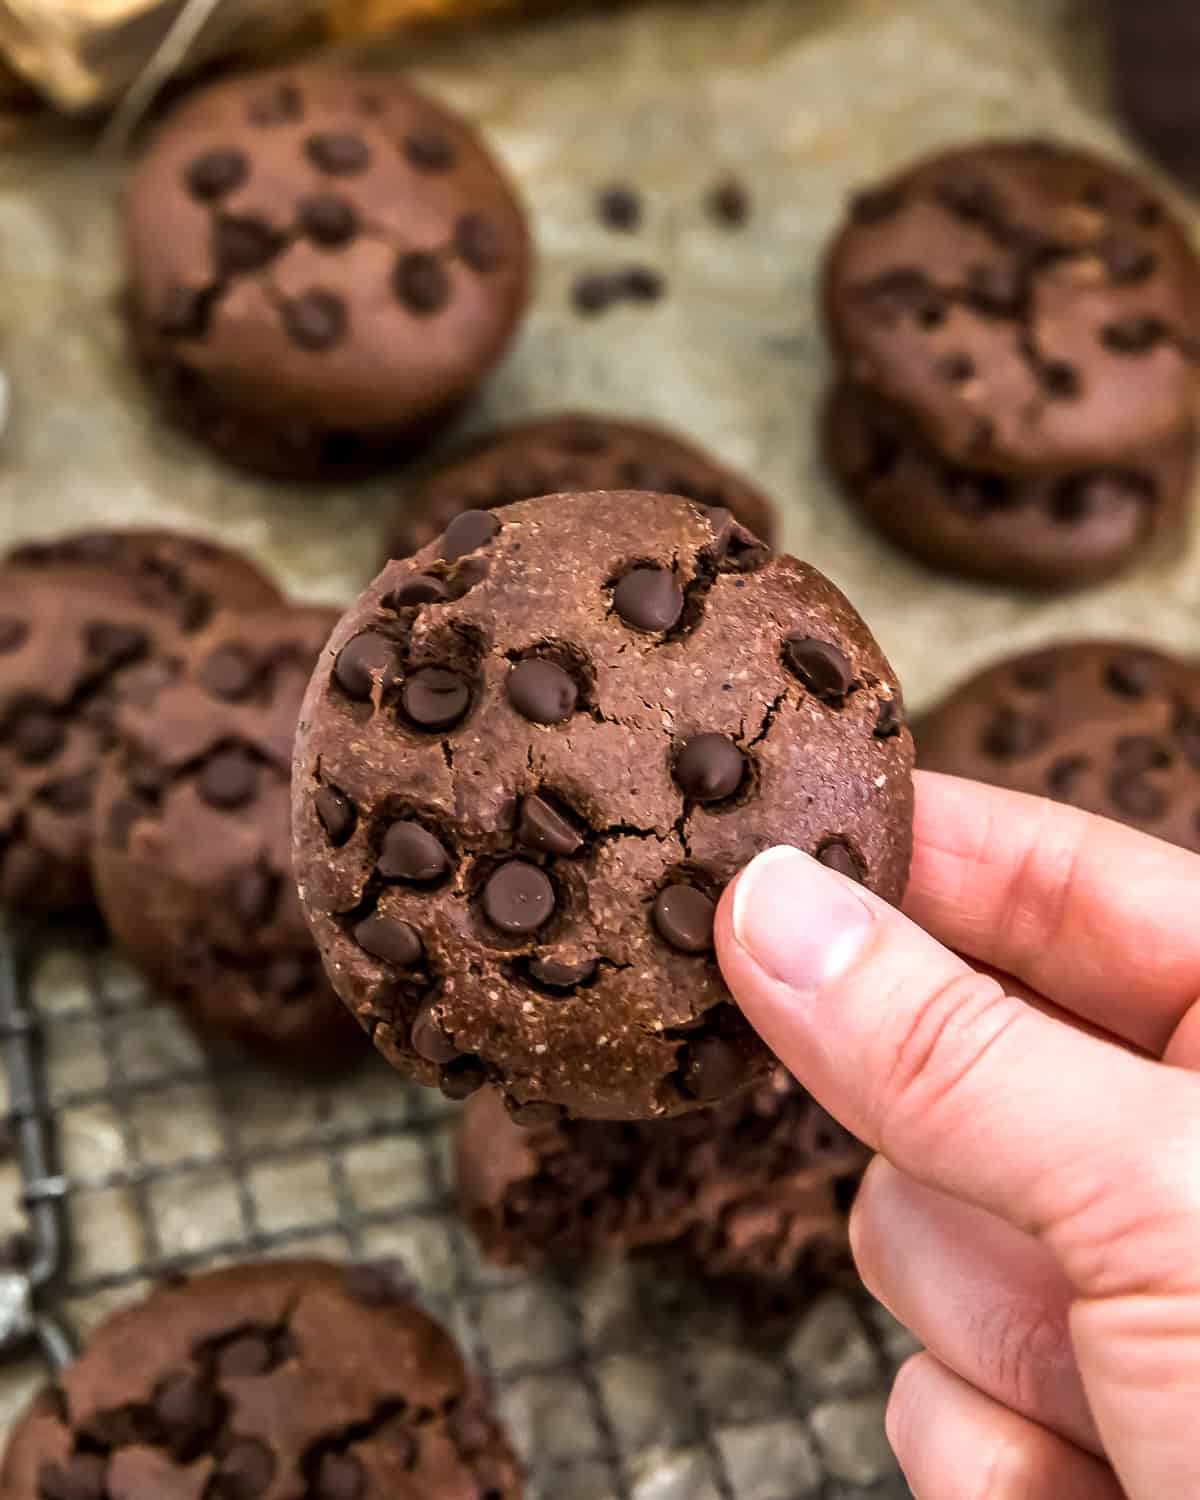
- Rolling Cookie Balls with Damp Hands: The dough is sticky. Wet your hands, shake off the excess water, then use slightly dampened hands to roll the cookies into tight balls, you will get a smooth glossier cookie. Wash your hands between every 3 to 5 cookies so you can continue to roll a smooth round cookie ball. Then while the cookie is in your hands, slightly flatten into a disk and place on the baking sheet. This is not a cookie recipe where you can just drop the batter onto the baking sheet. We highly recommend rolling the dough into balls in your hands.
- Silicone Baking Mats: We highly recommend using silicone baking mats to prevent the bottoms from overbrowning. We have not tested parchment paper lined baking sheets; however, we feel confident that parchment paper will work fine; however, instead of allowing the cookies to rest 2 minutes on the baking sheet, reduce the time to 30 seconds before transferring to a wire rack.
- Baking Sheet: We used a large 14 x 20 baking sheet, then placed two silicone baking mats on the baking sheet. We laid them vertically on the baking sheet, so that the silicone mats stuck over the edges a little. Just form the silicone mats to the baking sheet. They will stick up a little like an “L” on the wider end. This is fine. We place the side that sticks up like an “L” toward the back of the oven. If you don’t have a large baking sheet, use 2 small ones, but bake only one batch at a time.
- Cookie Scoop: We used a small cookie scoop (1 ½ inches in diameter). This helped keep the cookies uniform.
- Almond Flour: This recipe was specifically created using almond flour. We do not have any substitutions to offer.
- Almond Butter Substitutes: This recipe was specifically created using almond butter. We believe that cashew butter could work, but we have not tested this recipe with cashew butter.
- Unsalted Almond Butter: You want the almond butter softened, but not melted. Almond butter at room temperature is best; however, if you store your opened jar of almond butter in the fridge like we do, just spoon out the recipe required amount and microwave it for 4 to 5 seconds to soften it without melting it. You can substitute other nut or seed butters that have the same consistency as the almond butter with the understanding that the flavor will change accordingly. We do not recommend tahini as a substitute.
- Coffee: You can use your favorite coffee in this recipe. If using an instant coffee (2 teaspoons of freeze dried instant coffee), it should pretty much dissolve into the hot milk. If the coffee doesn’t completely dissolve, that’s ok too. Just scoop out all of the mixture including any residue and undissolved small coffee grounds into the dough mixture. If using regular coffee (not instant), use a fine grind coffee. Additionally, we tested this recipe multiple times. We had family members who preferred a really strong coffee presence (3+ teaspoons), while others preferred a hint of coffee flavor (2 teaspoons).
- Extra Mini Chocolate Chips: We placed some extra mini chips on top for prettiness by gently placing some mini chips on top and gently pushing them into the tops of the cookie to secure them.
Leftovers and Freezing:
These cookies will generally keep for 3-4 days. Store in a covered container.
These cookies freeze well up to 3 months (as with most baked goods).
Pantry Products Used:
- Vegan Chocolate: We used Enjoy Life Semi-Sweet Mini Chocolate Chips. You can use your favorite dark or semi-sweet vegan chocolate.
Kitchen Products Used:
- Large baking sheet
- Parchment paper or Silicone baking sheet
We certainly hope you give this deliciousness a try.
If you try this decadent cookies, we would love to know if you enjoy it as much as we do! Please leave us a review! Post a picture on Facebook or Instagram and tag us! We would love to hear from you.
Print
Description
Sweet, simple, and oh-so scrumptious, these healthy, oil-free Vegan Mocha Cookies are the perfect texture of soft and chewy.
Ingredients
Mocha Ingredients:
- 2 teaspoons dried instant coffee (+/-) *
- 2 Tablespoons unsweetened plain plant milk
Dry Ingredients:
- 1 ½ cups + 2 Tablespoons almond flour, lightly pack *
- ¼ cup maple sugar *
- ½ cup unsweetened cocoa powder
- ¼ teaspoon baking soda
- 2 teaspoons baking powder
- 1 Tablespoon cornstarch (or arrowroot powder)
- ¼ teaspoon sea salt *
Wet Ingredients:
- ½ cup unsalted almond butter, softened *
- 1/3 cup pure maple syrup
- 1 teaspoon molasses
- 1 teaspoon vanilla
Other Ingredients:
- 1 cup vegan mini chocolate chips *
Instructions
- Preheat the oven to 350 F. Place the oven rack in the upper-center position, avoiding the lower rack.
- Heat the plant milk to hot (not boiling), place into a small bowl and add the coffee, stir until dissolved, set aside. (See blog post for additional details)
- Line a baking sheet with a silicone mat (or parchment paper).
- Place all the other Dry Ingredients into a bowl, whisk well to combine.
- Add the Wet Ingredients (including the coffee/milk mixture) to the dry ingredients, stir well to combine (no electric mixer required). The dough should come together and look somewhat “glossy”. Then stir in the mini chocolate chips.
- Take 2 tablespoons of cookie dough and roll it in your dampened hands to form a ball (see blog notes), then while the cookie is in your hands, slightly flatten into a disk and place on the baking sheet. Try to keep the cookie size uniform. Space them apart as they do spread slightly. Continue until you have rolled all the dough into balls, flattened them, and placed on the baking sheet.
- Place the baking sheet into a preheated 350 F oven and bake for 11 minutes.
- After 11 minutes, remove from the oven, allow the cookies to sit on the baking sheet(s) undisturbed for 2 minutes to firm up, then transfer to a wire cooling rack.
- Enjoy!
Notes
*Please reference the blog post for Tips for Success, Pantry Items Used, Storage and Freezing, and Kitchen Products Used.
*Sea Salt: Please adjust the sea salt based upon your family’s sea salt preferences and/or based upon dietary needs.
*Serving: Makes 19 to 21 cookies
This post contains affiliate links, and we may receive a very small commission if you purchase through those links at no additional cost to you. Thank you for supporting Monkey and Me Kitchen Adventures! For more information, see our disclosures here.

Hi there- thanks for sharing this recipe- am definitely going to give it a try. I don’t have any maple sugar – you think I could substitute it with Coconut sugar?
Hi there Julie 🙂
Thank you so much for reaching out to us. Yes, you can substitute the maple sugar with coconut sugar.
-Ameera and Robin 🙂
Am I just reading this wrong? 2 tsp coffee? That’s 2 tsp of “brewed” coffee, not 2 tsp of instant coffee grounds?? Two tsp of brewed coffee doesn’t sound like much to flavor an entire batch of cookies. Thanks.
Hi there Kathy,
Thank you for your question. Yes, it is 2 teaspoons of dried instant coffee. I updated the recipe just in case others also had questions.
-Ameera and Robin
Made these, they are yummy! Decided to snap a pic before we scarfed up too many! Made a double batch and decided to top with walnut bits. They turned out great, thanks for all the good recipes you share.
Hi there Cheryl,
YAYYYY!!! We are thrilled that you enjoyed these cookies. Thank you so much for taking time to leave us an awesome review.
-Ameera and Robin
Just got around to making these last week. I LOVE them. Making my next batch right now! These are super easy to make, too.
‘Thank you for coming up with this one. You ladies are amazing.
Hi there Justin,
YAYYYY!! We are thrilled that you enjoyed these cookies. We appreciate you and your support! Thank you for the awesome review!
-Ameera and Robin
These taste great. But did everyone else find the batter just all crumbly? Very hard to shape into a cookie. I dumbed it on a sheet pan and pressed it into a square shape and cut with knife and then baked. But was impossible for me to shape into balls.
Hi there Dennis,
Thank you for thinking this recipe tastes great. We are stumped on your comment about the dough being crumbly, if anything, the dough is actually very sticky. Did you accidentally leave out some of the ingredients? Please review your print out of the recipe against the web recipe to see that everything printed. We have had numerous awesome reviews on here and on Facebook and IG on this recipe.
Let us know.
-Ameera and Robin
I will try again soon and let you know! I thought I followed the recipe very closely/accurately, but you never know! Glad to know it was not how it should be and I will see it is gets different results next time. (The walnut chocolate chip cookie recipe is my go-to btw – SO good).
Hi there Dennis,
We are so happy that you enjoy our walnut chocolate chip cookies. Thank you so much!!!
-Ameera and Robin
Can you include a jump to recipe button.? I like to check the ingredients list first before I decide to try something and read the details.
Hi there Darlene,
We completely understand wanting a “jump to recipe” option, and we would love to add this feature in the future. However, the few pennies we make from readers scrolling helps us keep our little free recipe blog running for our readers. With all the expenses of running the blog and purchasing groceries for multiple recipe testing and photography, we are running in the red, but at least the little money we make from scrolling helps to keep our blog going. We hope that you understand, and we appreciate your continued support. Thank you so much!
-Ameera and Robin
Can I sub date paste for the maple syrup?
Hi there LouAnn,
Thank you for your question. Date paste is much thicker than maple syrup. You would need to make the date paste the consistency of maple syrup and possibly play with other ingredients to make it work. We have not tested it, so we do not have any suggestions to offer.
-Ameera and Robin
These look so incredible!!! I can’t wait to try them!!
Hi there Alicia,
Awesome! Thank you so much! We hope you give them a try and enjoy them as much as we do! 🙂
-Ameera and Robin
These cookies are utterly delicious! I used hazelnut meal, which has a similar texture (as I had run out of almond meal and also because I Iove hazelnuts), and a mixture of almond and hazelnut butter. Maple sugar is not common where I live (Europe), so I used unrefined cane sugar. The cookies came out a dream, really nice and fudgy. Even without the molasses (which I had at hand but just forgot to add). This is definitely a recipe to keep! And I’ll just keep making them with hazelnut meal, I think.
Hi there Mirjam,
YAYYYY!!!! We are thrilled that you enjoyed this recipe. Thank you so much for taking time to leave us a fantastic review. We sincerely appreciate it.
-Ameera and Robin