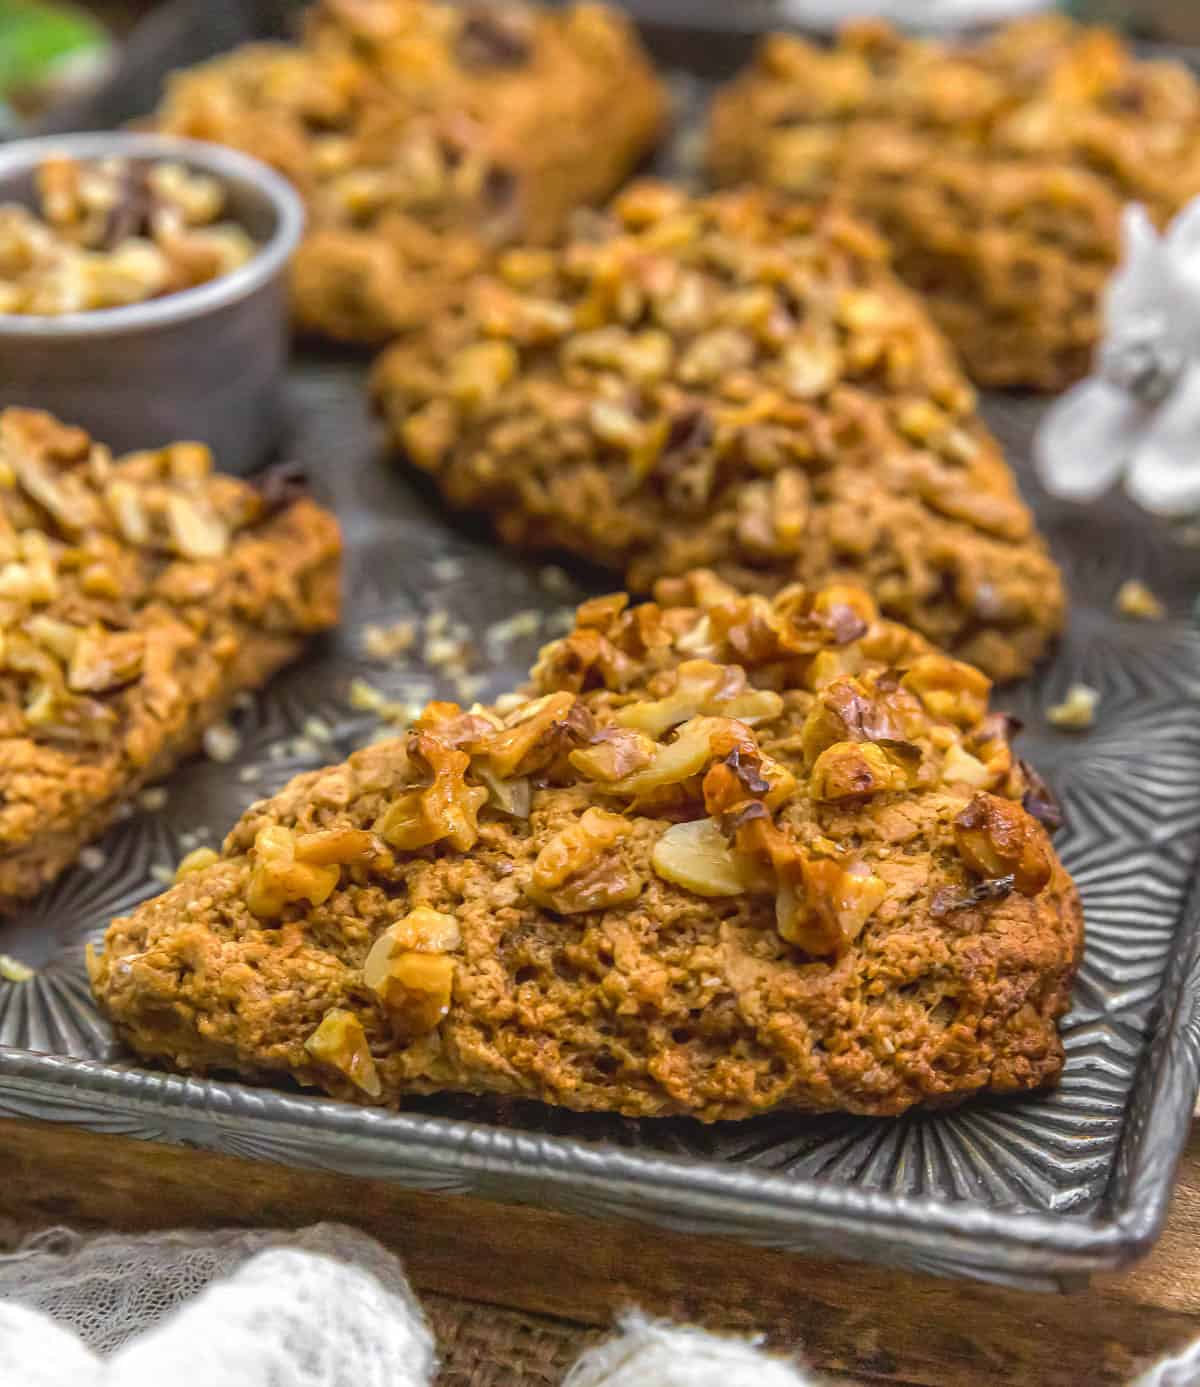
Vegan Maple Glazed Banana Nut Scones! Ideal for weekend brunch, these scones boast a cake-like texture—crisp-edged and crunchy topping.
Light and fluffy, these Vegan Maple Glazed Banana Nut Scones are everything you crave in a cozy morning treat. Each bite delivers moist, tender crumb with a balanced kiss of sweetness, while the maple glazed walnuts adds a delightful crunch with a comforting aroma that lingers in the kitchen.
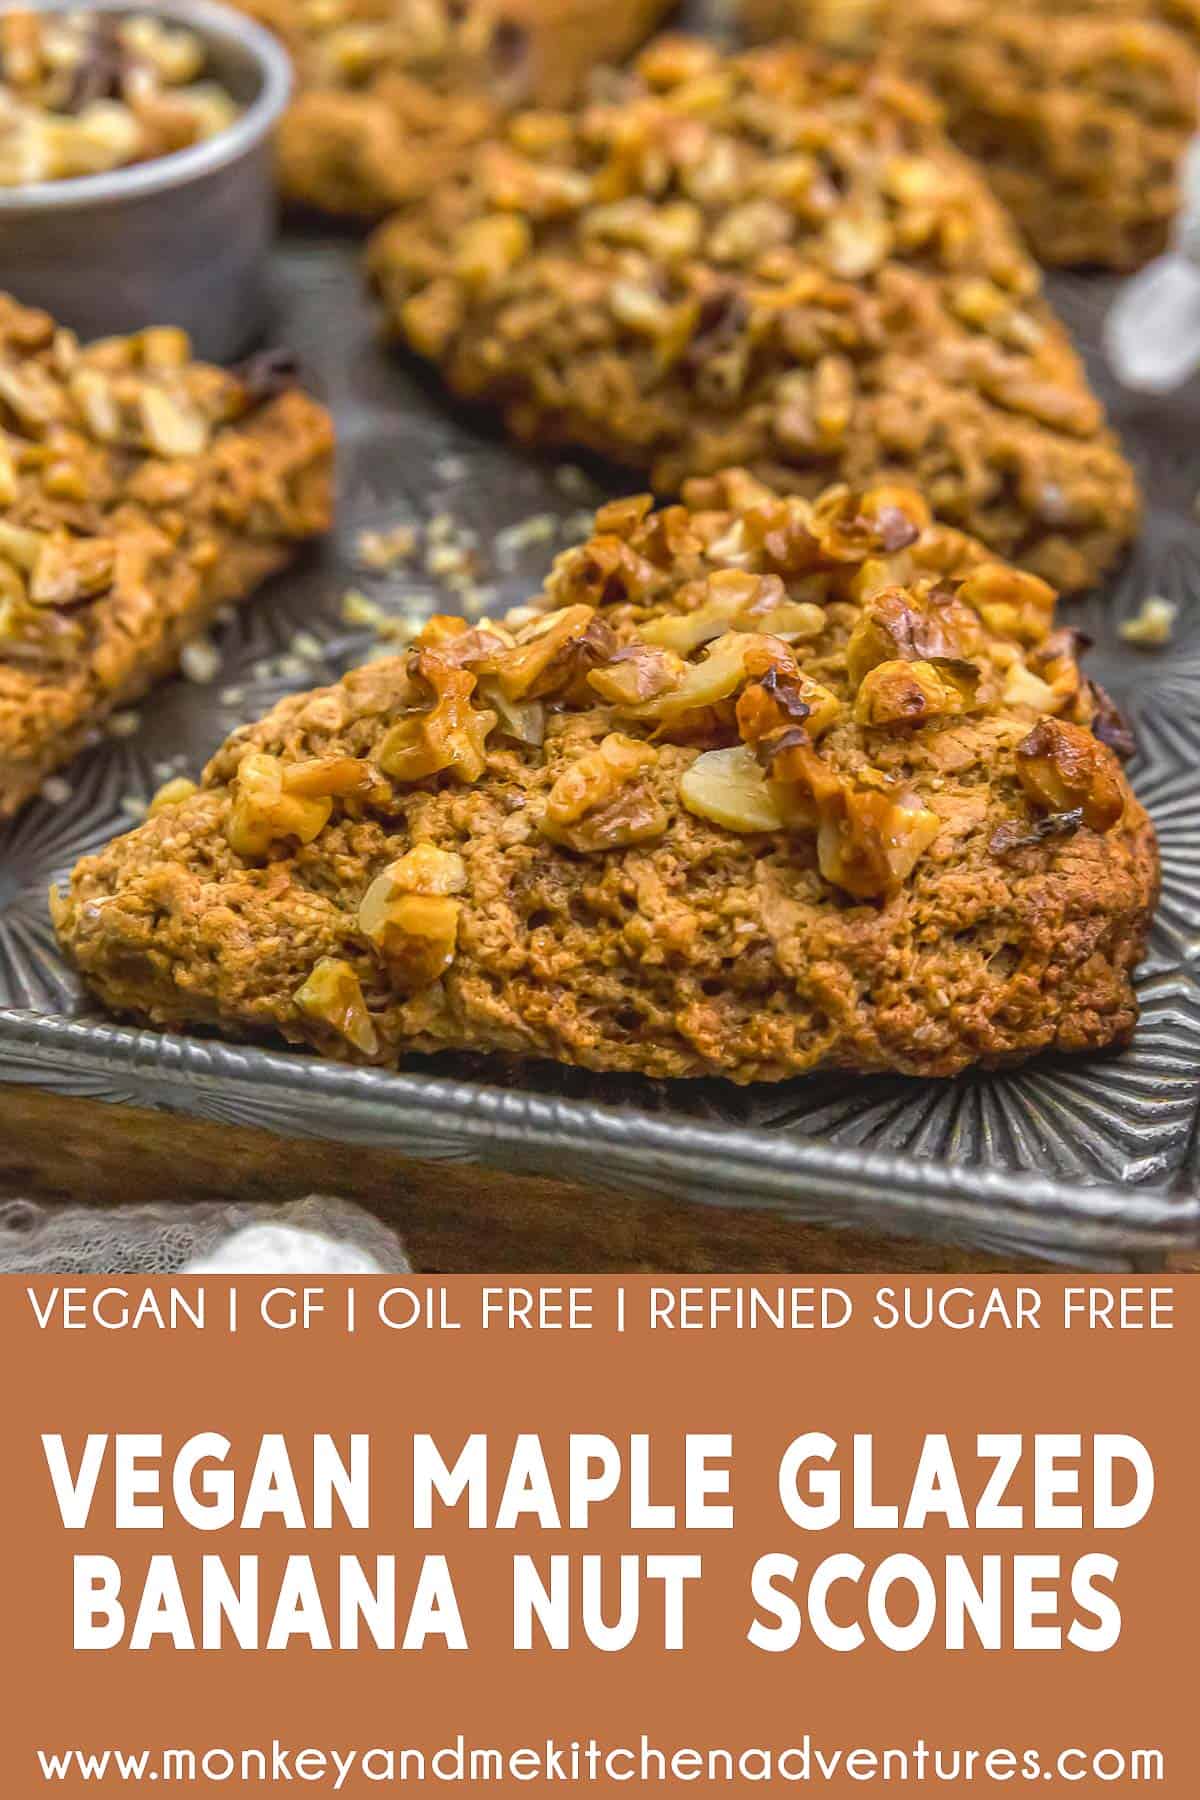
Whole Food Plant Based, Vegan, plant based, oil free, refined sugar free, no highly processed ingredients.
Hi there, Ameera here!
We absolutely devoured these Whole Food Plant Based scones, and I’m not shy about saying they’re crave-worthy, crowd-pleasing, and weeknight-friendly all at once. They come out so soft and fluffy, with a wholesome, banana-bread vibe that’s elevated by toasty nuts and a gentle maple sweetness.
It’s the kind of recipe you’ll want to bookmark for when you’re hosting friends or curling up with a cup of coffee on a chilly morning. They’re incredibly satisfying—so so good. Give this one a try and savor the nourishing, plant-powered goodness that makes your kitchen smell like a cozy bakery.
Tips for Success:
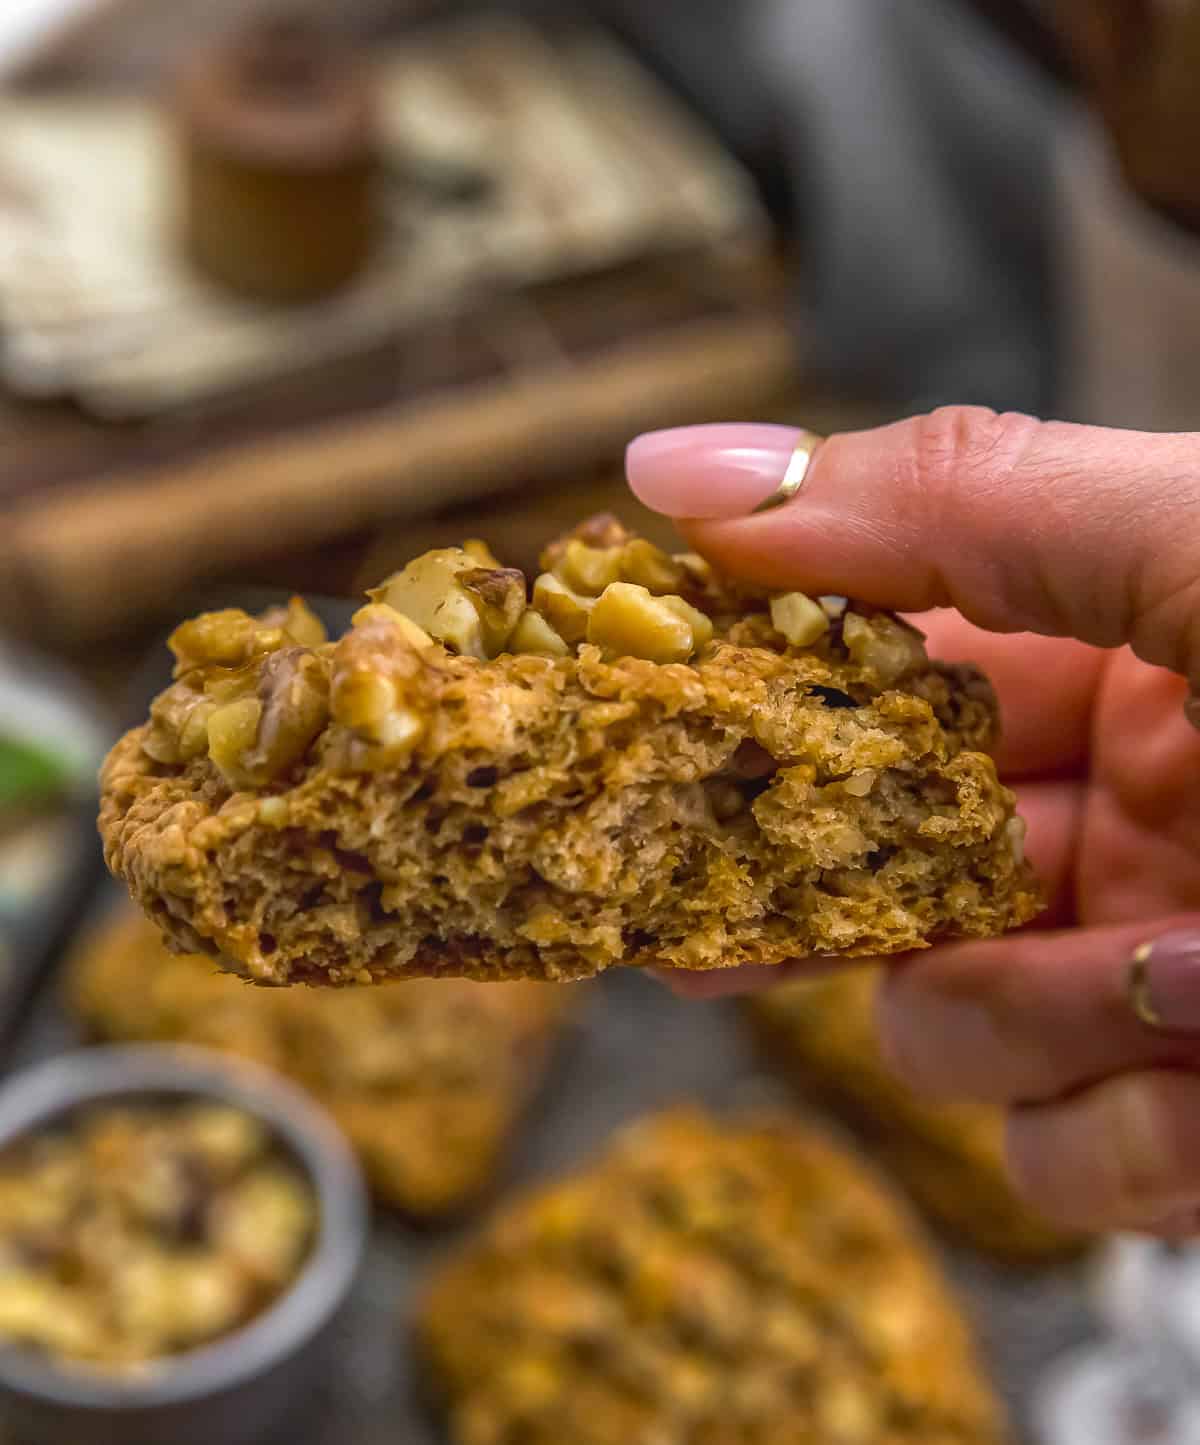
- Flavor Profile: These Vegan Maple Glazed Banana Nut Scones are delicious. They are light and fluffy, and full of maple banana nut yumminess. They are moist, lightly sweet, and have fantastic texture.
- Scone Texture: These healthy scones are not going to have the same texture that you would expect from a traditional scone. Traditional scones are made with white sugar, butter, heavy cream or buttermilk and eggs. They generally have a delicate, slightly crumbly texture, the interior is light flaky and tender. This Whole Food Plant Based scone has more of a cake-like texture but is still fantastic and delicious. It looks like a scone but is a healthier version in comparison to traditional scones.
- Medium to Advanced Bakers: Please be advised that this recipe is not difficult; however, it does require some general baking intuition and skill when making scones due to trusting the feel of the dough and understanding the general mechanics of making scones. A degree of patience is required when making these scones as it is not a recipe to rush through.
- All-Purpose White Flour: We used an organic, unbleached all-purpose white flour to make these scones. Feel free to use your favorite all-purpose flour.
- Cinnamon: Not all cinnamon is created equal. Some brands of cinnamon are light and passively flavored while others are strong, sharp, and astringent.
- Amount of Bananas: Place approximately 2 ½ to 3 overripe brown speckled bananas (peeled) into a medium-sized bowl and thoroughly mash into a pudding-like mixture. Mash them really well, you should not see any overly large visible chunks of bananas. We use our hands to really mash them into that pudding-like texture. RESIST the urge to use more than 1 cup of thoroughly mashed bananas or you could potentially have gooey scones.
- Dough: At first when stirring the dough, it will seem too dry, but in order to fully incorporate the flour, you will need to switch from a stiff spoon or hard silicone spatula to using your hands to get the dough to become saturated, then stop, do not overmix. The dough should not separate but adhere to one big ball of batter. Dust the top of the ball of batter with some flour, then dump into the parchment paper-lined (bottom only) cake pan. Push the dough and flatten to the edges of the cake round (8-inch). Freeze the dough for 15 to 20 minutes.
- 8-Inch Round Cake Pan: Using an 8-inch round cake pan allows the dough to rest and creates the general round shape needed to later cut into scone triangles.
- Line only the Bottom of the Round Cake Pan: Use a parchment paper round for the bottom of the cake pan. After placing the parchment paper in the bottom of the pan, lightly dust before flattening the dough to the edges of the cake pan.
- Why Freeze the Dough: Freezing the dough prevents too much sticking to the bench scraper. It also improves the texture by preventing excess spreading of the dough resulting in thicker scones.
- Bench Scraper: Using a small bench scraper allows for a simple even cut. Be sure to wash the bench scraper between cuts if any dough sticks to the bench scraper. This will prevent drag which will tear the next cut of scones and ruin them. If you do not have a bench scraper, a large chef’s knife will work fine, just cut down in one even cut. Do not drag the knife. Clean the knife in between cuts.
- Lifting the Dough Scones: Use the bench scraper to ensure the triangles are thoroughly cut through, then slide the bench scraper or large spatula underneath the dough triangles and move to the baking sheet. You can also use your hands once you use the bench scraper to get underneath the edges of the scones.
- Large Side of the Triangle on the Outside of the Baking Sheet: Be sure that all the large ends of the triangles are on the outside and all the small ends are pointed inward to prevent overbrowning.
- Shaping the Scones: Take a few extra minutes to reshape the scones (if needed) on the baking sheet before using the maple glaze. Blunt the short end of the triangles so they are not pointy simply by pressing the pointy end back onto the dough. If you have any pointy edges at the large top side of the triangle, press the dough back and round them off. Do not cut them off, gently press the dough with the side of your hand.
- Pastry Brush: Use a pastry brush to glaze the scones. If you do not have a pastry brush, simply dip your fingers into the glaze and use them to coat the scones. Try not to get too much of the maple glaze on the baking sheet as it will caramelize and potentially burn. If you happen to get too many pools of maple syrup on the baking dish, simply use a paper towel and wrap it around your finger and absorb it up into the paper towel before putting the scones in the oven.
- Potential Overbrowning/Foil: When the scones have been in the oven for 15 minutes, remove and cover with a large sheet of foil, just lay it over top of the scones. This will prevent them from over-browning as the maple glaze will start to scorch. You can also use parchment paper but double it.
- Maple Syrup Glaze: The maple syrup glazes the entire surface of the scone, except the bottom. This will cover any flour that was used to dust the surface. Use a pastry brush if you have one and be sure to glaze every side except the bottom.
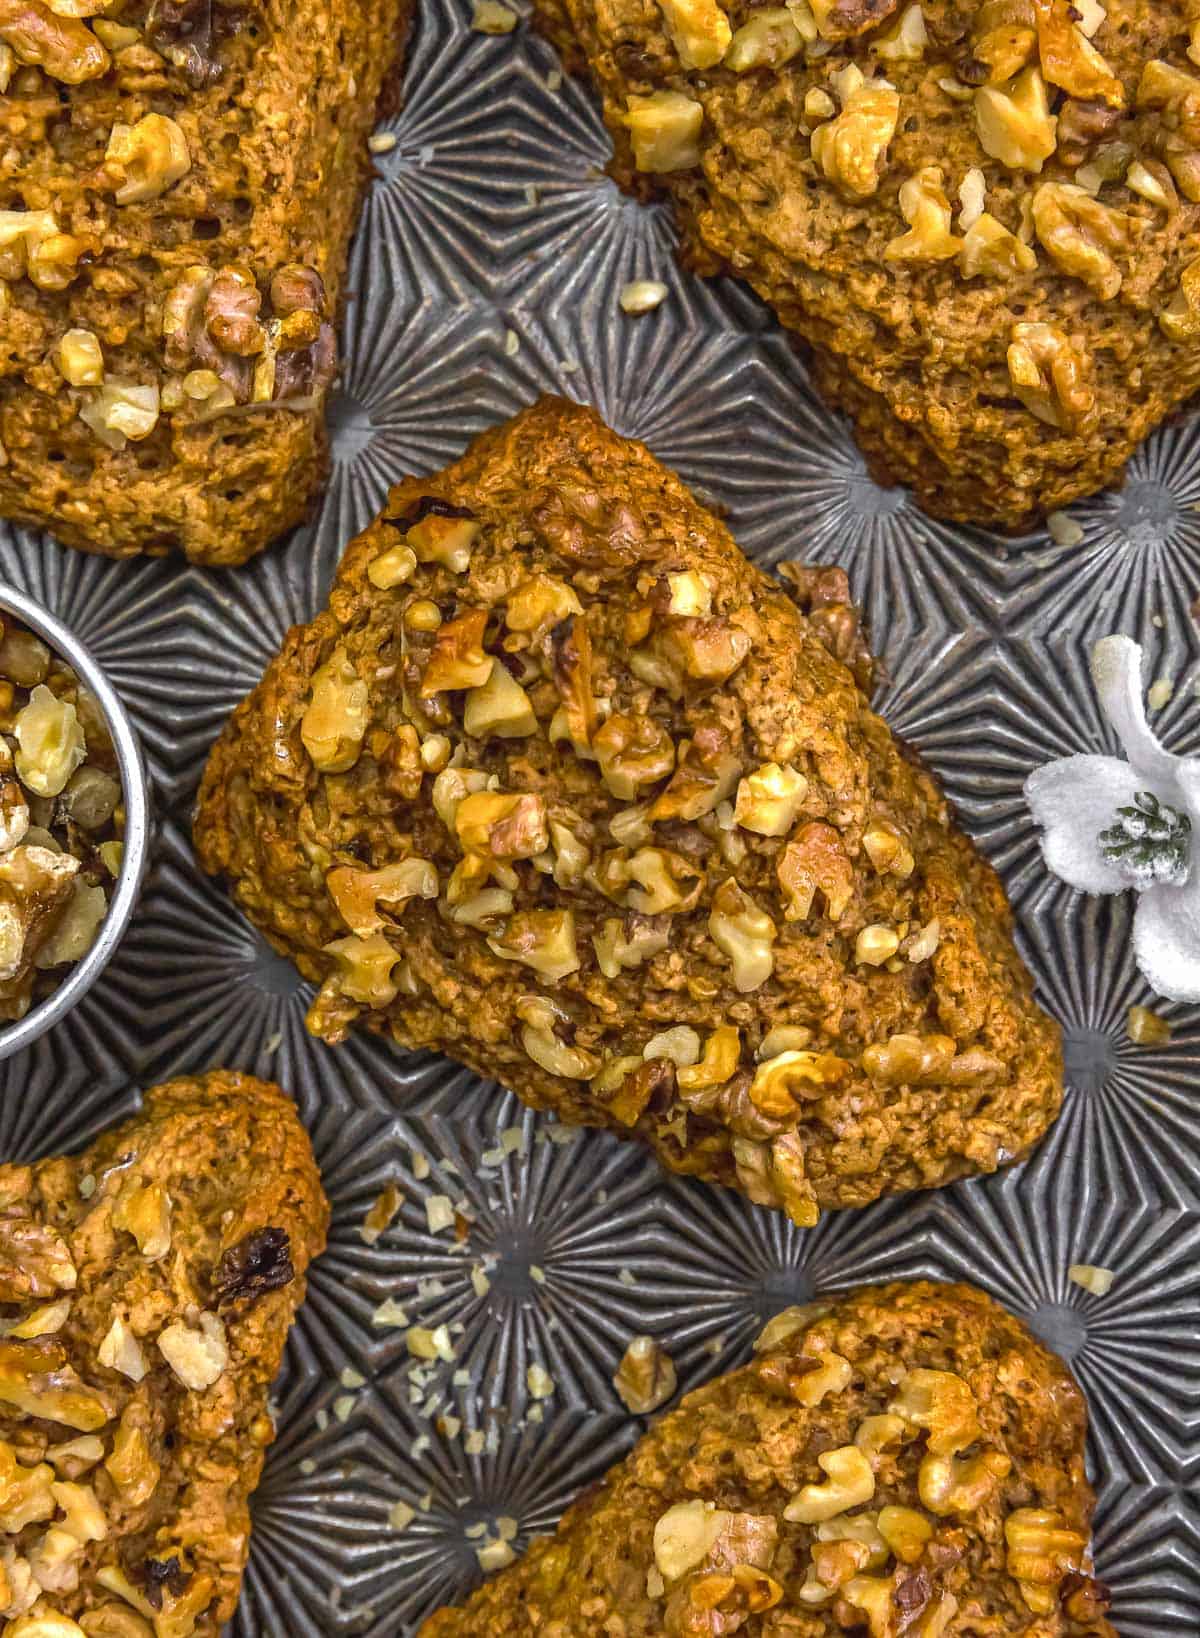
- Maple Glazed Walnuts: Dump the walnuts into the maple syrup water mixture, thoroughly coat, then strain off any excess maple syrup/water. Then generally place them on top of the scones.
- Sweetness: These scones are lightly sweet.
- Coconut Sugar: We used coconut sugar, but other dry sugars like date sugar, maple sugar or other dry sugars will work great in this recipe.
- Measuring Flour: Spoon the flour into the measuring cup and level off. Do not pack it in and do not scoop it in.
- Gluten Free: This recipe is not gluten free. If you would like them to be gluten free, then use 1:1 gluten free flour. We have not tested this recipe using a gluten free flour. If you are looking for a gluten free version of this recipe, we have one that is similar made with almond flour and peanut butter: Peanut Butter Banana Cookie Scones.
- Sea Salt: Please adjust the sea salt based upon your family’s sea salt preferences and/or based upon dietary needs.
Leftovers and Freezing:
Leftovers will generally keep for 4 days. Store in a covered air-tight container.
These scones freeze well.
Pantry Products:
- Organic Unbleached All-Purpose Flour: We used King Arthur Organic Unbleached All-Purpose Flour. Feel free to use your favorite white all-purpose flour.
- Almond Butter: We used Artisana Organics Raw Vegan Almond Butter. Feel free to use your favorite raw almond butter in this recipe. Read the label, make sure the only ingredient is raw almonds. Do not use a salted or sweetened almond butter.
Kitchen Equipment:
- Large 15 x 21 baking sheet with silicone pad
- 8-inch round cake pan
- Parchment paper
- Pastry brush (optional)
- Small bench scraper (optional)
- Fine-mesh strainer (optional) – used to drain the chopped walnuts
If you try these tasty scones, we would love to know if you enjoy it as much as we do! Please leave us a review! Post a picture on Facebook or Instagram and tag us! We would love to hear from you.
Print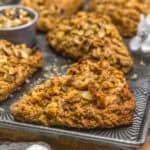
Vegan Maple Glazed Banana Nut Scones
- Prep Time: 40 Minutes
- Cook Time: 19-20 Minutes
- Total Time: 60 Minutes
- Yield: 8 Scones 1x
- Category: Breakfast, Dessert
- Method: Oven
- Diet: Vegan
Description
Light and fluffy, these Vegan Maple Glazed Banana Nut Scones are everything you crave in a cozy morning treat.
Ingredients
Dry Ingredients:
- 2 ½ cups (11.6 oz.) unbleached all-purpose white flour *
- ½ cup coconut sugar (or other dry sugar like date or maple) *
- 1 ½ teaspoons cinnamon *
- Pinch nutmeg
- 1 Tablespoon baking powder
- ¼ teaspoon baking soda
- ½ teaspoon sea salt
Wet Ingredients:
- 1 cup thoroughly mashed bananas *
- 2 Tablespoons unsweetened almond butter *
- ¼ cup unsweetened plain plant milk
- 1 teaspoon vanilla
- 1 Tablespoon lemon juice
Glaze Topping Ingredients:
- 2 Tablespoons pure maple syrup
- 2 teaspoons water
Nut Topping Ingredients:
- 2 Tablespoons pure maple syrup
- 1 teaspoon water
- ¾ to 1 cup chopped walnuts
Instructions
- Line an 8-inch round cake pan with parchment paper (bottom only), dust the parchment paper with some flour, set aside.
- Line a large (15 x 21 or similarly large) baking sheet with parchment paper or silicone pad, set aside.
- Thoroughly mash several spotted bananas, measure 1 cup of mashed bananas, set aside.
- Place the all the Dry Ingredients into a large mixing bowl, whisk to combine.
- Add all the Wet Ingredients (including the 1 cup of thoroughly mashed bananas) to the dry ingredients and mix well with a stiff spoon, then continue mixing by hand to incorporate all the ingredients. At first it will appear that the dough is too dry, keep mixing by using your hands until the dough comes together.
- The dough should feel slightly firm, but still somewhat flimsy and slightly sticky. Form a ball of dough inside the bowl. Dust the top of the dough with some flour, then gently dump the ball of dough into the parchment paper-lined 8-inch cake. Sprinkle with some additional flour (if needed). Press the dough disk down evenly to fill the 8-inch round cake pan, pushing the dough to the sides of the round cake pan. Cover with plastic wrap and place in the freezer for 15 to 20 minutes.
- Preheat the oven to 400 F, center rack.
- After 15 to 20 minutes, gently dump the slightly frozen dough out onto a very lightly floured surface, remove the parchment paper, then divide into 8 even triangles, by cutting the dough in half down the middle, then in half again, repeat until you have 8 equal triangular pieces. A small bench scraper works well for this job. In between every cut, wash the bench scraper and dry thoroughly if any dough sticks to the bench scraper. If you do not have a bench scraper, a large chef’s knife works well too.
- Place the dough triangles onto the parchment/silicone lined large baking sheet with the smaller part of the triangle facing inward. Shape the dough – see recipe notes.
- Place 2 Tablespoons of maple syrup and 2 teaspoons of water in a small bowl, whisk. Then brush the maple mixture all over the tops and sides of the dough scones.
- In another bowl, place 2 Tablespoons of maple syrup and 1 teaspoon of water, whisk to combine, then dump the chopped walnuts into the maple syrup mixture, mix well to endure all the chopped nuts are evenly coated, then strain off the maple syrup so all only the maple syrup coated walnuts are left in the bowl, then generously top the scones with the coated walnuts. Important Note: Be sure to drain off any excess maple syrup off the walnuts to prevent excess runoff of maple syrup.
- Place in a 400F preheated oven for 15 minutes. At the 15-minute mark, place a large sheet of loose foil (or parchment paper) over top of the scones to prevent the tops from burning.
- Place back in the oven, and bake for another 4 to 5 minutes or until a toothpick comes out clean.
- Remove the scones from the oven and allow the scones to cool on the baking sheet for 2 minutes, then move them to a cooling rack. Allow to cool for 10 to 20 minutes on the cooling rack, then enjoy! Store at room temperature in an air-tight container.
Notes
Please reference the blog post for Tips for Success, Pantry Items Used, Storage and Freezing, and Kitchen Products Used.
Sea Salt: Please adjust the sea salt based upon your family’s sea salt preferences and/or based upon dietary needs.
Servings: Makes 8 scones

This post contains affiliate links, and we may receive a very small commission if you purchase through those links at no additional cost to you. Thank you for supporting Monkey and Me Kitchen Adventures! For more information, see our disclosures here.
Leave a Reply