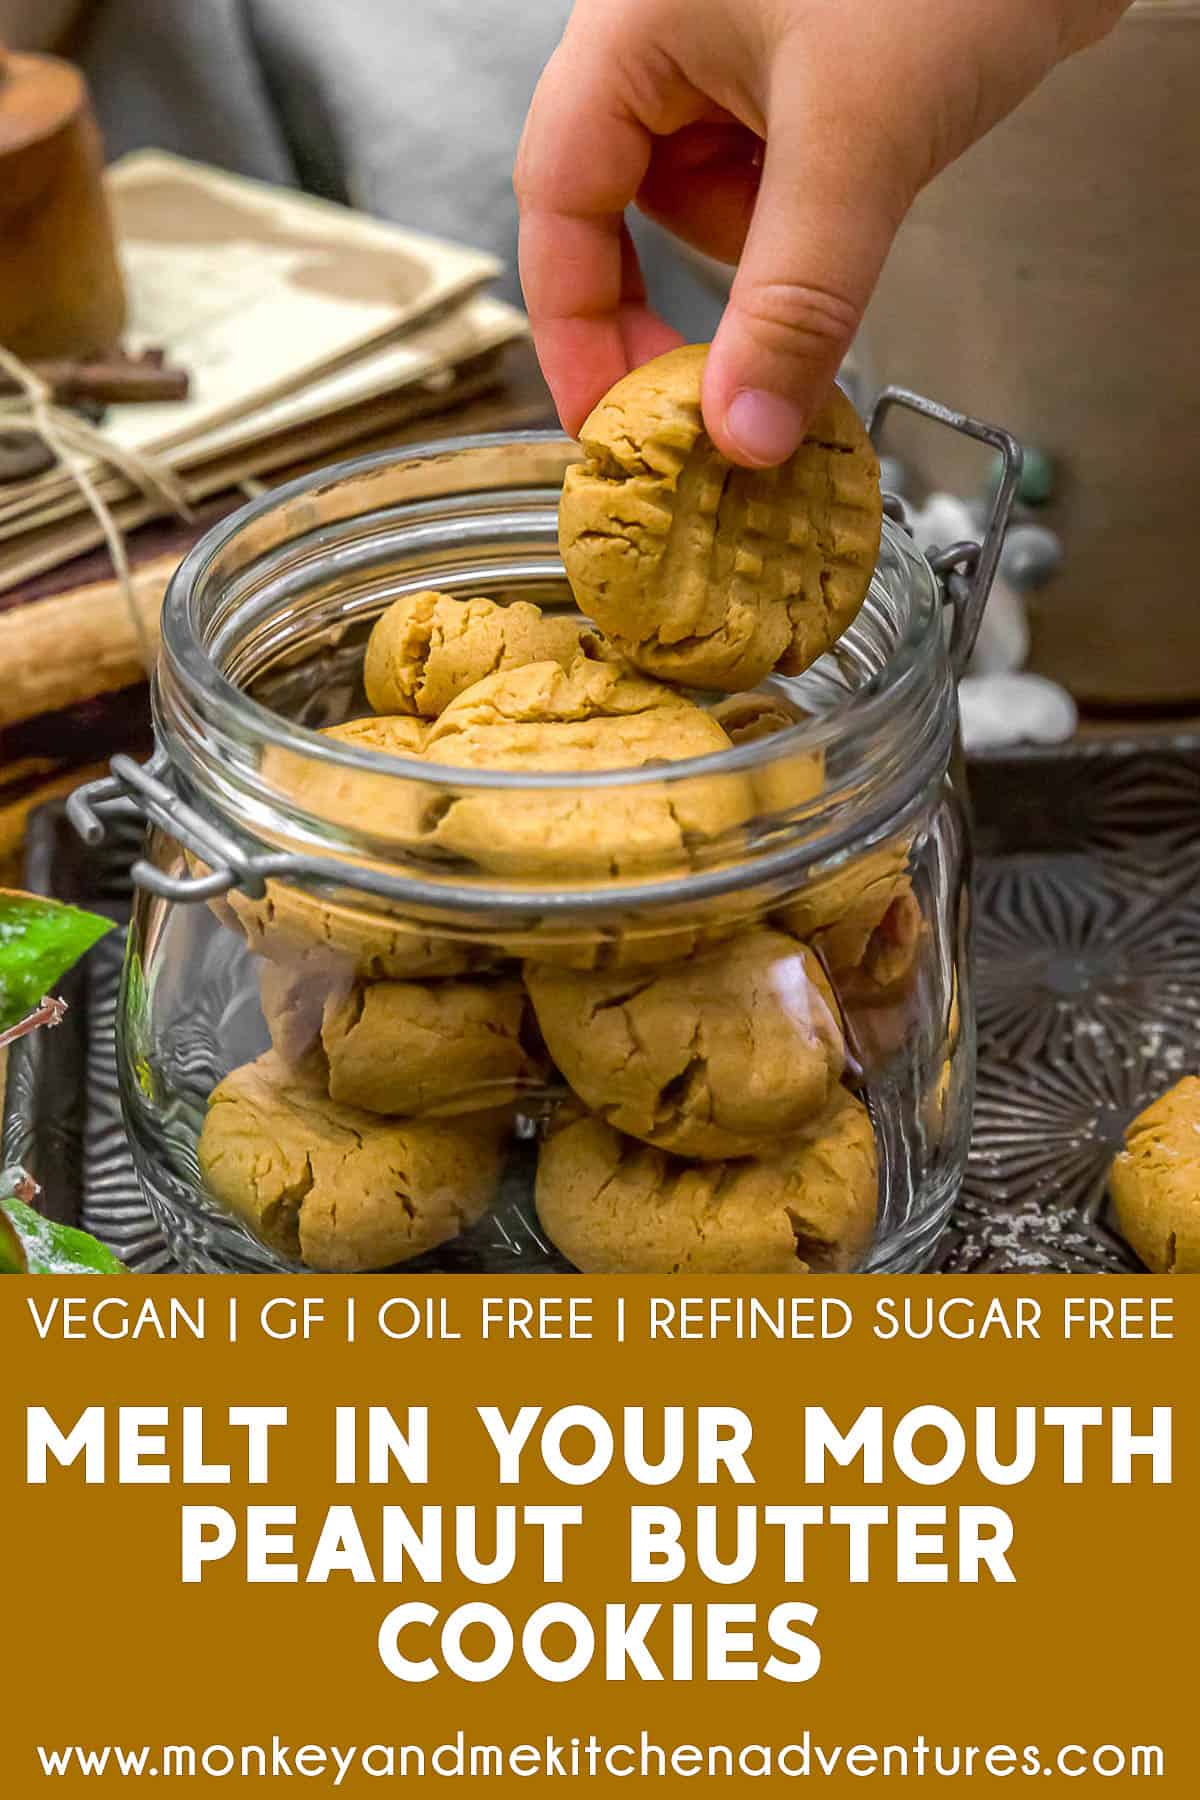
Melt in Your Mouth Peanut Butter Cookies! Get ready to savor the bliss of these cookies that are as easy to make as they are to devour!
Indulge in the ultimate cookie experience with these Melt in Your Mouth Peanut Butter Cookies—a delightful treat that embodies pure cookie heaven! These delicate little gems are the ideal small treat to satisfy your sweet cravings; they’re so irresistible that you’ll find yourself reaching for just one more! Perfect for sharing at gatherings or simply enjoying any day, these cookies are sure to become a favorite in your baking repertoire.
Whole Food Plant Based, Vegan, plant based, oil free, refined sugar free, no highly processed ingredients and gluten free.
Hi there, Ameera here!
Welcome to cookie paradise with these Melt in Your Mouth Peanut Butter Cookies! Trust me, these cookies are pure cookie heaven, and when I tell you we devoured them as if our lives depended on it, I’m not exaggerating!
Each bite is a delightful explosion of peanut butter flavor that melts in your mouth, leaving you craving more. You gotta give this one a try!
Tips for Success:
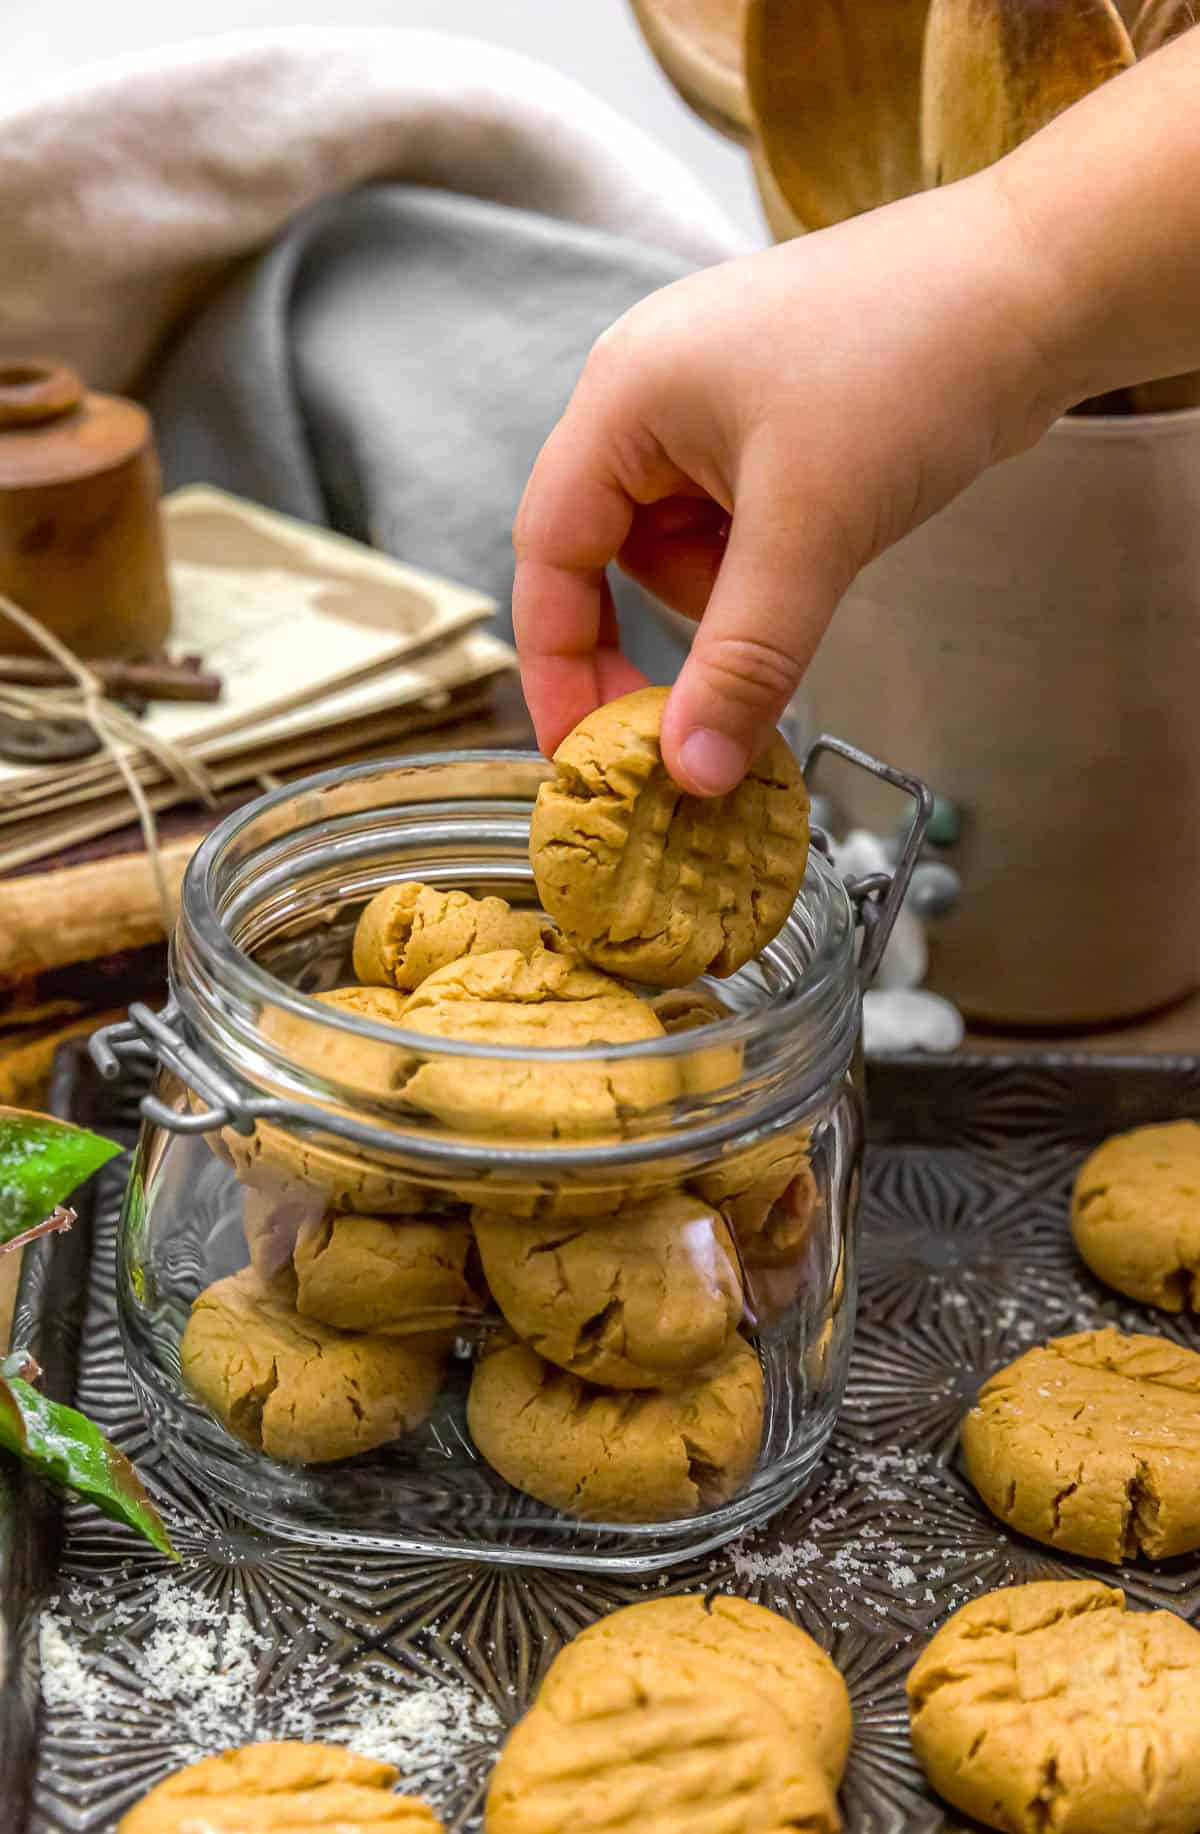
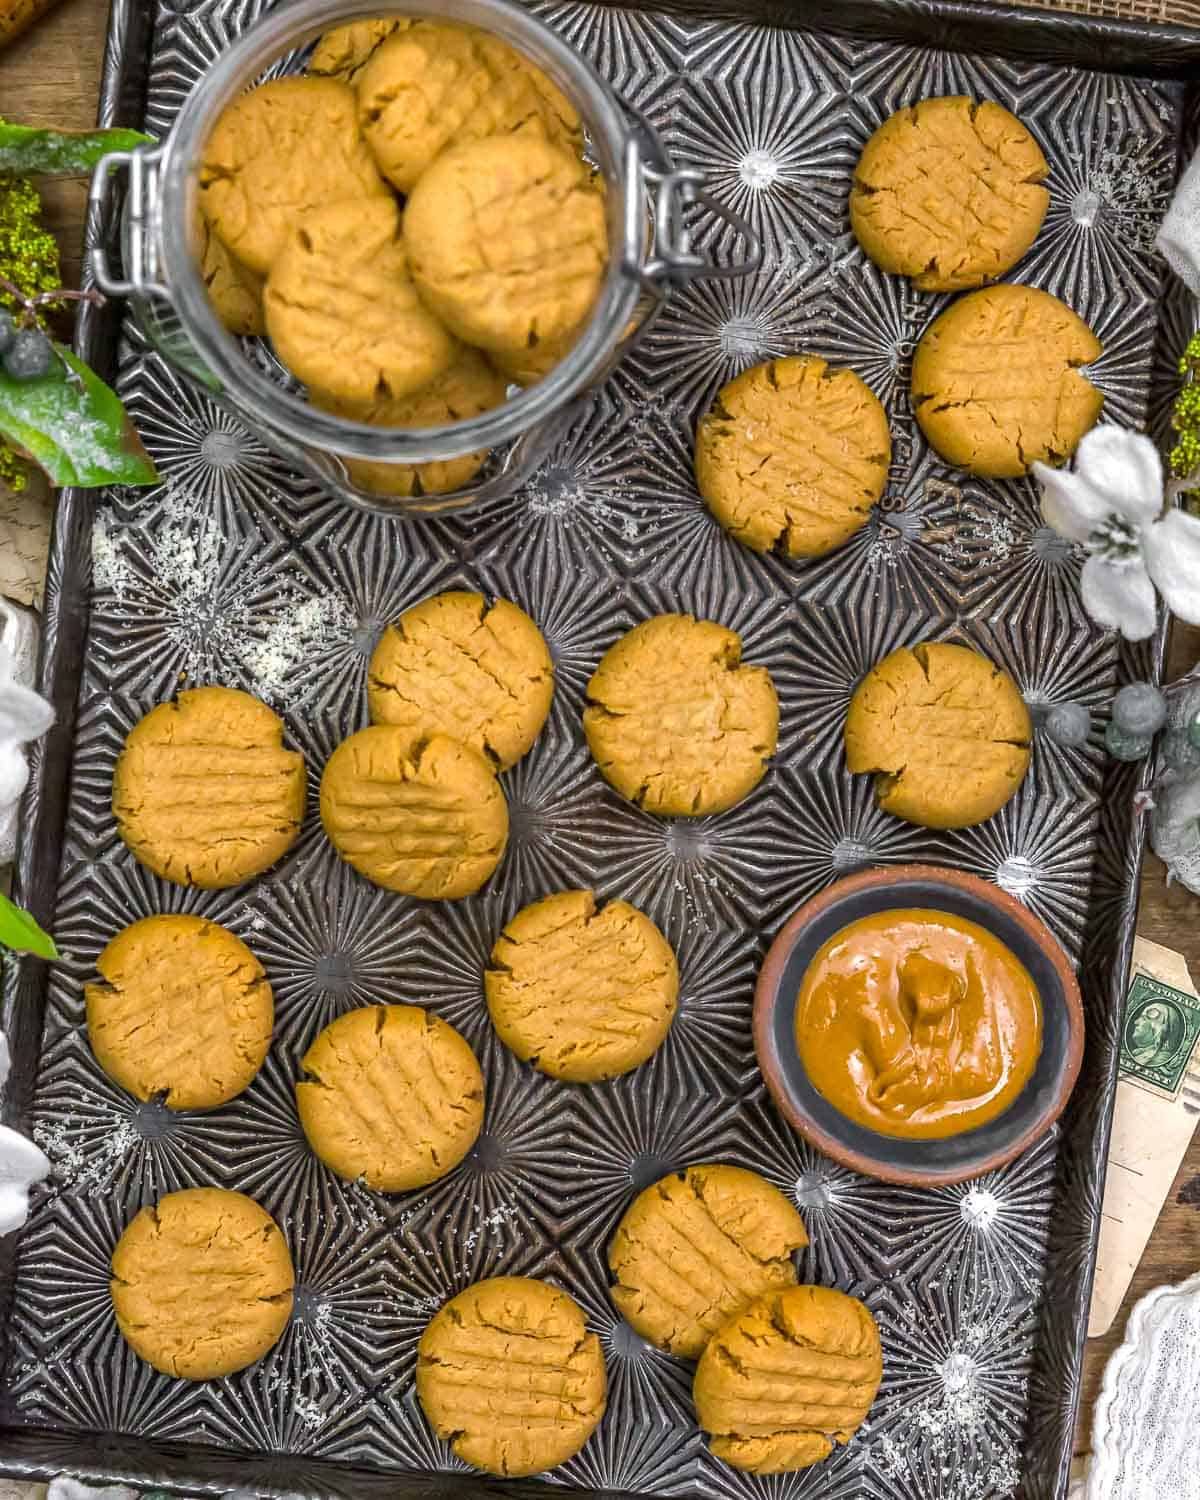
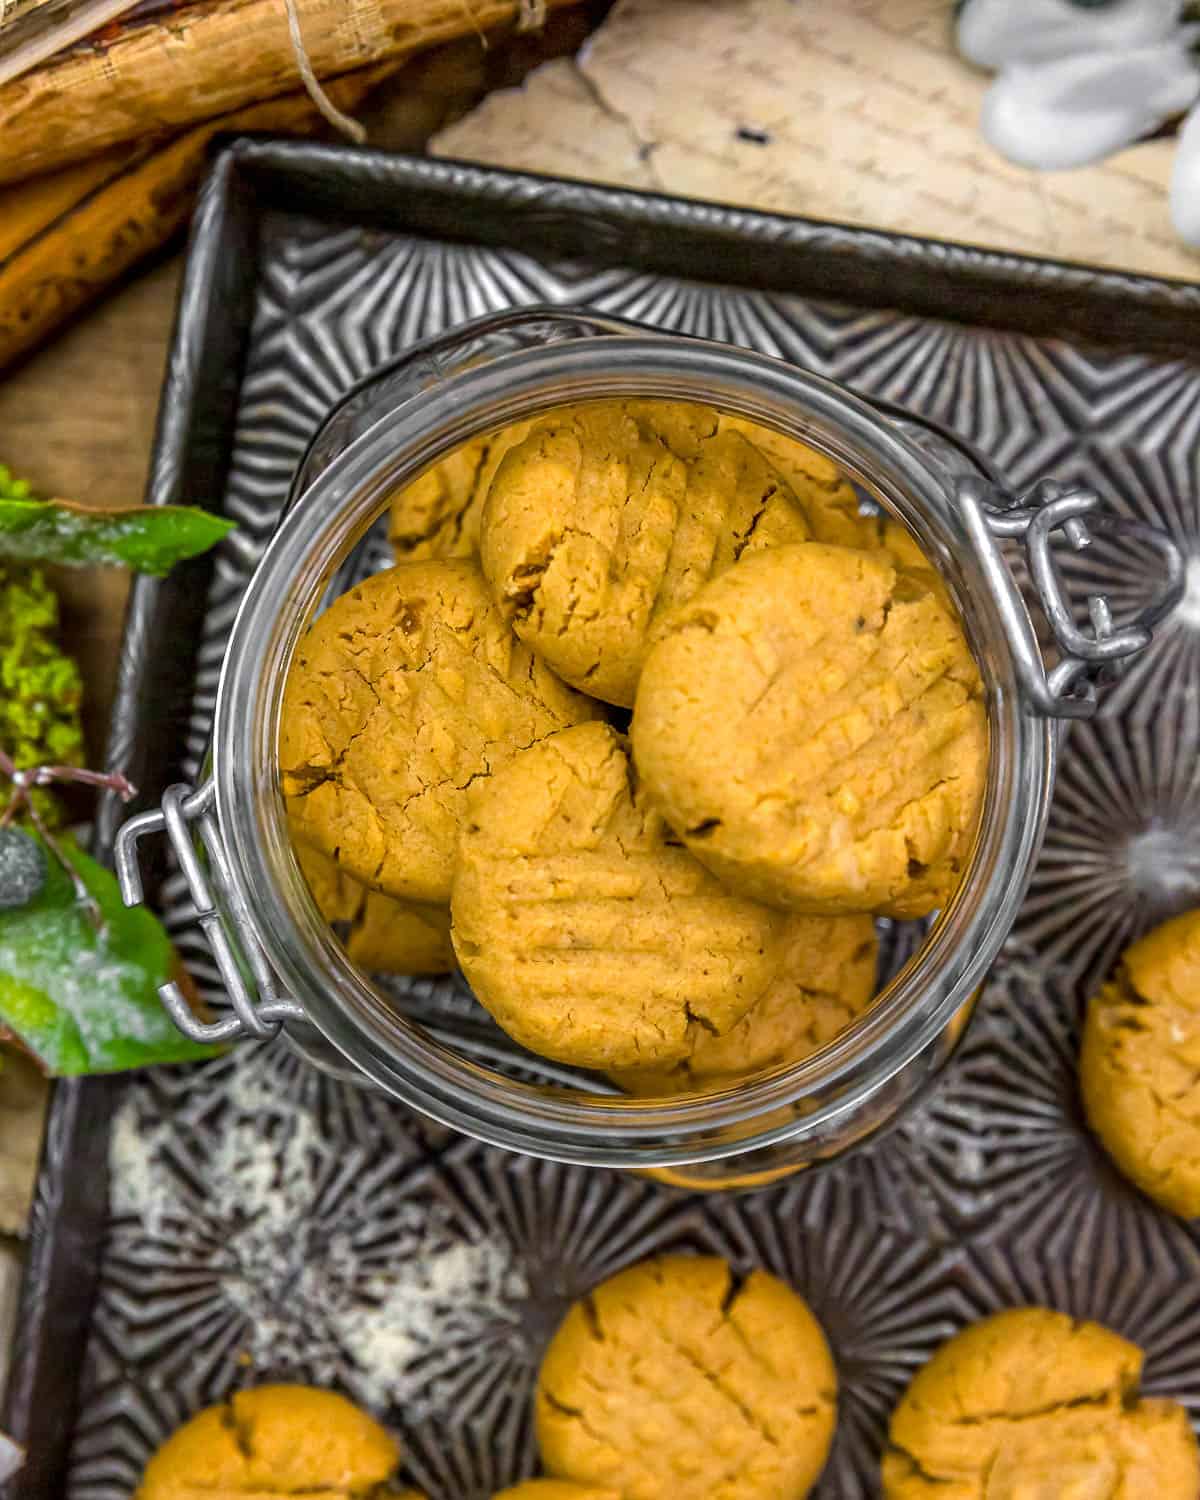
- Flavor Profile: These Melt in Your Mouth Peanut Butter Cookies are pure cookie heaven. They are full of lightly sweetened peanut butter flavor. The texture is divine with a perfectly light, but chewy texture. They are the perfect small cookie treat to pop in your mouth as they simply melt in your mouth.
- Maple Sugar: We absolutely love maple sugar. It works perfectly for WFPB baked goods due to it light color and wonderful texture. Date sugar or coconut sugar (or any dried sugar) will also work well in this recipe: however, the color of the cookie will change accordingly (darker in color) based upon the color of the sugar used. Note that sometimes, depending on the brand selected, date sugar and coconut sugar can be more granular and drier than maple sugar. If the dough simply will not come together, add a teaspoon or two more maple syrup (or water).
- Maple Syrup: Maple syrup cannot be substituted for the maple sugar. Maple sugar is dry and maple syrup is liquid. This recipe calls for both maple sugar (dry) and maple syrup (wet).
- If the Color of the Cookies Matter: In other words, maple sugar is a light golden brown while date sugar and coconut tend to be darker brown. If you want a lighter color cookie, then we suggest using maple sugar or if making for a special occasion. Maple sugar can be expensive, but it is worth it in our humble opinion as former professional cookie bakers. We used Nova Maple Sugar – Pure Grade-A Maple Sugar. However, feel free to use your favorite brand of maple sugar (or date sugar or coconut sugar) or any dry sugar. Since we only use 2 tablespoons of dry maple sugar, the color will not be a huge noticeable difference.
- Cookie Size: We used a small cookie scoop which is 1 tablespoon. This rolls and slightly flatten into a 1 ½ inch cookie (before baking).
- Test the Batter for the Perfect Consistency: Since dry sugars tend to vary significantly in texture and dryness, we suggest rolling and flattening one cookie batter to test the texture of the batter. Simply pick up one tablespoon of dough, roll it into a perfectly smooth ball, then flatten with a crisscross pattern. Do not press hard. Reference the photos for the thickness. The cookie dough edges will break slightly when creating the crisscross pattern, but you should not see significant breakage. (Note: When baking, the breaks will appear more significant, but it does not sacrifice the integrity of the cookie after baking.) If you do see significant breakage while preparing them for the oven, then toss the dough ball back into the batter and add a teaspoon of maple syrup and mix it in. Repeat the test batter process until the perfect consistency is achieved.
- Baking Sheets: We used 2 large 14 x 20 baking sheets to ensure proper spacing of the cookies. If using two baking sheets, only bake one cookie sheet at a time in the oven using the center rack position. This ensures proper heat distribution and allows the cookies to bake and brown evenly.
- Table Salt: If using table salt, you should use less table salt than the amount listed in the ingredients as sea salt crystals are larger than table salt crystals. Since table salt crystals are very fine, less table salt is required to season a dish. We would suggest starting with about 1/4 to 1/2 the amount of sea salt listed. You can always add more salt but cannot take it away. We recommend using sea salt as it is less refined than table salt.
Leftovers and Freezing:
Cookies last 5 to 7 days stored in an air-tight covered container.
These cookies freeze well.
Pantry Products:
- Maple Sugar: We used Nova Maple Sugar. Feel free to use your favorite maple sugar.
- Date Sugar: If using date sugar, we have used Date Lady Date Sugar. We have not tested this recipe using date sugar; however, have found that substituting date sugar for maple sugar works well. Feel free to use your favorite date sugar.
- Coconut Sugar: If using coconut sugar, we have used Bob’s Red Mill Organic Coconut Sugar. We have not tested this recipe with coconut sugar; however, we have found that substituting coconut sugar for maple sugar works well. Feel free to use your favorite coconut sugar.
- Sea Salt: Please adjust the sea salt based upon your family’s sea salt preferences and/or based upon dietary needs.
Kitchen Equipment:
- Large (14 x 20) baking sheet (or 2 regular size)
- Small cookie scoop (optional)
- Silicone baking sheets or parchment pape
If you try these delicious cookies, we would love to know if you enjoy it as much as we do! Please leave us a review! Post a picture on Facebook or Instagram and tag us! We would love to hear from you.
Print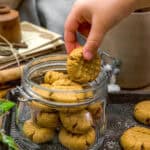
Melt in Your Mouth Peanut Butter Cookies
- Prep Time: 15 Minutes
- Cook Time: 8-9 Minutes
- Total Time: 23 Minutes
- Yield: 25-27 cookies 1x
- Category: Dessert
- Method: Oven
- Diet: Vegan
Description
Indulge in the ultimate cookie experience with these Melt in Your Mouth Peanut Butter Cookies—a delightful treat that embodies pure cookie heaven!
Ingredients
Dry Ingredients:
- 1 ½ cups (4.9 oz.) almond flour
- 1 teaspoon baking soda
- 2 Tablespoons maple sugar (or coconut sugar or date sugar) *
- ¼ teaspoon sea salt *
Wet Ingredients:
- 3/4 cup natural peanut butter
- 1 teaspoon vanilla
- ¼ cup pure maple syrup
Instructions
- Preheat the oven to 350 F, center rack.
- Line a large baking sheet with silicone pads or parchment paper, set aside.
- Place the all the Dry Ingredients into a large bowl, whisk to combine. Set aside.
- Mix all the Wet Ingredients into the dry ingredients. Mix thoroughly by hand with a stiff spoon to incorporate all the ingredients. At first it will seem like the batter is too dry and won’t come together, keep mashing the wet peanut butter mixture into the dry ingredients, scrape down the spoon and the sides of the bowl, stir and mix intently.
- Using a small-sized cookie scoop (1 tablespoon), scoop out the dough batter and roll into a ball and place onto the cookie sheet. * Continue until all the dough has been rolled into balls, spacing approximately 3 to 4 inches apart as the batter does spread slightly while baking. Then with a fork, slightly flatten each ball creating a crisscross pattern. Repeat with all the remaining cookie balls.
- Place in a 350 F preheated oven for 8 to 9 minutes (largely dependent upon the size of the cookies) or until set, the bottoms are lightly browned.
- Remove from the oven and allow the cookies to cool on the baking sheet for 2 minutes to set, then move them to a cooling rack using a thin-edged spatula. Allow to cool for 15 minutes, then enjoy!
Notes
*Please reference the blog post for Tips for Success, Pantry Items Used, Storage and Freezing, and Kitchen Products Used.
*Sea Salt: Please adjust the sea salt based upon your family’s sea salt preferences and/or based upon dietary needs.
*Servings: Makes 25 to 27 cookies

This post contains affiliate links, and we may receive a very small commission if you purchase through those links at no additional cost to you. Thank you for supporting Monkey and Me Kitchen Adventures! For more information, see our disclosures here.
These turned out really good! I only baked a few and then put the rest of the cookie dough in the fridge for another day (like I normally do). Well, the dough turned out crumbly and didn’t want to roll into balls. D’oh! So I just put the rest of it into an 8×8 pan and made a big cookie bar! Still yummy. Lol.
Hi there Sandra,
YAYYYY!!! We are happy that you enjoyed this recipe. Question: Did the dough roll into balls nicely when you originally baked a few or was it an issue from the beginning? Just curious as we were totally unsure. We think it worked initially for you, but once the dough was refrigerated overnight, it was then an issue? Just looking for clarification. Thank you.
-Ameera and Robin
Initially it rolled into balls perfectly. But once in the fridge, the moisture was taken up by the flour. I think if I had left it on the counter to warm up, it would have rolled again. I was just impatient. Lol.
Next time I will roll them all and press them into a cookie shape before putting in the fridge or freezer. And see how that goes. As I normally freeze all my cookie dough into balls.
Hi there Sandra,
Thank you so much for clarifying. We appreciate it. We just wanted to make sure that you initially didn’t have any issues. We are happy that you gave this recipe a try and enjoyed it. <3 <3 <3
-Ameera and Robin
These were so easy to make and very tasty. I used coconut sugar and followed the recipe to a T. I used a small cookie scoop and got 30 cookies. I made them in the Breville Smart Oven and used 325° for 8 minutes. Very yummy!
Hi there Valarie,
YAYYYY!!! We are thrilled that you enjoyed this recipe. Thank you so much for taking time to leave us a fantastic review and also including your Breville Smart Oven info.
-Ameera and Robin