
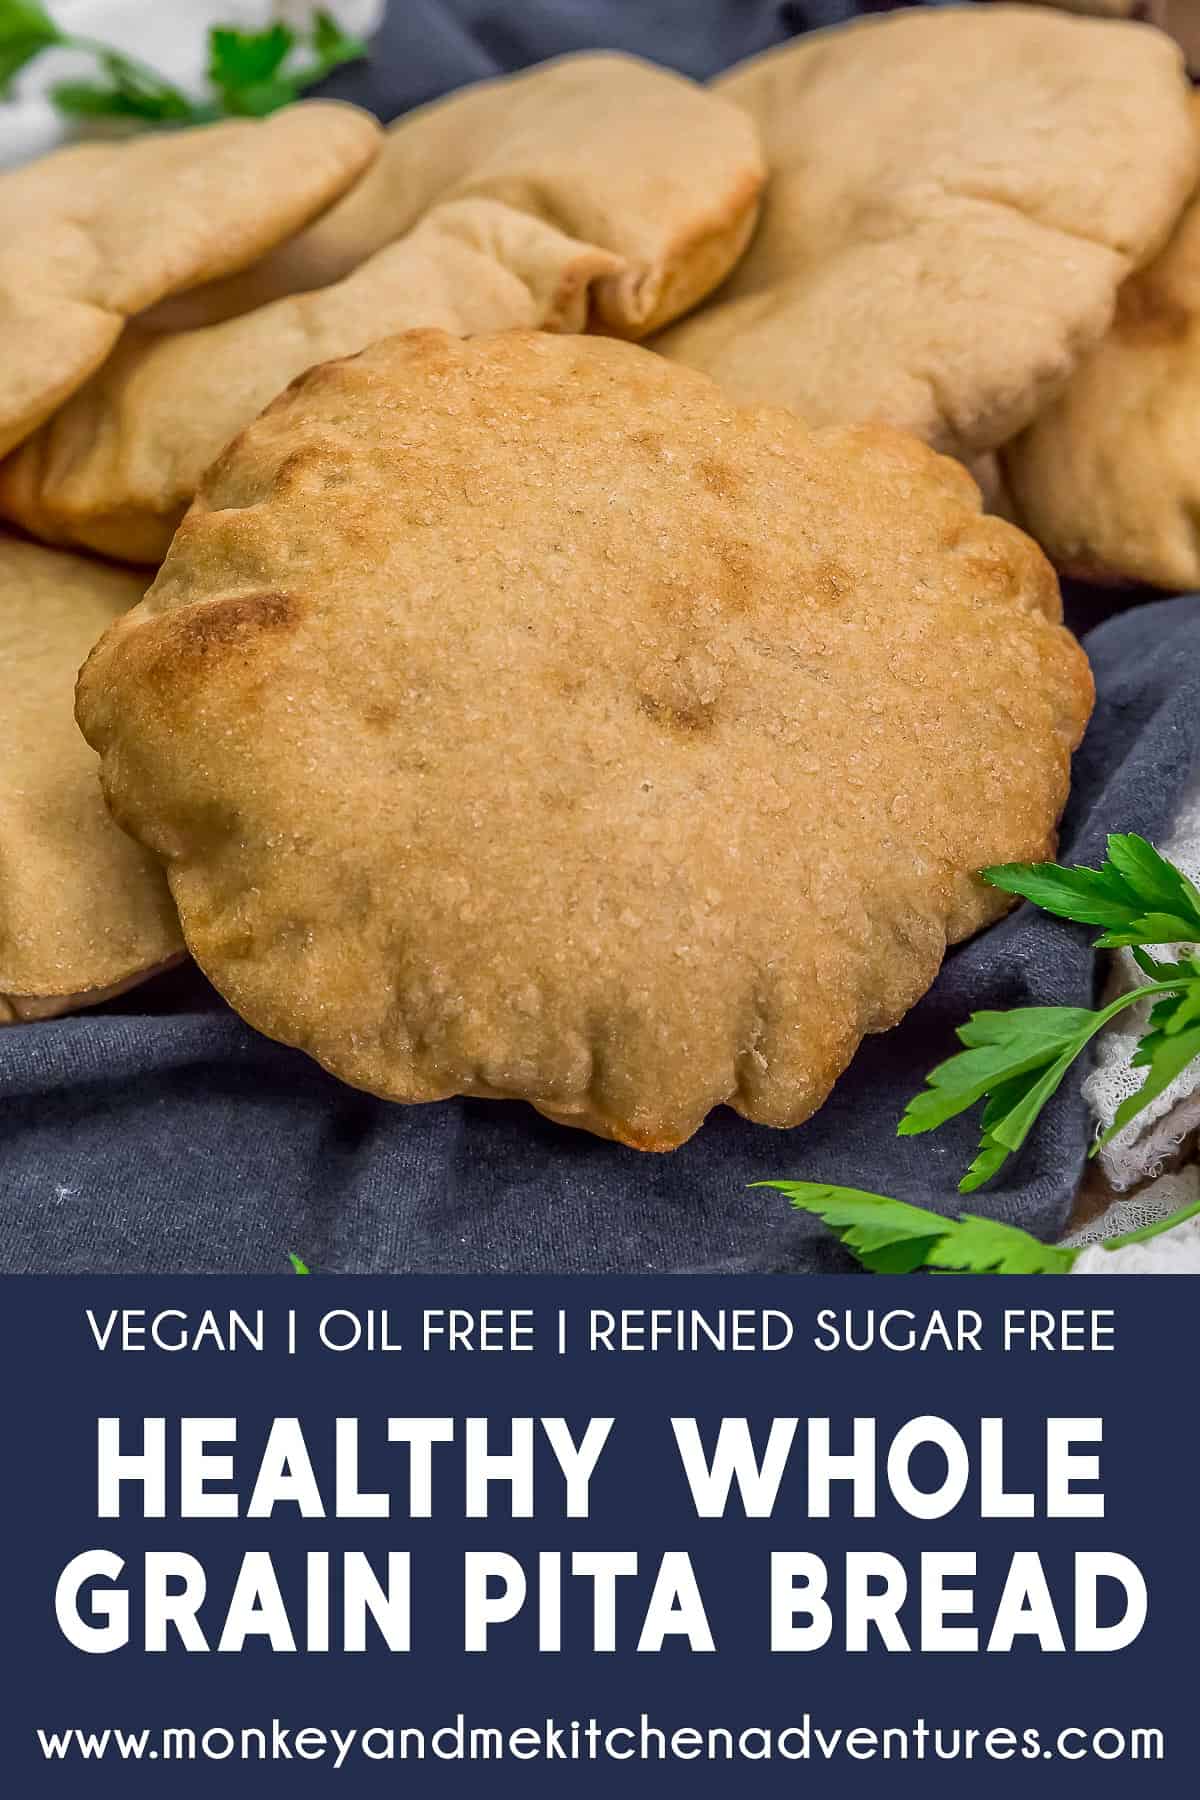
Healthy Whole Grain Pita Bread! Don’t let bread making intimate you, this dough is perfect for all levels and will have you doing your happy dance.
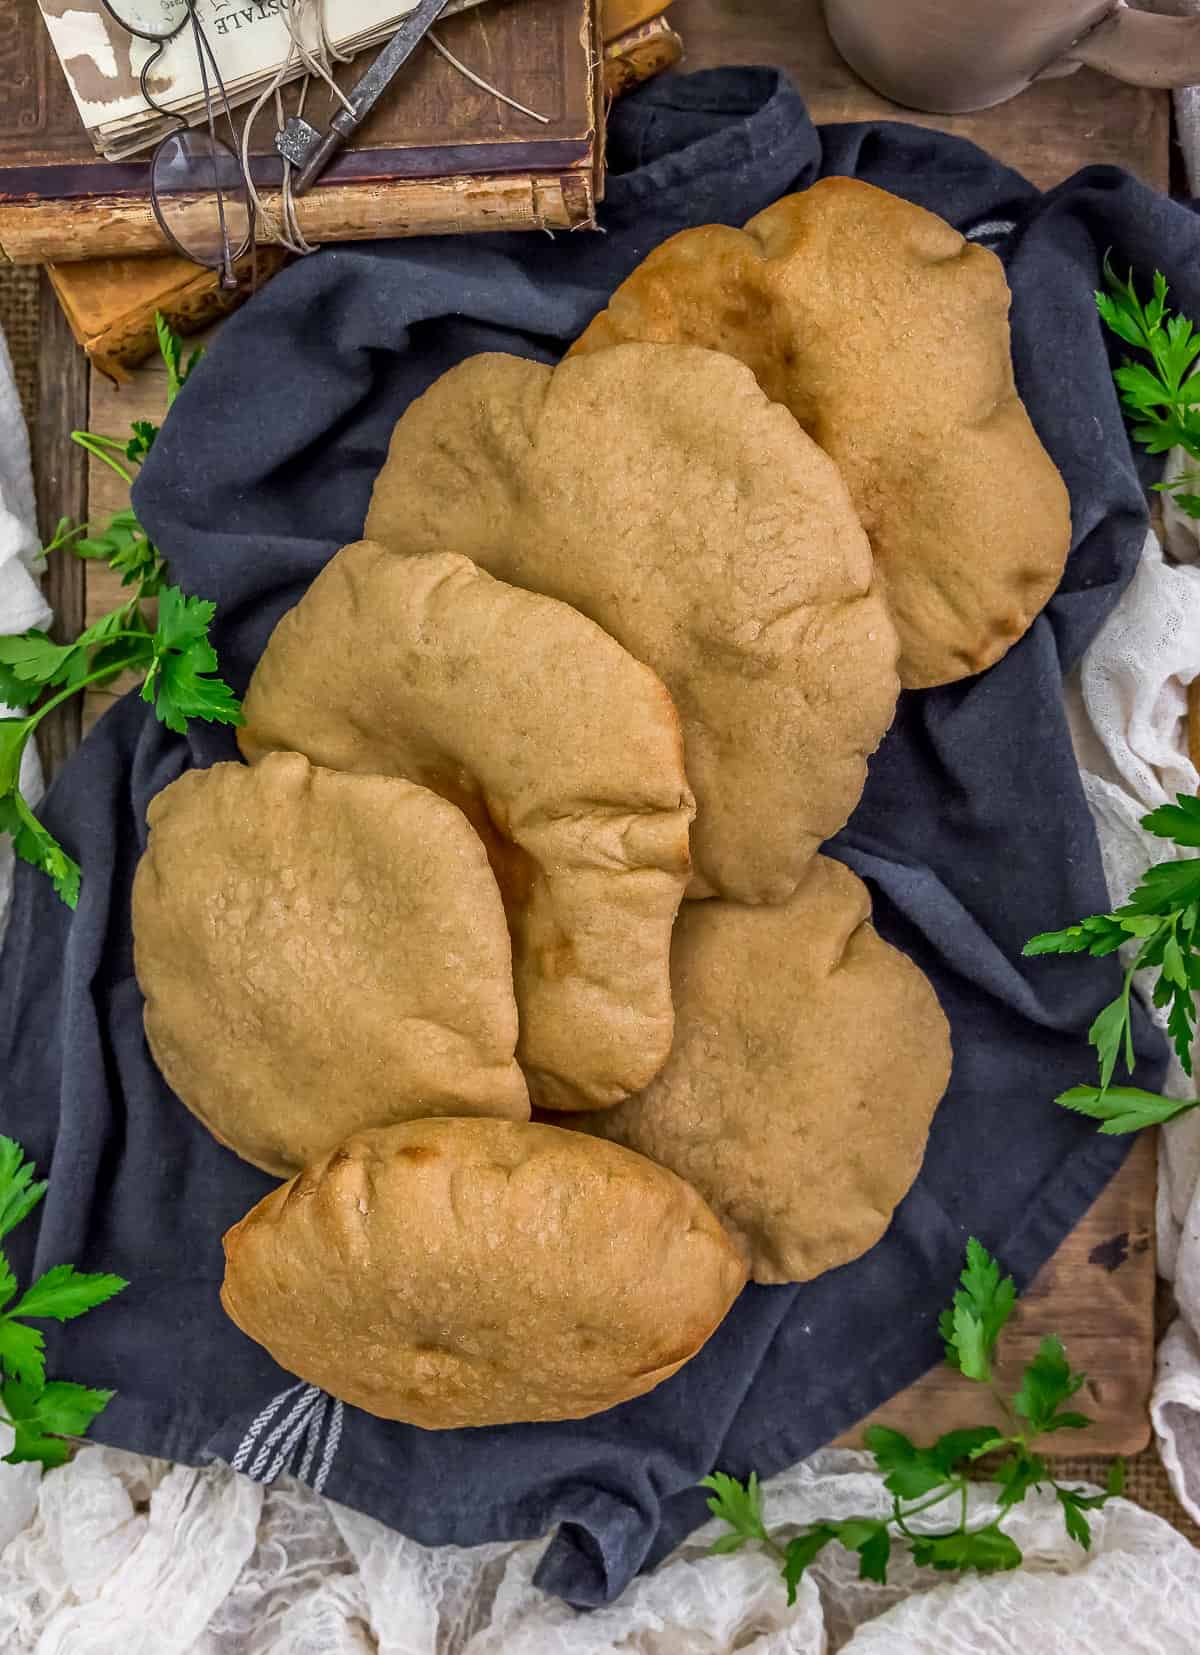
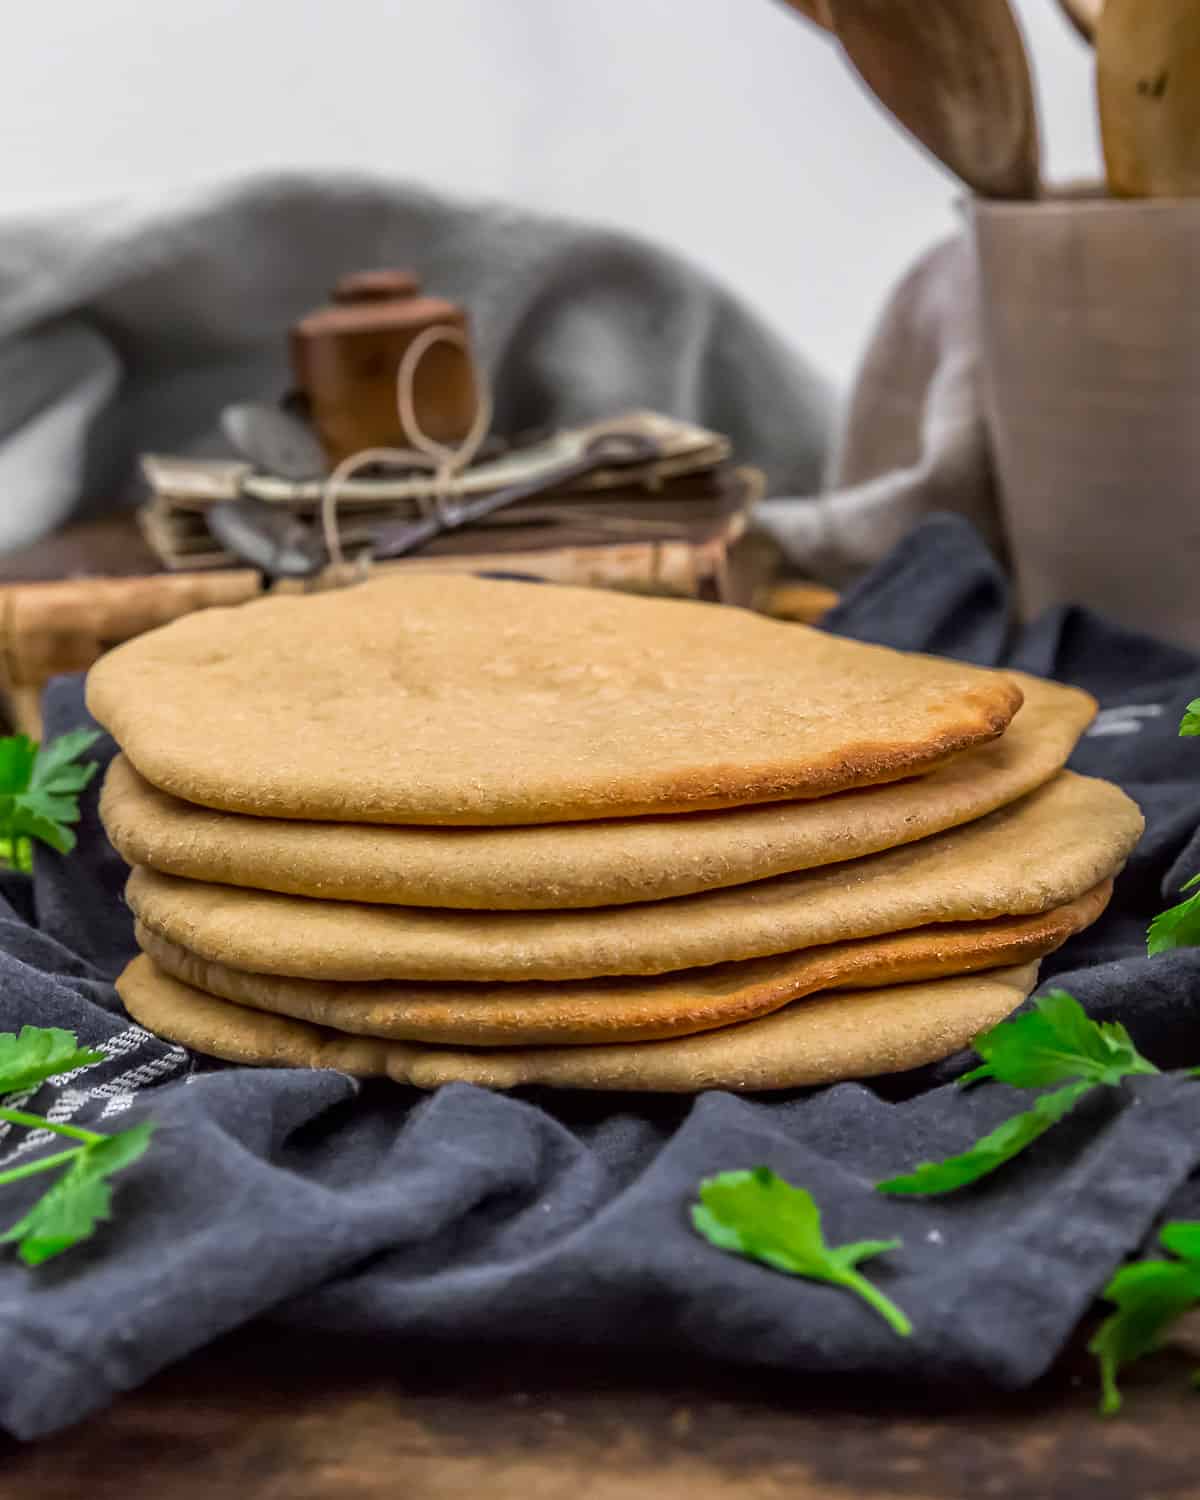
Soft, tender, and delicious, this homemade Healthy Whole Grain Pita Bread recipe is total comfort and sure to satisfy. Nothing compares to freshly baked bread or pitas in this case. Serve these wholesome pitas stuffed with your favorite veggies/ bean salad, along side a hearty soup, or top ’em like a pizza – yum!
Whole Food Plant Based, Vegan, plant based, oil free, refined sugar free, and no highly processed ingredients.
Hi there, Ameera here!
This recipe is for my “granola crunching” friend, Sarah. Sarah asked me to help her out with a whole grain pita bread and that is exactly what I did.
This healthy version is where it’s at. The whole house will be filled with the smell of freshly baked bread. It simply can’t be beat. Is it worth the time and effort? You betcha it is!
Don’t let a long list of ‘Tips for Success’ deter you from making your own homemade pita bread. We just wanted to make sure that our readers are successful so we tried to include everything we can think of to ensure that happens.
You gotta give this one a try!
Tips for Success:
- Flavor Profile: This is a traditional homemade pita bread using white whole wheat flour.
- White Whole Wheat Flour: White whole wheat flour is a whole grain flour. It is an unbleached flour milled from hard white spring wheat. It is lighter in color, milder tasting than the traditional red wheat flour (aka Whole Wheat Flour.) White whole wheat flour is 100% stone ground whole wheat. It is not a mixture of white and wheat flours. It is Whole Food Plant Based, and it is made from 100% whole wheat berries. We used King Arthur Stone-Ground White Whole Wheat Flour. We have also milled our own flour from Palouse Brand using hard white wheat berries.
- Whole Wheat Flour: You can also use whole wheat flour in this recipe. The end product is a slightly denser and stronger flavored pita bread.
- Yeast: Use Active Dry Yeast. We have not tested this recipe using Quick-Rise Instant Yeast.
- Water: If you are familiar with working with whole grain flours, you know that whole grain flours require more liquid than regular white flour or bread flours. The key is at the beginning you are forming a dough ball, then adding 2 additional tablespoons of water once a ball has formed to keep the dough hydrated, but easy to knead. You want a smooth elastic dough, not a dry dough ball that tears apart when you knead it. Add more water a tablespoon at a time to create a smooth elastic dough ball that is easy to knead inside the bowl. We used a stainless steel bowl.
- Sea Salt: Our family was divided over the amount of sea salt. We ultimately landed on 1 ½ teaspoons of sea salt for this recipe.
- Maple Syrup: The maple syrup is used to help feed the yeast. You won’t taste it in the end product. You can leave it out if you wish.
- Working with Minimal Flour when Creating Dough Balls and Rolling Pitas: Use minimal flour to keep the pitas from becoming overly floury which will result in a dense pita that may not puff up and may crack when splitting them open to fill.
- Parchment Paper: Sprinkle the smallest amount of flour onto the parchment paper and then smear it around the whole sheet to keep the dough from sticking to the parchment paper. You want to use very little flour, but you need to use enough to keep the flattened dough from sticking.
- Keeping the Dough Covered while Resting and Working: Always keep the dough covered with a tea towel except while working with the dough. In other words, when you are creating the dough balls or rolling out the dough, keep all the other pieces of dough covered with a tea towel. This prevents the dough from developing a crust (or skin) on the surface. Sometimes, this can’t be avoided simply because we are not using oil to coat the surface of the dough while it is rising.
- Preheating the Baking Sheet prior to Baking: The hot baking pan helps the dough puff up creating a pocket. It’s ok if the baking sheet is out of the oven for a minute or so in between baking pita dough. If it has been out for longer than 2 minutes, then place the empty baking sheet back in the oven to heat up again before starting to bake again. If using a baking stone to bake your pitas, you can skip the baking sheet and place directly on the baking stone. We did not use a baking stone.
- Spray of Water: The use of water in the hot oven creates steam which helps the dough to puff up creating a pocket if the dough isn’t rising in the oven. We used a spray bottle, two pumps. We have also flicked water with our hands into the oven. Both approaches work perfectly.
- Troubleshooting:
- Why didn’t my pita breads puff up?
- The oven temperature was not hot enough. This is typically the #1 issue identified with pitas that do not puff. Make sure you check the temperature of your oven to ensure it is constantly at 500 F. You may wish consider turning your oven off and then immediately turning it back on to force the preheat function to kick in and quickly force the temperature up to 500 F. The key is a really hot oven. It’s definitely worth the extra time to get that temperature high. We did this several times while baking our pita breads. It works.
- The pita dough was too thick and dense. Roll them thinner.
- The pitas were overbrowned. This is probably because you placed the pitas in the oven while it was still preheating. Some ovens have intense preheating processes where a fan circulates the heat during the preheat phase. Do not place pita dough in the oven during a preheat cycle.
- The oven rack was not in the correct position. Always use the bottom rack.
- The pita dough wasn’t given enough time rising or proofing. Rising is typically referred to the first rise and proofing is referred to the 2nd rise right before baking.
- You didn’t knead the dough inside the bowl and the dough was too dry. This is why the instructions include adding an additional 2 tablespoons of warm water after you have formed a ball. This gives extra moisture, at first it will feel too sticky, but as you knead the dough, the dough absorbs the water and kneads perfectly inside the bowl with no additional flour.
- The finished pitas were not wrapped in a tea towel to cool. Make sure you wrap them up.
- The yeast was expired, or the dough sat too long to proof.
- The baking sheet wasn’t preheated in the oven for 10 minutes.
- Duds: After the duds have cooled, check them, they may still split perfectly. We found that we had duds in every batch we have made, but after they had cooled, they split open perfectly. If you have all duds, then it was probably because of the issues presented above. Simply use the duds as pizza rounds.
- Reheating: The pita bread can be reheated in the oven at 350F until heated through. You can also wrap the pita in a slightly damped paper towel and heat in the microwave for 20 seconds (+/-).
- Freezing: The pita bread freezes well up to 3 months. Place in a freezer bag, remove as much air as possible, seal.
- Gluten Free: This pita bread is not gluten free. We have not tested any gluten free flours.
- Why didn’t my pita breads puff up?
Leftovers and Freezing:
Leftovers will generally keep 3 days at room temperature.
These pita breads freeze well.
Pantry Products:
- White Whole Wheat Flour: We used King Arthur Stone-Ground White Whole Wheat Flour. Feel free to use your favorite white whole wheat flour. We also mill our own from Palouse Brand using hard white berries.
- Yeast: We used Red Star Active Dry Yeast. Feel free to use your favorite active dry yeast.
Kitchen Products:
- Large mixing bowl
- Rolling pin
- Large baking sheets
- Parchment paper
- Water spray bottle (optional)
We certainly hope you give these hearty and tasty pitas a try! If you try them, please leave us a review! Post a picture on Facebook or Instagram and tag us! We would love to hear from you.
Print
Healthy Whole Grain Pita Bread
- Prep Time: 15 Minutes (+1 Hr Rest)
- Cook Time: 5 Minutes
- Total Time: 20 Minutes (+Rest Time)
- Yield: 12 Pitas 1x
- Category: Side
- Method: Oven
- Cuisine: Middle Eastern
- Diet: Vegan
Description
Soft, tender, and delicious, this homemade Healthy Whole Grain Pita Bread recipe is total comfort and sure to satisfy.
Ingredients
- 4 cups white whole wheat flour (see notes) *
- 1 Tablespoon dry active yeast *
- ½ to 1 ½ teaspoons fine sea salt (+/-) *
- 1 ¾ cups + 2 Tablespoons warm water (120 to 130F degrees), divided
- 1 teaspoon pure maple syrup (optional) *
Instructions
- Place the flour, dry active yeast, and sea salt into a large mixing bowl. Whisk to combine.
- Add the 1 ¾ cups warm water and maple syrup and mix well with your hands until the dough starts to come together. While the dough is still in the bowl, start kneading the dough inside the mixing bowl to form a ball, then add 2 Tablespoons of warm water. At first the dough will seem too wet, but keep kneading, it will start to absorb the water, the stickiness will go away, and become easier to knead. Knead the dough for about 5 to 8 minutes, or until the dough is smooth and elastic. Form the dough into a ball while still inside the large mixing bowl. Cover with a tea towel (or plastic wrap) and let rest for 15 minutes (up to 30 minutes).
- After 15 minutes, remove the dough from the mixing bowl and place onto a very lightly floured surface and divide into half, then half again until you have 8, 10, or 12 pieces of dough (the number of pita breads is largely dependent on how big/small you want your pitas). Form each dough piece into a ball by pressing your thumbs into the dough and turning the dough inside out with your thumbs for 30 seconds, then forming a ball. Place the dough balls onto very lightly floured parchment paper-lined baking sheet. Cover the dough balls with a tea towel. Allow to rest for 30 minutes.
- On a very lightly floured surface, take each dough ball, roll it into a thin ¼ inch or thinner circle with a rolling pin. Use just the smallest amount of flour to prevent sticking. Then place the flattened dough onto very lightly floured parchment paper lined baking sheet(s). Keep all the dough covered with a tea towel. Continue until all the dough balls have been flattened into rounds. You can layer the flattened dough rounds on top of each other using very lightly floured parchment paper in between the layers. Cover all the flattened dough with tea towels to prevent skins from forming on the dough. Allow to rest (proof) for 15 minutes. Note: Do not stack the flattened doughs higher than 3 on top of each other. If you are stacking pitas and the dough appears that it could stick, flour both sides of the parchment paper or flour both sides of the pita to prevent sticking. Either way works.
- Preheat the oven to 500 F. You will use the lowest rack in the oven.
- Approximately 10 minutes before baking, place an empty baking sheet in the oven to heat up. Using a preheated hot baking sheet will help the dough puff up.
- Have a small bowl of tap water next to you while you work (or use a spray bottle). You may or may not need the tap water.
- When ready to begin baking the dough, carefully remove the hot empty baking sheet from the oven. Then take several of the dough rounds (or as many as can fit on the baking sheet) and flip them over onto its other side onto the hot baking sheet, then immediately place the hot baking sheet back into the oven, close the door. Turn the oven light on so you can view the pitas while baking. Set the timer for 5 minutes.
- After the pita dough has been in the oven for two minutes, and IF you are not seeing the pitas start to puff up, then dip your fingers into the bowl of tap water, shake off some of the water, then open the oven door very quickly and flick some of the water lingering on your fingers inside the oven, immediately shut the door. When the water hits the hot oven and baking sheet it will sizzle which is what you want, we are trying to create steam to cause the dough to puff up. You can also use a spray bottle to accomplish this, give it two very quick, light mists. See blog post for additional tips. If the pita dough is starting to pop after two minutes, then you can skip the water step.
- After 5 minutes, remove the pitas from the oven, remove them from the baking sheet, and cover them in a tea towel. Repeat the process until all the pita breads have been baked. See blog post for additional tips.
- When cooled, cut the pita in half and stuff with your favorite fixings.
Notes
*Please reference the blog post for Tips for Success, Pantry Items Used, Storage and Freezing, and Kitchen Products Used.
*Sea Salt: Please adjust the sea salt based upon your family’s sea salt preferences and/or based upon dietary needs.
*Servings: Makes 8, 10, or 12 pita breads (largely dependent upon how large you want the pitas)

This post contains affiliate links, and we may receive a very small commission if you purchase through those links at no additional cost to you. Thank you for supporting Monkey and Me Kitchen Adventures! For more information, see our disclosures here.
This recipe was awesome!!!… For the ones that didn’t stick to the parchment paper before the bake. I didn’t layer them high for the last rest but I struggled to get each one off at the bake time. Any thoughts? I normally would spray oil on the parchment but I’m trying to avoid. Cornmeal sprinkle? Even with this struggle, I loved this recipe! The instructions were spot on!
Hi there Alexis,
We are thrilled that you gave this recipe a try and you enjoyed them. We have updated the recipe to include very lightly rubbing some flour over the parchment paper to keep the dough from sticking. That should work without adding too much flour. We appreciate you pointing out that this could happen. It didn’t happen with ours, but we can totally see how this could happen depending upon how much humidity is in the air (winter or summer). We appreciate your kind words. Thank you so much for leaving us a review. We sincerely appreciate it.
-Ameera and Robin
What am I missing? It says gluten free, but then uses whole wheat flour?
Hi there Jennifer,
The Pinterest label had GF on it. The Pinterest was a template as 99% of our recipes are GF. We have corrected it.
Thank you.
-Ameera and Robin
What would you suggest for gluten free?
Jennifer,
Thank you for your question. We have tried many, many times to come up with a GF pita bread that does NOT use oil and we have failed many times. So sorry. The quest for a WFPB No Oil GF Pita bread recipe continues
-Ameera and Robin
I’d like to mill my own white whole wheat flour. Could you tell me how many grams 4 cups would be? Thanks!
Hi there Mary,
We sincerely apologize for the late response, somehow this one got away from us. We don’t have this information at this time. Next time we make it, we’ll be sure to measure. Thank you.
-Ameera and Robin
How many inches do I roll these? Can’t wait to try
Hi there Rose,
Thank you for your question. You have the option to make smaller or larger pitas, the key is to roll them them (approx. 1/8 to 1/4 inch thick). The size is up to you.
-Ameera and Robin