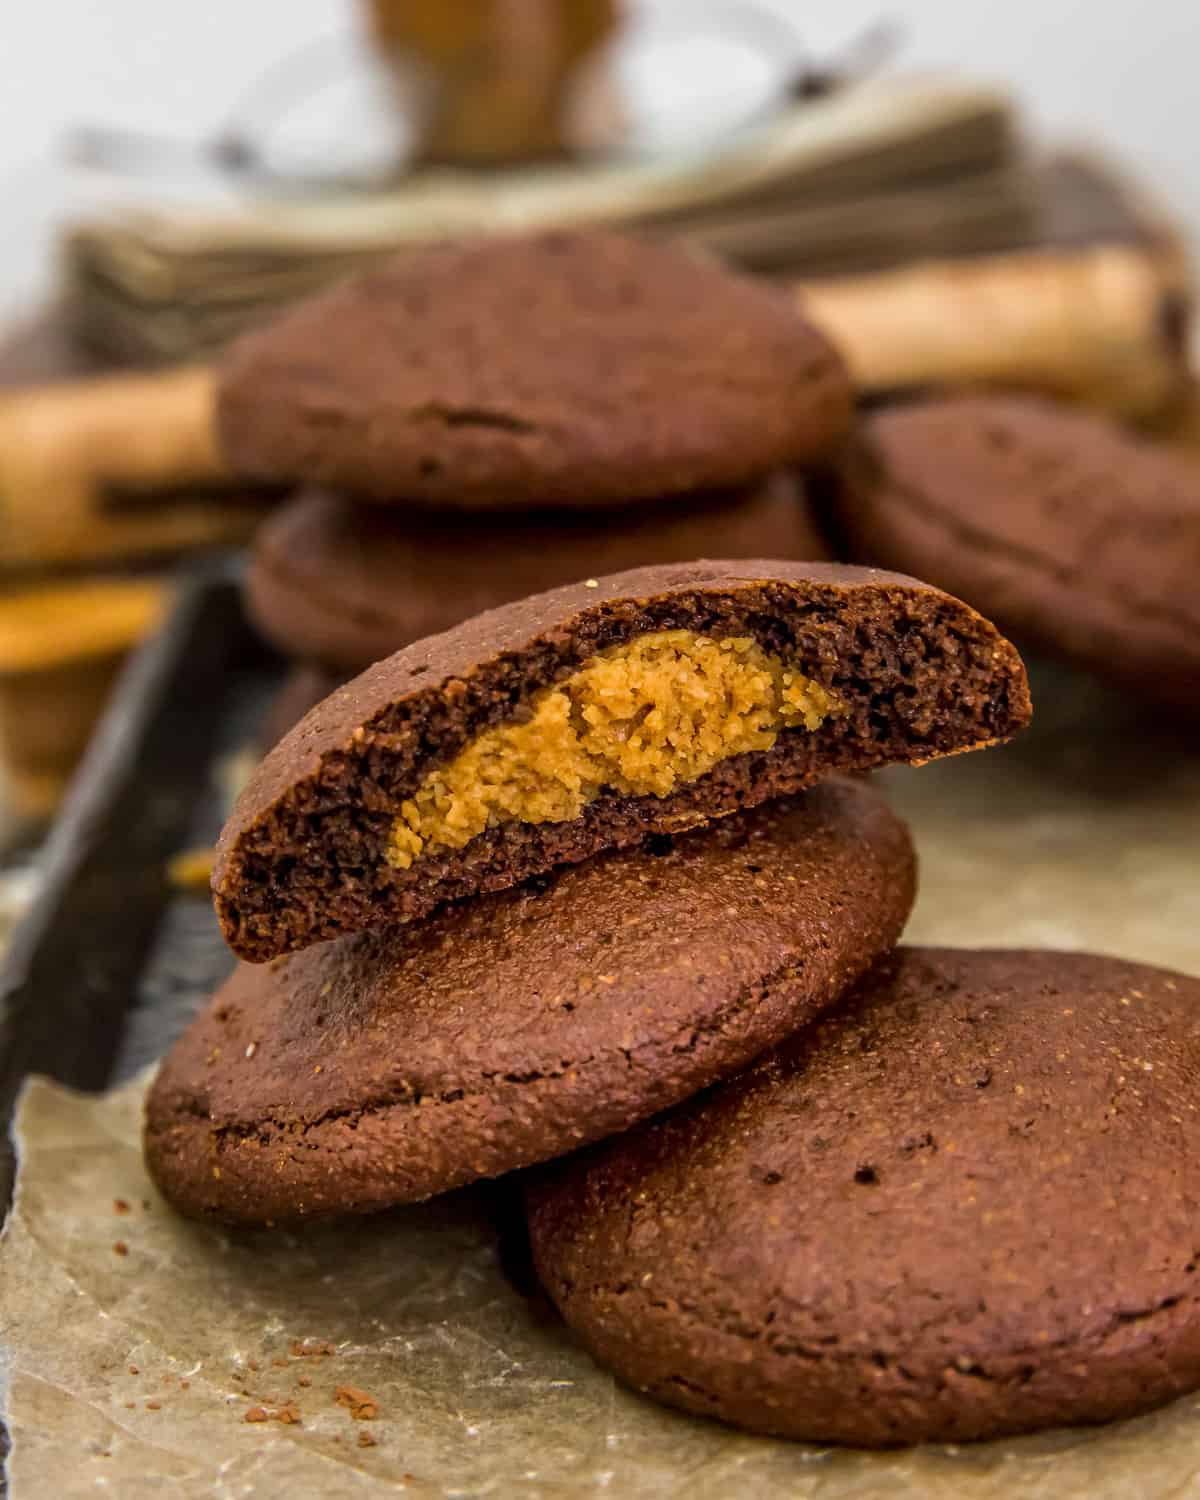
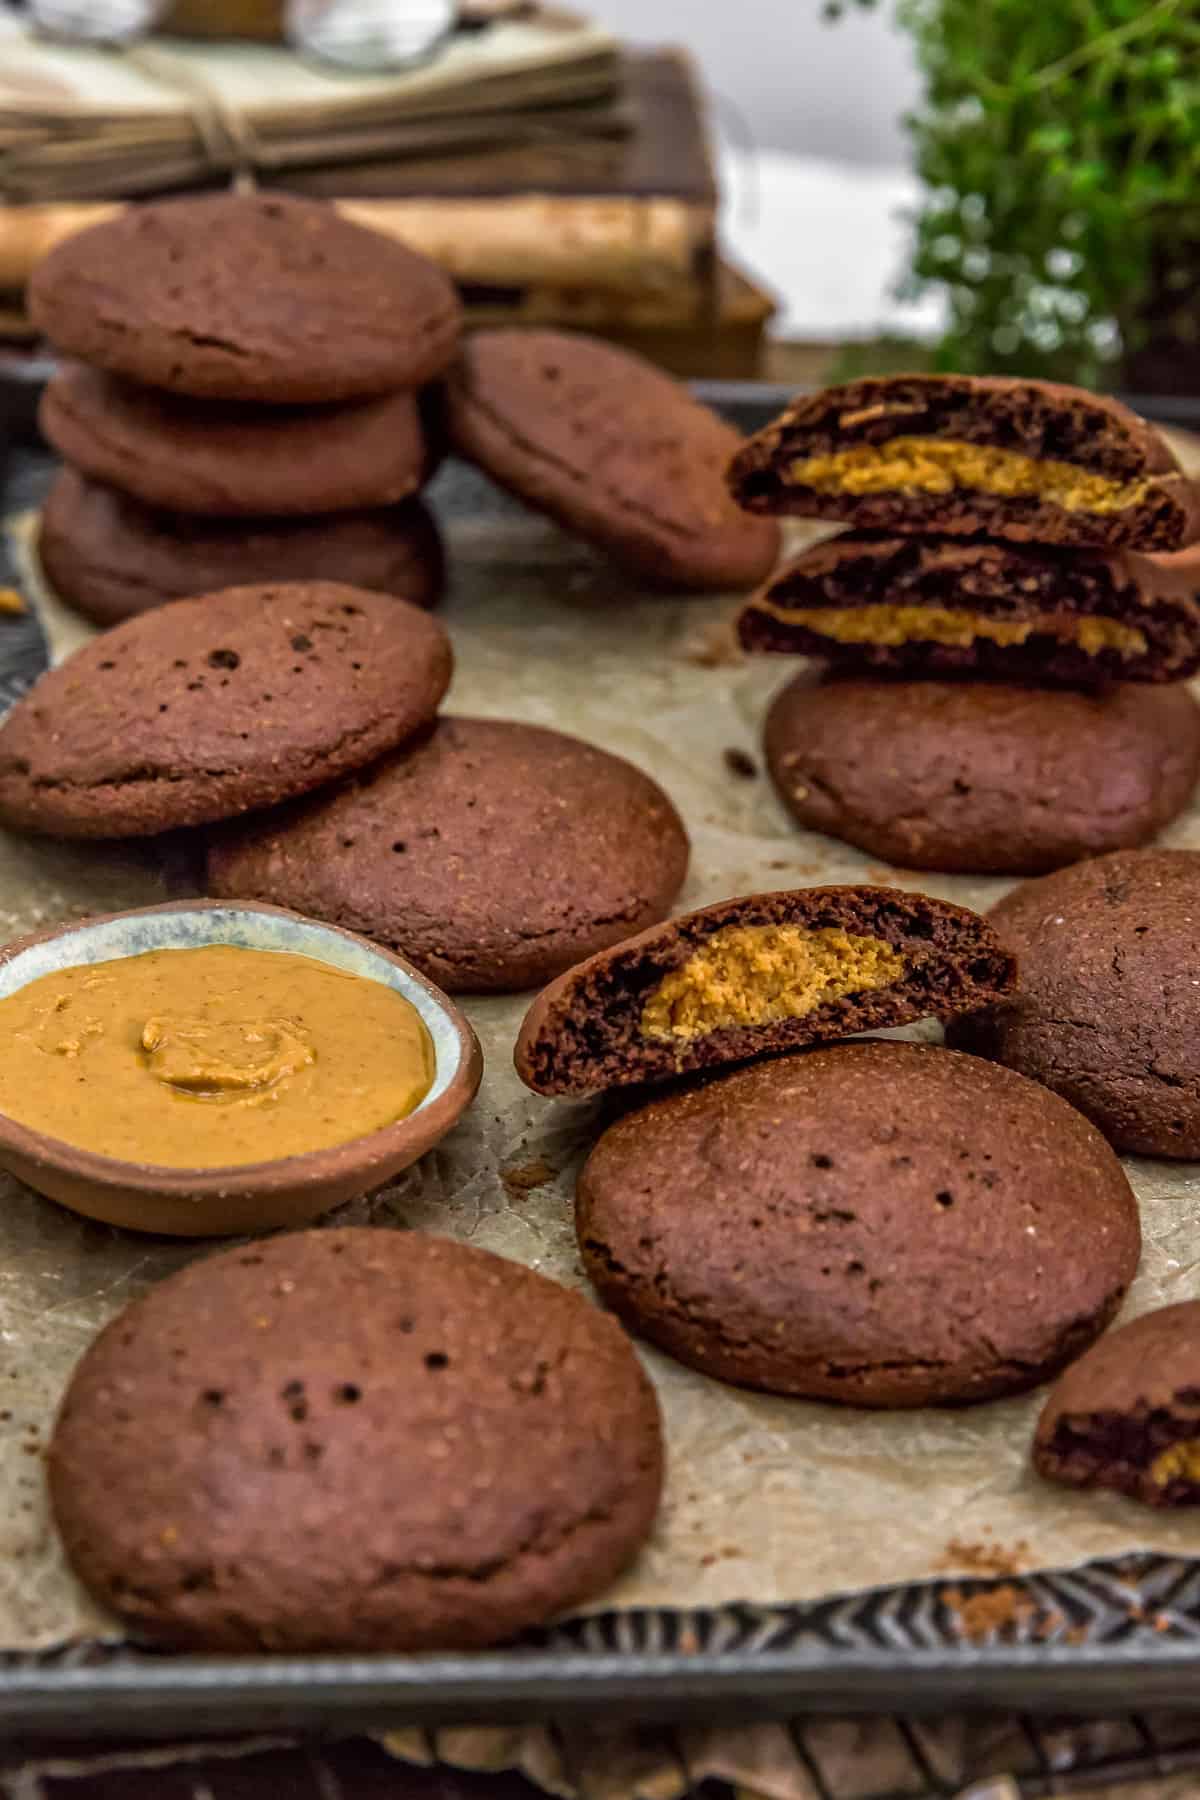
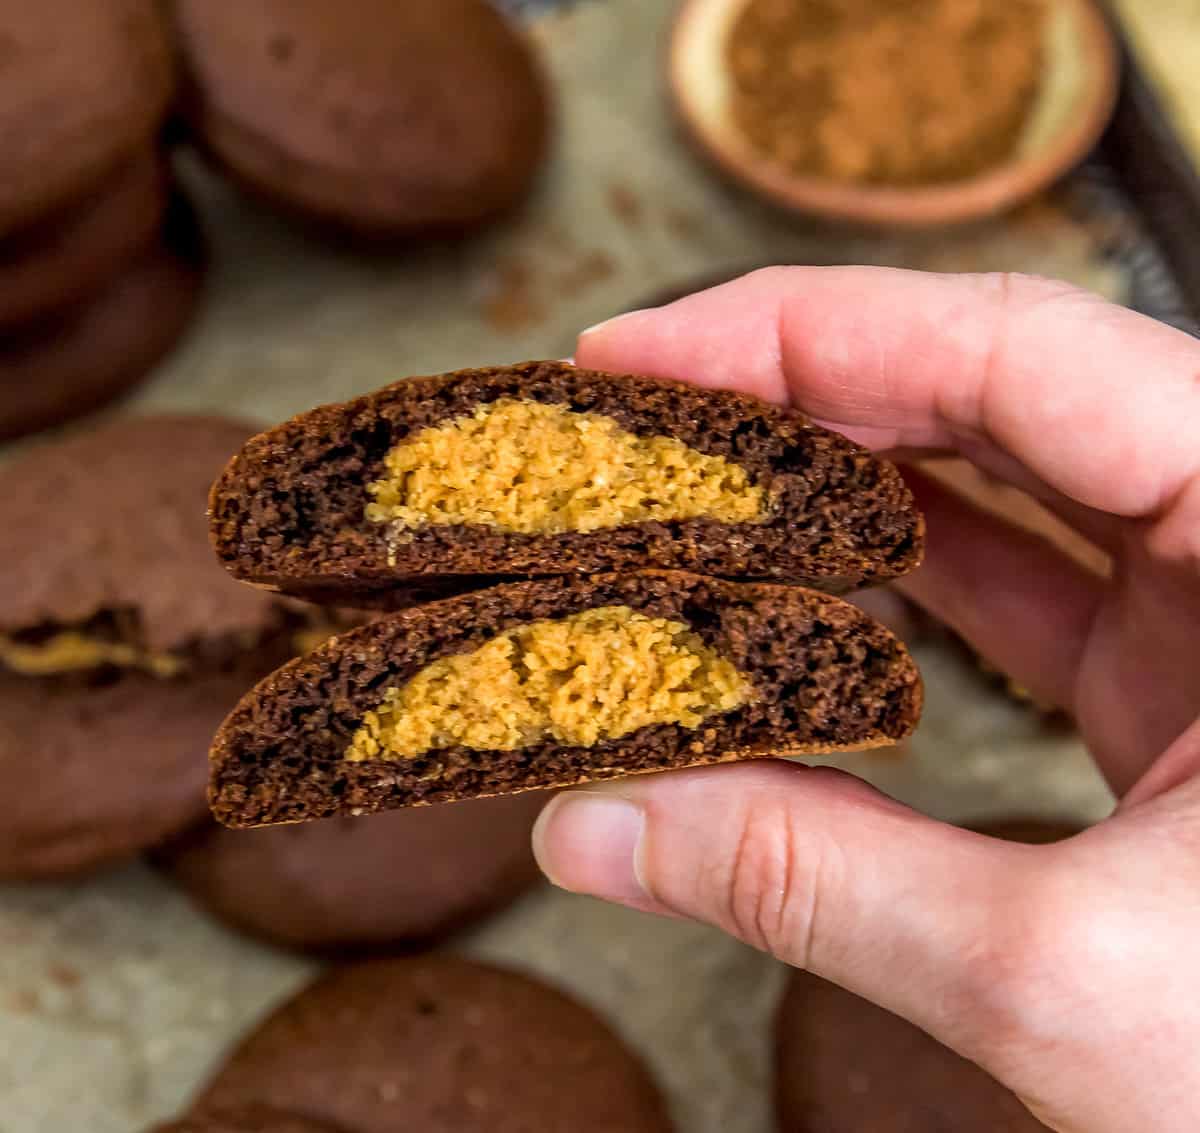
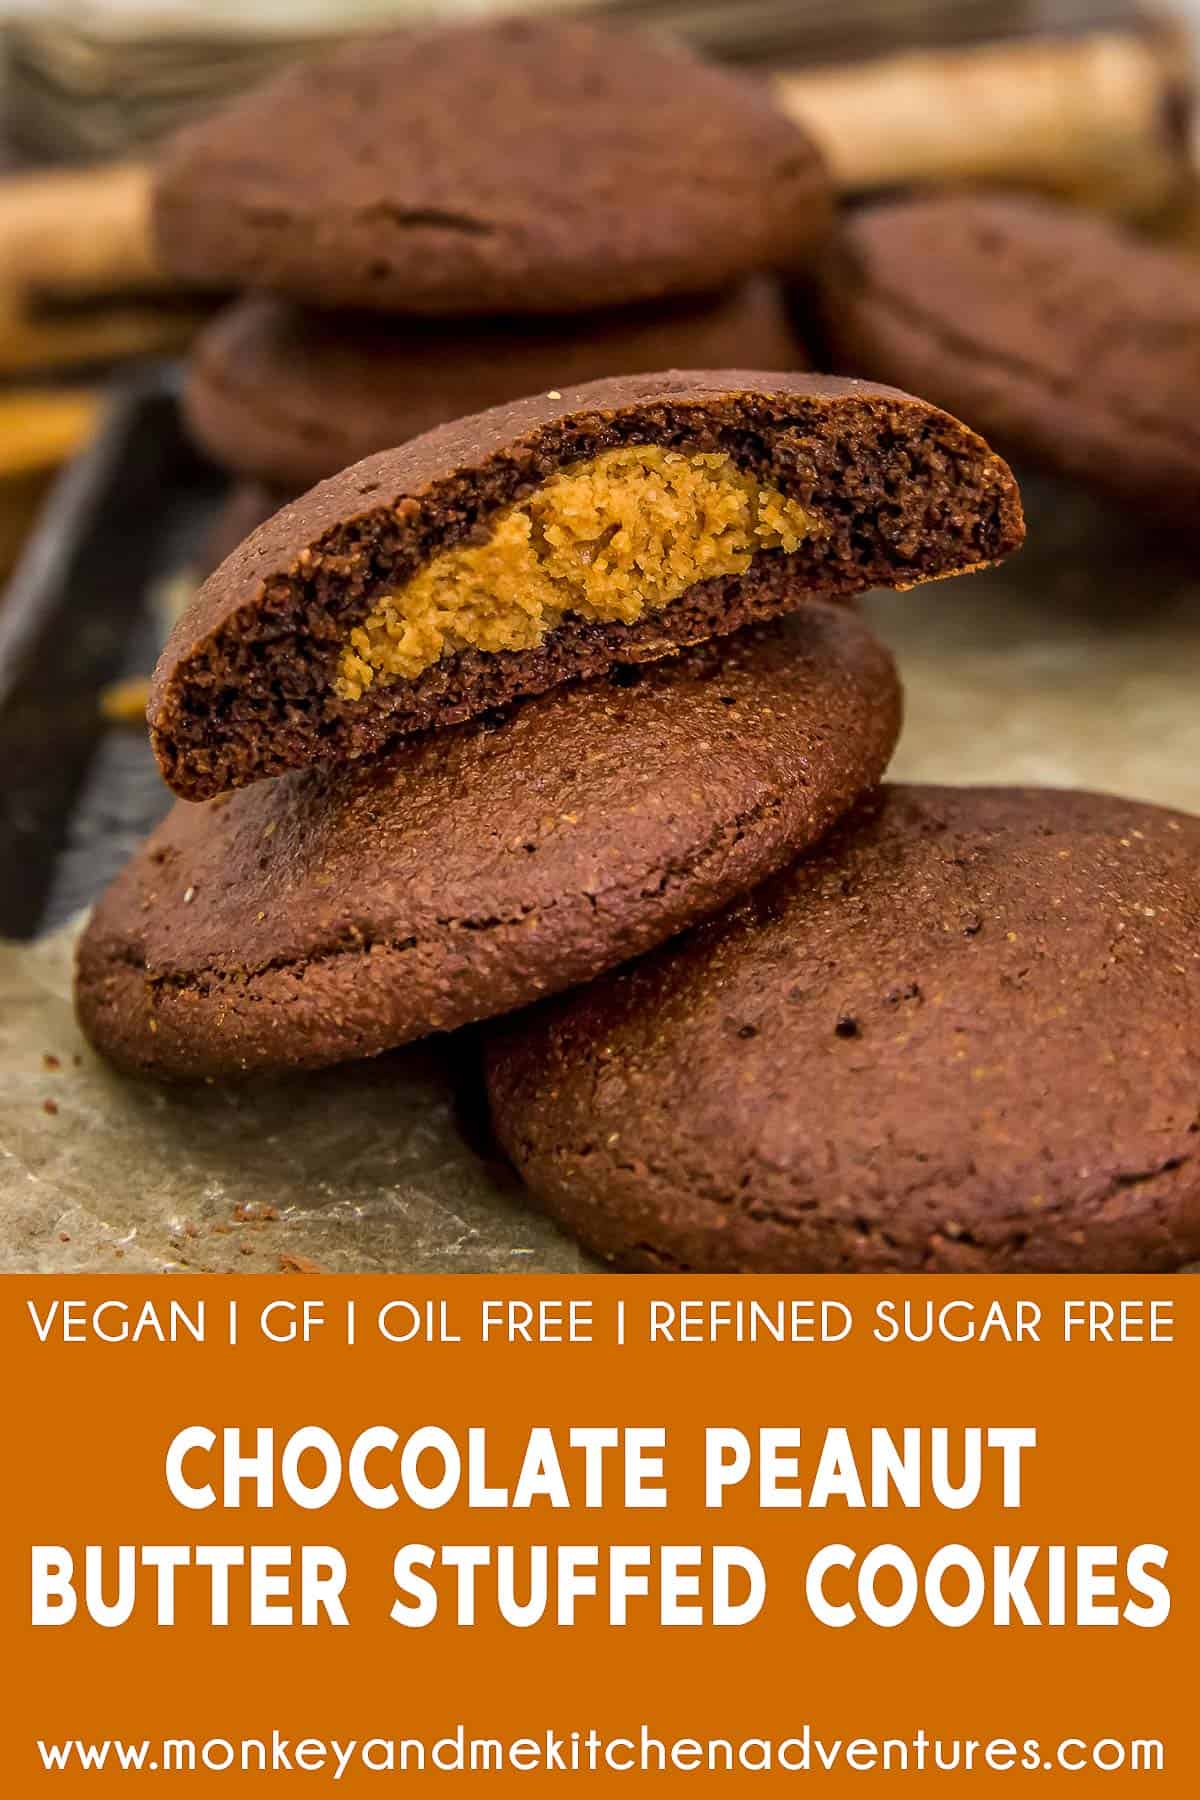
Chocolate and peanut butter, it doesn’t get much better! These deliciously chewy Chocolate Peanut Butter Stuffed Cookies are pure cookie heaven! Fudgy chocolate cookies with a delicious peanut butter cookie stuffed inside is a double cookie treat! Soft, dense, chewy is what cookie deliciousness is all about. Grab a glass of plant milk, these incredible cookies are totally dunkable! Perfect for any holiday, bake sales, or any day of the week. Guaranteed to get rave reviews!
Whole Food Plant Based, vegan, plant based, oil free, refined sugar free, gluten free, no highly processed ingredients.
Hi there, Ameera here!
I’ve said it once, I’ve said it 100 times. Mom and I are cookie aficionados. We love baking and sharing cookies with family and friends.
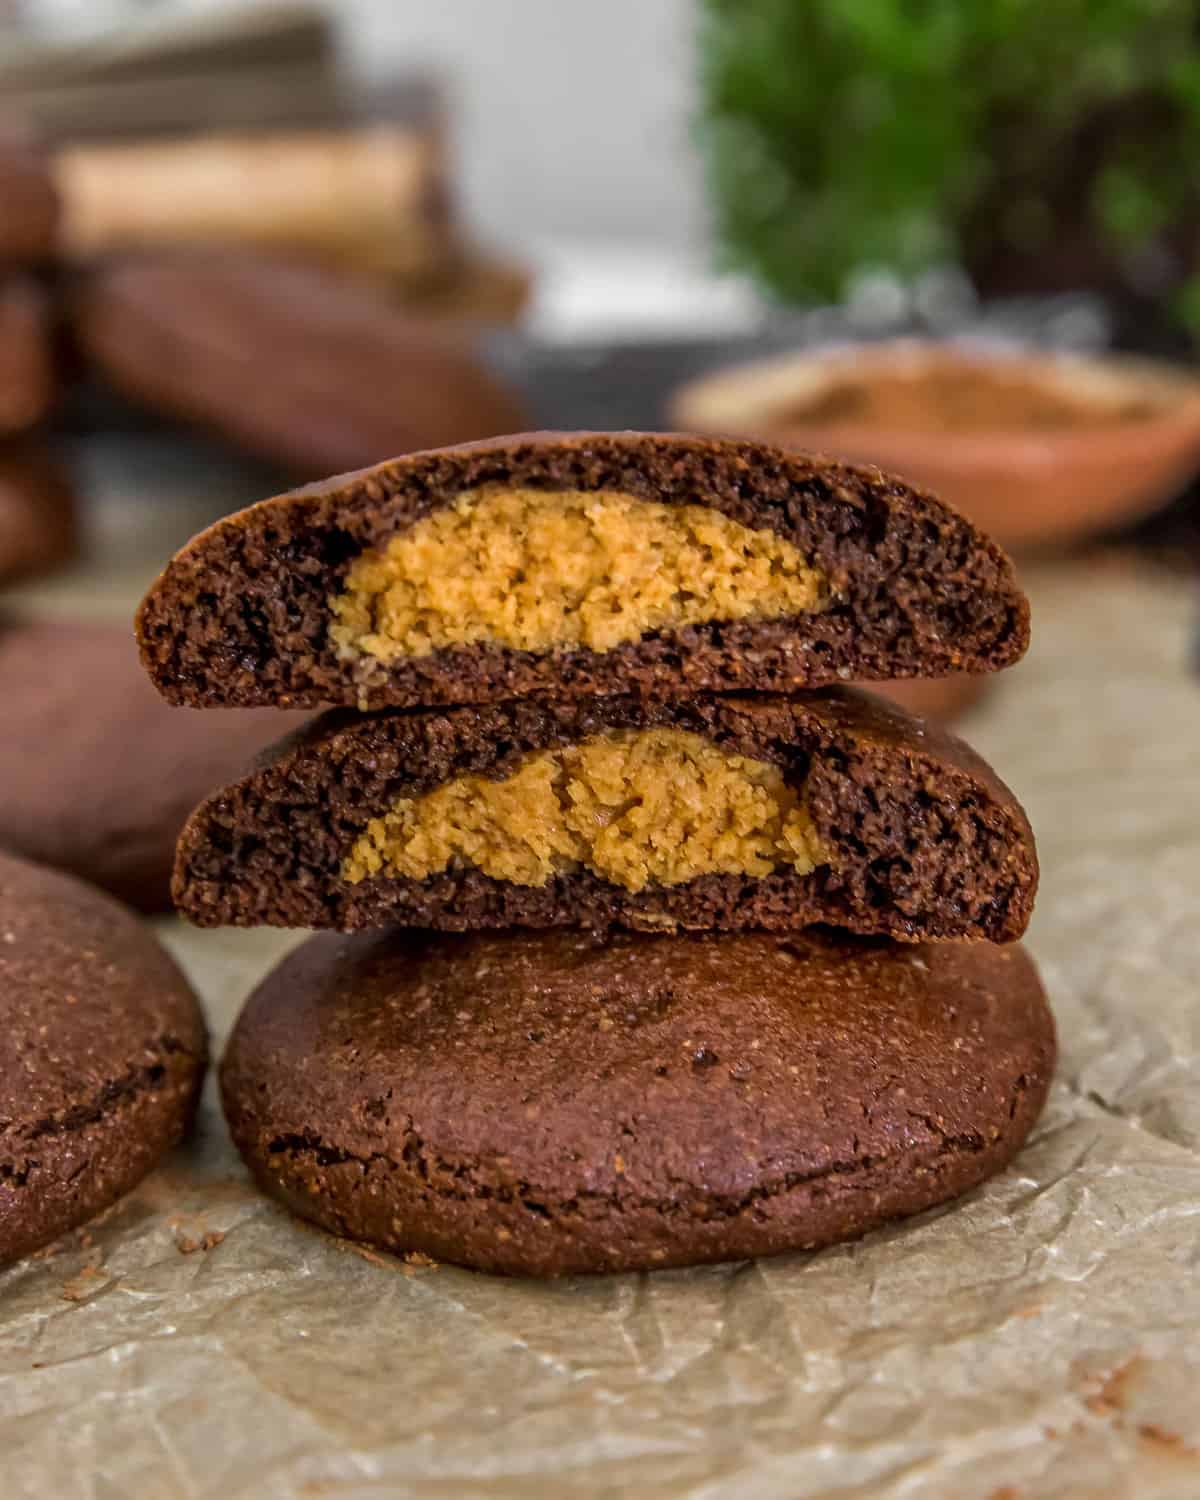
This double cookie is what chocolatey fudgy, peanut butter cookie dreams are all about. They taste amazing! They are like a buckeye in cookie form. They are sort of a combination between a shortbread and a fudgy cookie.
These Cookies Take Time
These cookies do take some time to make, but they are SO worth the extra effort. You just need to be patient and not rush through the process, and we promise you that the end result will be totally worth it. Remember to relax and enjoy the process. 😉
Cookie Baking
As most of you know Mom and I baked cookies professionally (for sale) prior to becoming Whole Food Plant Based. I can’t even begin to tell you how many friends (and relatives) wanted to bake Christmas cookies with me; without fail, they all wanted to rush through the process and make as many cookies as they could possibly crank out. But a great cookie takes time and attention to detail.
Some cookies you can just whip up fast, but these cookies are not that type of cookie that you can rush through the process. They take time and attention to detail. We just want you to know that these cookies require time and effort. Definitely make them when you have some time to spare.
Silicone Baking Mats
We strongly suggest using silicone baking mats as these cookies are very rich. Rich cookies tend to burn faster than other types of cookies. It is important to use silicone baking mats to prevent the bottoms from burning.
Cookie Scoops
We love to use cookie scoops because it is the perfect size for these cookies. It also helps keep the cookie size uniform for even baking. We love the 1.5 inch diameter cookie scoop for this recipe!
These cookies are soooooo DELISH! I’ll let Mom tell you more.
Hi! Robin here!
These cookies are sooooooo YUMMY! I seriously could have eaten them all. They are that good!
TP109 loved them and stared putting some cookies into a Tupperware container. I was like “Uhmmm what are you doing?” He replied “These cookies are mine and I am making sure no one eats them!”
They freeze well by the way! TP begrudgingly gave up 2 of his cookies so we could put some in the freezer to test how well they froze. He wanted to make sure that all our Readers knew that this was a total sacrifice for him! LOL
We can’t wait for you to try them.
If you try these tasty cookies, we would love to know if you enjoy it as much as we do! Please leave us a review! Post a picture on Facebook or Instagram and tag us! We would love to hear from you.
Products Used:
- 14 x 20 baking sheet
- Silicone baking mats (2)
- Wire cooling rack (optional)
Chocolate Peanut Butter Stuffed Cookies
- Prep Time: 20 Minutes
- Cook Time: 12-15 Minutes
- Total Time: 35 Minutes
- Yield: about 16 cookies 1x
- Category: Dessert
- Method: Oven
- Cuisine: American
- Diet: Vegan
Description
Deliciously chewy, oil-free, and gluten free, these healthy Chocolate Peanut Butter Stuffed Cookies are pure cookie heaven!
Ingredients
Dry Ingredients:
- 1 ¾ cups almond flour *
- ½ cup unsweetened cocoa powder
- ¼ cup maple sugar *
- ¼ teaspoon baking soda
- 2 teaspoons baking powder
- ¼ teaspoon sea salt *
Wet Ingredients:
- ½ cup unsalted almond butter, softened *
- 1/3 cup organic maple syrup *
- 1 Tablespoon molasses
- 1 teaspoon vanilla
- 2 Tablespoons unsweetened plain plant milk
Peanut Butter Stuffing Ingredients:
- ½ cup unsweetened peanut butter
- 2 Tablespoons almond flour
- 3 Tablespoons maple sugar *
- ½ teaspoon vanilla
- Pinch sea salt *
Instructions
Instructions
- Preheat the oven to 350 F. Place oven rack in the center position, avoiding the lower oven rack placement.
- Line a large baking sheet with a silicone mat(s).
- Make the Peanut Butter Stuffing by adding all the Peanut Butter Stuffing Ingredients into a medium-sized bowl, mix until well combined, then place in the refrigerator until ready to use.
- Make the Chocolate Cookies. Place all the other Dry Ingredients into a large bowl, whisk well to combine.
- Add the Wet Ingredients to the dry ingredients in the bowl, stir well to combine (no electric mixer required). See notes on cookie dough. Refrigerate for 10 minutes.
- Take 1 cookie scoop* (approx. slightly less than 2 tablespoons) of chocolate cookie dough and roll it in your hands to form a ball, then flatten into a flat disk (see recipe notes), then place the disk onto the silicone mat lined cookie sheet. Try to keep the cookie size uniform. Space them apart as they do spread. Repeat until you have used about ½ of the cookie dough left for the tops.
- Take the Peanut Butter Stuffing from the fridge, take about 1 heaping teaspoon of the Peanut Butter dough for stuffing, roll it into a ball, then flatten it into a disk, then place it in the center of each cookie. Repeat until you have filled all the cookies.
- Then repeat Step 6, place these flattened cookies on top of the peanut butter/chocolate cookies. Gently seal the edges by lightly pressing the edges. Repeat until all the cookies are made.
- Bake in a preheated 350 F oven and bake for 14 minutes.
- After 14 minutes, remove from the oven, allow the cookies to sit on the baking sheet(s) undisturbed for 4 minutes to firm up, then transfer to a wire cooling rack.
- Enjoy warm, soooo delicious!
Notes
Tips for Success:
- Measuring Almond Flour: We have found that measuring almond flour can get tricky since it can be light and airy. We lightly packed it down when measuring. When making the chocolate cookie dough, the dough should come together into a ball. It shouldn’t be too wet or too dry. If you pick it up, and it feels really wet, then add a Tablespoon or more of almond flour. Just mix it right in until it comes together. Refrigerate to allow the cookie dough to firm up.
- Silicone Baking Mats: We highly recommend using silicone baking mats to prevent the bottoms from overbrowning. We have not tested parchment paper lined baking sheets; however, we are pretty sure that parchment paper will not prevent overbrowning.
- Baking Sheet: We used a large 14 x 20 baking sheet, then placed two silicone baking mats. We laid them vertically on the baking sheet, so that the silicone mats stuck over the edges a little. Just form the silicone mats to the baking sheet. They will stick up a little like an “L” on the wider end. This is fine. We place the side that sticks up like an “L” toward the back of the oven. If you don’t have a large baking sheet, use 2 small ones, but bake only one batch at a time.
- Cookie Scoop: We used a small cookie scoop (1 ½ inches in diameter). This helped keep the cookies uniform.
- Rolling Cookie Balls: Wash your hands between rolling every 5 to 6 cookies so you can roll a smooth round cookie ball as some of the cookie dough tends to slightly stick to your hands.
- Cookie Size: After rolling and flattening the chocolate dough, the cookie dough circle should be approximately 2 ½ inches in diameter.
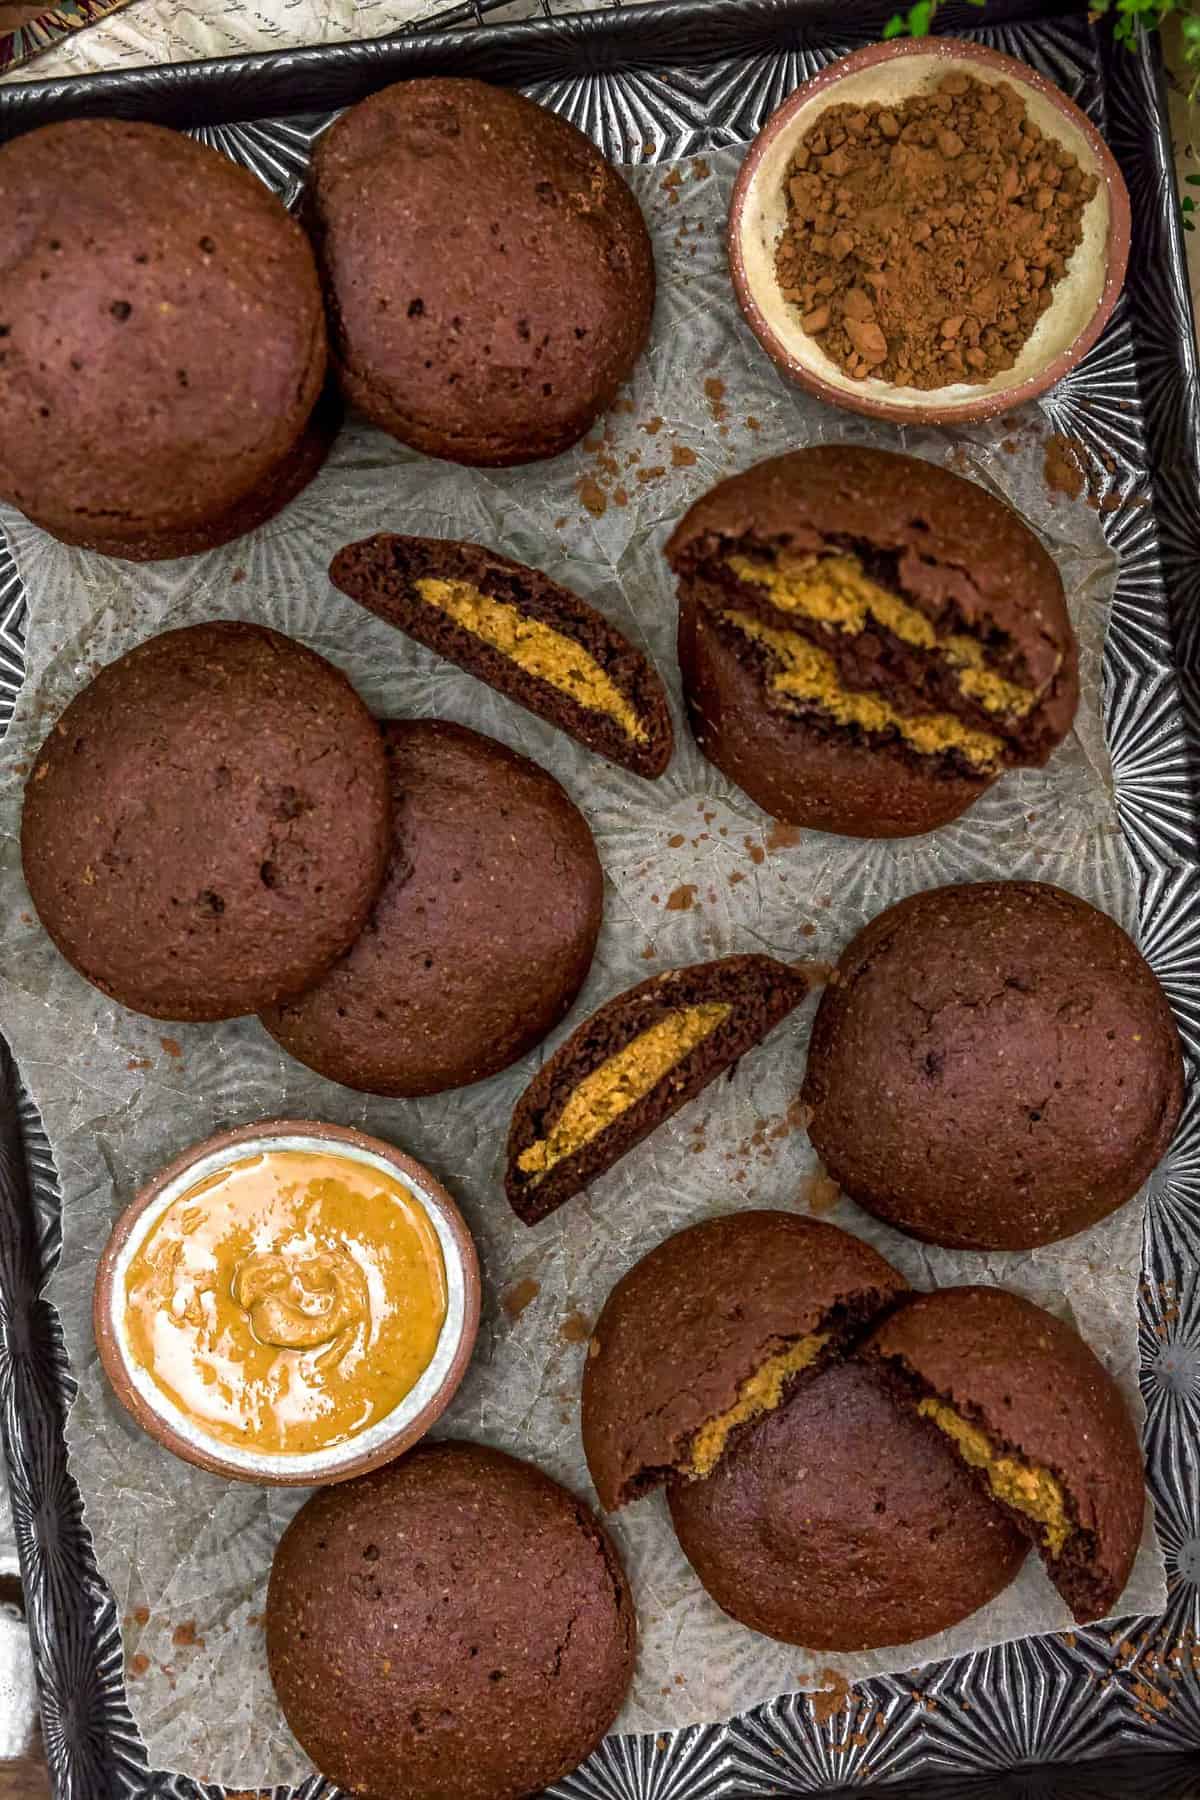
- Forming the Cookies: These cookies do take time to make. You will form a chocolate cookie ball, then flatten it to about 2 ½ inches in diameter, then roll the peanut butter cookie dough into a ball, then flatten it into a disk about 2 inches in diameter, then top with another rolled into a ball and flattened into a disk of chocolate cookie dough, seal the edges. This takes time. We suggest making half the chocolate cookies, then stuffing them, putting lids on them, then doing the other half. This will help you gauge how many cookies you can make. They taste amazing so they are worth the extra effort.
*Notes Continued:
*Maple Syrup and Maple Sugar: We get tons of questions about sweetener substitutions. We totally get it. Some folks want to use all Medjool dates, while others want to use all maple syrup. We’ve tried these cookies using all Medjool dates, they turned out gummy. We also tried using all maple syrup, they just didn’t hold up. Honestly, the best sweetener for this cookie recipe is the combination of maple syrup and maple sugar. Additionally, using date sugar is not recommended either as it just doesn’t have the same flavor and texture needed for this recipe. *** We also get lot questions about using coconut sugar, if your diet permits, you can substitute coconut sugar for the maple sugar. However, we have not tested with coconut sugar, many of our readers have let us know that coconut sugar works well as a substitute for maple sugar.
*Unsalted Almond Butter: You want the almond butter softened, but not melted. Almond butter at room temperature is best; however, if you store your opened jar of almond butter in the fridge like we do, just spoon out the recipe required amount and microwave it for 4 to 5 seconds to soften it without melting it. You can substitute other nut or seed butters that have the same consistency as the almond butter with the understanding that the flavor will slightly change. We do not recommend tahini as a substitute.
*Almond Flour/Almond Butter Substitutions: These cookies were specifically designed to use almond flour and almond butter. We do not have any substitutions to offer.
*Sea Salt: Please adjust the sea salt based upon your family’s sea salt preferences and/or based upon dietary needs.
*Serving: Makes approximately 16 cookies.
*Storage: Use within 5 days. Freezes we
This post contains affiliate links, and we may receive a very small commission if you purchase through those links at no additional cost to you. Thank you for supporting Monkey and Me Kitchen Adventures! For more information, see our disclosures here.

These turned out great! I guess I made them a little too big…I only got 11 cookies. Will make these again (a little smaller next time).
Hi there Sharla 🙂
Yaaaay!!! We are so thrilled to hear that you enjoyed these cookies. We appreciate your fantastic feedback and for taking the time to write.
-Ameera and Robin 🙂
I used to make cookies just like these by Martha Stewart. (With all the butter, sugar and flour. You know, the good things. ) ? And my Skippy peanut butter! ? So I definitely had to try this recipe. And oh my goodness!! So freaking good!! Seriously impressed, ladies!!! I baked a couple the same day (as a test to see what they would be like.) And then I put the rest of the dough in the fridge until the next day. (Which I always did in my baking days.) Highly recommend baking the next day to develop flavour. And… Read more »
Hi there Sandra 🙂
Awesome-sauce!!! We are so glad to hear that you enjoyed this recipe. Thank you so much for sharing your adjustments and wonderful feedback with us! Chilling the dough sounds great, plus helps to split up the work if needed! We truly appreciate you taking the time to write!
-Ameera and Robin 🙂
My daughter made these today – they are incredibly good. Thanks for tasty, healthful recipes.
Hi there Renee,
YAYYYYY!!! We are thrilled that your daughter gave these cookies a try and enjoyed them! Thank you so much for taking time to leave an awesome review.
-Ameera and Robin