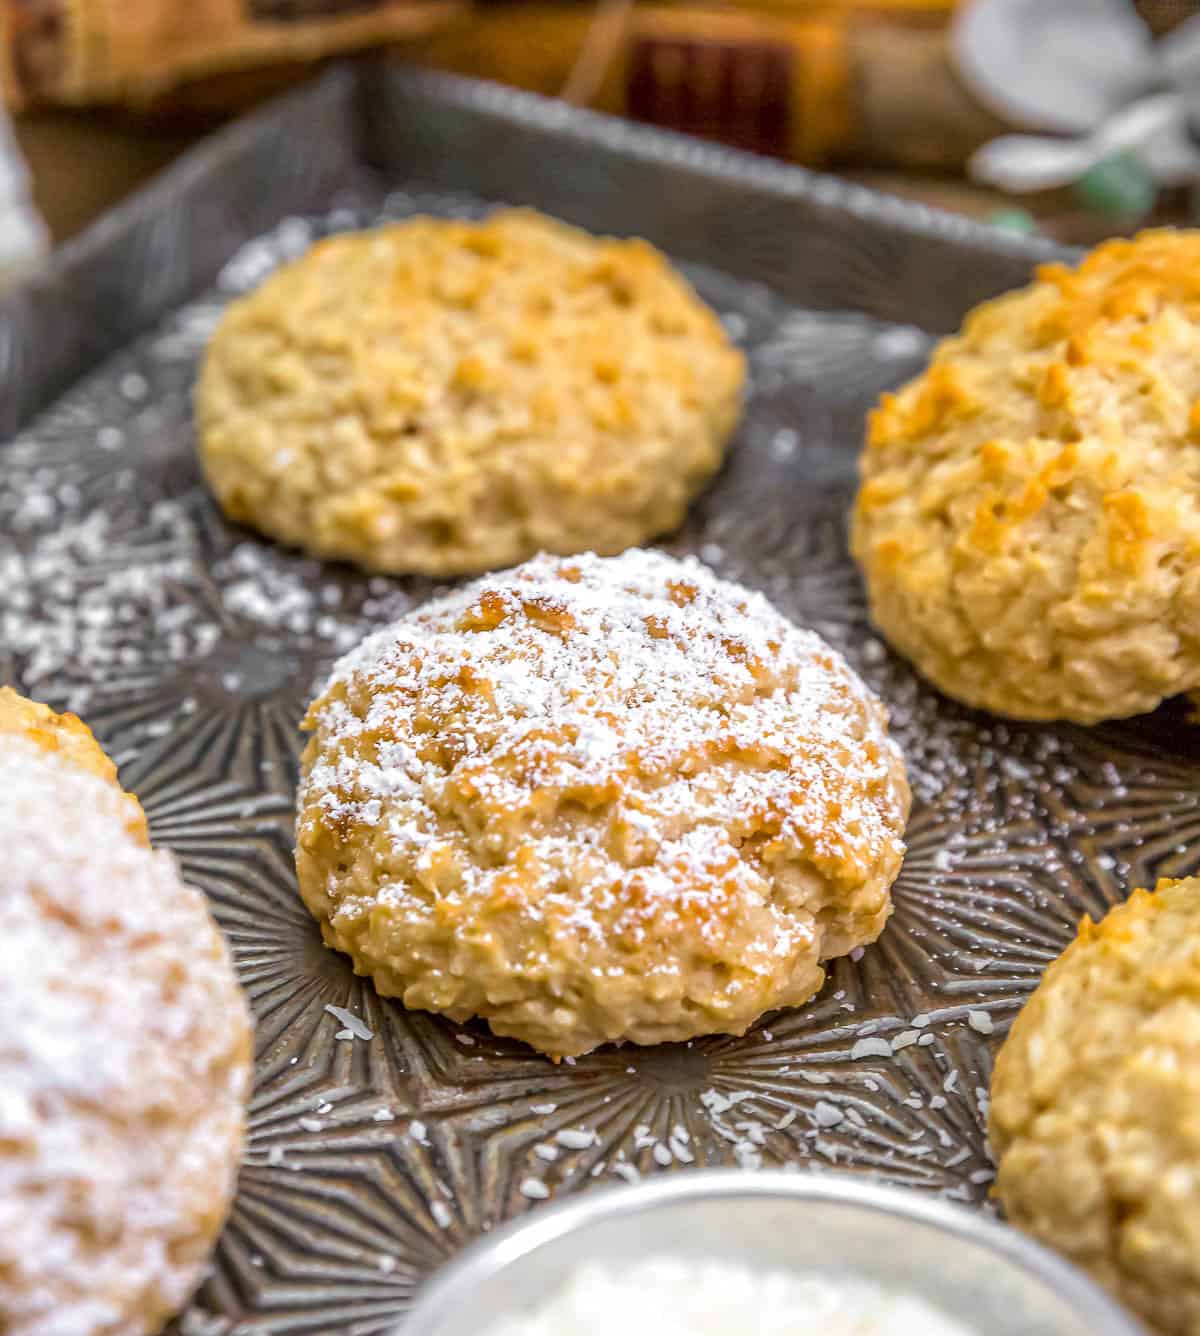
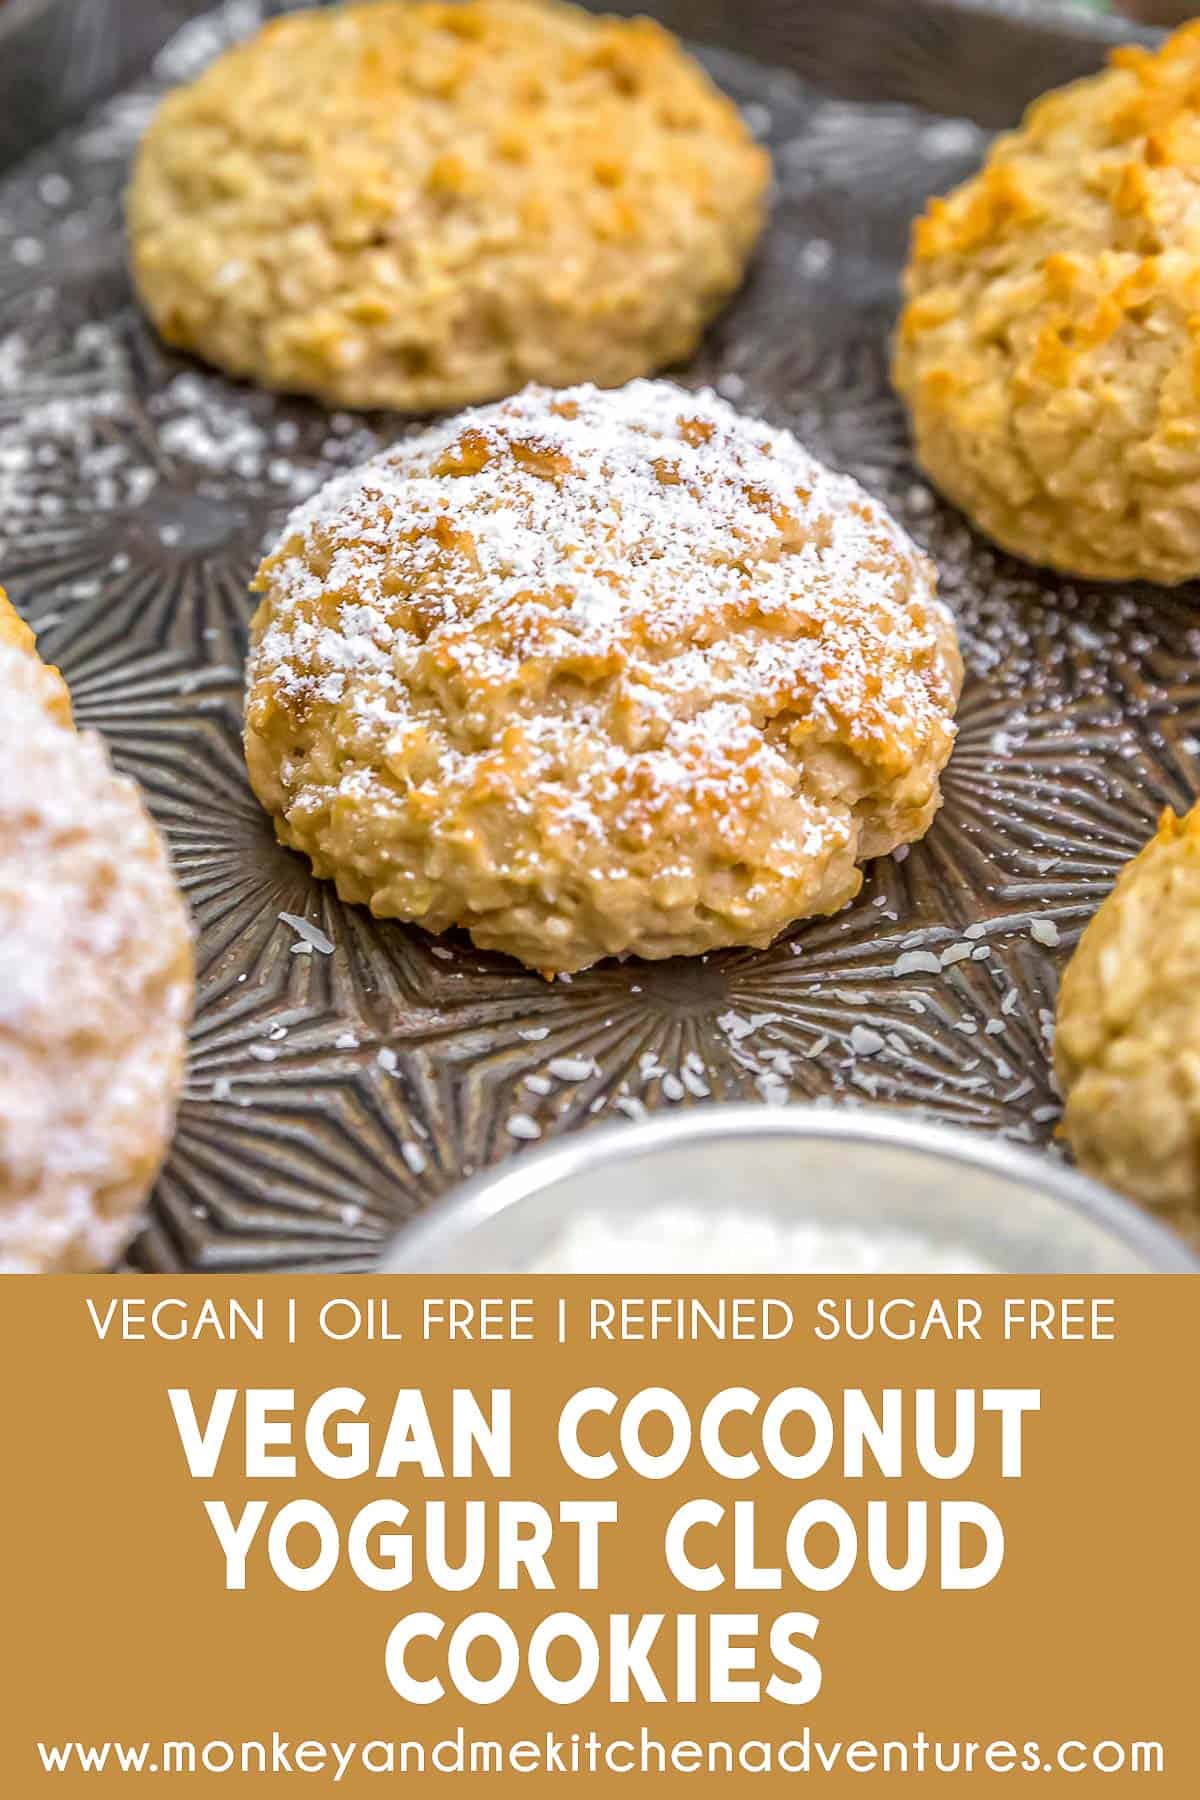
Vegan Coconut Yogurt Cloud Cookies! Every crumb offers a delicate, fluffy texture with a subtle bite of chewy coconut flakes, delivering a balanced, satisfying treat.
These tender and light Vegan Coconut Yogurt Cloud Cookies are a sunshine-filled bite that proves healthy can be utterly indulgent. Imagine each bite airy and cloud-like, drenched in a gentle coconut flavor that lingers just long enough to dream of a tropical shoreline. The secret is rich and creamy yogurt that keeps the cookies irresistibly moist and cake-like. Perfect for breakfast, potlucks, or a midafternoon pick-me-up, these cookies deliver coconut yumminess.
Whole Food Plant Based, Vegan, plant based, oil free, refined sugar free, no highly processed ingredients.
Hi there, Ameera here!
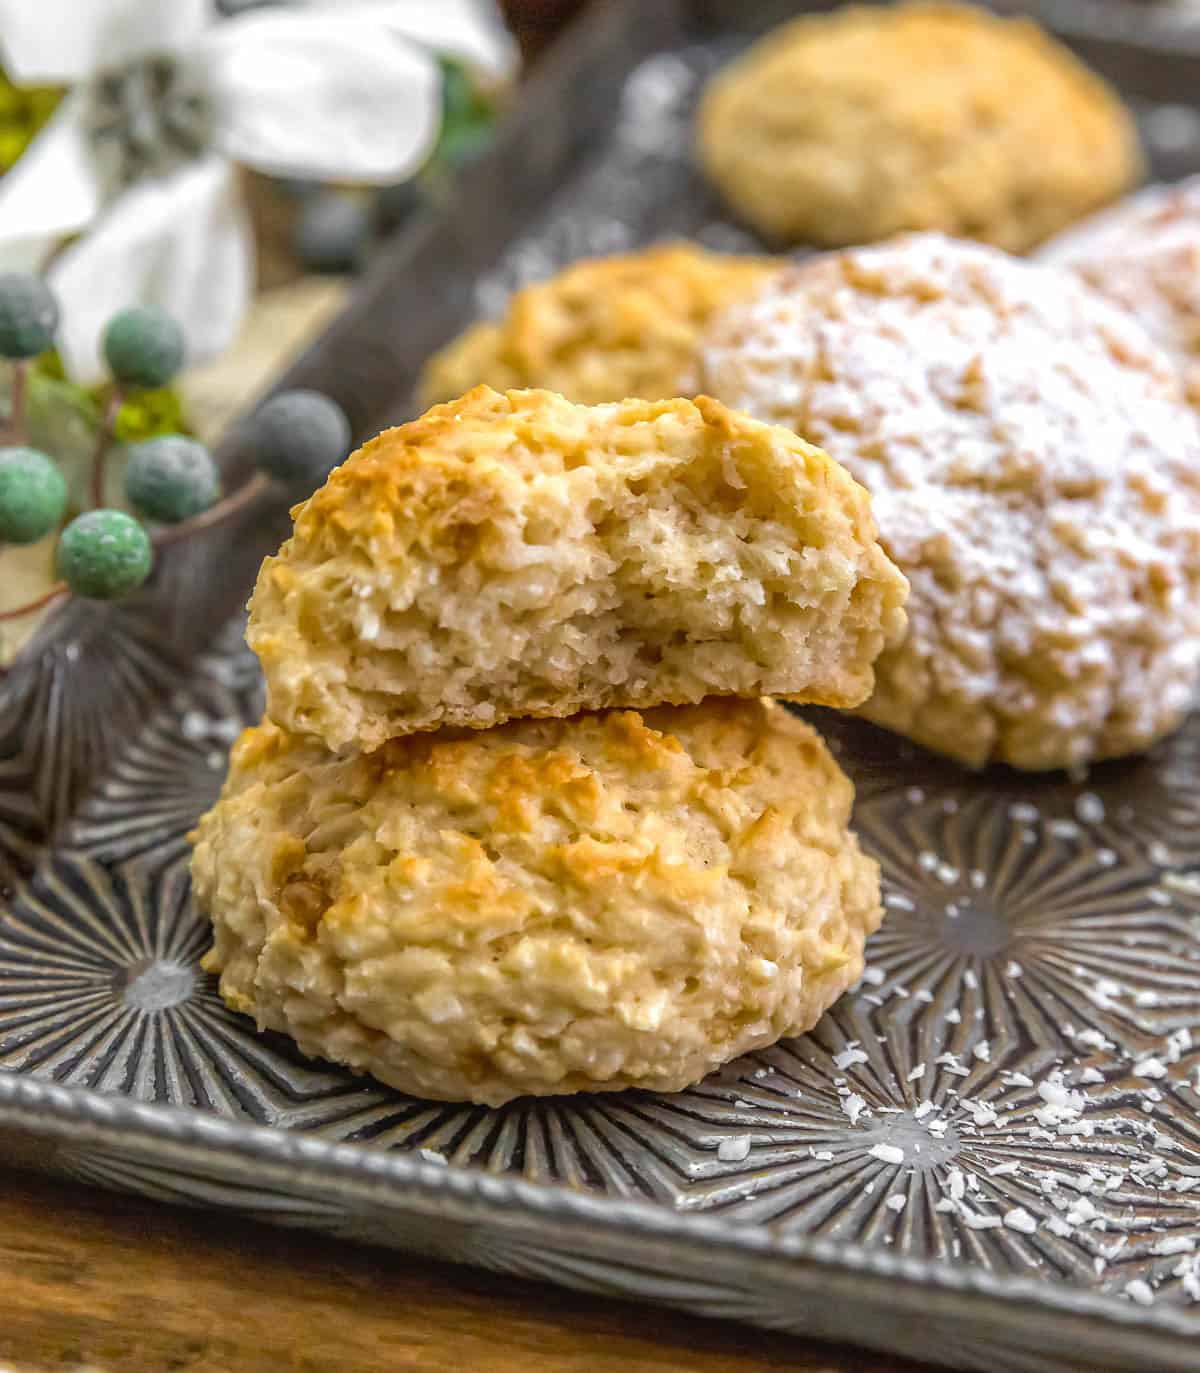
The whole family went crazy over these tasty cloud-like coconut cookies, and I’m not exaggerating when I say they’re a total crowd-pleaser. I’d even rate them a 15/10 for sure, because they hit all the right notes: an impossibly light and fluffy interior, a gentle sweetness that doesn’t overpower the coconut flavor, and a moist, tender crumb that stays soft for days.
Coconut lovers everywhere will swoon over these heavenly clouds of deliciousness, with their creamy yogurt lift and a satisfying, melt-in-your-mouth finish.
You’ve got to give this one a try if you’re aiming to wow guests or simply treat your family to a bakery-quality bite that’s naturally vegan and irresistibly crave-worthy.
Tips for Success:
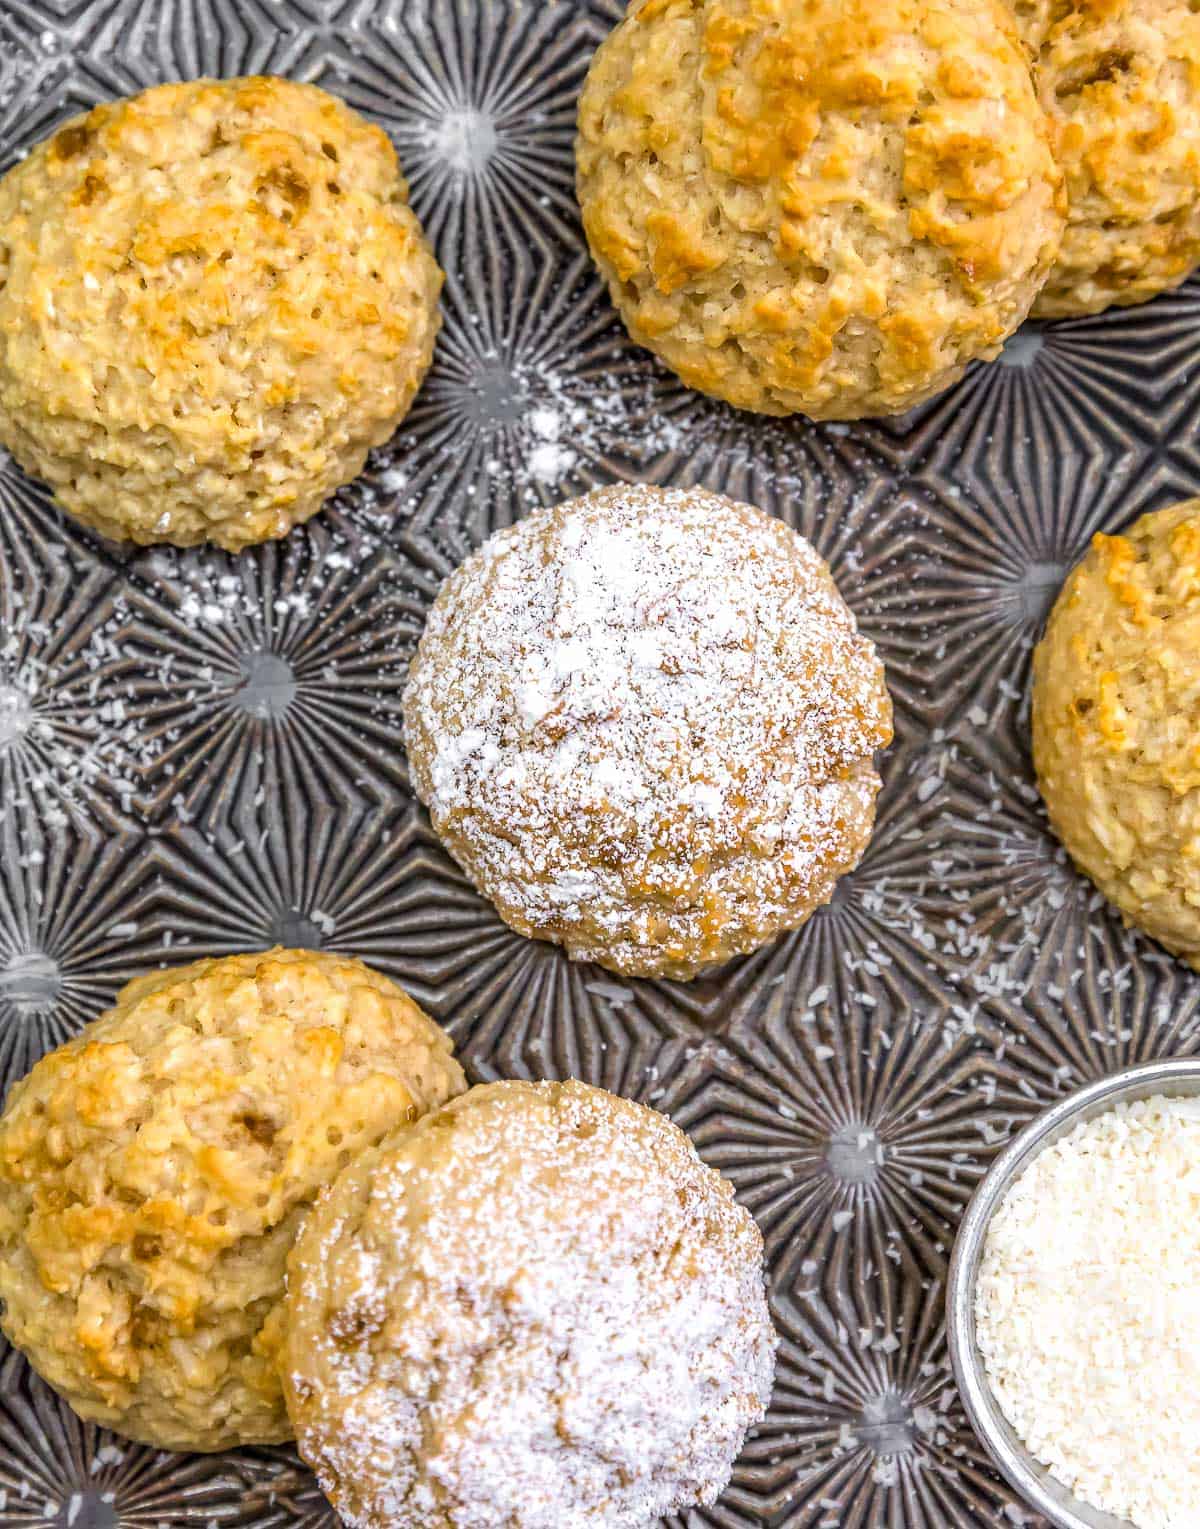
- Flavor Profile: These Vegan Coconut Yogurt Cloud Cookies are healthy and absolutely delicious. They are light, fluffy, cloud-like, and full of coconut yumminess. They are moist, lightly sweet, and have a fantastic tender-texture.
- Sweetness: These scones are lightly sweet. You can always sprinkle with some Whole Food Plant Based powdered sugar if you want them sweeter.
- Straining the Yogurt: Simply place slightly more than one cup of yogurt into a fine-mesh strainer and place this over a bowl. The purpose is to strain off any excess water and thicken up the yogurt. A thick yogurt is needed to allow the dough to create a high-mounded dome, so the scones do not spread. The thick yogurt is an important element for this recipe!
- Maple Sugar: We used maple sugar, but other dry sugars like date sugar, coconut sugar, or other dry sugars will work great in this recipe.
- Oven Temperature Switch from Bake to Broil: Once the scones are done, if they are not lightly golden brown on the tops, simply switch the oven from bake to broil and lightly toast them. This is an optional step, but we absolutely loved the very light golden-brown color. Be super careful to watch them every second they are under the broiler to prevent burning.
- Measuring Flour: Spoon the flour into the measuring cup and level off. Do not pack it in and do not scoop it in. We used 4.7 oz. of flour. If you have a food scale, weigh the flour.
- Gluten Free: This recipe is not gluten free. If you would like them to be gluten free, then use 1:1 gluten free flour. We have not tested this recipe using a gluten free flour.
- Trigger-Action Cookie Scoop or Ice Cream Scoop: If you have a large-sized cookie scoop (3 Tablespoons) or a trigger-action ice cream scoop, use it to create beautiful high-mounded round scones. Otherwise, if using a large spoon, then dollop the batter into large high mounds. If the tops look a tad bit “choppy”, then try to smooth out the tops a little by using a warm, wet spoon to avoid the choppy peaks and valleys that may occur when dropping batter with a spoon as the batter is thick. This is not required, but it does help the scones to look prettier and rounder when using a spoon to smooth out the muffins. In other words, the scones will rise, but they will keep pretty much the same form coming out of the oven as when you put them in the oven.
- What goes IN, comes OUT: Again, the shape of the cookies going IN the oven, is nearly exactly what they will look like coming OUT of the oven. Take a few extra moments to shape them up if you do not have a 3 Tablespoon cookie scoop.
- Sea Salt: Please adjust the sea salt based upon your family’s sea salt preferences and/or based upon dietary needs.
Leftovers and Freezing:
Leftovers will generally keep 4 to 5 days at room temperature. Store in a covered air-tight container.
These cookies freeze well.
Pantry Products:
- Organic Unbleached All-Purpose Flour: We used King Arthur Organic Unbleached All-Purpose Flour. Feel free to use your favorite white all-purpose flour.
- Unflavored Plain Plant Yogurt: We used So Delicious Dairy Free Unsweetened Plain Coconut Yogurt and So Delicious Dairy Free Unsweetened Vanilla Coconut Yogurt. Feel free to use your favorite unsweetened plain yogurt (or vanilla flavored), both work great!
- Unsweetened Shredded Coconut: We used Bob’s Red Mill Unsweetened Shredded Coconut. Feel free to use your favorite unsweetened shredded coconut.
Kitchen Equipment:
- Large 15 x 21 baking sheet with silicone pad
- Large 3 Tablespoon-sized cookie/dough scoop (optional)
- Fine-mesh strainer
If you try these tasty cookies, we would love to know if you enjoy it as much as we do! Please leave us a review! Post a picture on Facebook or Instagram and tag us! We would love to hear from you.
Print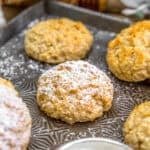
Vegan Coconut Yogurt Cloud Cookies
- Prep Time: 20 Minutes
- Cook Time: 17-20 Minutes
- Total Time: 40 Minutes
- Yield: 10 Cookies 1x
- Category: Breakfast, Dessert
- Method: Oven
- Diet: Vegan
Description
These tender and light Vegan Coconut Yogurt Cloud Cookies are a sunshine-filled bite that proves healthy can be utterly indulgent.
Ingredients
Dry Ingredients:
- 1 cup organic unbleached all-purpose white flour *
- 1/3 cup maple sugar (or other dry sugar like date or coconut) *
- 1 Tablespoon baking powder
- Pinch baking soda
- ¼ teaspoon sea salt
- 1 cup unsweetened shredded coconut *
Wet Ingredients:
- 1 cup strained plain unsweetened plant yogurt (or vanilla flavored) *
- 1 teaspoon vanilla
- 1/8 to ½ teaspoon coconut extract/flavoring
Optional Topping:
Instructions
- Preheat the oven to 350 F, center rack.
- Place slightly more than 1 cup of plain unsweetened plant yogurt in a fine mesh strainer over a bowl. Allow to strain for 15 minutes. This allows any excess water to strain off and the remaining yogurt to be thick.
- Line a large 15 x 21 baking sheet with parchment paper or silicone pad, set aside.
- Place the all the Dry Ingredients into a large bowl, whisk to combine.
- Measure one cup of strained yogurt and add it to the dry ingredients, then add all the remaining Wet Ingredients to the dry ingredients and mix thoroughly by hand to incorporate all the ingredients. The dough should be thick and raggy.
- Using a 3 Tablespoon trigger-action dough scoop, carefully and evenly scoop the batter, level off and place onto the lined baking sheet.
- Repeat until all the batter has been scooped and placed onto the baking sheet, spaced about 2 inches apart. If you do not have a trigger-action large dough scoop (3 Tablespoons dough scoop) or a trigger-action ice cream scoop, you can use a large spoon; however, you may need to smooth out the tops with a wet, warm spoon. Keep the scones in a high-mounded dome-like shape no wider than 2-inches across.
- Place in a 350 F preheated oven for 17 to 18 minutes, or until a toothpick comes out clean.
- Switch the oven temperature from ‘Bake’ to ‘Broil’ and lightly toast the tops of the scones until lightly golden brown, this may take a minute or two. Be sure to watch the scones the entire time they are under the broiler to prevent burning.
- Remove from the oven and allow the scones to cool on the baking sheet for 2 minutes, then move them to a cooling rack. Allow to cool for 15 to 25 minutes on the cooling rack, then, if desired, sprinkle with Whole Food Plant Based powdered sugar and enjoy! Store at room temperature in an air-tight container.
Notes
Please reference the blog post for Tips for Success, Pantry Items Used, Storage and Freezing, and Kitchen Products Used.
Sea Salt: Please adjust the sea salt based upon your family’s sea salt preferences and/or based upon dietary needs.
Servings: Makes 10 large cookies

This post contains affiliate links, and we may receive a very small commission if you purchase through those links at no additional cost to you. Thank you for supporting Monkey and Me Kitchen Adventures! For more information, see our disclosures here.
Leave a Reply