Soft Whole Wheat Chocolate Cookies! Your holiday cookie table is ready for this plant powerhouse treat!
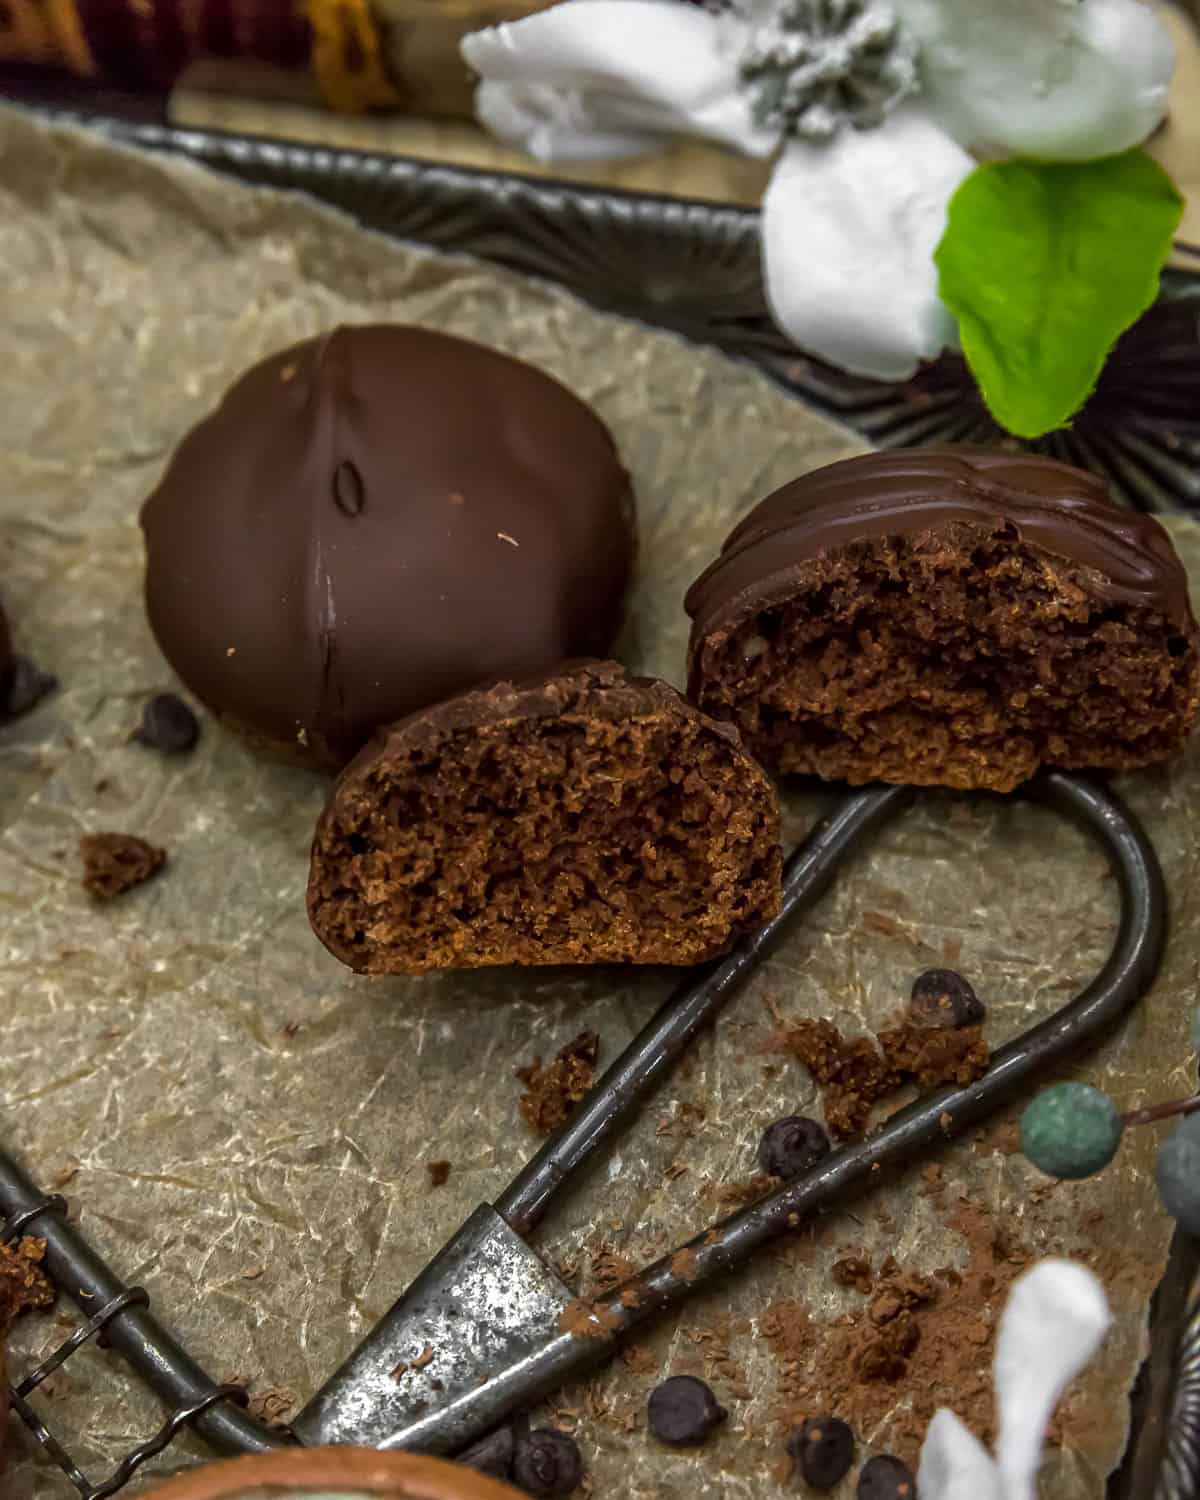
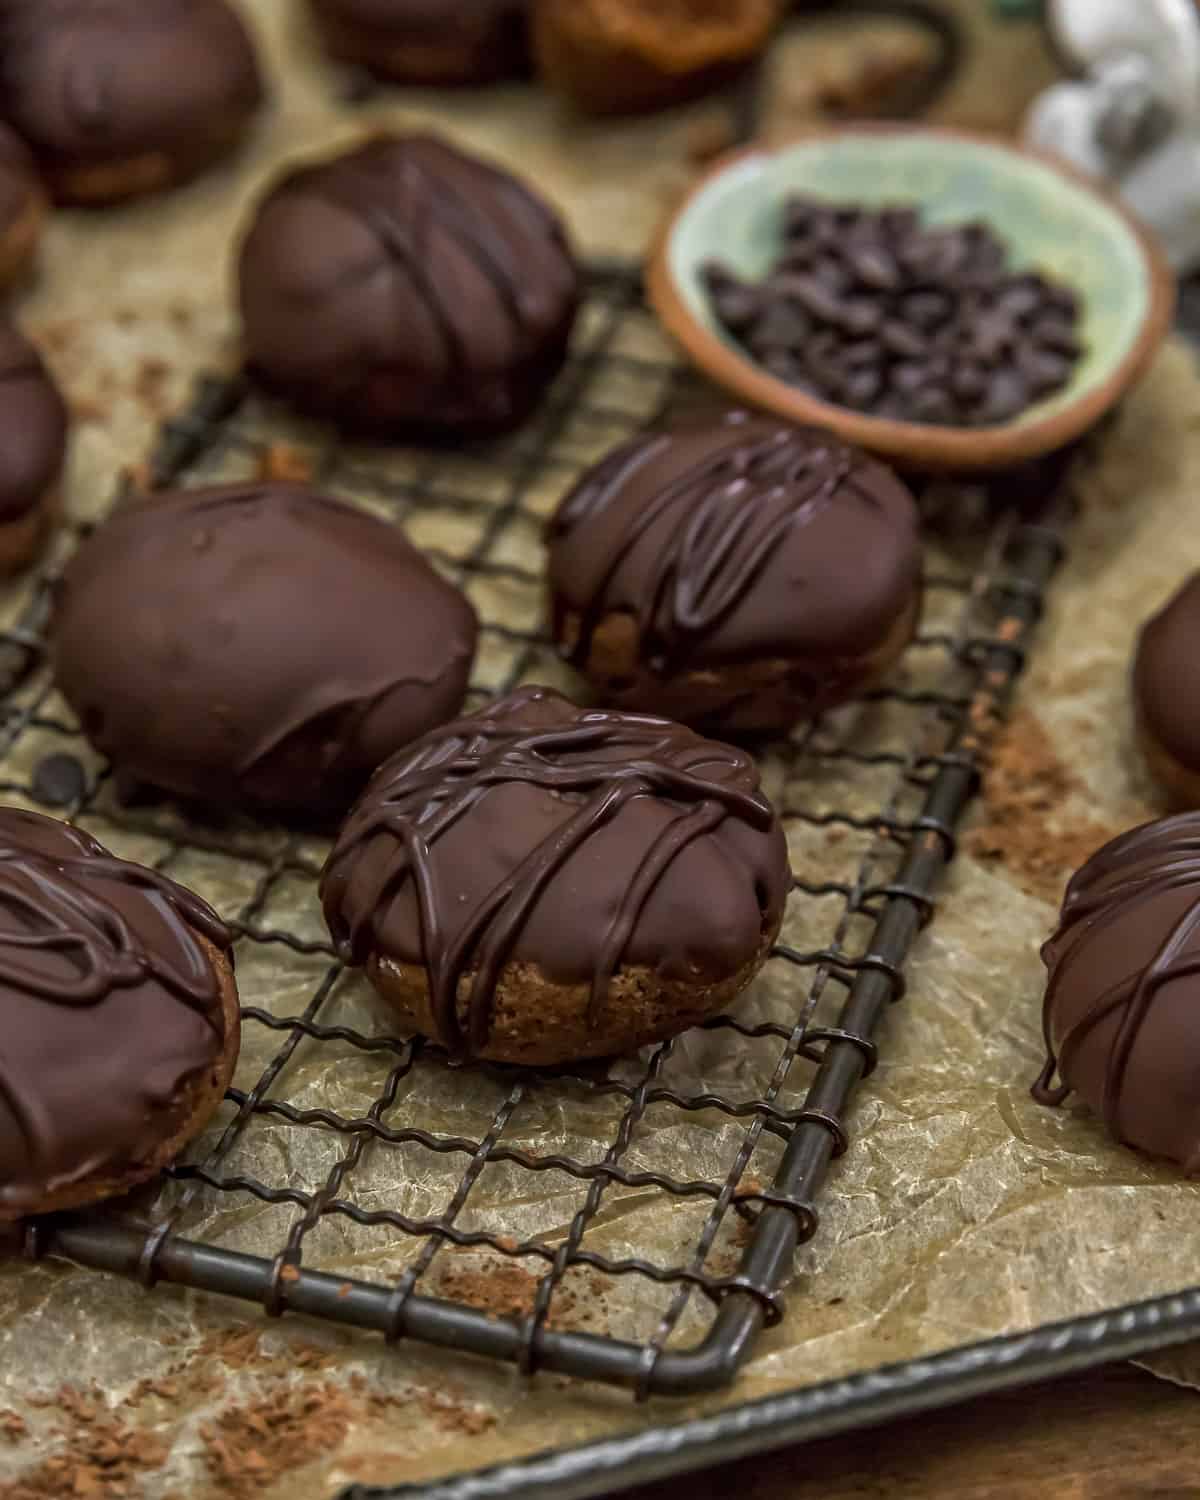
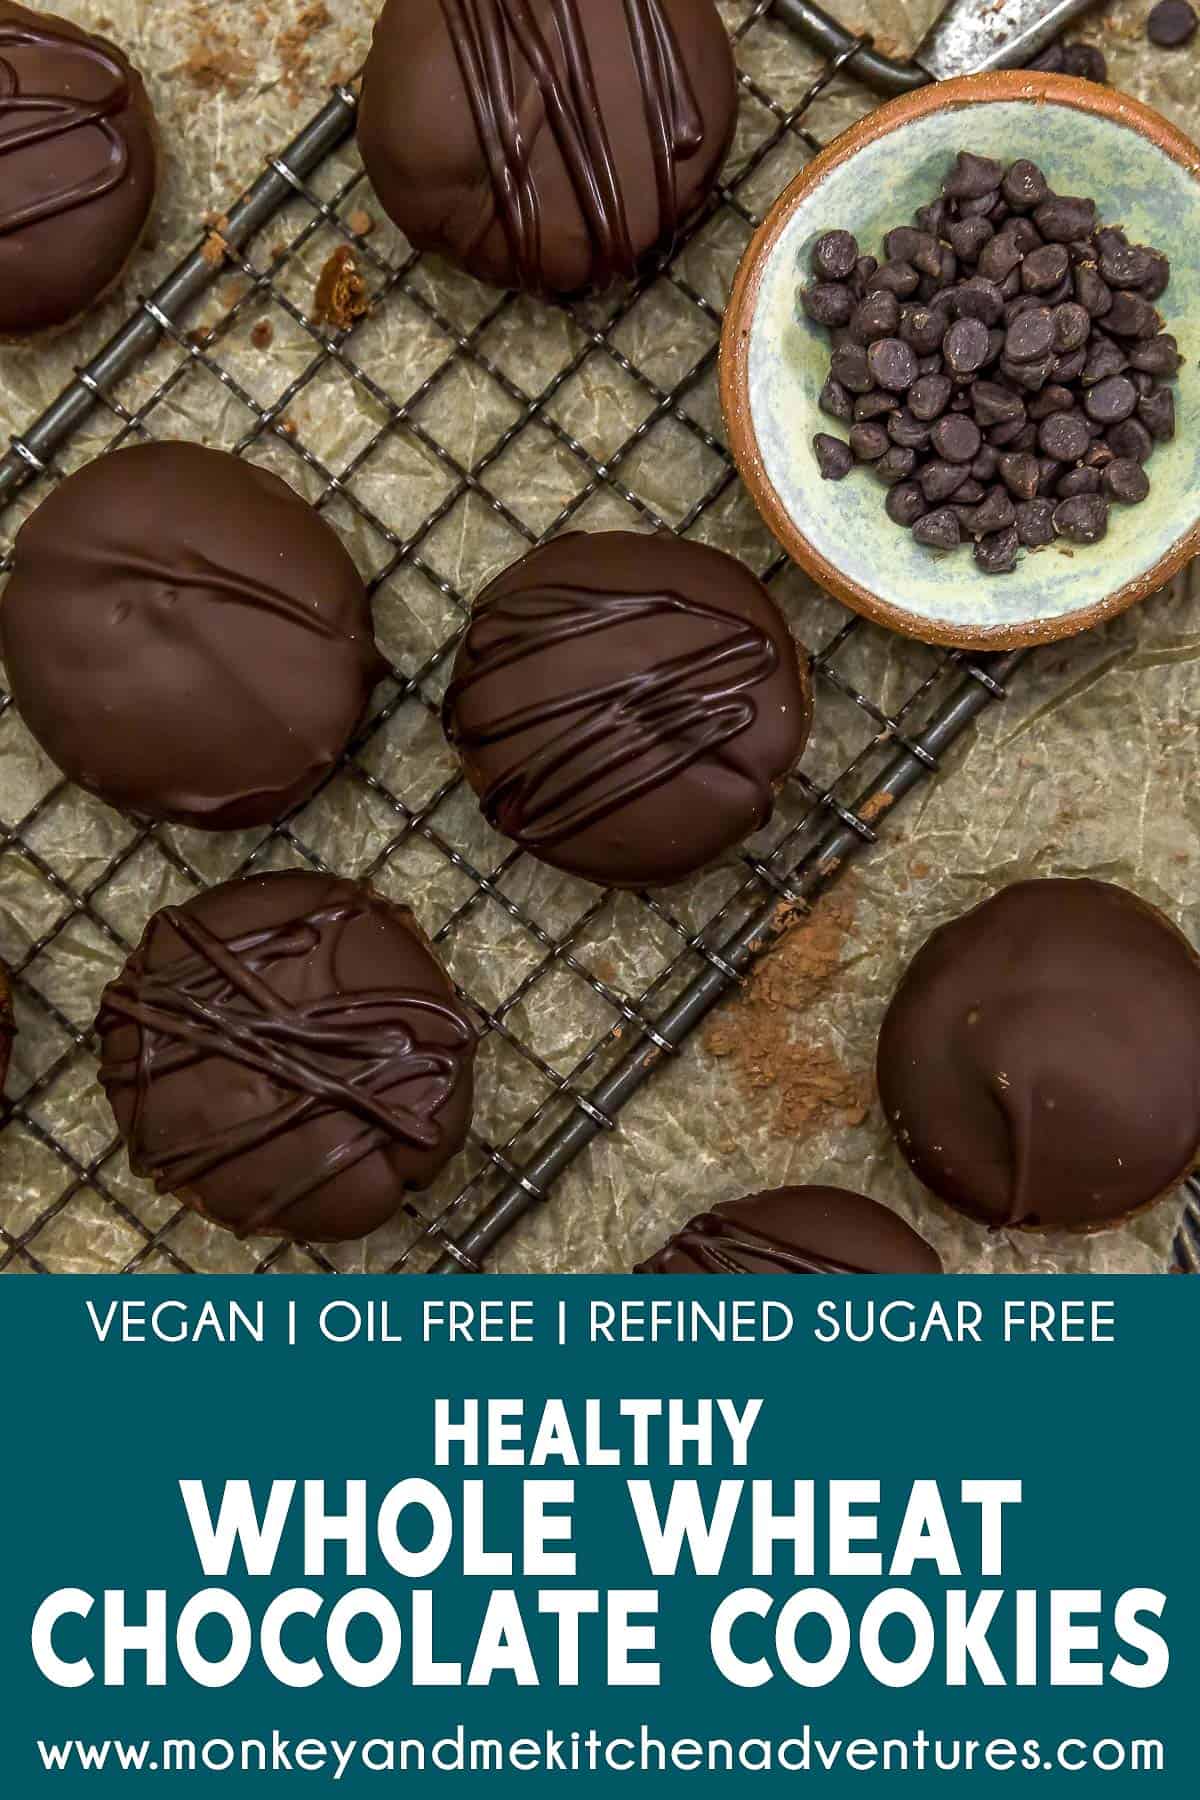
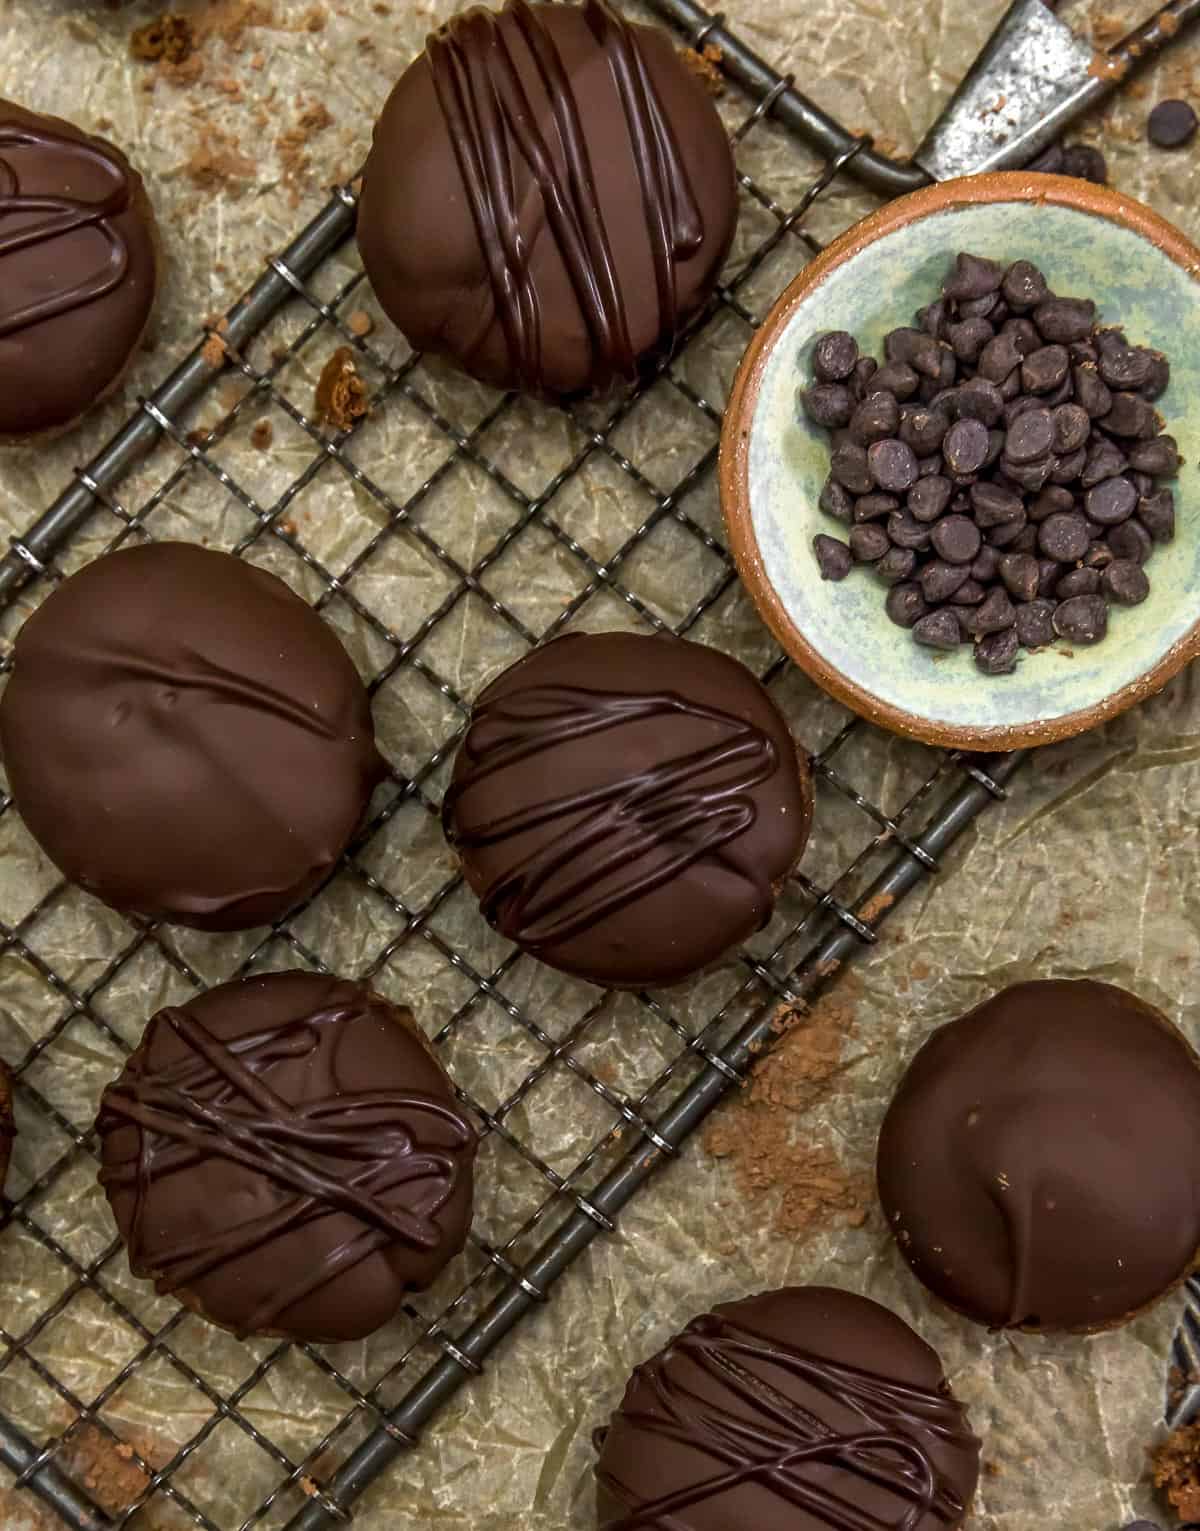
Healthy and wholesome, these Soft Whole Wheat Chocolate Cookies are brimming with decadent chocolate flavor for delicious and delightful sweet treat. They are tender with a cakey texture, filled with chocolatey cacao and topped with a beautiful chocolate glaze.
Whole Food Plant Based, Vegan, plant based, oil free, refined sugar free, no highly processed ingredients.
Hi there, Ameera here!
Mom and I have had numerous requests to use whole wheat flour to make cookies. We have tried multiple times to use whole wheat flour and whole wheat pastry flour. No doubt it has been challenging as the whole wheat flavor comes in strong.
We finally cracked the code with these delicious Soft Whole Wheat Chocolate Cookies! We loved them!
You gotta give this one a try!
Tips for Success:
- Flavor Profile: These deliciously soft, cake-like cookies are delightful. They are tender with a cakey texture, and full of chocolatey goodness and topped with a beautiful chocolate glaze.
- Cookie Texture: These cookies have a cake-like texture and initially will appear dry. These cookies taste best on Day 2 as they will absorb a little moisture overnight. Be careful not to over bake them as they will be too dry to recover.
- Unsweetened Cocoa (Cacao) Powder: You can use your favorite unsweetened cocoa (cacao) powder such as Hershey’s. We used Navitas Organic Cacao Powder as it is considered a ‘superfood’ due to its high amounts of antioxidants, minerals, and vitamins. Cacao powder is packed with flavonoids. These nutrients have been shown to lower blood pressure and improve the blood flow to the brain and heart, and aid in preventing blood clots.
- Maple Sugar (or Coconut Sugar): We used maple sugar as it is Whole Food Plant Based. Feel free to use your favorite dry sugar.
- Chocolate Topping: These cookies taste amazing with the melted chocolate topping (that later becomes solid). They are like mini chocolate cakes with chocolate frosting.
- Amount of Chocolate Chips for Glazing Cookies: The key to getting a great chocolate coating is to use 1 ½ cups of chocolate knowing that you may have some melted chocolate left over. The reason is because you need a small, deep bowl to thoroughly get the cookie dunked properly to coat with the melted chocolate. If you have extra melted chocolate, put the cookies that have recently been dunked (in the melted chocolate) into the fridge for 5 to 10 minutes, then place the remaining melted chocolate into a small baggie, push the melted chocolate to the corner, snip off a tiny piece of the corner of the baggie with a pair of sharp scissors, then drizzle a stream of melted chocolate across the cookies for a professional look. Allow to dry for several hours or pop in the fridge to harden.
- Cashew Butter Substitutions: You can substitute with almond butter; however, the almond flavor will come through a tad bit more.
- Whole Wheat Pastry Flour Flavor: Whole Wheat flour has a slightly denser texture and has a more pronounced wheat flavor than white flour.
- Whole Wheat Pastry Flour is WFPB: Whole Wheat Pastry Flour is a whole grain flour. It is made from 100% stone ground soft spring wheat. It is Whole Food Plant Based as it is made from 100% soft spring wheat berries. It has a lighter texture. We used Bob’s Red Mill 100% Stone Ground Whole Wheat Pastry Flour.
- Whole Wheat Flour: You can also use whole wheat flour in this recipe. The cookies will have a more dense texture and have a more pronounced wheat flavor.
- Measuring Flour: Spoon the flour into the measuring cup and level off. Do not pack it in and do not scoop it in.
- Freeze-Dried Coffee: The freeze-dried coffee is optional. It enhances the chocolate flavor without tasting the coffee.
- Not Gluten Free: This recipe is not gluten free. We do not have a gluten free alternative for this recipe.
Leftovers and Freezing:
Leftovers will generally keep 5 days. Store in an air-tight covered container.
These cookies freeze well.
Pantry Products:
- Unsweetened Cocoa (Cacao) Powder: We used Navitas Organic Cacao Powder.
- Whole Wheat Flour: We used Bob’s Red Mill 100% Stone Ground Whole Wheat Pastry Flour.
- Cashew Butter: We used Artisana Organic Raw Vegan Cashew Butter. Feel free to use your favorite raw cashew butter in this recipe. Read the label, make sure the only ingredient is raw cashews. Do not use a salted or sweetened cashew butter.
- Sea Salt: Please adjust the sea salt based upon your family’s sea salt preferences and/or based upon dietary needs.
Kitchen Equipment:
- Large baking sheet
- Silicone baking mat (or parchment paper) (We used silicone baking mats.)
- Wire cooling rack (optional)
If you try these tasty cookies, we would love to know if you enjoy it as much as we do! Please leave us a review! Post a picture on Facebook or Instagram and tag us! We would love to hear from you.
Print
Soft Whole Wheat Chocolate Cookies
- Prep Time: 15 Minutes
- Cook Time: 10-12 Minutes
- Total Time: 25 Minutes
- Yield: 26-28 Cookies 1x
- Category: Dessert
- Method: Oven
- Diet: Vegan
Description
Healthy and wholesome, these Soft Whole Wheat Chocolate Cookies are brimming with decadent chocolate flavor for delicious and delightful sweet treat.
Ingredients
Dry Ingredients:
- 1 ¾ cups whole wheat pastry flour *
- ¼ cup + 1 Tablespoon cacao powder (or cocoa powder) *
- 2 Tablespoons flaxseed meal
- 1/3 cup maple sugar (or coconut sugar) *
- 1 teaspoon baking powder
- ¼ teaspoon baking soda
- ½ teaspoon freeze-dried coffee (optional) *
- ¼ teaspoon sea salt *
Wet Ingredients:
- ½ cup [raw] cashew butter *
- ¼ cup pure maple syrup
- ¼ cup unsweetened applesauce
- ¼ cup + 1 Tablespoon unsweetened plain plant milk
- 1 teaspoon vanilla
Topping Ingredients:
- 1 to 1 ½ cups vegan semi-sweet chocolate chips, melted *
Instructions
- Preheat the oven to 350 F. Place oven rack in the center position, avoiding the lower oven rack placement.
- Line a baking sheet with a silicone mat (or parchment paper).
- Place all the other Dry Ingredients into a bowl, whisk to combine.
- Add the Wet Ingredients to the dry ingredients, stir well to combine (no electric mixer required). At first, it will seem like you need more liquids, but keep stirring. Stir and press the dough with the spoon, keep stirring; it will come together. Eventually, everything will form to a big ball of dough.
- Take 2 tablespoons (or one medium cookie scoop) of cookie dough and roll it in your hands to form a ball, then while still in your hands, very slightly flatten into a thick disk and place the ball onto the silicone mat (or parchment paper) lined cookie sheet. Try to keep the cookie size uniform. Continue until you have rolled all the dough into balls and placed on the baking sheet. Keep them approx. 3 inches apart as they do spread.
- Place into a preheated 350 F oven (center rack) and bake for 10 to 12 minutes until the cookies are set and the bottoms are slightly browned.
- After 10 to 12 minutes, remove from the oven, allow the cookies to sit on the baking sheet(s) undisturbed for 1 minute to firm up, then transfer to a wire cooling rack.
- Allow to cool completely.
- Place the chocolate chips in a small, deep bowl, then place in the microwave and melt on high for 30 seconds, stir vigorously for 7 seconds, then continue to place in the microwave in 10 second intervals until the chocolate chips are completely melted. Note: You can also use a double boiler to melt the chocolate chips.
- Once the chocolate chips are melted, dip cooled cookies (top-side-down) into the melted chocolate, give a twist, then place them right-side up on a cooling rack for one hour to harden or place them in the refrigerator for 5 to 10 minutes or until the glaze has hardened to the touch. Enjoy!
Notes
*Please reference the blog post for Tips for Success, Pantry Items Used, Storage and Freezing, and Kitchen Products Used.
*Sea Salt: Please adjust the sea salt based upon your family’s sea salt preferences and/or based upon dietary needs.
*Servings: Makes 26 to 28
This post contains affiliate links, and we may receive a very small commission if you purchase through those links at no additional cost to you. Thank you for supporting Monkey and Me Kitchen Adventures! For more information, see our disclosures here.
