Refrigerator Middle Eastern Pickled Turnips! Whether you’re hosting a mezze spread or simply craving a zippy snack, these refrigerator pickled turnips elevate meals and brighten plate presentations with their electric hue and bold flavor.
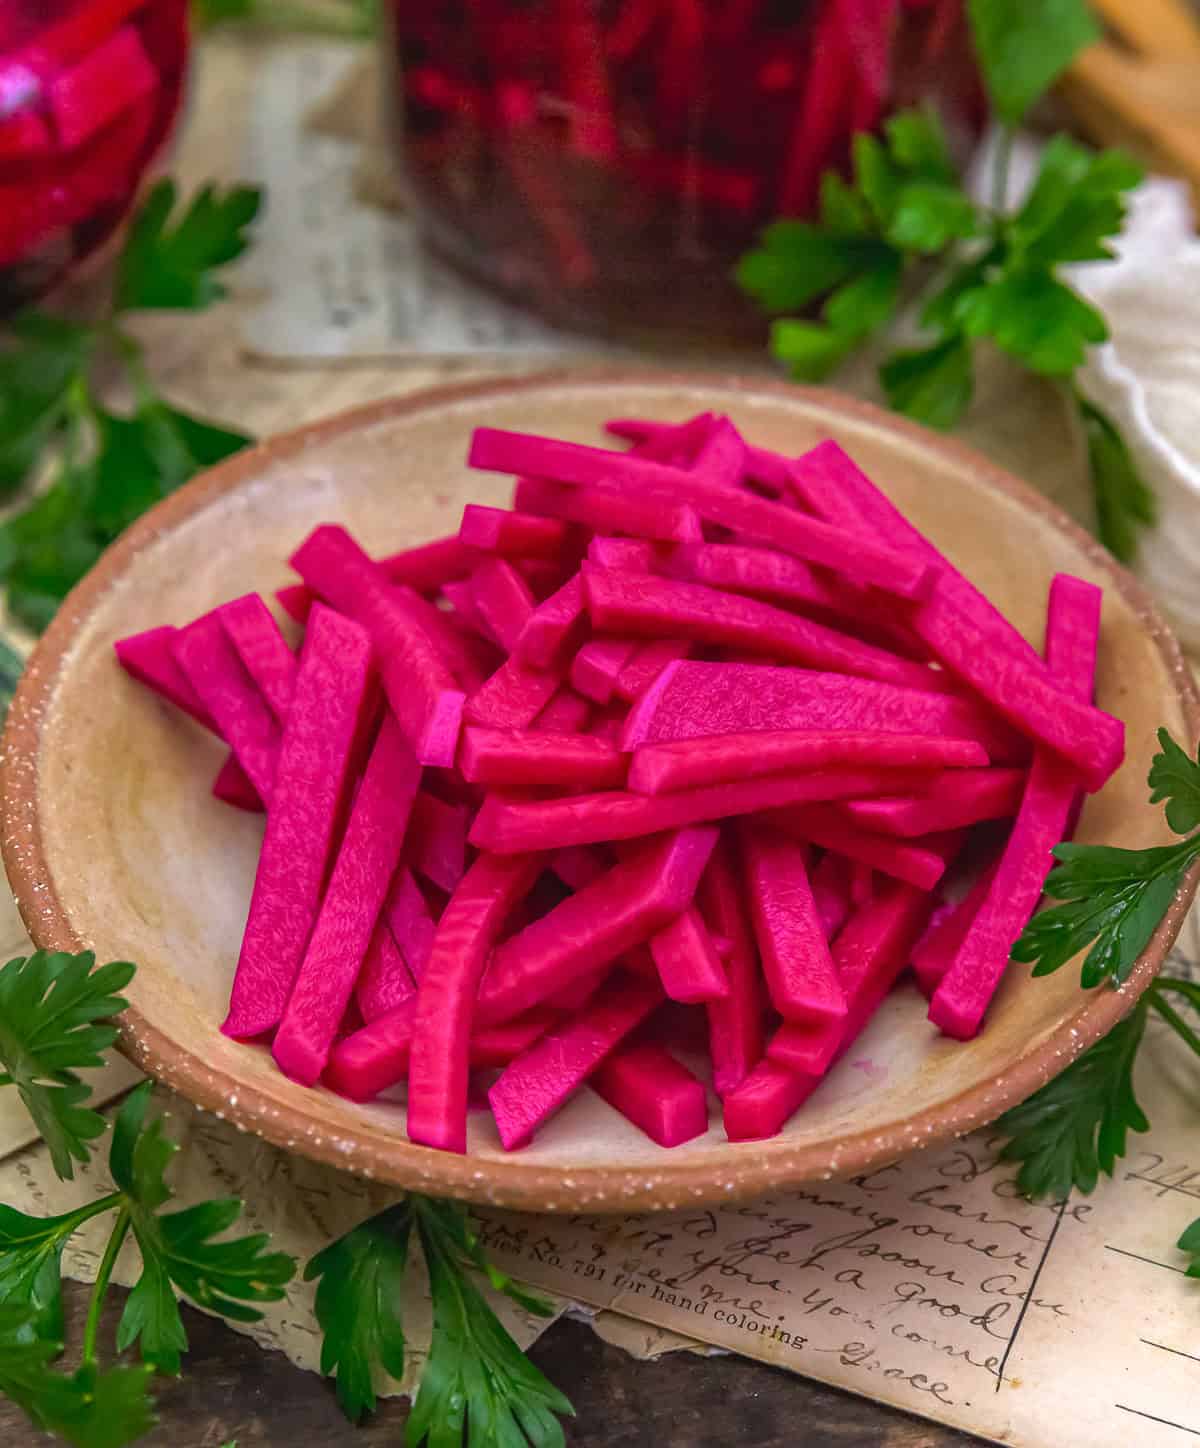
These Refrigerator Middle Eastern Pickled Turnips are a staple in Middle Eastern cuisine, bursting with vibrant flavor and color. Bright hot pink from the beets, these crisp, tangy turnips bring a welcome zing to any plate, making them the perfect companion for shawarma, falafel, or a zesty sandwich stack.
Whole Food Plant Based, Vegan, plant based, oil free, refined sugar free, no highly processed ingredients and gluten free.
Hi there, Ameera here!
My kids beg for these refrigerator pickled turnips, and I swear it might be their Lebanese roots shining through in their appetite. They devour them with gusto and, in a hilarious twist, often drink the brine when the last crunchy bite is gone—proof of how irresistible this recipe is.
Yes, temporary hot pink fingers come with the territory, but I don’t mind a little (beet) dye-laden fun when a jarful of wholesome goodness is the reward. Packed with tang, and a bright beet-kissed glow, these pickled turnips are a snack that doubles as a simple side, perfect for lunch boxes or casual dinners.
Tips for Success:
- Flavor Profile: These Refrigerator Middle Eastern Pickled Turnips are a staple in the Middle Eastern cuisine Wonderfully hot pink in color from the beets, they are the perfect pickled vegetable to add to your sandwiches or a favorite pickled snack.
- Texture: The turnips, beets, and garlic cloves are crunchy as they are not cooked; however, the pickled turnips while still remaining crunchy, they will become slightly less crunchy as they continue to marinate.
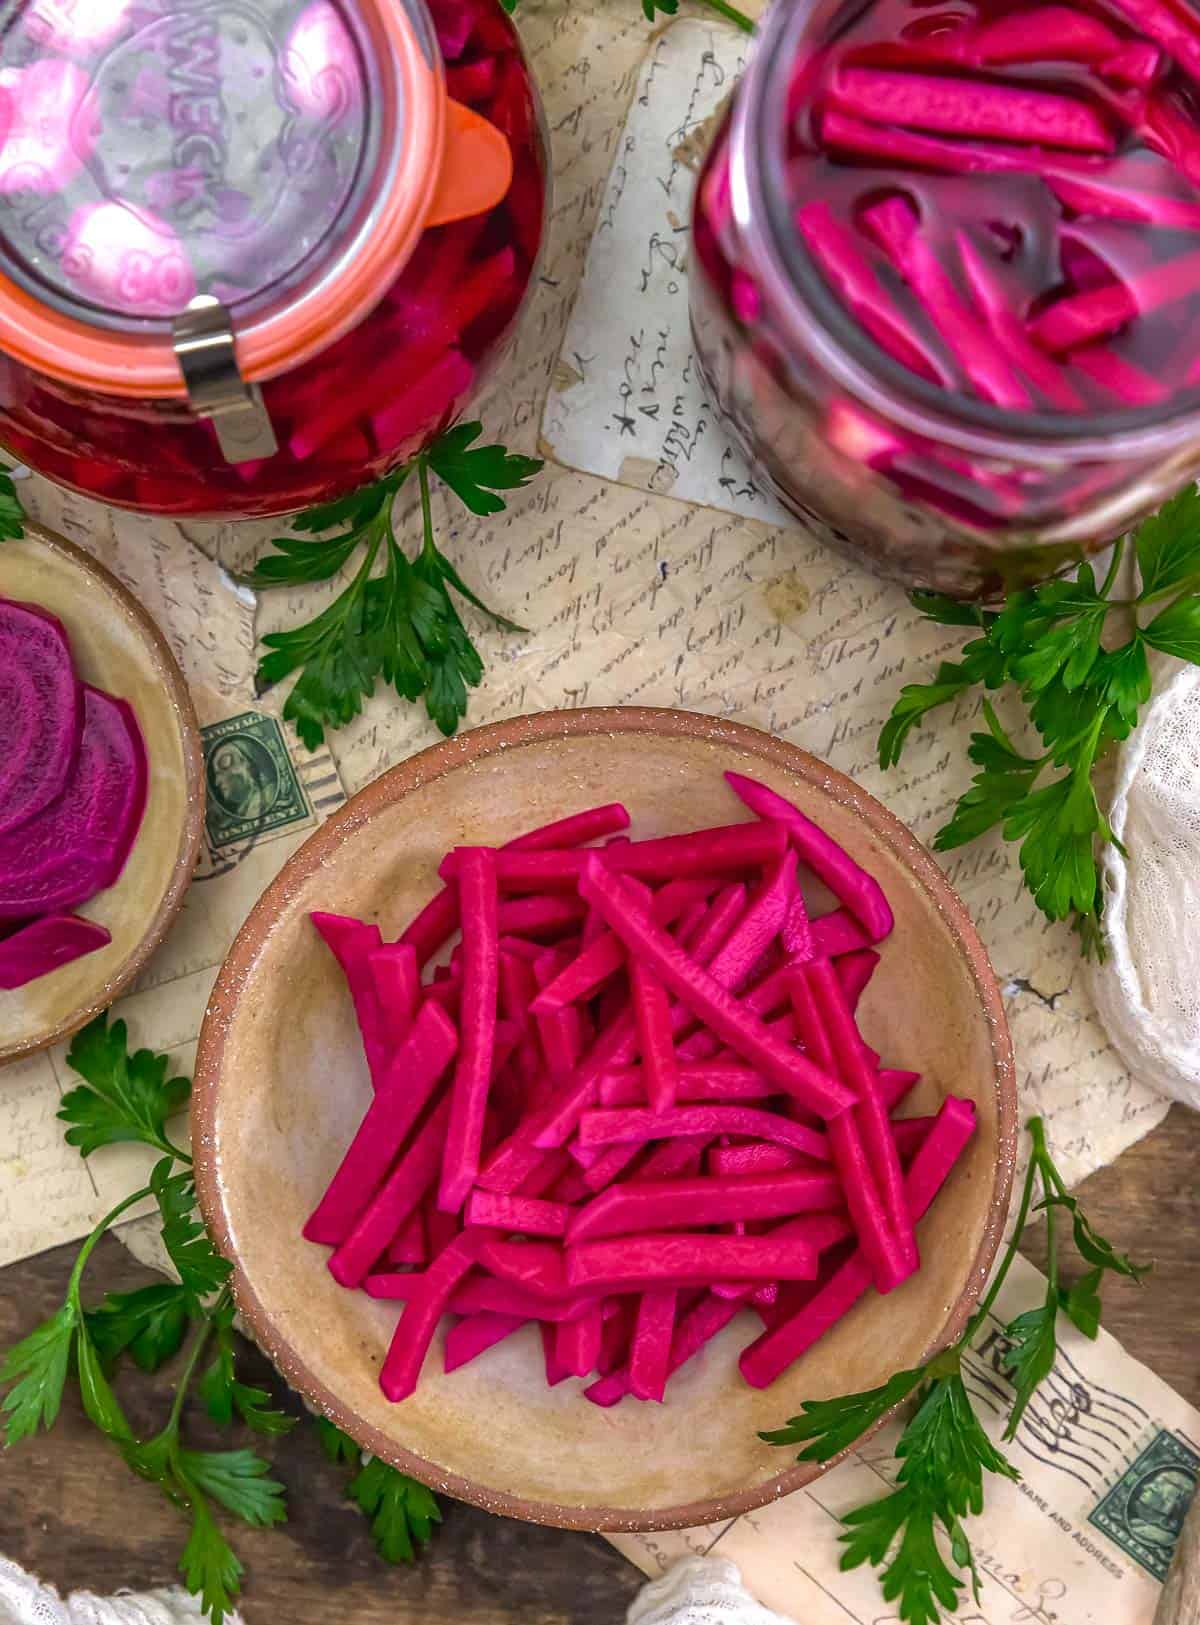
- Serving Ideas: The pickled turnips are fantastic in sandwiches, falafel, and on mezze platters or on charcuterie boards. They definitely get a lot of discussion when served on charcuterie boards or on grazing plates.
- Beets: The beets are only used for color. You can eat them, but they will not feel like true pickled beets (pickled beets are often soft) since they are raw, uncooked and then pickled. We love them and enjoy eating the pickled beets as well.
- Hot Pink Color: The depth of color is directly proportionate to the amount/size of the beet used.
- Garlic: The pickled garlic can be eaten, but they are super spicy as they are raw. If you are not used to eating raw garlic (it’s super healthy for consumption), then simply keep as flavoring in the brine. Eating raw garlic is excellent for boosting the immune system and helps fight off infections as it has antimicrobial and antiviral properties.
- Peppercorns: The peppercorns add some spiciness to the pickled turnips. If unsure, use the lessor amount. We used only 4 as a little goes a long way. Feel free to add more if you like the peppery flavor.
- Waiting Period: Wait at least 24 hours before consuming the pickled turnips. This will allow some of the flavored brine and beets to permeate the turnips and garlic. Garlic is not a super absorbent vegetable, that is why they are cracked it open.
- Amount of Brine – Vinegar and Water: You may or may not have some pickling brine left over, largely to how tightly you pack your jar. If you are fine with possibly discarding some brine (we were), then you need not be super precise on exactly how much brine you make. However, if you wish to be more precise on how much vinegar and water to use. Pack the jars with just the turnips, then fill the jars with water to within ½ inch (for headspace). Then pour out the water from the jar into a large measuring cup. We used our 8-cup measuring cup. Measure the amount then divide into thirds. For example, if you measured 3 cups of liquid, then you will use 2 cups of water and 1 cup of vinegar, because it is a 66/33 ratio of water/vinegar. In other words, for every 2 cups of water, you will use 1 cup of distilled white vinegar. The amount listed in the recipe shows 2 cup waters and 1 cup vinegar because when we used the “Measuring Method to determine exact proportions”, the water measured approximately 3 cups when we poured out the water. Note: We do not take into consideration the pickled beets as they can get a little messy with red stain, so it was a great guess. Remember, you do not have to do exact proportions if you are not worried about having a little bit of brine left over, simply use 2 cups of water and 1 cup of vinegar.
- Maple Syrup: The amount of sweetness is a personal preference, one teaspoon of maple syrup worked perfectly for us.
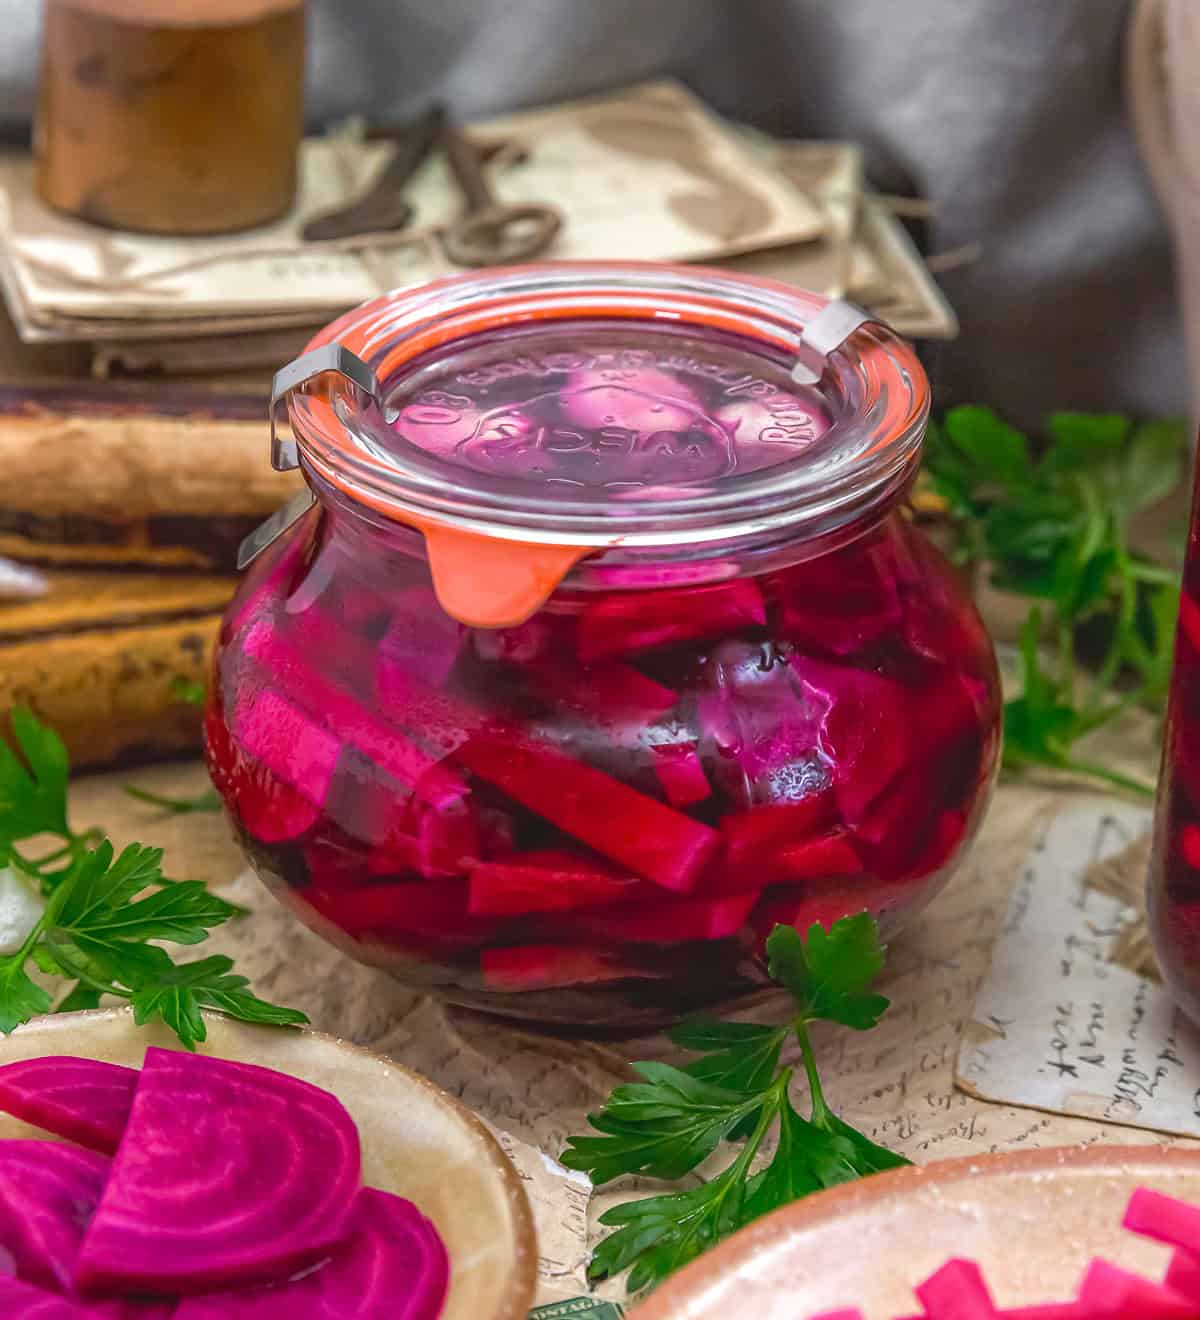
- Jars: We tested with both wide-mouth quart mason jars and wide-mouth Weck Deco jars simply because we have tons of mason jars and Weck jars; however, feel free to use a thoroughly cleaned spaghetti jar or really any type of glass jar with a lid. We used Weck Canning Jars simply because they look awesome in the fridge. If you are looking for the Weck Deco Canning Jars, here is a link.
- Sterilized Jars/Lids: The jars/lids used should be thoroughly cleaned in hot soap water, then rinsed in very hot water and allowed to dry.
- Contamination: When removing turnips, beets, and garlic cloves for consumption, use a fork or knife to remove turnips, beets, or garlic cloves. Do not use your fingers to avoid contaminating the jar.
- Refrigerator Life: The pickled turnip, beets, and garlic will last approximately 6 weeks in the refrigerator. Discard if you see any signs of mold, yeast growth, contamination or if the smell has changed.
- Vinegar: Use distilled white vinegar. Do not substitute vinegars.
- Filling the Jar: Start with turnip sticks, then tuck in the garlic cloves on the edges, then slide in a bay leaf. Top with slices of the beets. Add the black peppercorns, then pour the brine over top.
- Pouring the Brine in the Jar: Slowly start pouring the brine into the jar until you are ½-inch from the top. Then slide a plastic knife or chop stick along the edges to release any air bubbles. If you don’t have a plastic knife or chop stick, very gently pat the bottom of the jar (use caution as the jar and liquid are scalding hot). We love using a chop stick, it works perfectly to release air bubbles.
- Canning: This recipe is not a canning recipe (hot water bath or pressure canner). The pickled turnips, beets, and garlic must remain refrigerated. Turnips, beets, and garlic are low-acid foods and requires pressure canning to be shelf stable. Again, this is not a canning recipe. The finished product is not shelf-stable. It will, however, last several months in the refrigerator.
- Sea Salt: Use sea salt, canning salt, or kosher salt, avoid using iodinized salt or table salt.
- Cookware: Use stainless steel or enamel cookware to boil the brine. Avoid using copper, cast iron, tin, or aluminum cookware.

Leftovers and Freezing:
Leftovers will generally keep up to 6 weeks in the refrigerator. Store in a covered air-tight container.
These pickled veggies do not freeze well.
Pantry Products:
- Sea Salt: Please adjust the sea salt based upon your family’s sea salt preferences and/or based upon dietary needs.
Kitchen Equipment:
- Stainless steel stock pot
- Glass jar with a lid
If you try these tasty, tangy turnips, we would love to know if you enjoy it as much as we do! Please leave us a review! Post a picture on Facebook or Instagram and tag us! We would love to hear from you.
Print
Refrigerator Middle Eastern Pickled Turnips
- Prep Time: 20 Minutes
- Cook Time: 10-12 Minutes
- Total Time: 30 Minutes (+Overnight Rest Time)
- Yield: 1 Quart Jar 1x
- Category: Condiment
- Method: Stovetop
- Diet: Vegan
Description
These Refrigerator Middle Eastern Pickled Turnips are a staple in Middle Eastern cuisine, bursting with vibrant flavor and color.
Ingredients
Base Ingredients:
- 2 large turnips, peeled, cut ¼-inch thick sticks
- 1 small beet, sliced or chunked
- 4 fresh garlic cloves, peeled, slightly cracked open *
- 1 bay leaf
- 4 to 8 whole peppercorns
Brine Ingredients:
- 2 cups water
- 1 cup distilled white vinegar
- 1 teaspoon pure maple syrup
- 1 Tablespoon + 1 teaspoon sea salt
Instructions
- Peel and slice the turnips into ¼-inch sticks. Pack a clean glass jar (quart jar) with the turnip sticks, then tuck the peeled and cracked garlic cloves along the sides. Slide a bay leaf along the edge of the jar, then drop in the peppercorns, leaving about 2 inches from the top of the jar, this makes room to place the sliced beets on top.
- Peel the beet, chop in half, then slice the beet into about ¼-inch thickness. Place the sliced beets on top of the turnip sticks.
- In the meantime, place all the Brine Ingredients into a medium stock pot, bring to a boil, then immediately lower to a low simmering boil, simmer at a low boil for several minutes. Remove from the stove.
- Very carefully, using a ladle, pour the hot pickling brine into the jar over top of the packed turnips/beets. Remove any air bubbles by gently smacking the bottom of the jar with the palm of your hand, be very careful, the jar will be hot. Wipe down the rim of the jar, place a lid on the jar, tighten, and allow to sit on the counter until the jar is no longer hot (about one hour), then place in the refrigerator overnight to marinate.
- After marinating, open the jar and enjoy as a tasty compliment to your favorite Middle Eastern dish or in sandwiches or as a yummy snack. Will last up to 6 weeks in the refrigerator. IMPORTANT NOTE: These pickled turnips are not shelf stable; the pickled turnips must be refrigerated.
Notes
Please reference the blog post for Tips for Success, Pantry Items Used, Storage and Freezing, and Kitchen Products Used.
Sea Salt: Please adjust the sea salt based upon your family’s sea salt preferences and/or based upon dietary needs.
Serving: 1 quart jar

This post contains affiliate links, and we may receive a very small commission if you purchase through those links at no additional cost to you. Thank you for supporting Monkey and Me Kitchen Adventures! For more information, see our disclosures here.