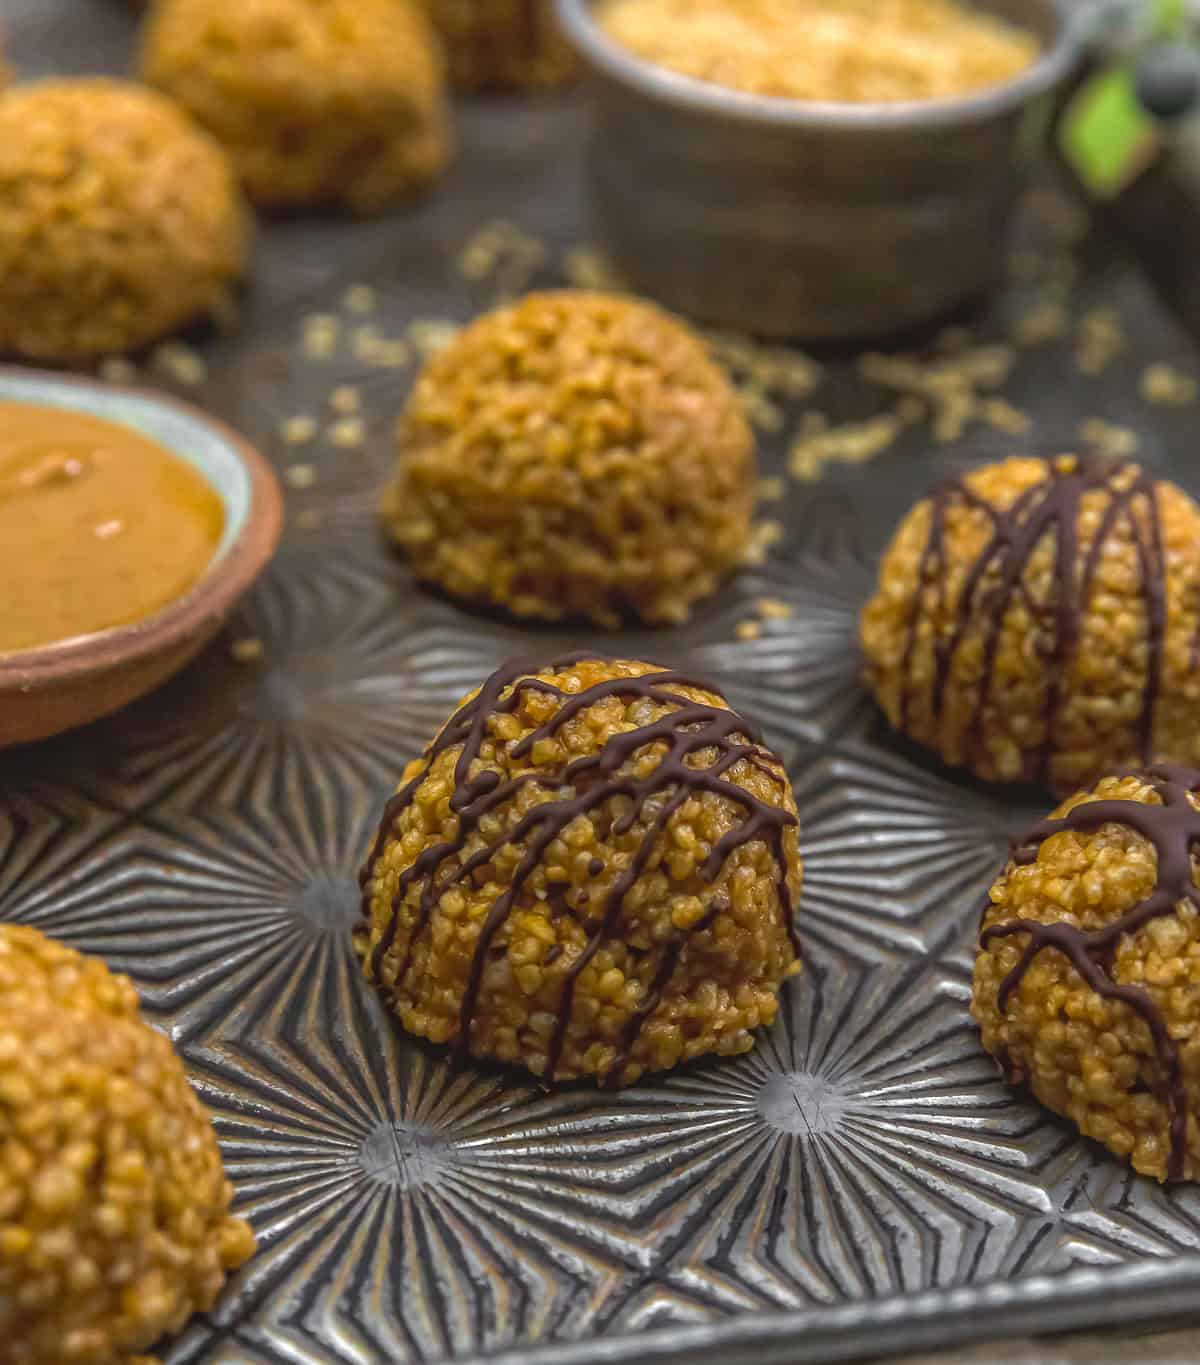
No-Bake Puffed Quinoa Peanut Butter Cookies! Each cookie delivers satisfying crunch from the puffed quinoa, followed by a rich, nutty peanut butter finish that coats your palate in wholesome goodness.
These No-Bake Puffed Quinoa Peanut Butter Cookies are a crave-worthy bite of crispy, crunchy delight, packed with puffed quinoa pearls and creamy peanut butter that melt into each other for an irresistible texture contrast. With no baking required, these treats come together quickly, making them the perfect healthy snack or post-workout bite. If you crave a dessert that feels both indulgent and nourishing, these no-bake cookies hit that sweet spot with a crisp-to-chewy texture profile and a satisfyingly balanced peanut butter flavor that will keep you reaching for more.
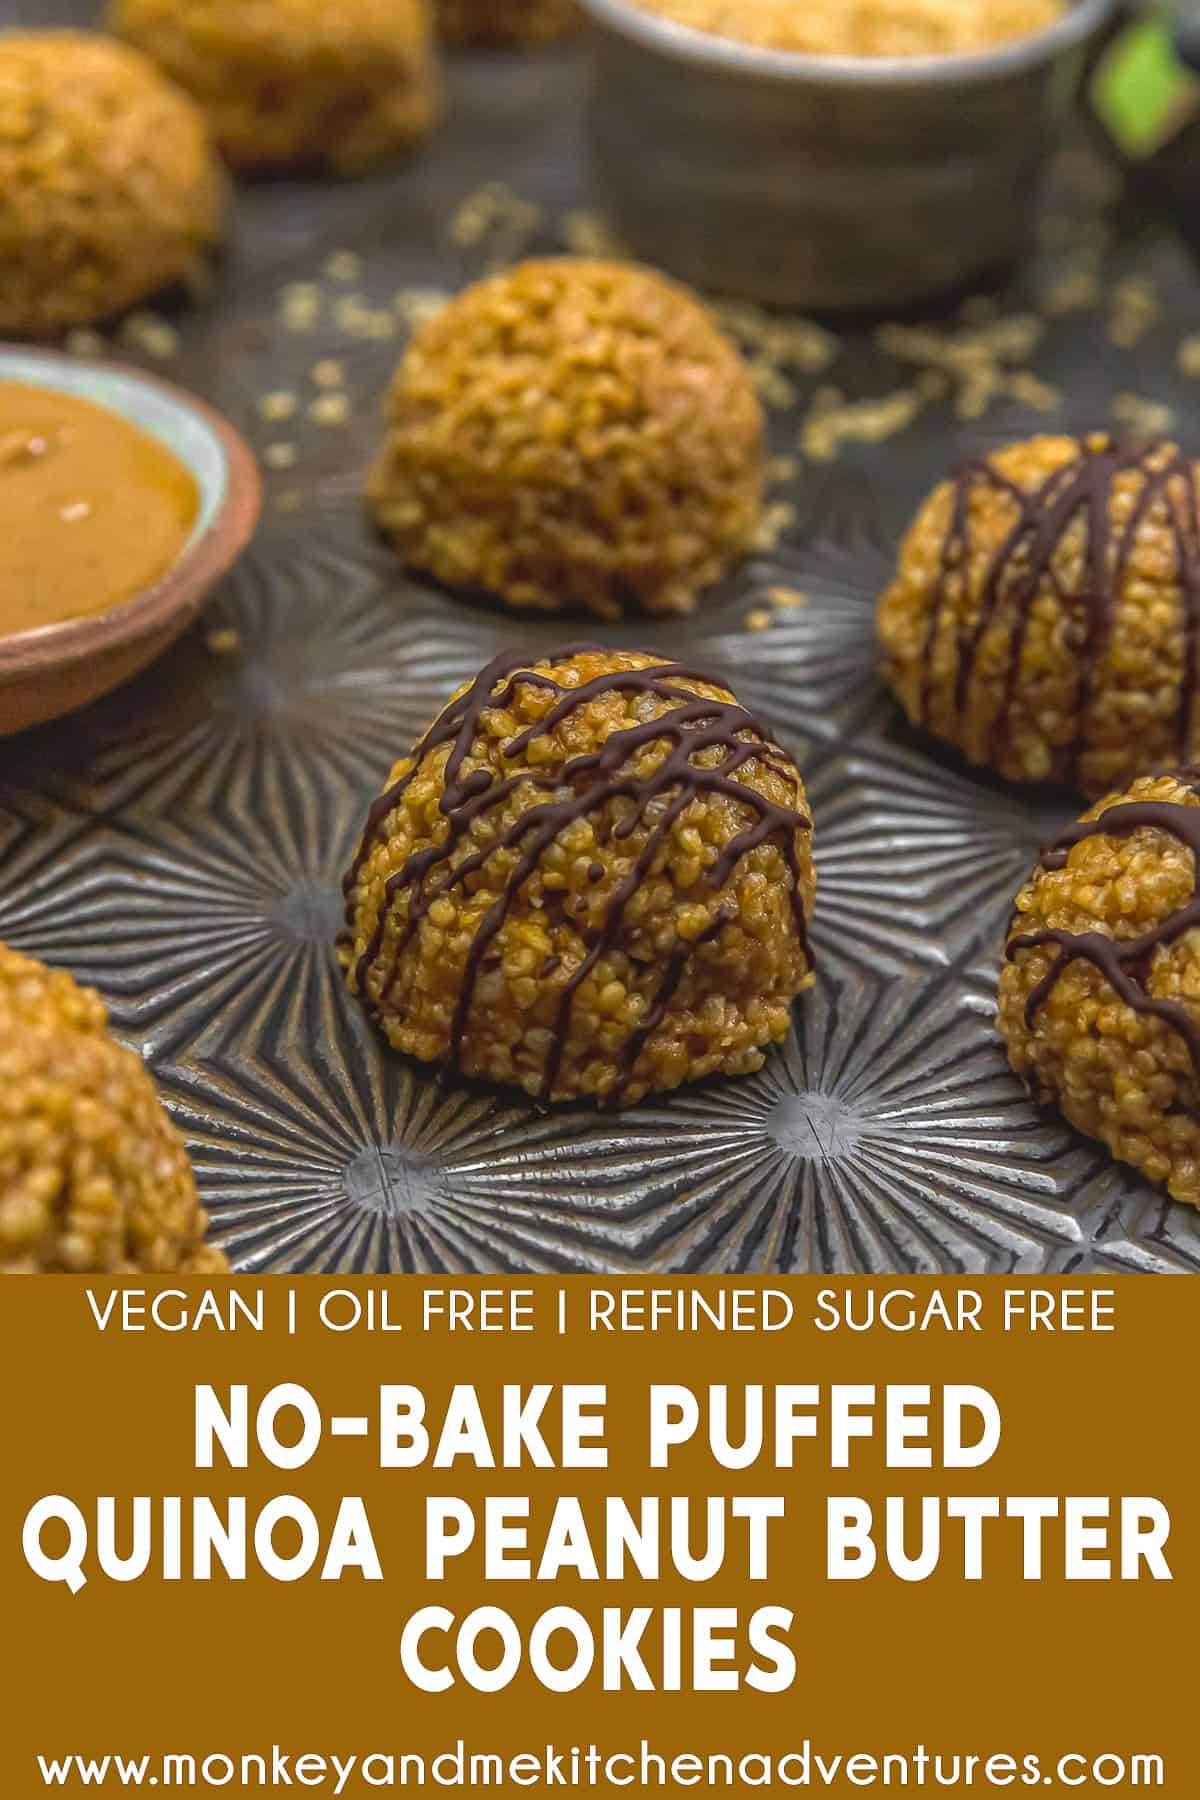
Whole Food Plant Based, Vegan, plant based, oil free, refined sugar free, no highly processed ingredients and gluten free.
Hi there, Ameera here!
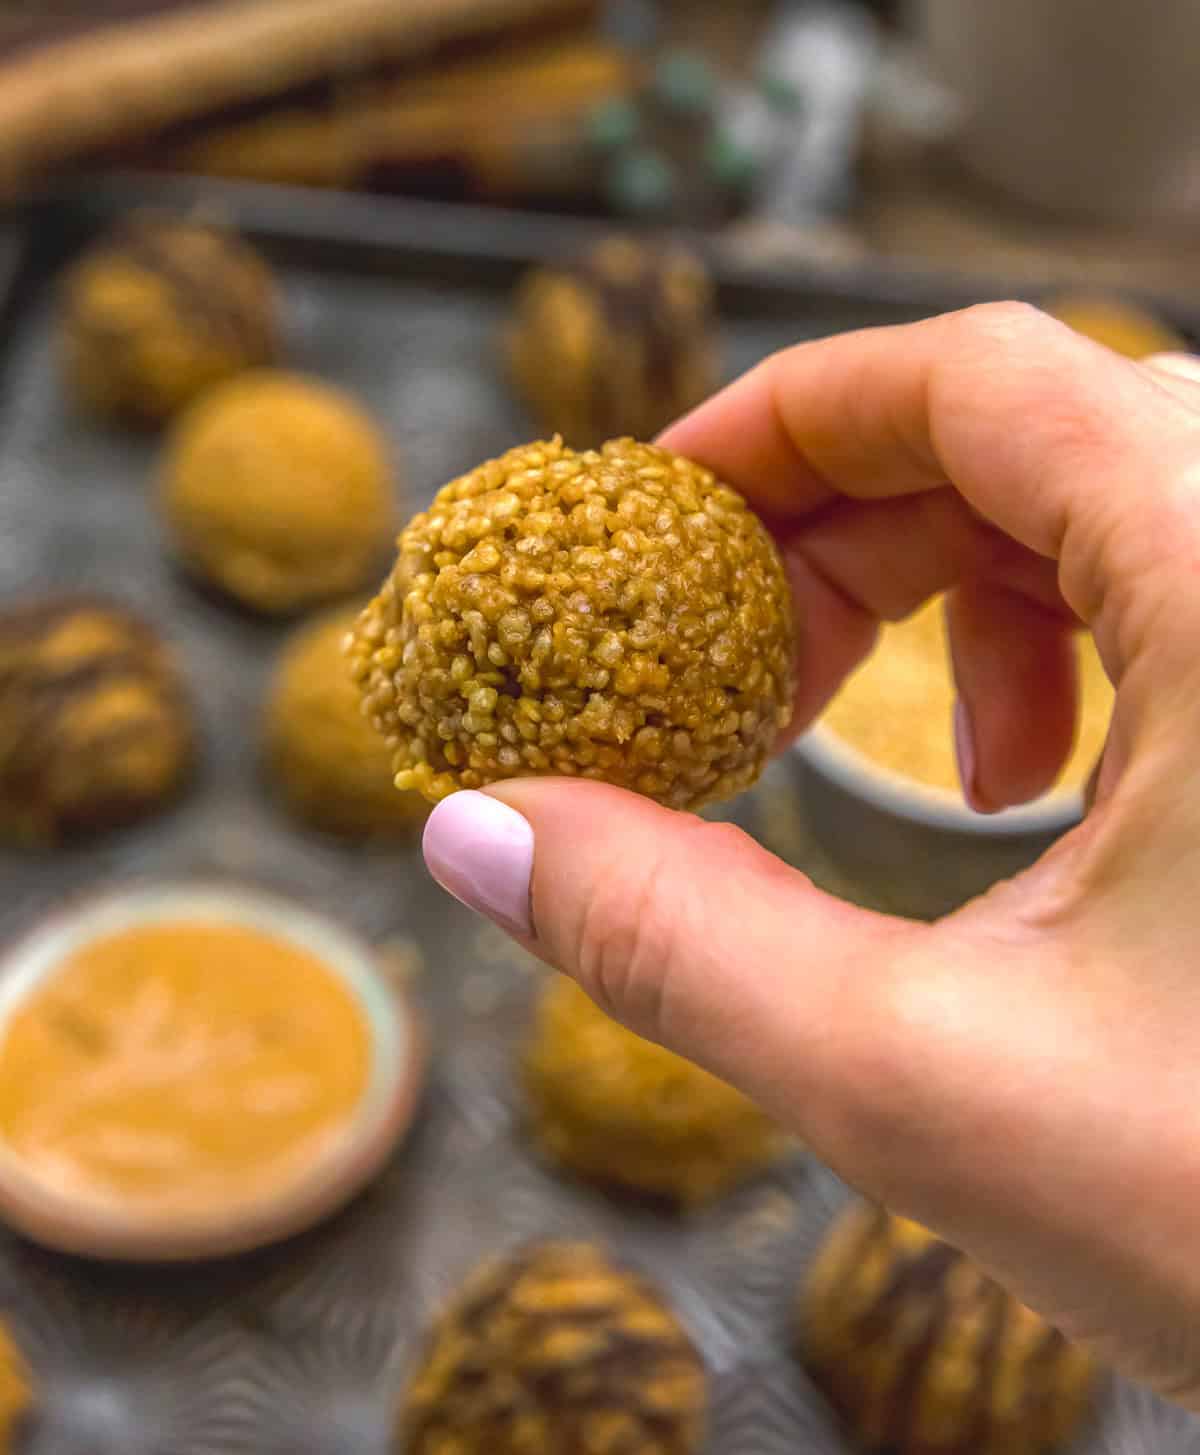
We absolutely loved these delicious cookies! You gotta give this one a try, because the combination of puffed quinoa and creamy peanut butter creates a peanut butter bliss that’s light yet deeply satisfying. The no-bake method means you’re treating yourself to something homemade and wholesome in a flash, perfect for busy weeknights or a leisurely weekend kitchen session.
Trust me, once you bite into one, you’ll be hooked by the crisp texture, the subtle sweetness, and that irresistible peanut butter glow. Give these no-bake puffed quinoa peanut butter cookies a try and savor a snack that’s as tasty as it is easy to make.
Tips for Success:
- Flavor Profile: These No-Bake Puffed Quinoa Peanut Butter Cookies are filled with crispy, crunchy puffed quinoa peanut butter goodness.
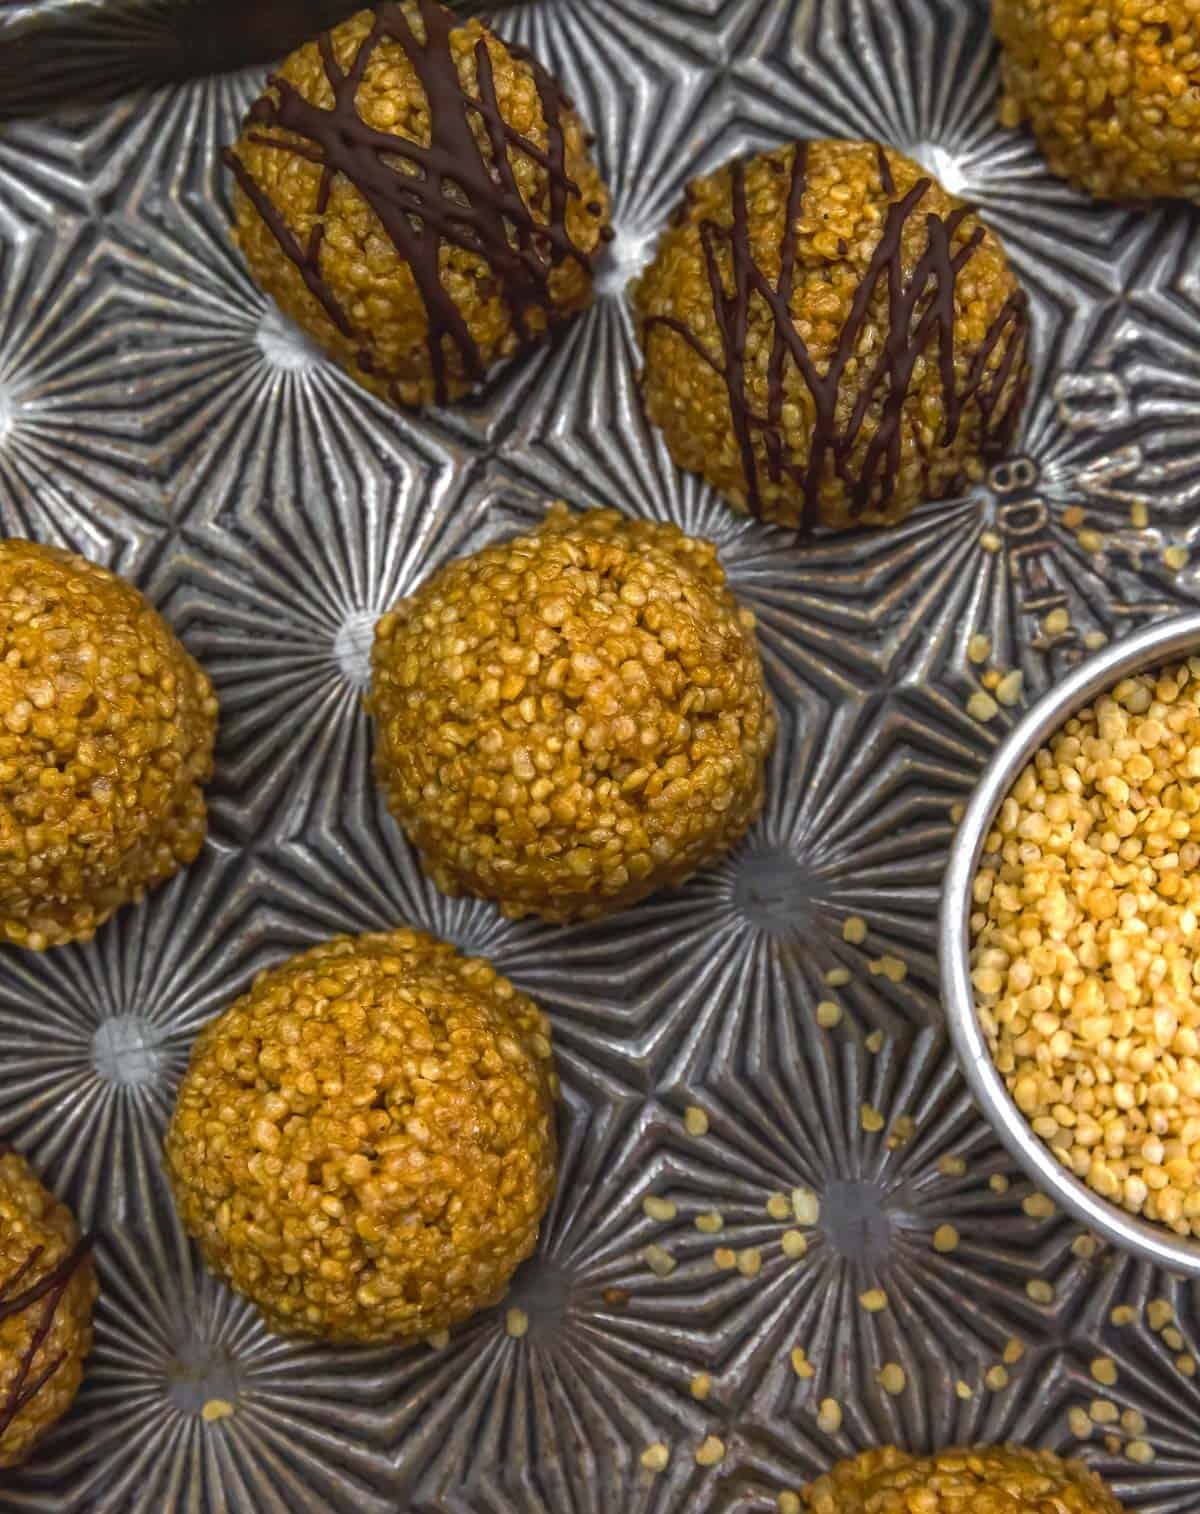
- Texture: The texture is crispy and crunchy! It is reminiscent of a Nestle Crunch candy bar except with peanut butter instead of chocolate.
- Homemade Crispy Puffed Quinoa: We purchased organic crispy puffed quinoa rather than making our own, simply for convenience. If you wish to make your own, you can follow Vegan Chef Mario’s YouTube video on How to Make Crispy Popped Quinoa. If you decide to make your own popped quinoa, we suggest using a Pre-Rinsed Dry Quinoa. See the Pantry Products Used section below for the Pre-Rinsed Dry Quinoa or if you wish, you can purchase the already puffed crispy quinoa to make it easier.
- Peanut Butter: Be sure to use runny peanut butter. Do not use thick, clumpy peanut butter. We use Fresh Thyme Old-Fashioned Creamy unsweetened peanut butter (dry roasted peanuts and sea salt only). Feel free to use your favorite unsweetened smooth peanut butter. Be sure to mix it well so it is smooth and creamy.
- Mixture: When mixing the “batter”, you want the mixture to be able to hold its shape well. Press the mixture together with a stiff spatula against the side of the bowl to see if it holds it shape. It should hold its shape easily. If it seems too crumbly (falling apart), then add another tablespoon of peanut butter until it holds it shape together. If not, the cookies will fall apart when eating them.
- Make them Pretty: Using a 2 Tablespoon-sized cookie scoop works best when making perfect dome-shaped cookies. You will need to potentially wash the cookie scoop with warm water about every 4 to 6 cookies. Scoop up the ‘quinoa batter’, press hard against the side of the bowl to firmly fill the scoop, then press the scoop trigger. If the scoop trigger creates a small divot on the top of the cookie, then simply press the cookie together using your fingers. OR, if prettiness is your goal, then if you have a large round Tablespoon measuring spoon, you can press the top of the cookie into the tablespoon measuring spoon to make it perfectly round on top. You do not need to pick up the cookie, simply place the tablespoon on top of the cookie (while on the cookie sheet) and press downward a tad. If the cookie sticks to the tablespoon, simply tap the tablespoon onto your palm a few times and it will slide out. You may need to rinse the tablespoon in warm water a few times, in between cookies, if needed.
- Melting the Chocolate for the Drizzling: To melt the chocolate chips, simple place about 1/4 cup of vegan semi-sweet or dark chocolate chips into a small bowl and microwave for about 25 seconds and stir. Continue to microwave in 10 second intervals and stirring until the chocolate has been completely melted. Optional: Add 1 teaspoon of runny tahini to the melted chocolate for a runnier chocolate. Then drizzle by spoon or place a small sandwich bag into a small juice glass. Spoon the melted chocolate into the sandwich bag. Push it all to one corner. Twist the bag and snip off the corner, then drizzle over the cookies. Allow to sit until the chocolate has set. If needed, place in the freezer for a quick chocolate set.
- Table Salt: If using table salt, you should use less table salt than the amount listed in the ingredients as sea salt crystals are larger than table salt crystals.
- Sea Salt: Please adjust the sea salt based upon your family’s sea salt preferences and/or based upon dietary needs.
Leftovers and Freezing:
Leftovers will generally keep 7 to 10 days in the refrigerator. Store in a covered air-tight container.
These cookies freeze well.
Pantry Products:
- Crispy Puffed Quinoa: We used Z Natural Foods Organic Crispy Puffed Quinoa. Feel free to use your favorite puffed quinoa or make your own.
- Optional: Chocolate Chips: We used Enjoy Life Semi-Sweet Chocolate Mega Chunks. Feel free to use your favorite chocolate chips.
- Molasses: We used Grandma’s Unsulfured Original Molasses. Feel free to use your favorite molasses. We do not recommend black strap molasses as it can sometimes be bitter. You can leave the molasses out of the dish if you wish. The molasses adds excellent depth of flavor and is reminiscent of brown sugar.
Kitchen Equipment:
- Cookie sheet or plate
- Parchment paper
- Medium-sized (2 Tablespoons) Cookie Scoop or Tablespoon
If you try these tasty no-bake cookies, we would love to know if you enjoy it as much as we do! Please leave us a review! Post a picture on Facebook or Instagram and tag us! We would love to hear from you.
Print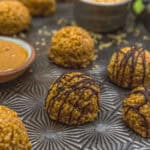
No-Bake Puffed Quinoa Peanut Butter Cookies
- Prep Time: 20 Minutes
- Total Time: 20 Minutes (+20 Minutes Freezer Time)
- Yield: 17 Cookies 1x
- Category: Dessert
- Method: Freezer
Description
These No-Bake Puffed Quinoa Peanut Butter Cookies are a crave-worthy bite of crispy, crunchy delight, packed with puffed quinoa pearls and creamy peanut butter that melt into each other for an irresistible texture contrast.
Ingredients
Dry Ingredients:
- 2 cups crispy puffed quinoa *
- ½ cup almond flour
- ¼ teaspoon sea salt *
Wet Ingredients:
- ½ cup unsweetened creamy peanut butter *
- 1/3 cup pure maple syrup
- ½ teaspoon molasses *
- 1 teaspoon vanilla
Optional Topping:
- ¼ cup vegan chocolate chips (melted) *
- 1 teaspoon runny tahini (optional) *
Instructions
- Add all the Dry Ingredients into the large bowl, whisk until well combined.
- Place all the Wet Ingredients into the bowl with the dry ingredients, stir until everything is mixed well and can hold its shape and sticks together.
- Using a medium-sized (2 Tablespoons) cookie scoop, scoop up 2 Tablespoons of the quinoa mixture and place (dome shaped cookie) onto a parchment paper covered baking sheet or plate. Continue until all the mixture has been scooped and placed on the baking sheet or plate.
- If needed, shore up the sides of any cookies that are misshapen.
- Place the plate/pan in the freezer for 20 minutes.
- After 20 minutes, serve. Place leftovers in an airtight container and refrigerate.
- Optional: If desired, drizzle the tops with melted chocolate. After drizzling, allow them to set in the refrigerator or freezer for 10 minutes, then serve and enjoy! Refrigerate leftovers.
Notes
Please reference the blog post for Tips for Success, Pantry Items Used, Storage and Freezing, and Kitchen Products Used.
Sea Salt: Please adjust the sea salt based upon your family’s sea salt preferences and/or based upon dietary needs.
Servings: Makes 17 cookies

This post contains affiliate links, and we may receive a very small commission if you purchase through those links at no additional cost to you. Thank you for supporting Monkey and Me Kitchen Adventures! For more information, see our disclosures here.
Leave a Reply